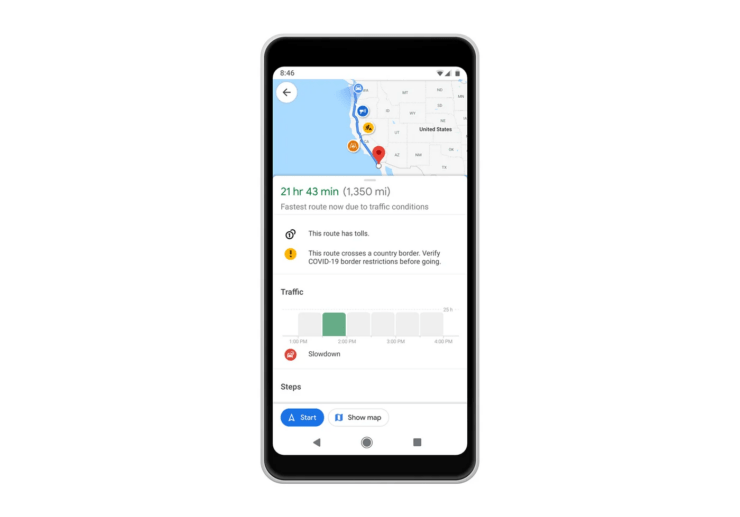
A year after it was announced, the Glanceable directions feature has been launched for Google Maps. It summarizes your travel route once you set the course for your destination on the map. After the journey starts, you can ‘glance’ the route navigation from the phone lock screen.
There is no need to unlock your phone now and then to check your ETA on Google Maps. You can view your navigation info on the lock screen during the entire duration of the travel. Rerouting and route updates can be seen without accessing Google Maps by unlocking the phone.
This guide explains the steps to enable Glanceable Directions on Google Maps. Also, if the feature is not working on your device, I have shared some tips to fix that problem.
Enable Glanceable Directions on Google Maps
Glanceable Directions is available on both Android and iOS. Update the Google Maps app to the latest version before launching Google Maps on your Android or iPhone.
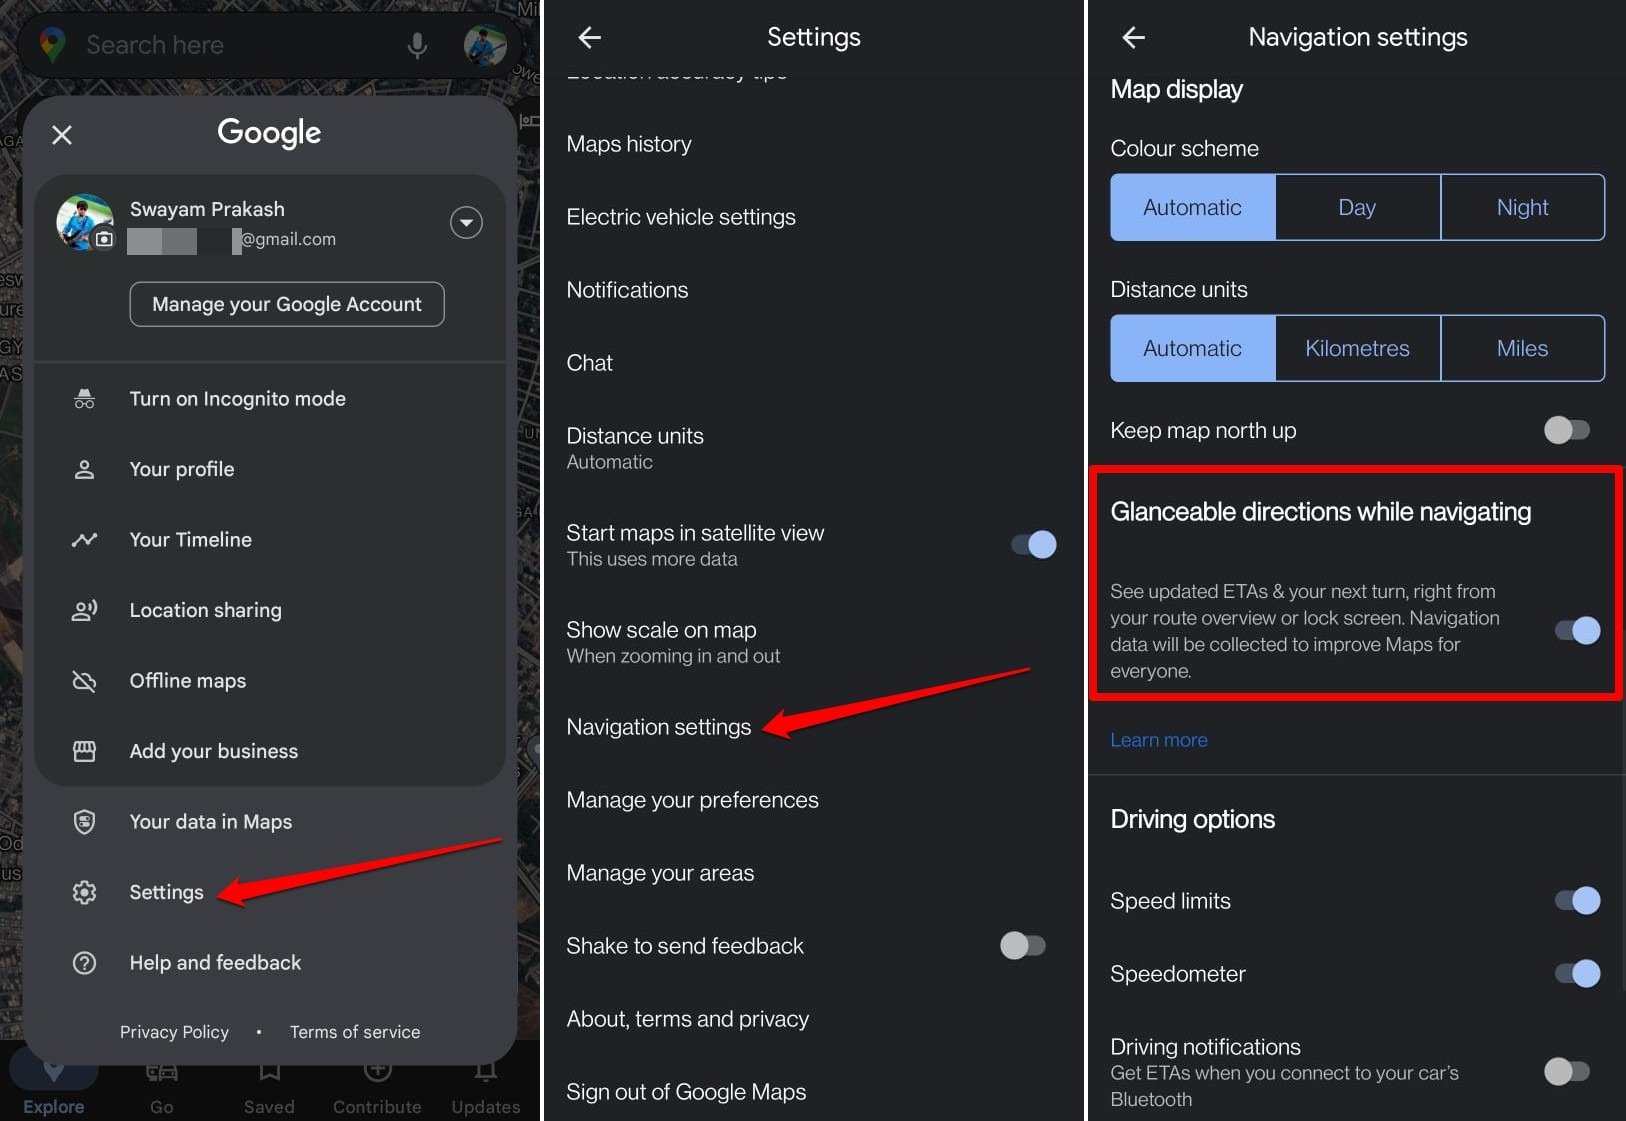
- Launch the Google Maps app.
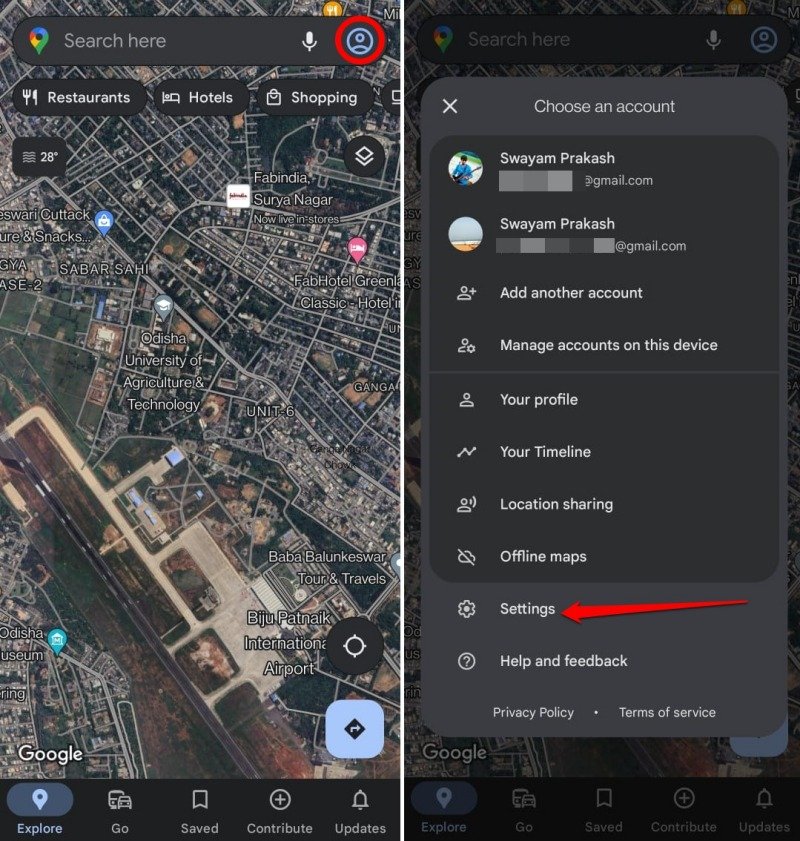
- Tap the Gmail account avatar and select Settings from the menu.
- Go to Navigation Settings.
- Scroll to Glanceable Directions While Navigating and tap the toggle beside it.

That’s it. Your route overview, directions, and ETAs will now appear on the phone lock screen.
The above steps demonstrate using Glanceable Directions on an Android device. On an iPhone, the steps will be the same as well.
NOTE: Google Maps will collect the navigation data to improve the app’s performance.
Top Ways to Fix Glanceable Directions Not Working on Google Maps
Several Android and iOS users report that the Glanceable Directions feature is not working on their devices.
As it is a new feature, one or more instances of technical bugs may cause momentary roadblocks in utilizing the feature.
I have compiled a few troubleshooting tips that can solve the problem with Glanceable Directions and make it functional on your phone.
1. Update Google Maps
It is the essential fix that you need to implement to make Glanceable Directions work on your phone. Install the version update available for the app on the Play Store or App Store to fix any possible bugs on the app that are restricting the use of Glanceable Direction.
On Android,
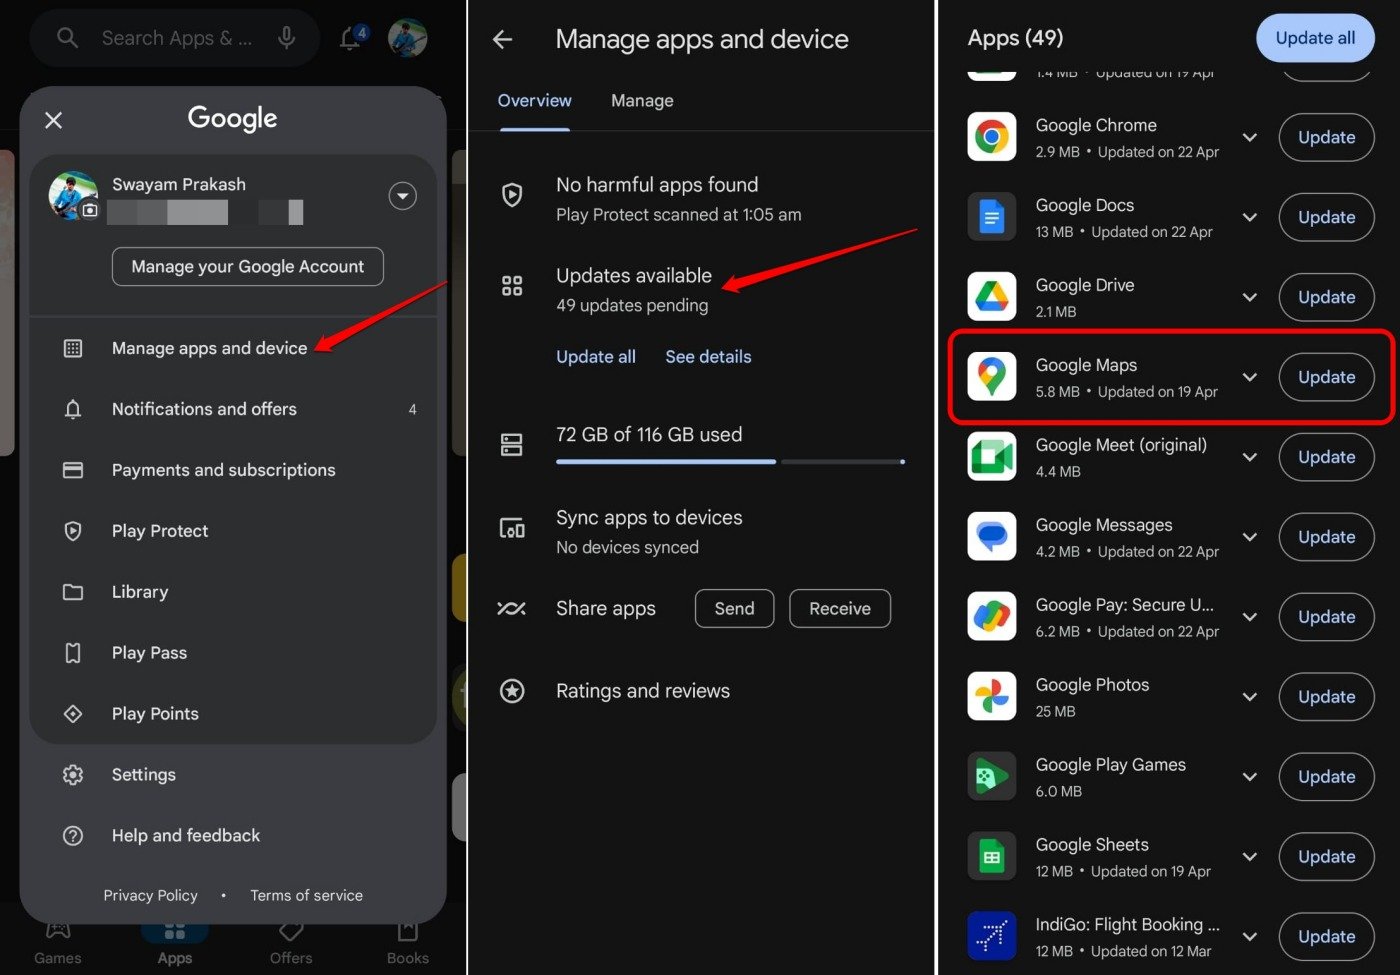
- Open the Play Store app.
- Tap the Gmail account at the top.
- From the menu, select Manage Apps & Device > Updates Available.
- Press Update to install the new app build available for Google Maps.

For iOS,
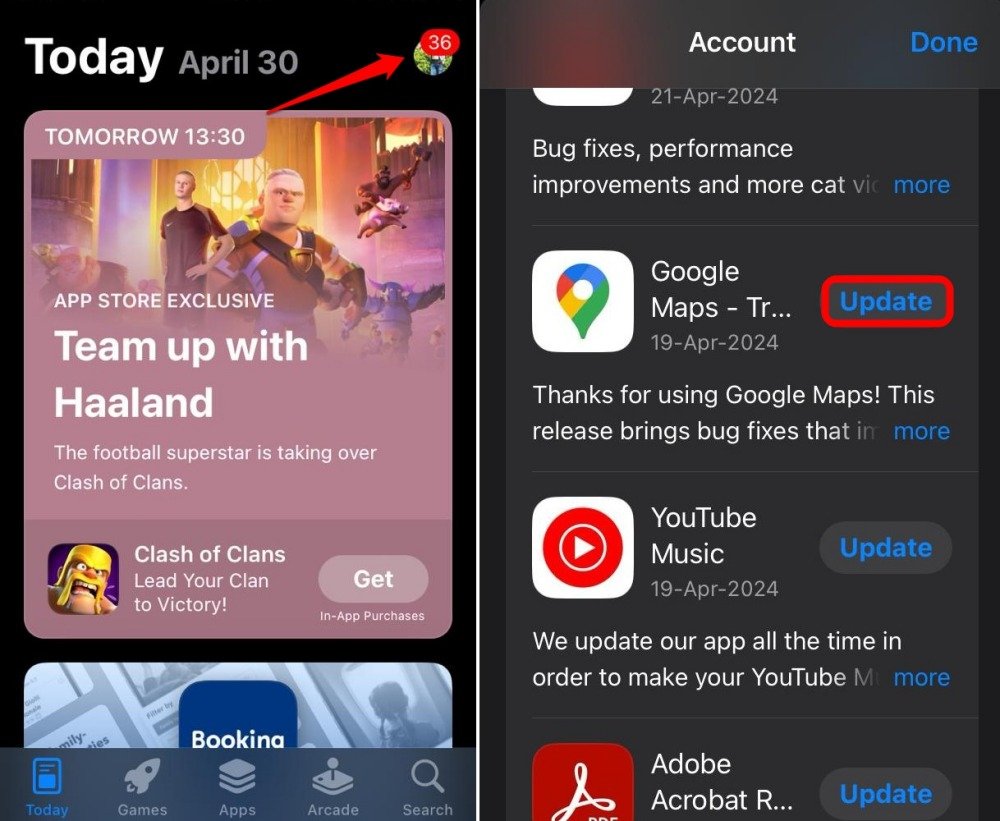
- Launch the App Store.
- Tap the Apple account at the top.
- Check if Google Maps for iOS has a new update pending.
- Press Update to install it.

After updating to the new app build, relaunch Google Maps. Go to Settings > Navigation Settings to check if Glanceable Directions is appearing. Turn it on by following the steps explained previously.
2. Force Close Google Maps
Force closing the apps can take care of the temporary glitches on it. Even after updating the Google Maps app, you cannot use Glanceable directions, terminate the app, and relaunch.
For Android users,
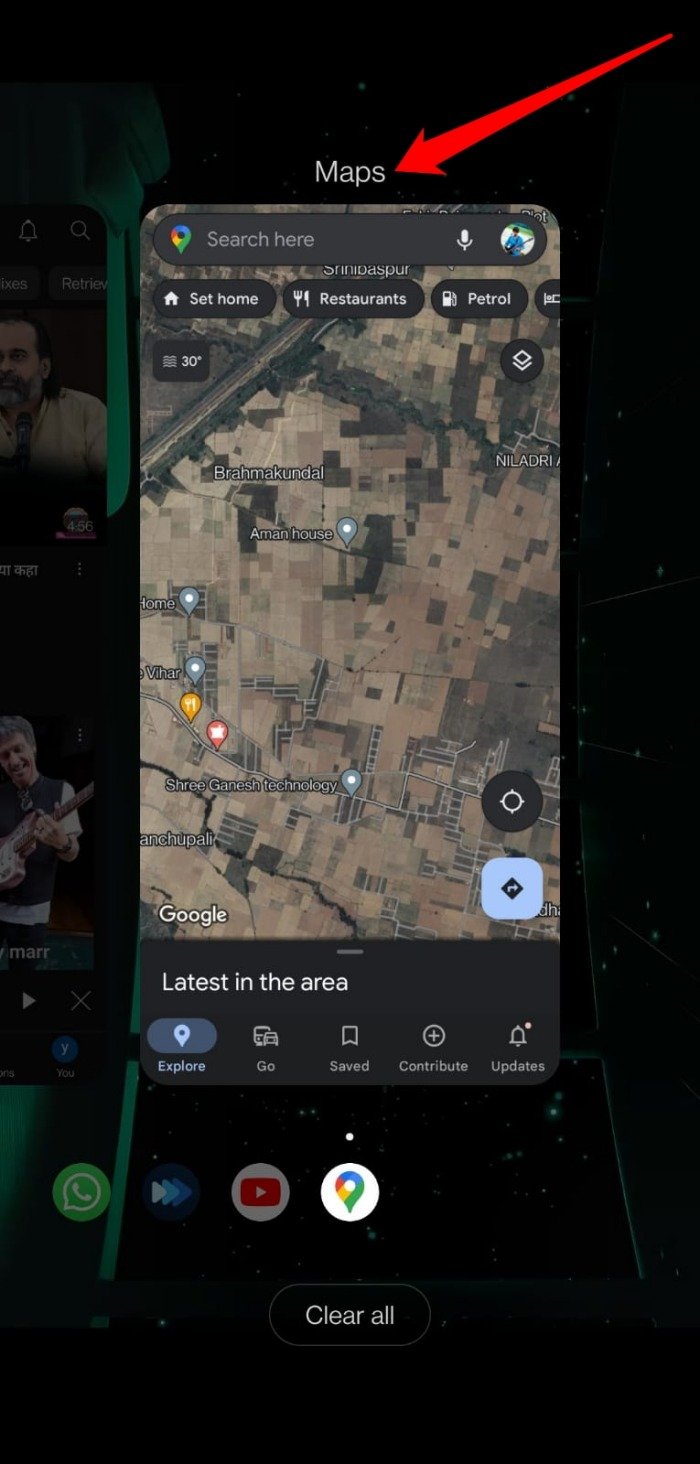
- Swipe up on the screen to access the currently active apps.
- Scroll to Google Maps, and swipe up the app card.
- Launch Google Maps from the App drawer.

On iPhones,
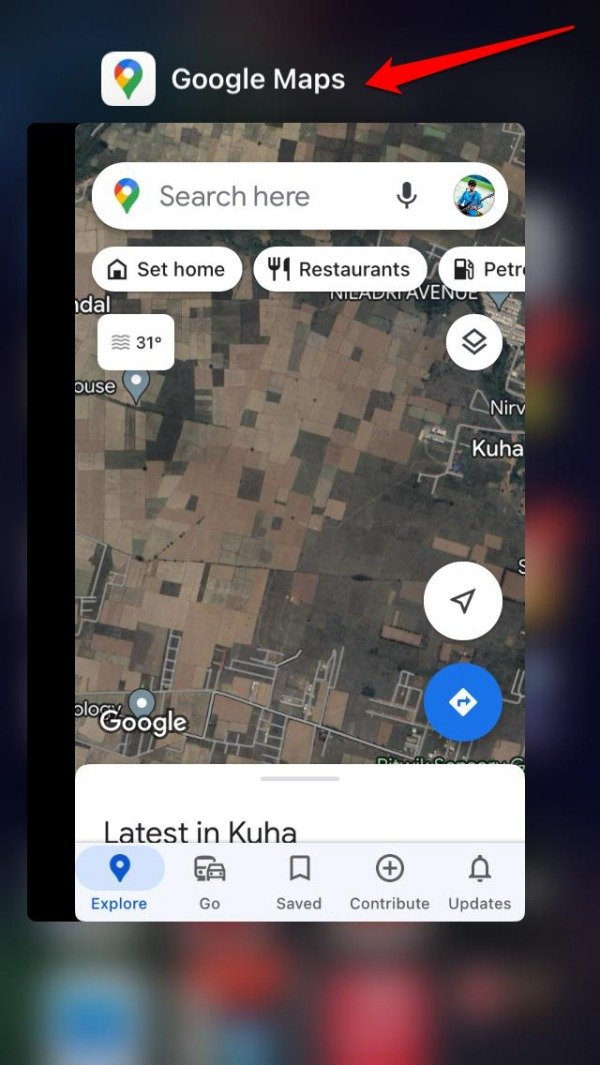
- Double-tap the home button or swipe up on the screen to see the Recent Apps.
- Scroll to the Google Maps app card and swipe it up to close it.

- Open Google Maps from the iOS App Library.
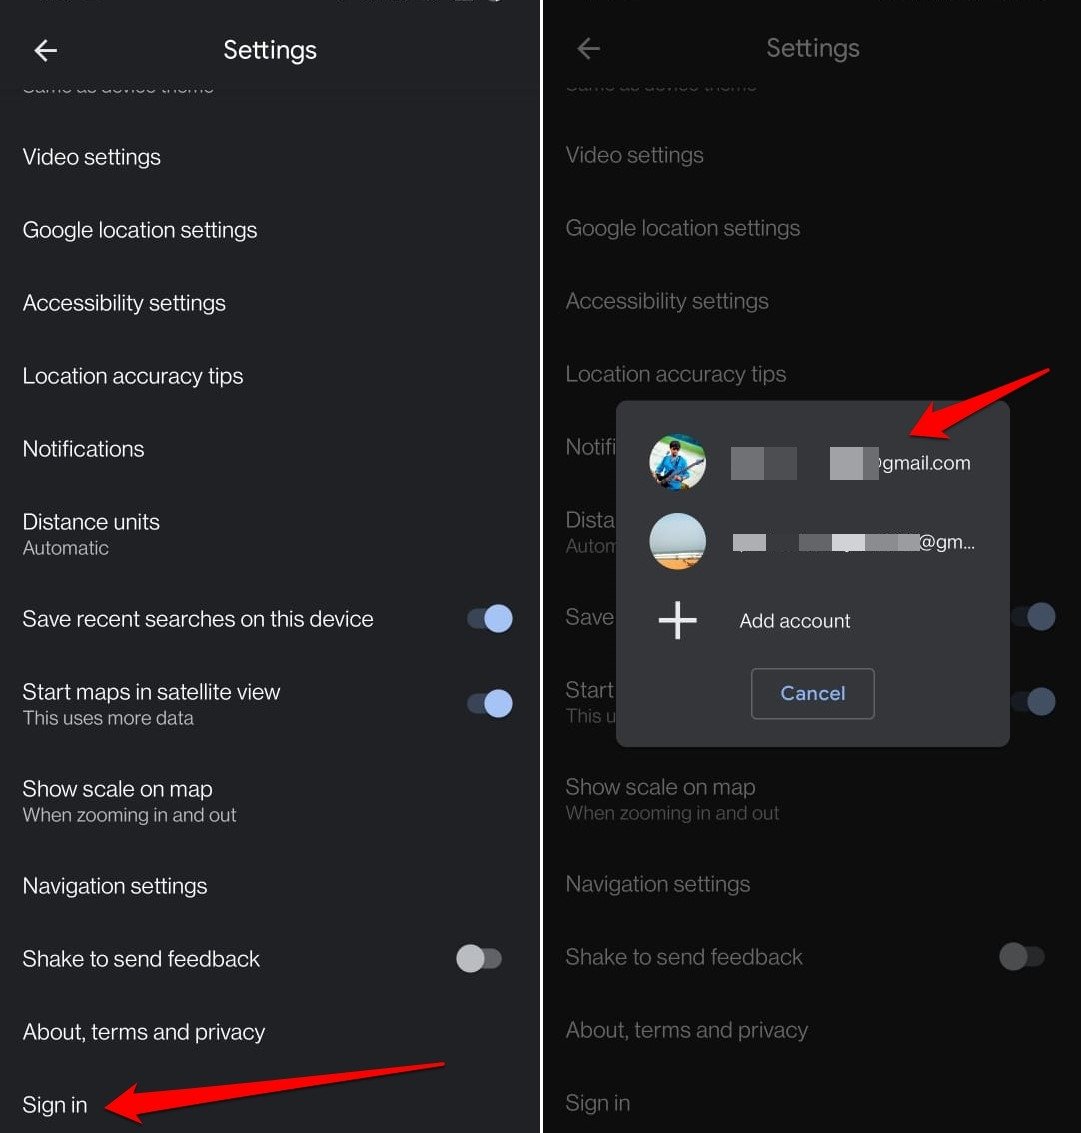
3. Sign Out of Google Maps
Sign out of Google Maps and sign in to fix any error with the app.
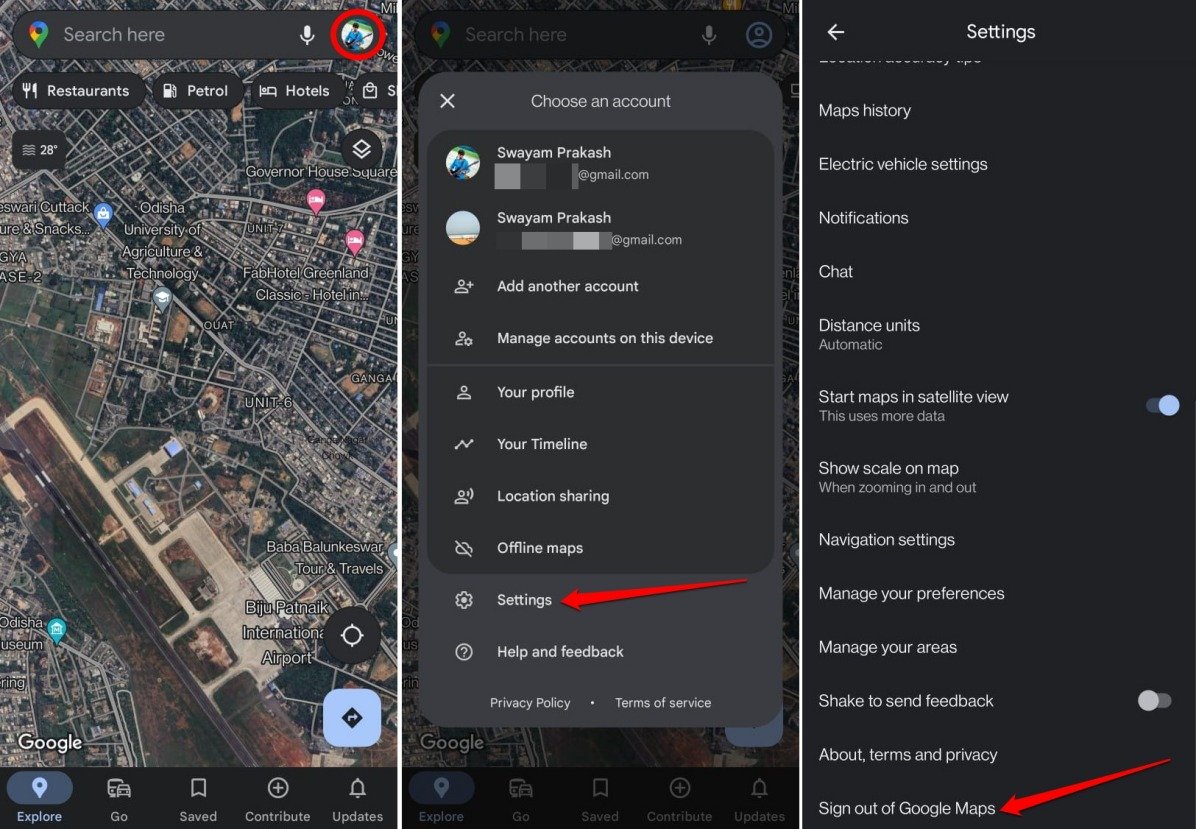
- Open Google Maps.
- Tap the Gmail profile avatar.
- Go to Settings > Sign out of Google Maps.

- Relaunch Google Maps.
- Tap the Gmail profile avatar.
- Go to Settings > Sign In

- Select the account to sign into Google Maps.

Go to the Navigation Settings and turn on Glanceable Directions. the feature should work without any further issues.
Bottom Line
That’s how you turn on Glanceable Directions on your Android/iPhone. Next time you set off for a trip, use Google Maps to get an overview of your route and other necessary info straight on the phone lock screen. Navigate safely without unlocking the phone and peeping into the app frequently.
If you've any thoughts on How to Use Glanceable Directions on Google Maps, then feel free to drop in below comment box. Also, please subscribe to our DigitBin YouTube channel for videos tutorials. Cheers!
