Talking about digital life today, Instagram is undoubtedly the most used social media platform. Rather than maintaining a conversation, Instagrammers are more into creating a digital portfolio. A major portion of Instagram users are mostly engaged in sharing eye-catching content through posts, stories, reels, and short videos. But even with all its extravagant features, most users are concerned about the degrading quality of their content when uploaded on the platform.
Since you are here, you must have also had the same issue where your photos or videos get blurred or pixelated on uploading. And this mostly happens with Instagram stories. If you observe closely, you will see that there are not many changes in the posts, but if you upload a story, the quality degrades drastically. So, is there a way to stop this quality degradation and upload HD Instagram stories?
Fortunately, the answer is yes. We just need to take care of a few things, and you can easily upload HD Instagram stories. Want to know how? Well, this article will guide you with all the necessary steps you need to take care to upload high-quality stories on the Instagram app.
Tips to Upload Instagram Stories in HD without Blur
Even if you have high-quality content on your phone, as you try to upload, it automatically compromises on the quality. And this thing has been a very consistent issue among all Instagrammers. But it’s time to say goodbye to all that. With the following steps as mentioned below, you can upload HD Instagram stories without any quality compromises. So, here is everything you need to know.
1. Check Your Internet Connection
If you are getting an unexpected result on uploading high-quality content on Instagram stories, a straight cause behind this might be your Internet connection. If you have a bad internet connection or are connected to a slow Wi-Fi, it could very much create such issues.
So, always prefer your cellular data over any slow Wi-Fi for uploading Instagram stories, and make sure you have a good connection. Alternatively, if you have a fast Wi-Fi connection, then go for it to get the best result.
2. Check Your Image Settings
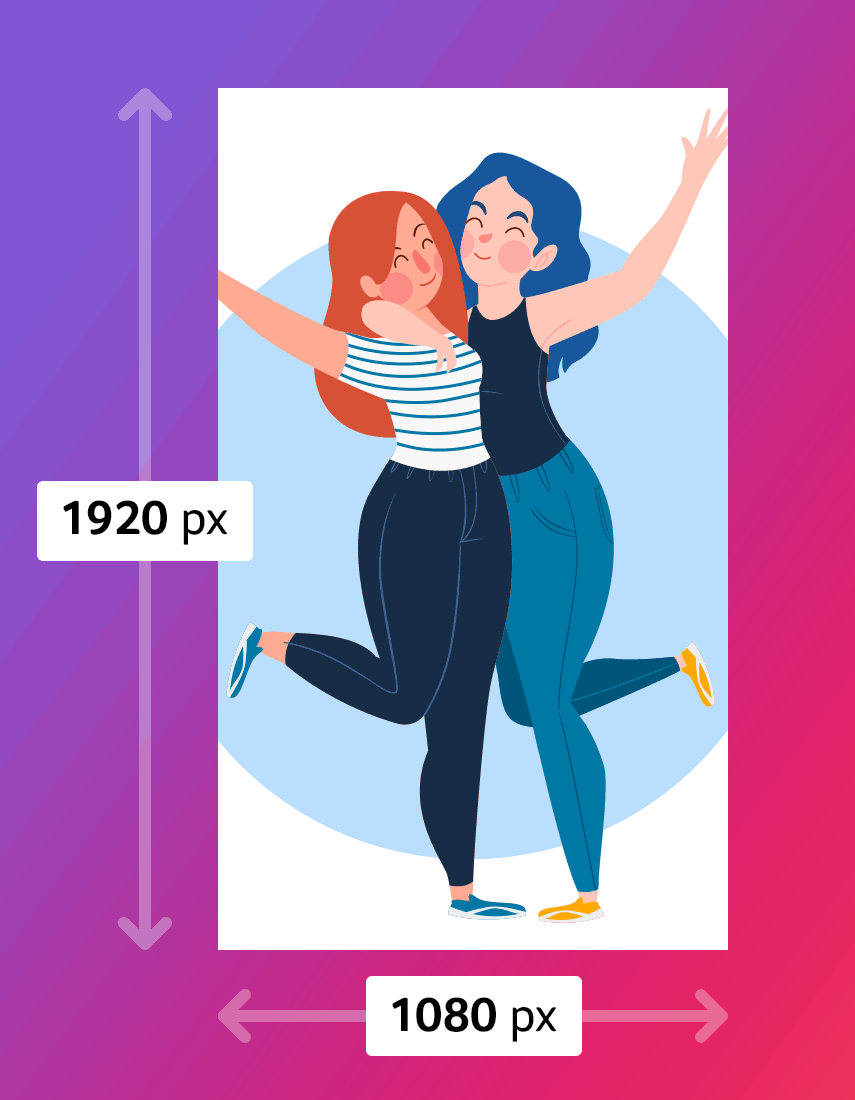
You see, Instagram saves the stories in a preferred format, a relatively fixed size, and so on. So, if suppose, the image you wish to upload is of a different format, or the height and width are larger or smaller than they should be, you might have issues. This is because, after uploading the image needs to be adjusted accordingly. Therefore, even if it is not guaranteed to fix the quality degradation, meeting the expected ratios might still help.
Here’s a quick look at the preferred specification of an image for Instagram stories.
- Preferred Resolution : 1080 x 1920 pixels (W x H)
- Preferred Aspect Ratio: 9:16
Similarly, for all images exported from Lightroom, here are the preferred image settings:
- Image Sizing – 1080P (Short Size)
- Preferred Image Format: JPEG
- Color: SRGB
- Preferred Quality: 77
3. Check Data Usage and Media Quality
Now that you have switched over to your cellular data or Wi-Fi based on what’s better, it is also possible to have an average or slightly slow connection. In that case, Instagram automatically adjusts the content quality to make sure for faster uploads. However, Instagram also offers an option for you to select if you want Instagram to adjust the quality itself or upload the highest quality content. In order to check it out, you need to follow the steps below:
- Open the Instagram application.
- Click on your Profile icon. Now, tap on the hamburger menu icon and select Settings & Privacy.
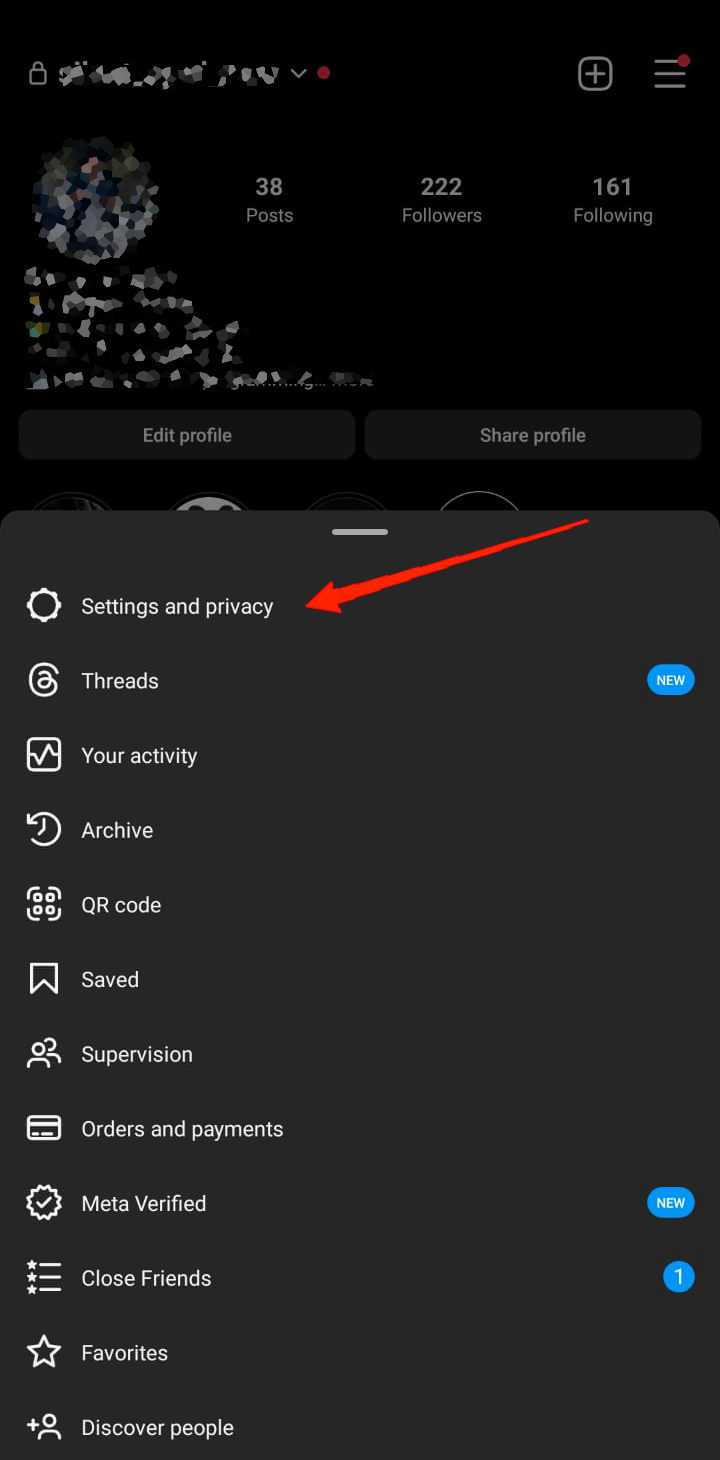
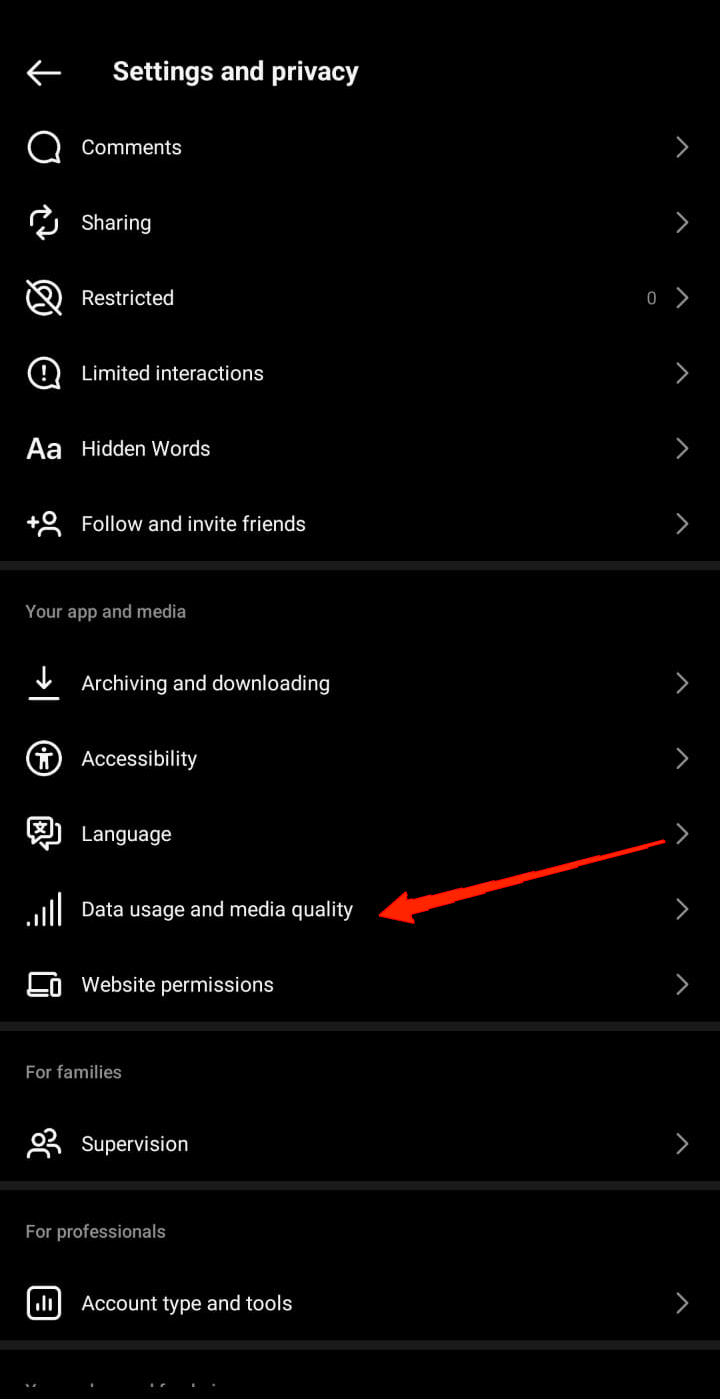
- Scroll down and tap on “Data usage and media quality” under “Your app and media”.
- Make sure to turn off Data Saver and enable the “Upload at Highest Quality” option.
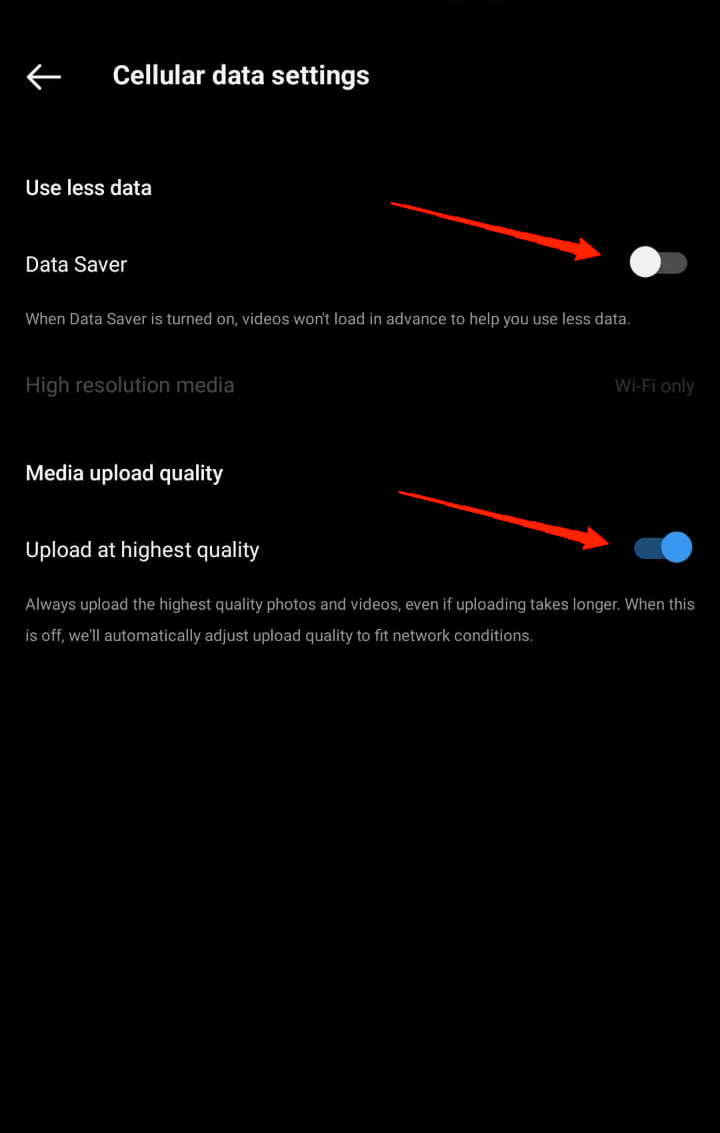
After this, the next time you wish to upload media, make sure the data saver option is disabled on your device.
4. Update Your Instagram App
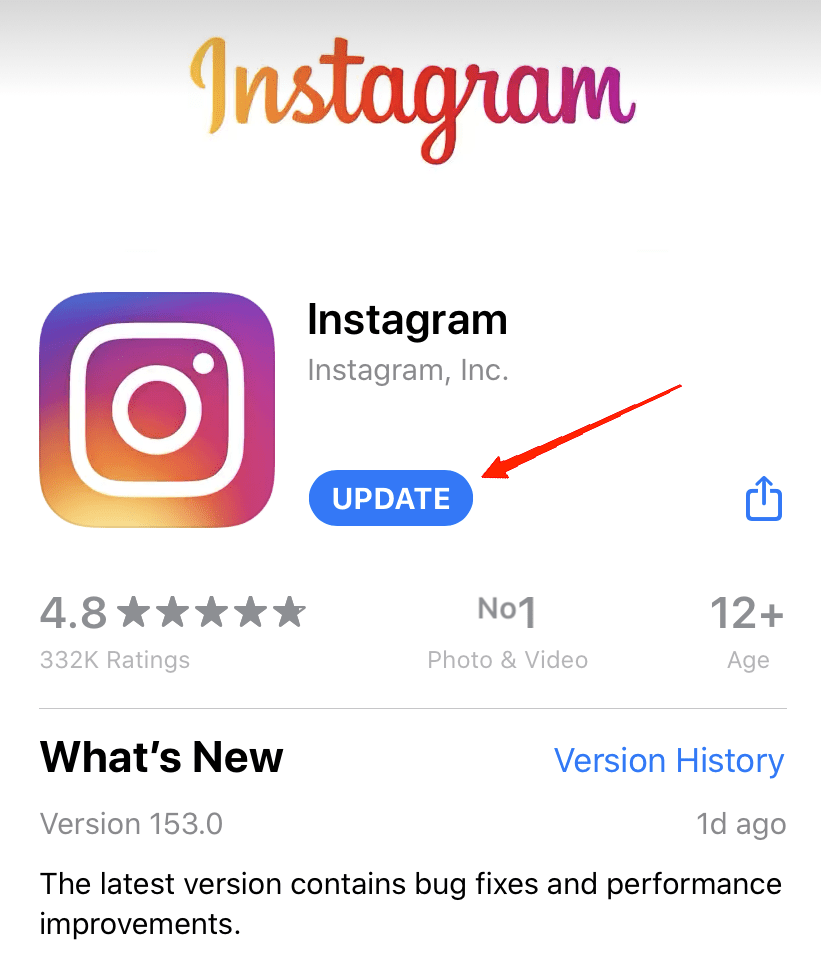
The next solution is to check whether you are using an outdated version of the Instagram app. An outdated version might come up with a lot of problems in just no time. Hence, it is mandatory that you use the latest version of the application. This way you can avoid any unnecessary issues and continue to get the best experience.
Final Words
Well, these were some simple tips on how you can upload HD Instagram content. No doubt, wherever you upload media, it is going to have some effects on the content anyway. This is because there are many factors included in every upload to the server side.
Thus, even if you cannot see the exact quality after uploading your Instagram story, we can at least hope for the best possible quality. And if you make sure to keep a check on all the above-mentioned tricks, we can guarantee you to receive the best possible quality of the media on your Instagram stories and posts.
If you've any thoughts on How to Upload High Quality Photos and Videos on Instagram Stories, then feel free to drop in below comment box. Also, please subscribe to our DigitBin YouTube channel for videos tutorials. Cheers!


