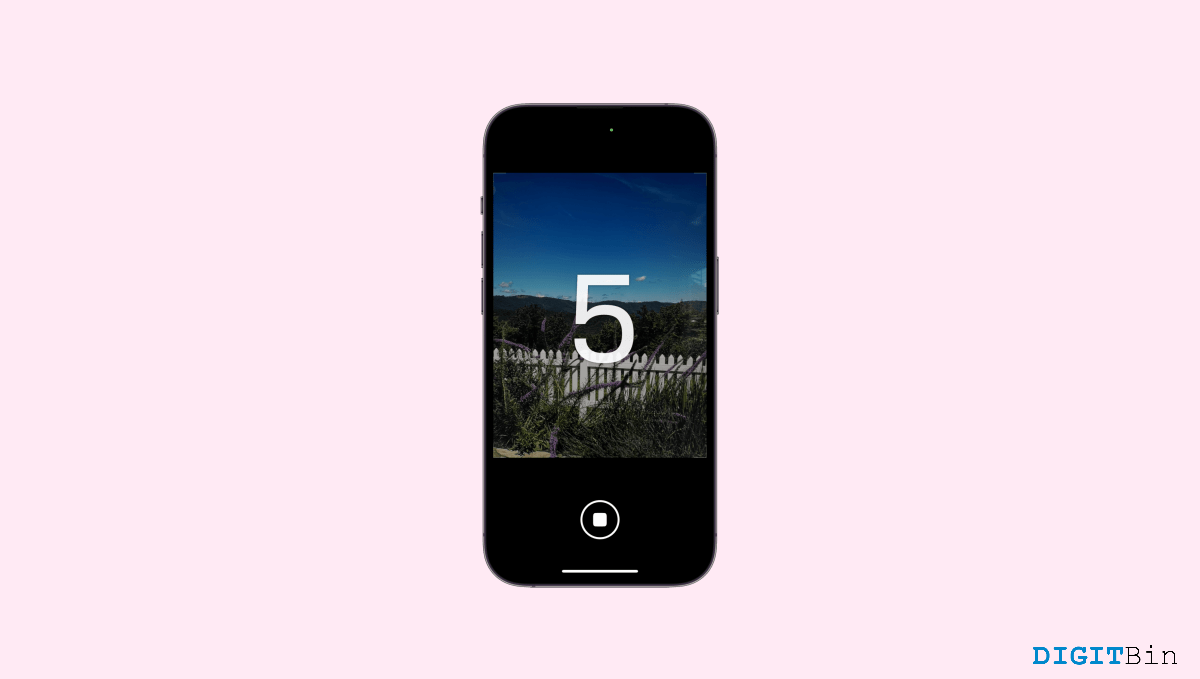
If you embrace clicking pictures on your iPhone, you can further improve your skills by utilizing the iPhone camera features. Fortunately, the iPhone offers a plethora of features and filters; one of them being the camera timer. Most mobile photographers use the timer option to get the perfect shots. Not just with the rear camera, it works as effectively with the selfie camera as well. So, once you master using the camera timer on your iPhone, you can capture the picture-perfect moments to keep as a memory.
While most passionate ones know the significance of the camera timer, a lot of users are still unaware of how to set the camera timer on an iPhone. If you are one of them, worry no more as we got your back. This article shares a step-by-step guide to walk you through the process. So, check out the following steps and uplift your photography skills to the next level.
Capturing a photo is easy, however, capturing it at the right moment is what makes it special. Thankfully, the iPhone camera timer will now help you get the perfect shots at the perfect time. Excited to capture your first picture-perfect snap? Well, here’s what you got to do.
There you have it. Once the timer reaches zero, you will have your perfect snap captured. Rather than clicking images randomly, the camera timer sets a better coordination for the photographer to get the snap they desire. Whether you are capturing a landscape, a human portrait, moving subjects, or a selfie, the camera timer gives you enough time to adjust and stable yourself for the photo.
Time plays a crucial role in photography. Especially, if you are capturing moving objects, good time coordination between the photographer and the subject/ object behind the lens becomes essential. The camera timer solves this problem easily. Moreover, it also allows you to capture better selfies and never miss out on family pictures again. So, would you like to befriend this helpful tool in your photography journey?