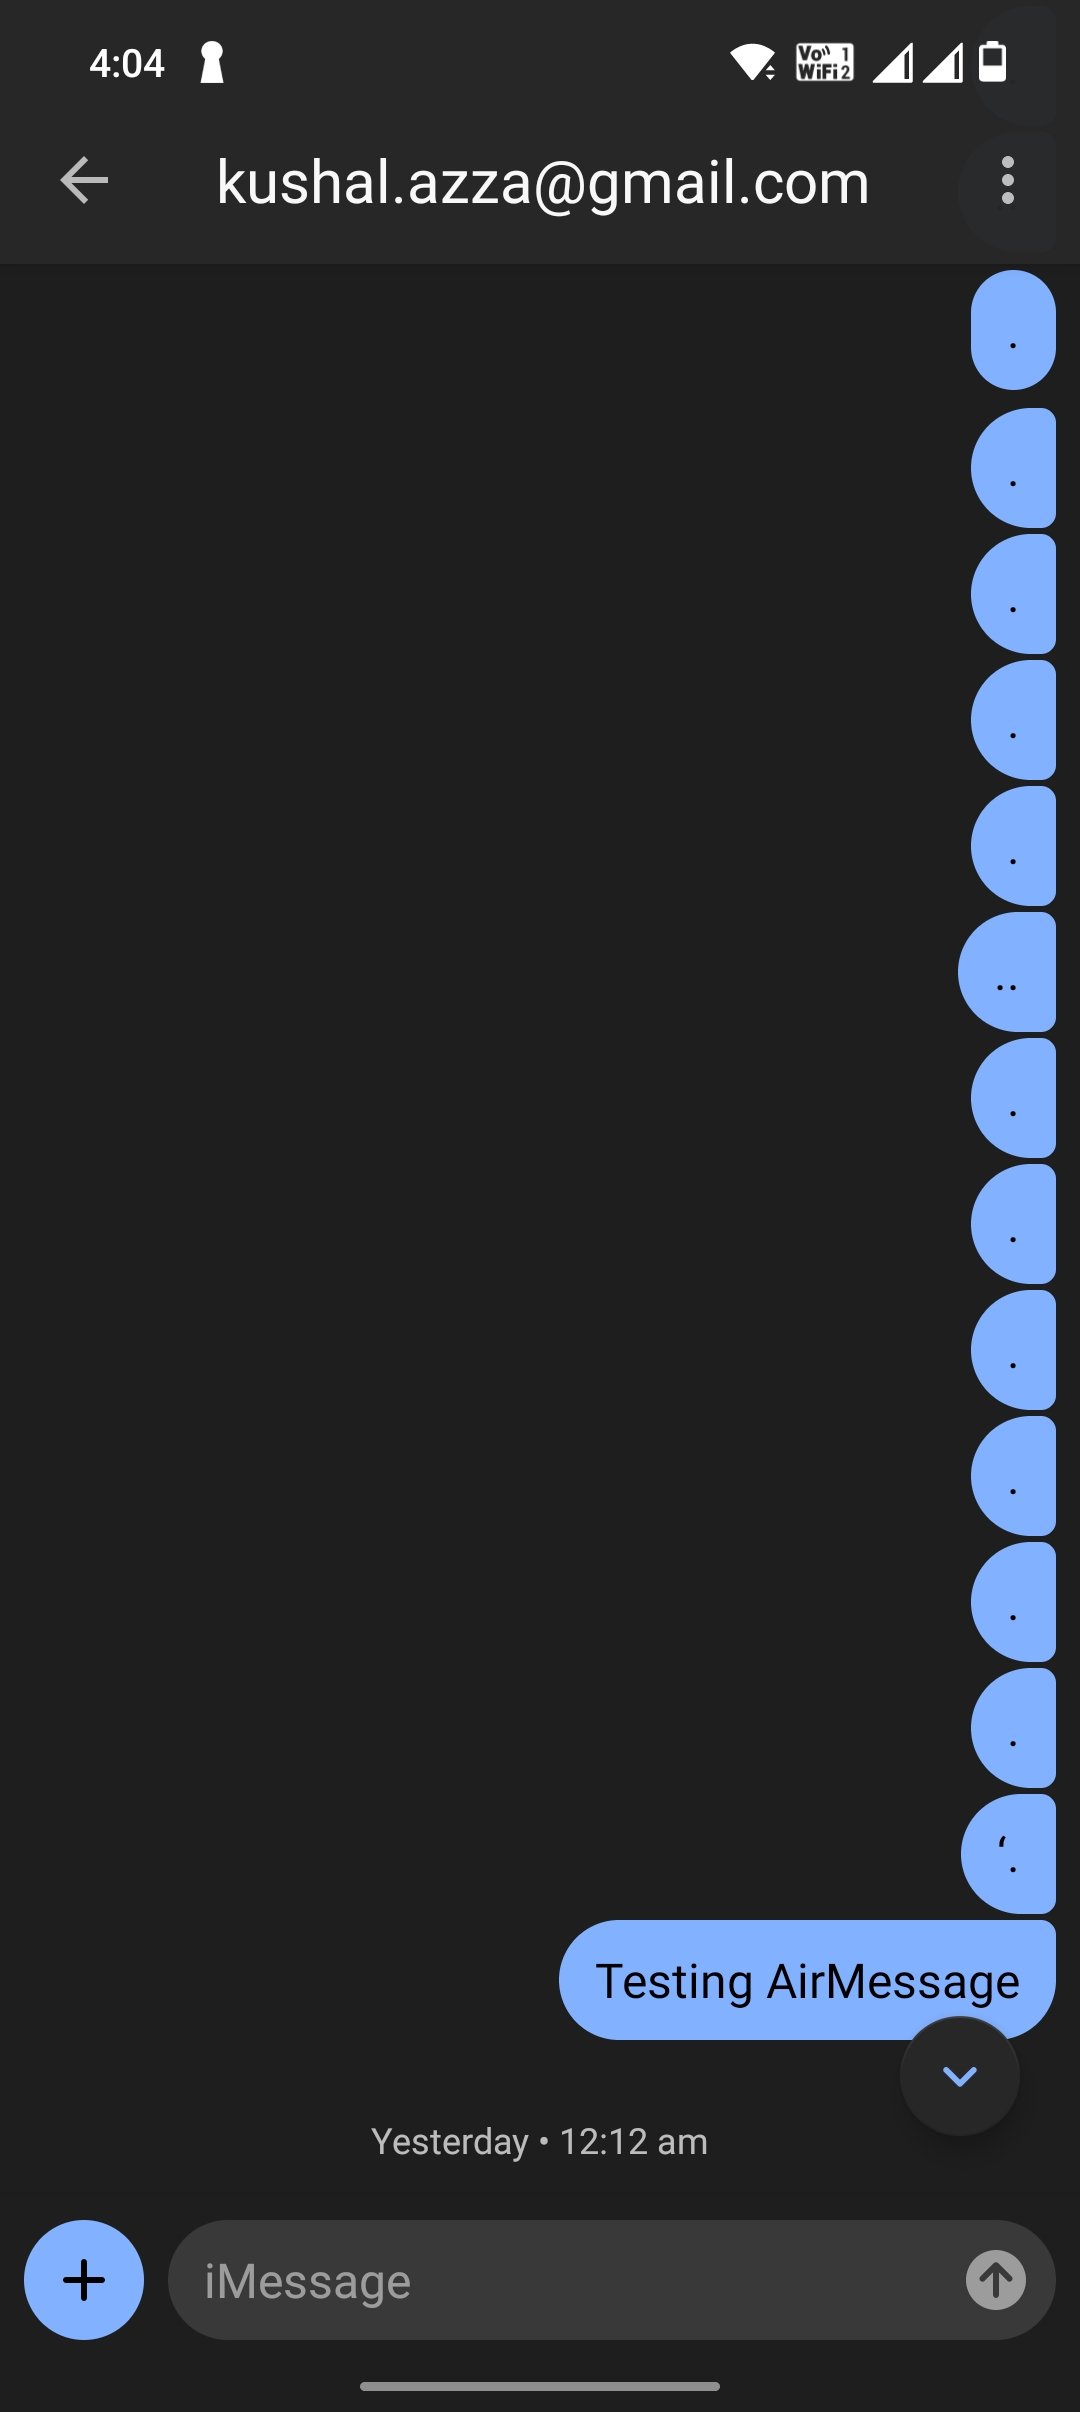
iMessage is an Apple Exclusive instant messaging service that allows users to send and receive messages across Apple devices, namely, iPhone, iPad, Mac, and iWatches. What if you want to access iMessage on non-Apple devices like Android, Windows, or the Web? Then there is no direct method to access Apple Messages.
What if I say there is a workaround to access iMessage on Android mobile? If you are the one who is Apple iMessage on Android, then the guide below will help you use the Apple Messaging service on your Android OS.
Steps at Glance
- Install AirMessage
- Connect Google Account
- Grant Accessibility, Disk, and Automation Permission to AirMessage
- Download the Android app and log in with Google Account. Done!
Step 1. Install AirMessage on Mac
You need first to install AirMessage on your Mac to create a Mac server that helps forward incoming and sends outgoing messages on Android.
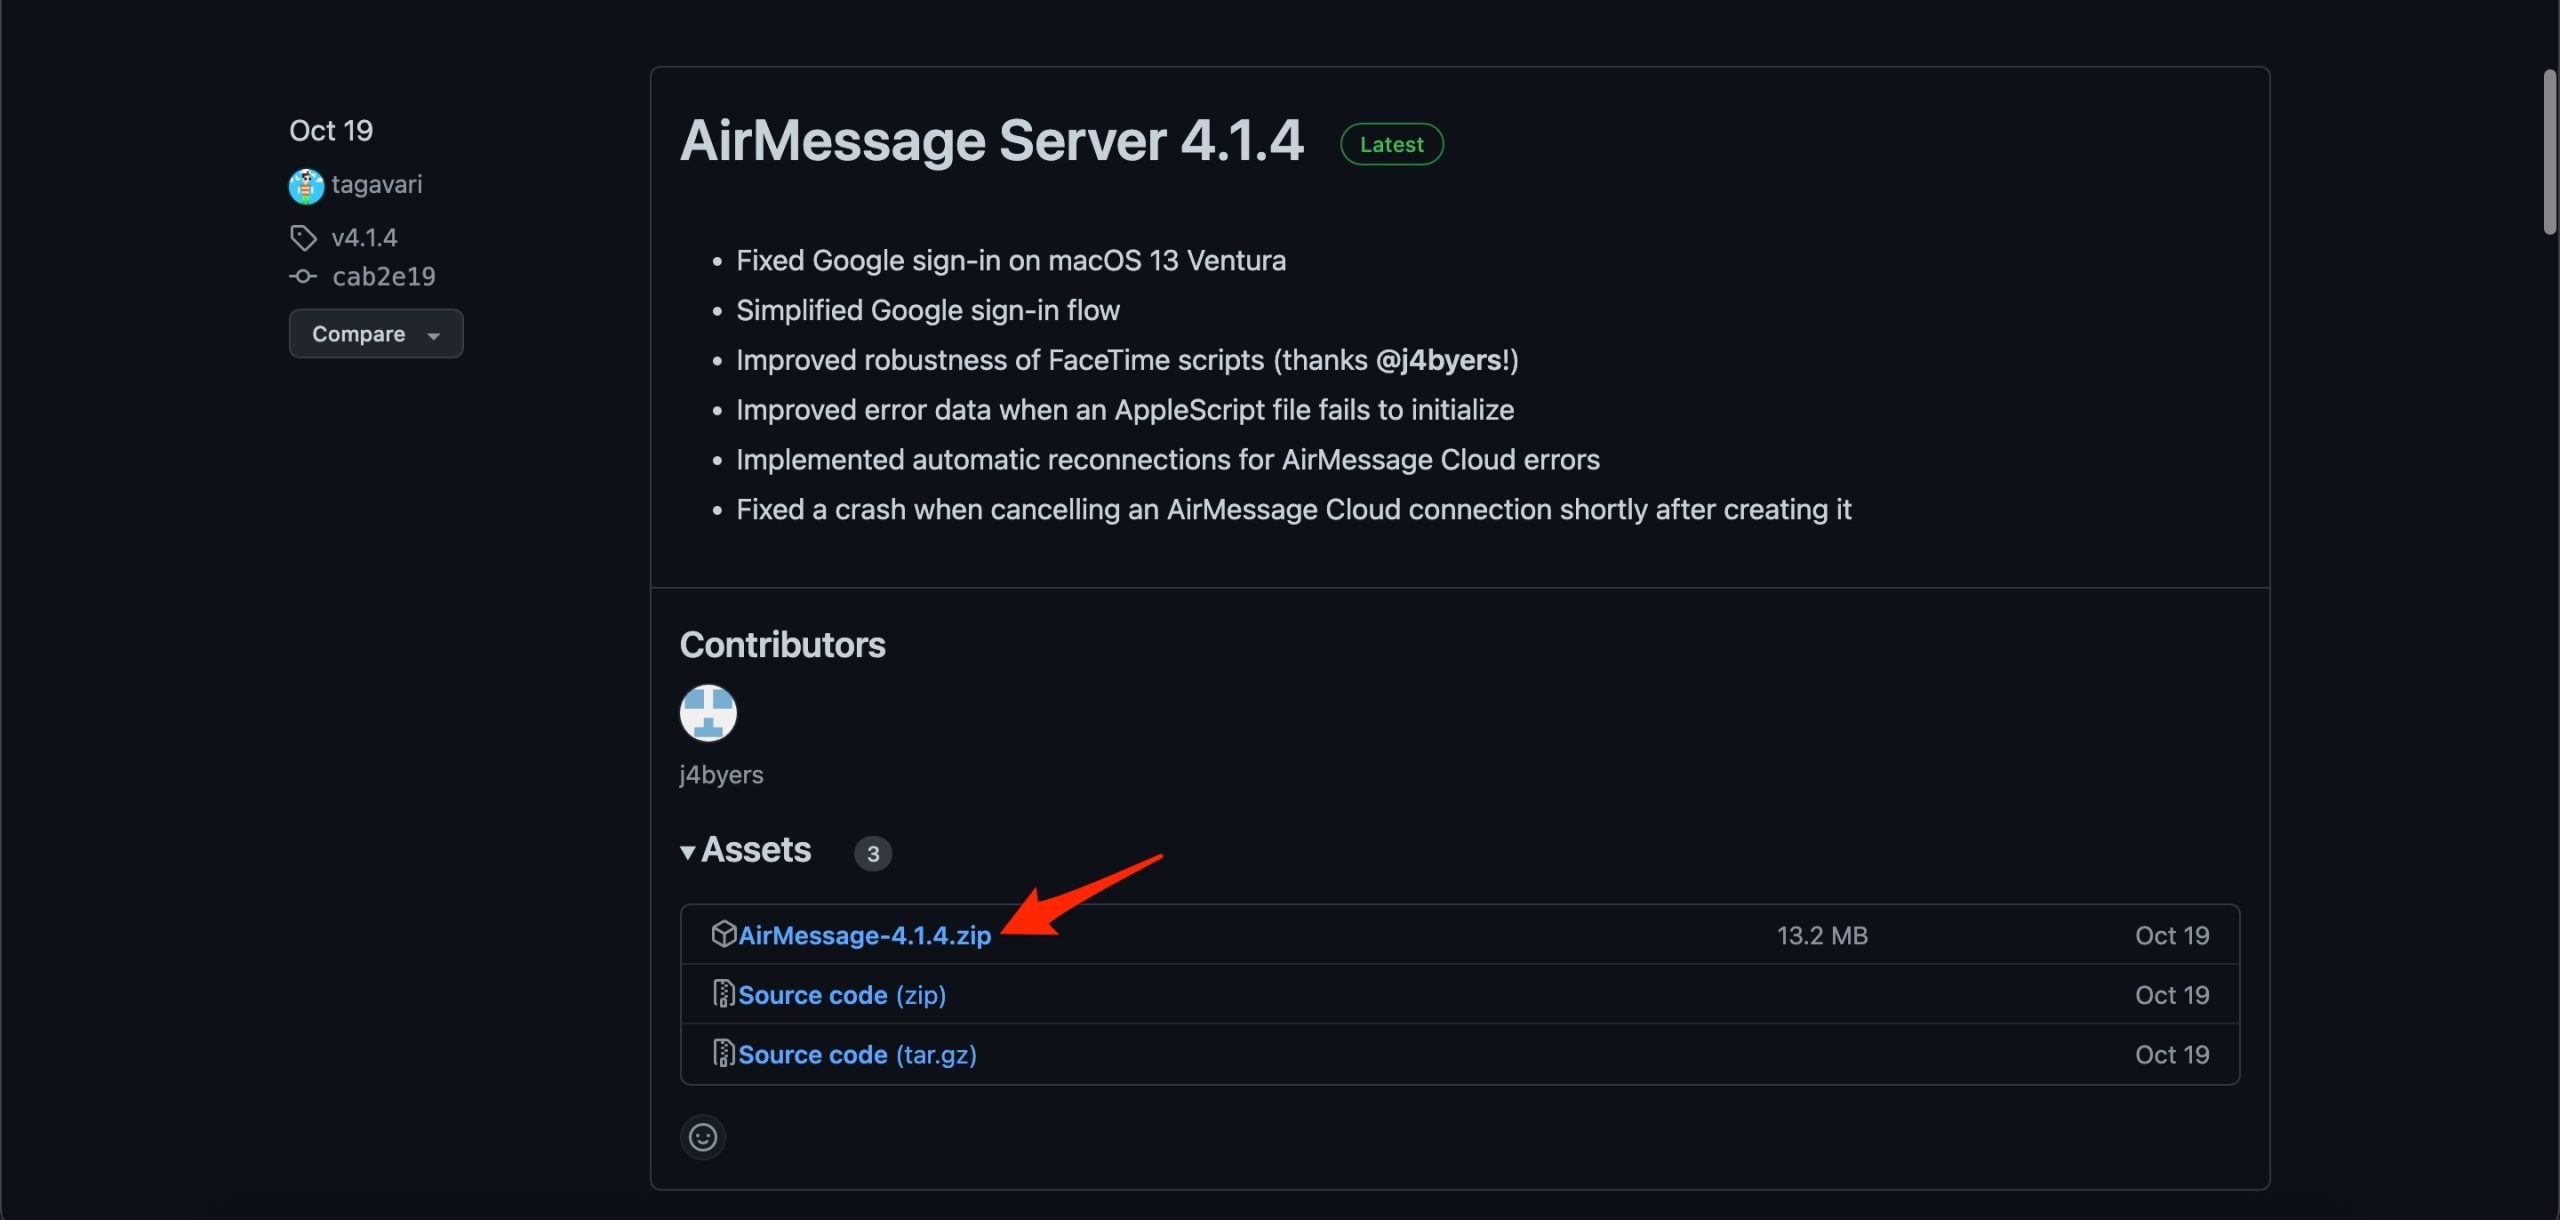
- Download the latest AirMessage Server on your MacBook.

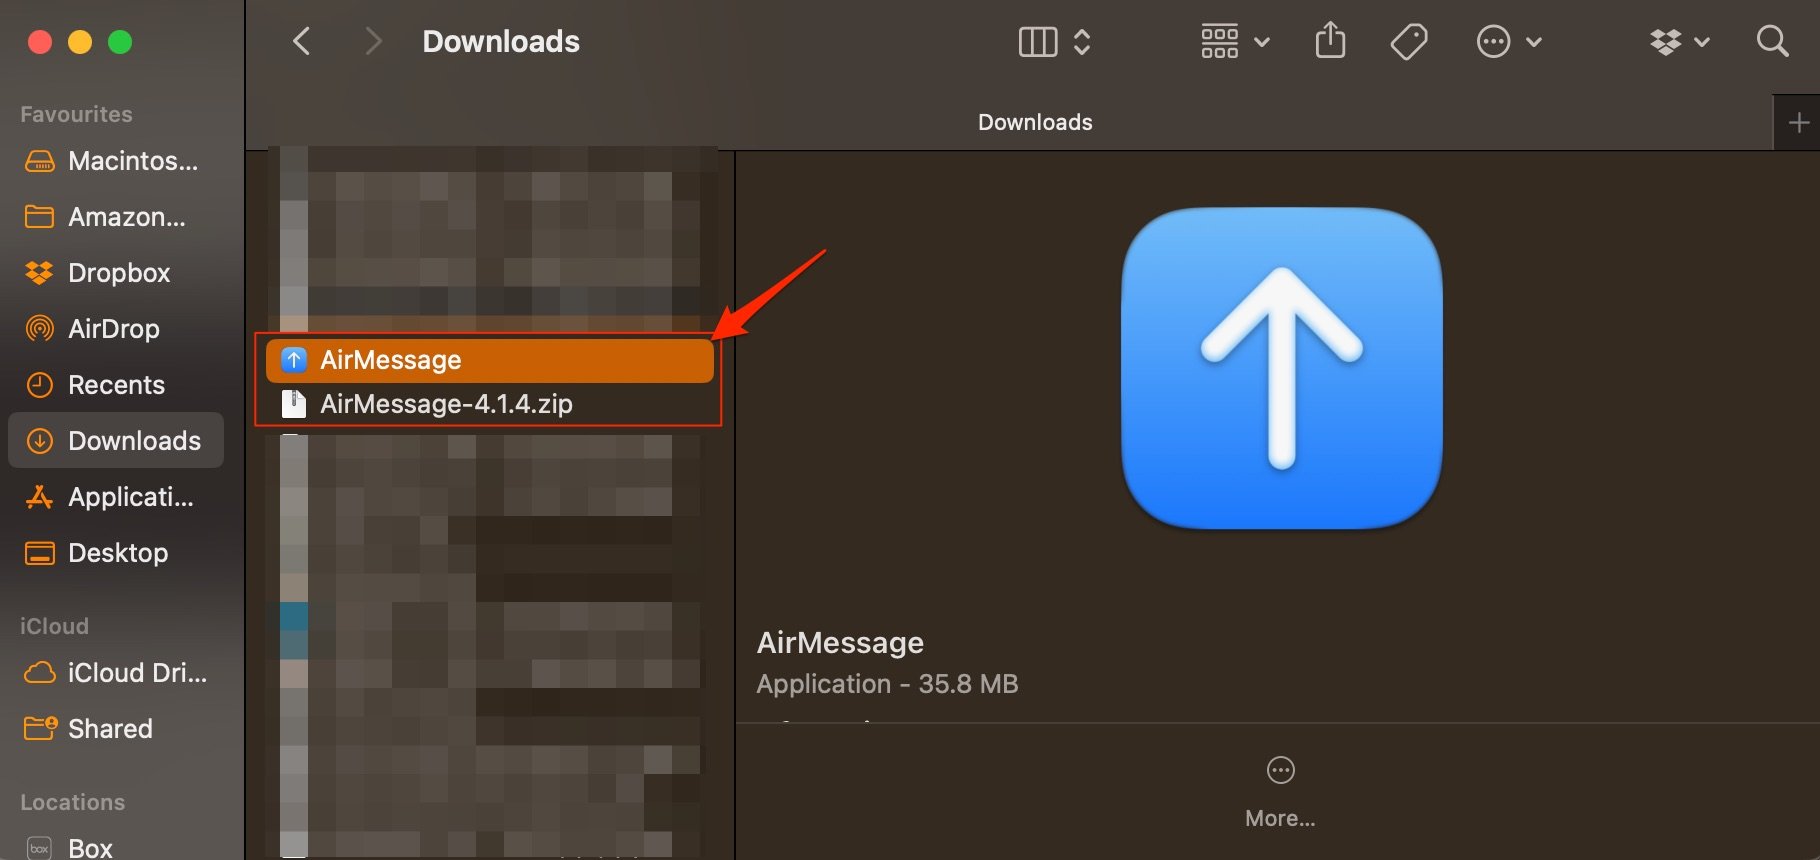
- Unzip the download file, the Airmessage app will show up; click on the app to open it.

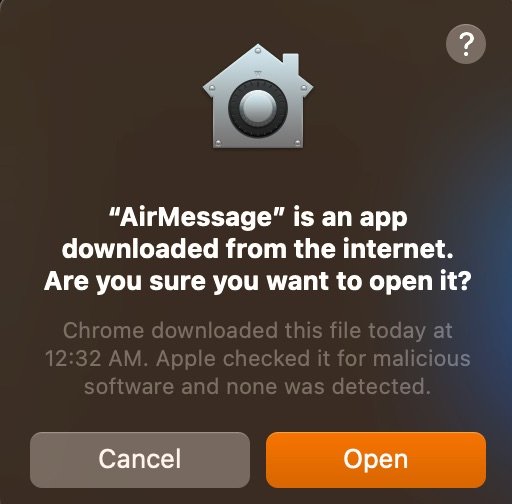
- Click on Open to open the AirMessage application.

- When you open the app, click Connect an Account (Recommended).

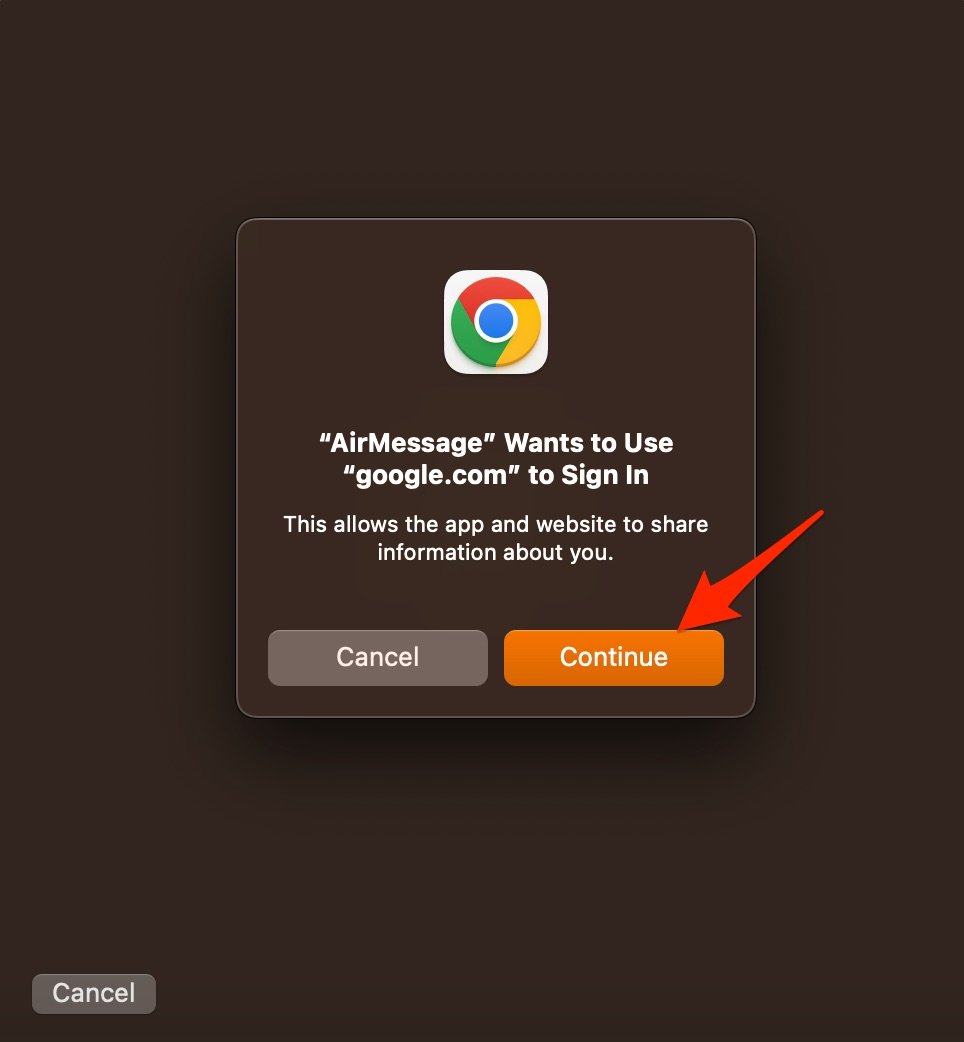
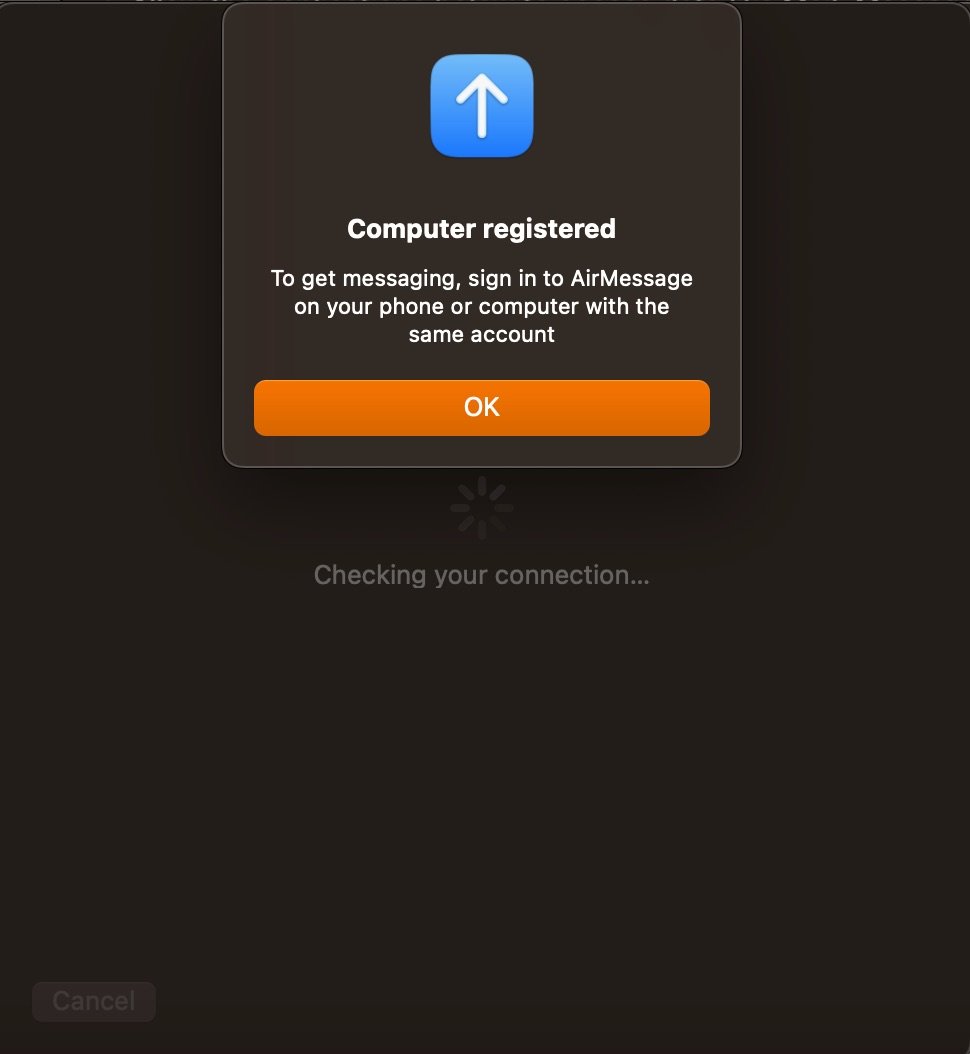
- Here, your PC’s default browser will ask you to log in with your Google Account; click Continue. You will be asked to connect your Google account to get your MacBook Registered.
Step 2. Grant Access to AirMessage
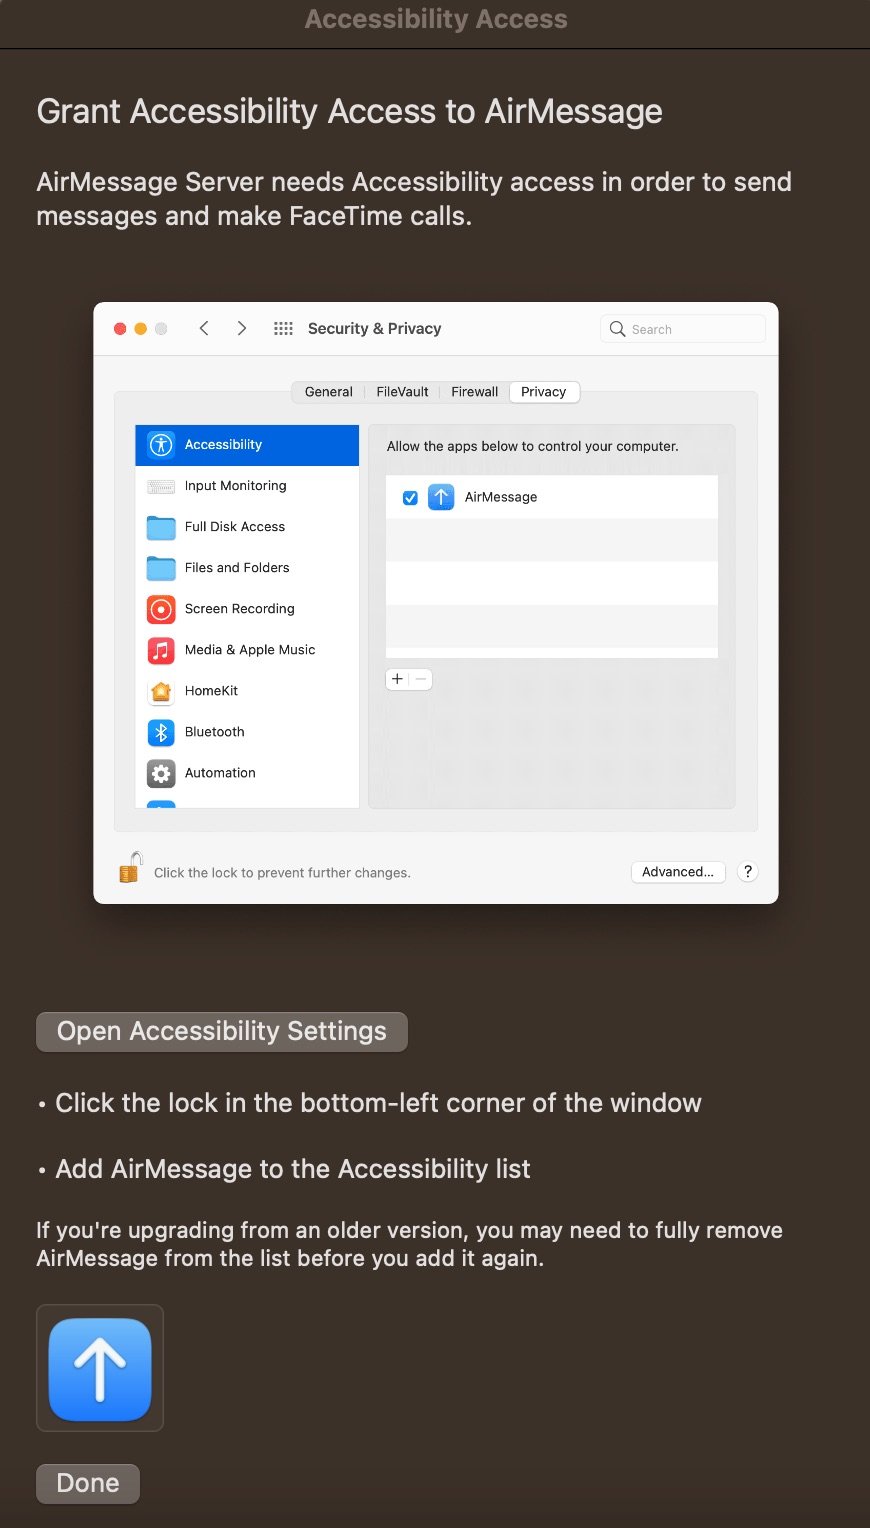
Now you need to grant access of Mac Accessibility, Automation, and Full Disk to the AirMessage app, and your server is ready.
- Now, you need to Grant Accessibility Access to AirMessage.

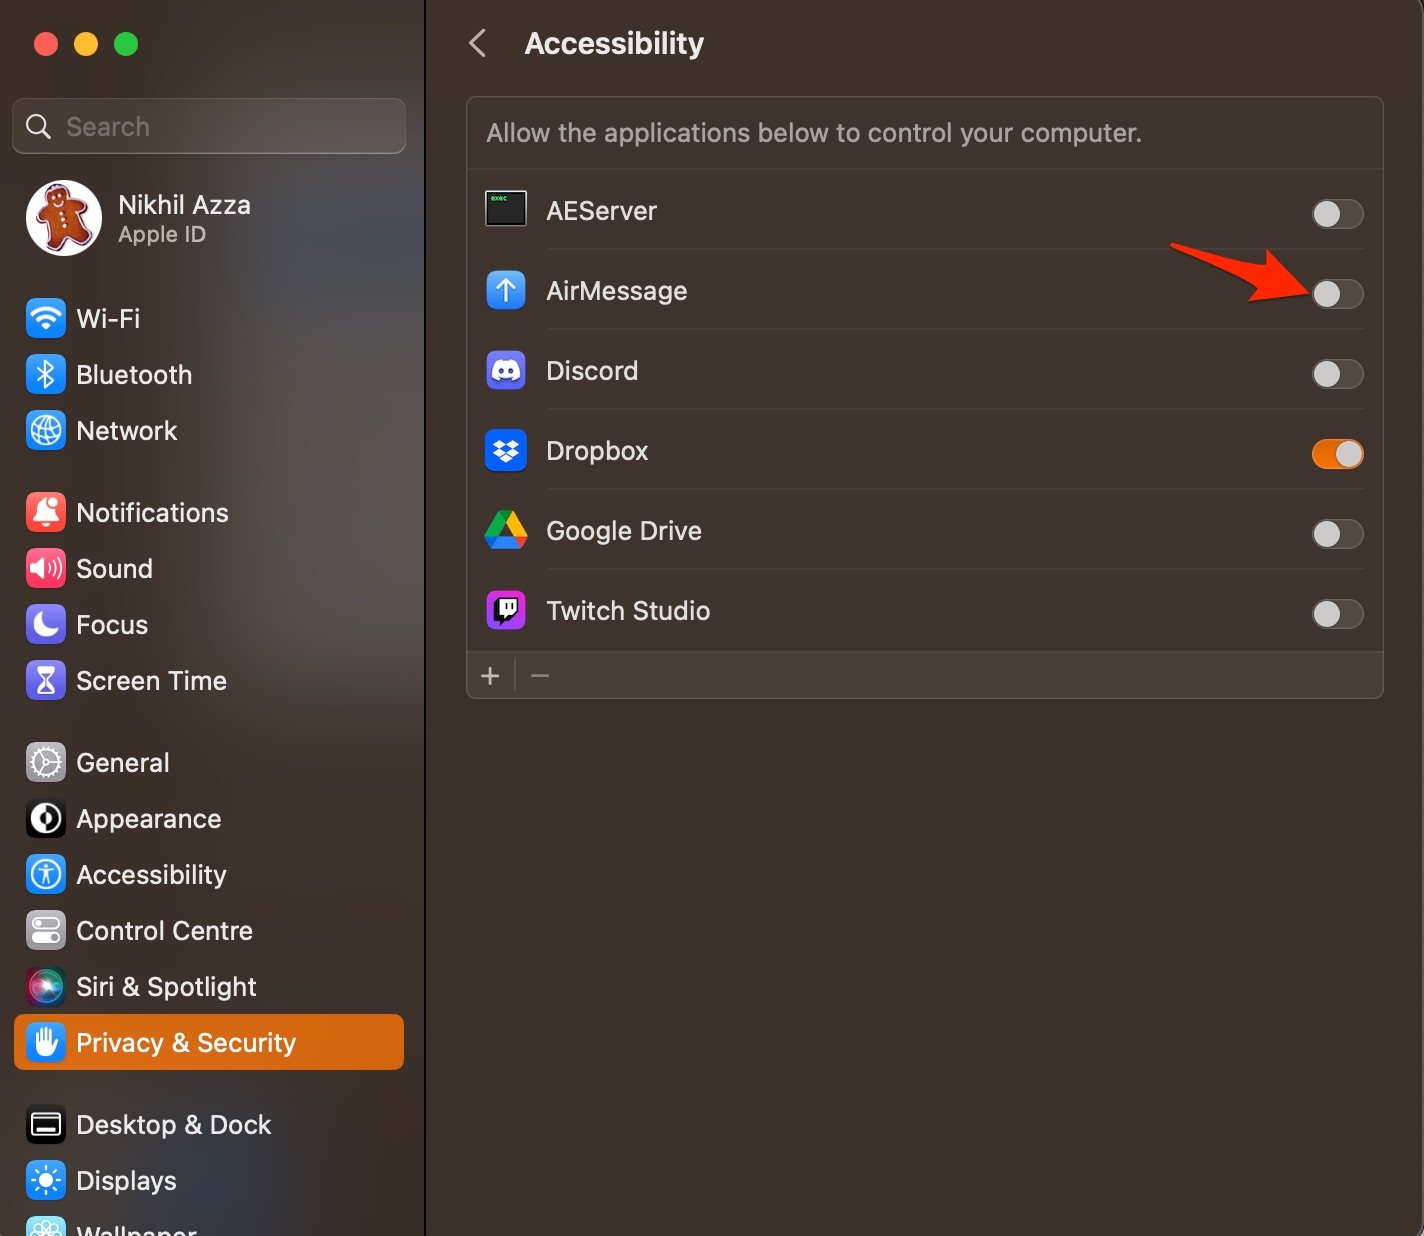
- Here under Privacy & Security, Turn On the toggle to grant Accessibility access to AirMessage.

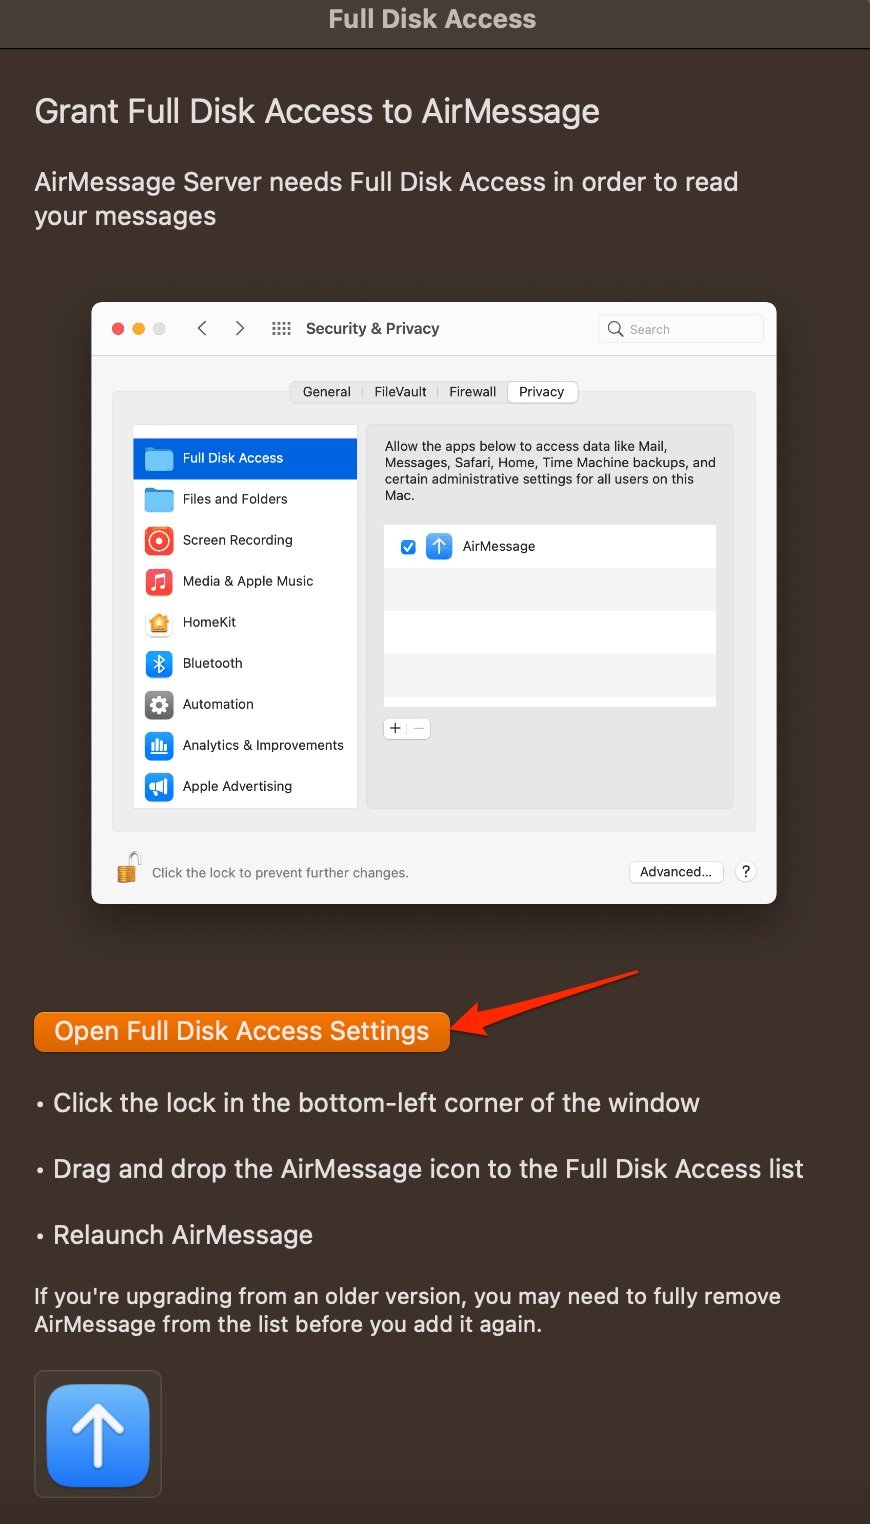
- You will be asked to give disk access to AirMessage. Click Open Full Disk Access Settings.

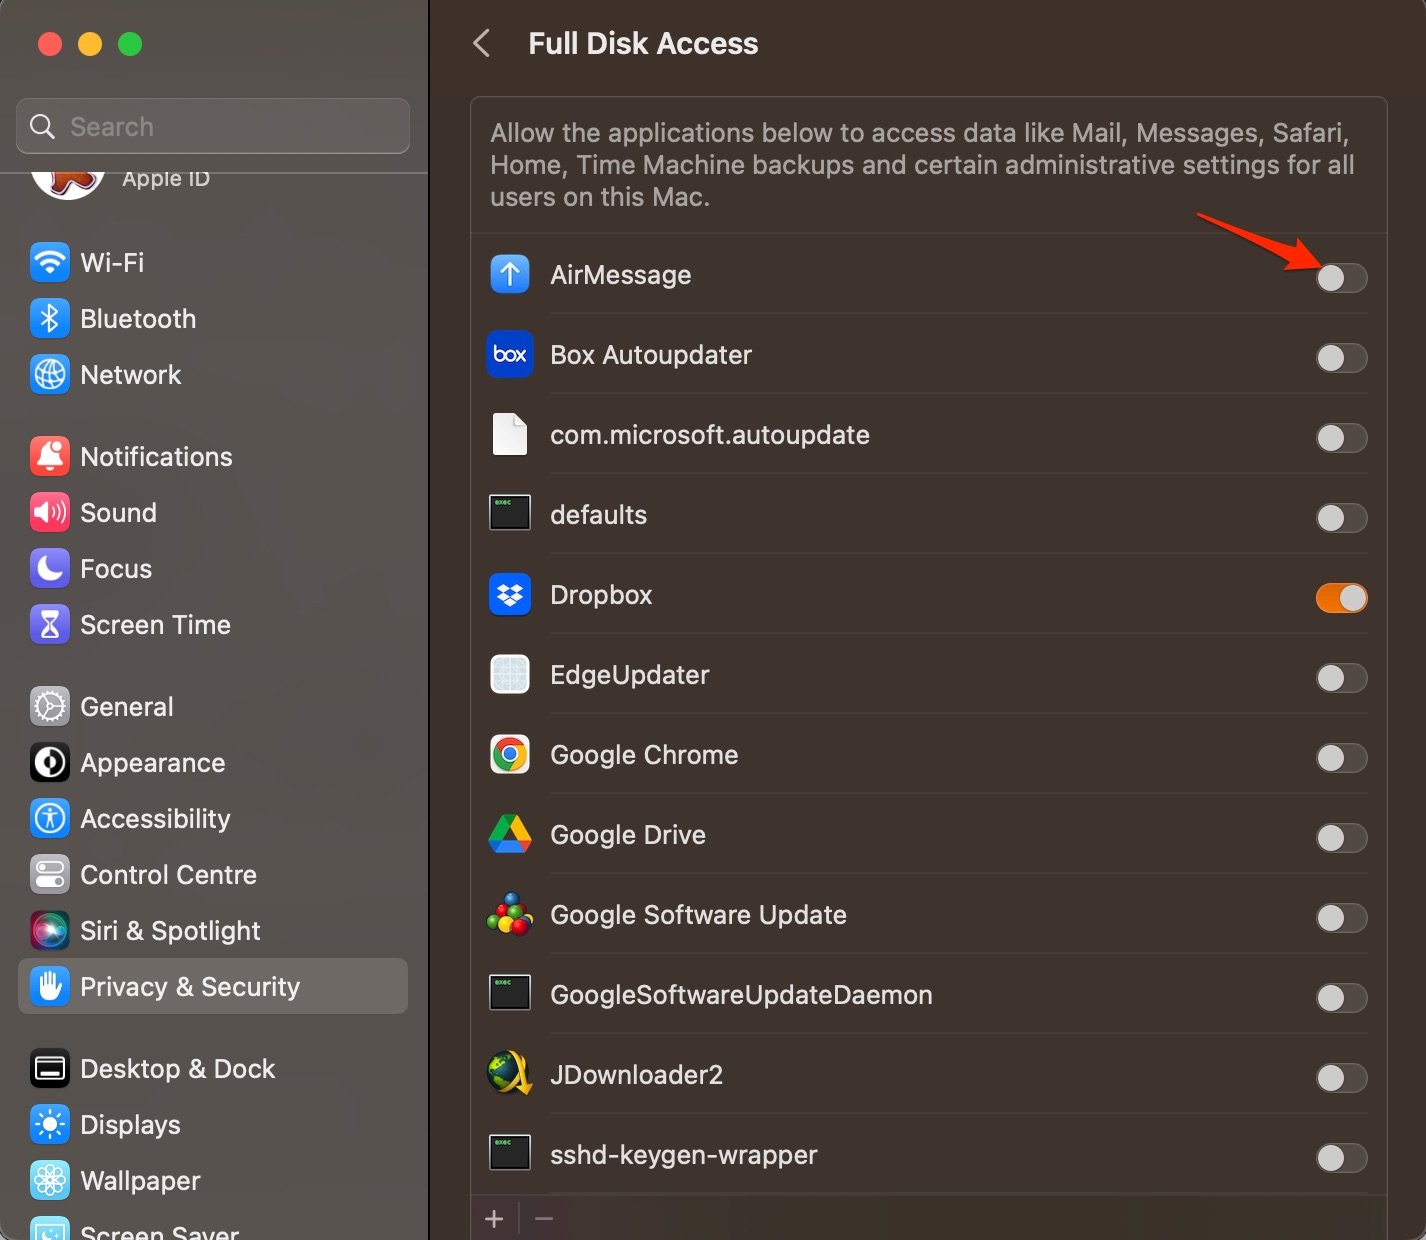
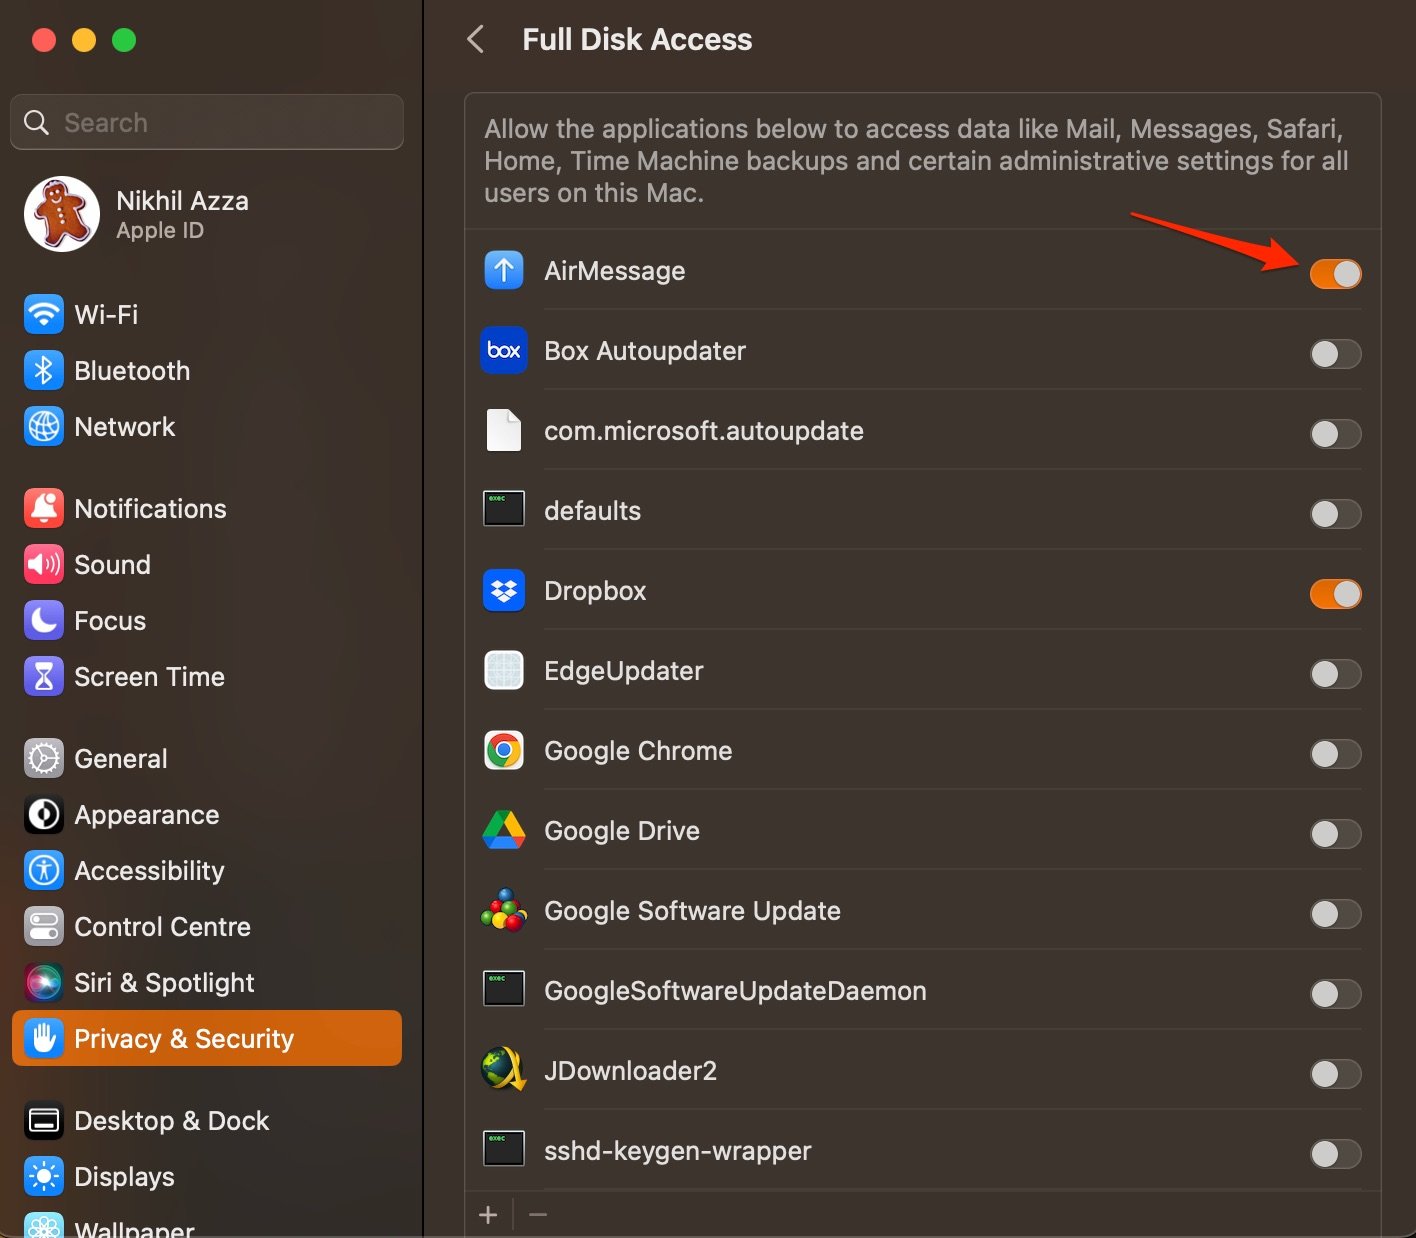
- Enable the toggle to grant disk access to AirMessage, you may need to enter the password when asked to grant access.

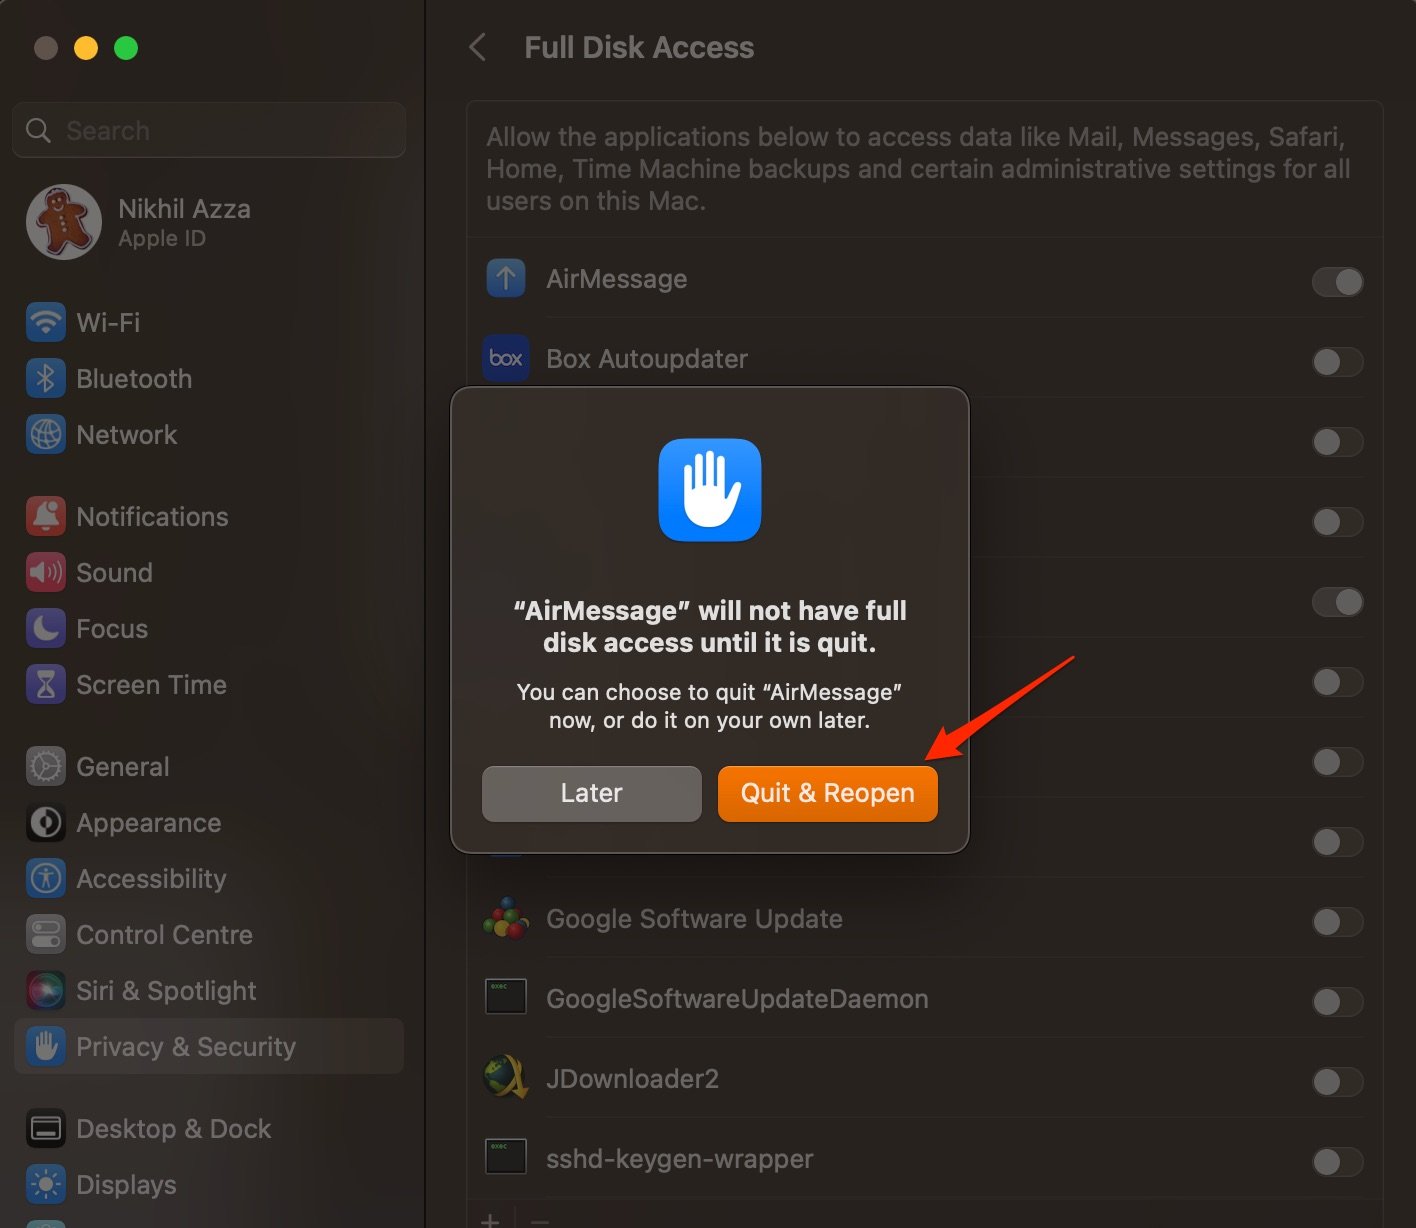
- Click on Quit and Reopen, and the AirMessage has the required access.
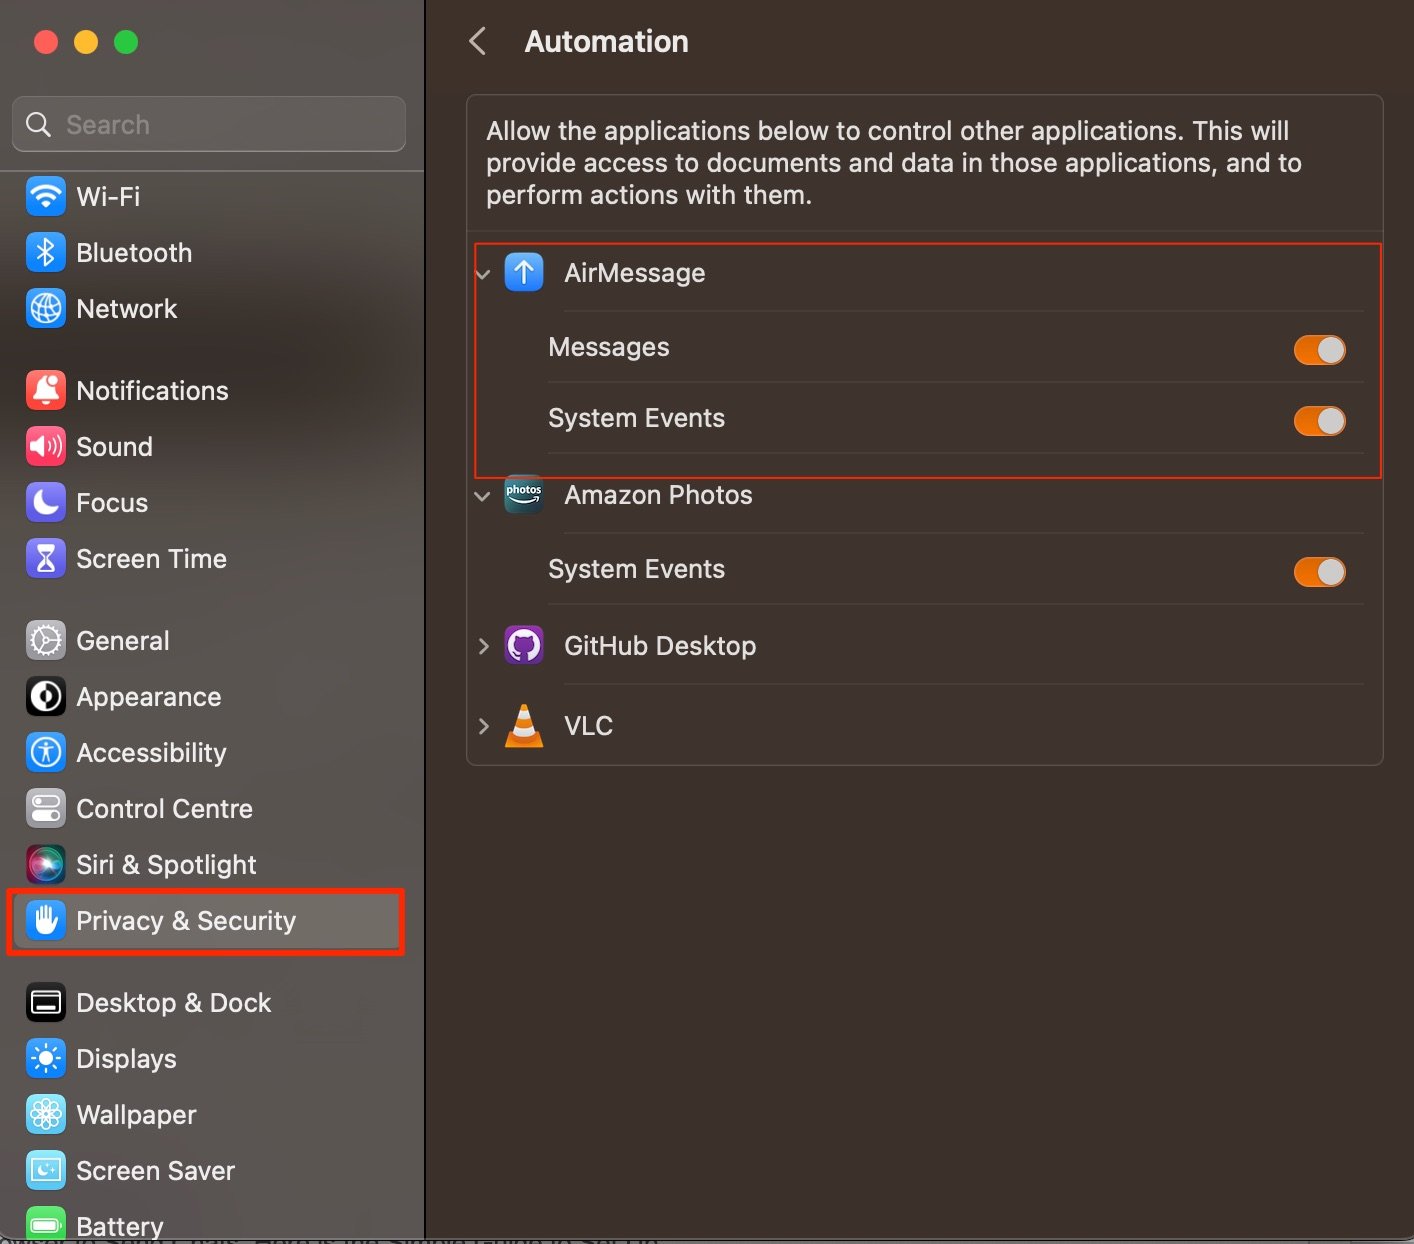
- You may also need to Automation Access to AirMessage. Click on Privacy and Security → Automation → AirMessage → Right Tick Messages and System Events.

- Now your Server is Ready!
Step 3. Download Android App
Now download the AirMessage app on Android mobile and log in with the Google account to send and receive the message on iMessage.
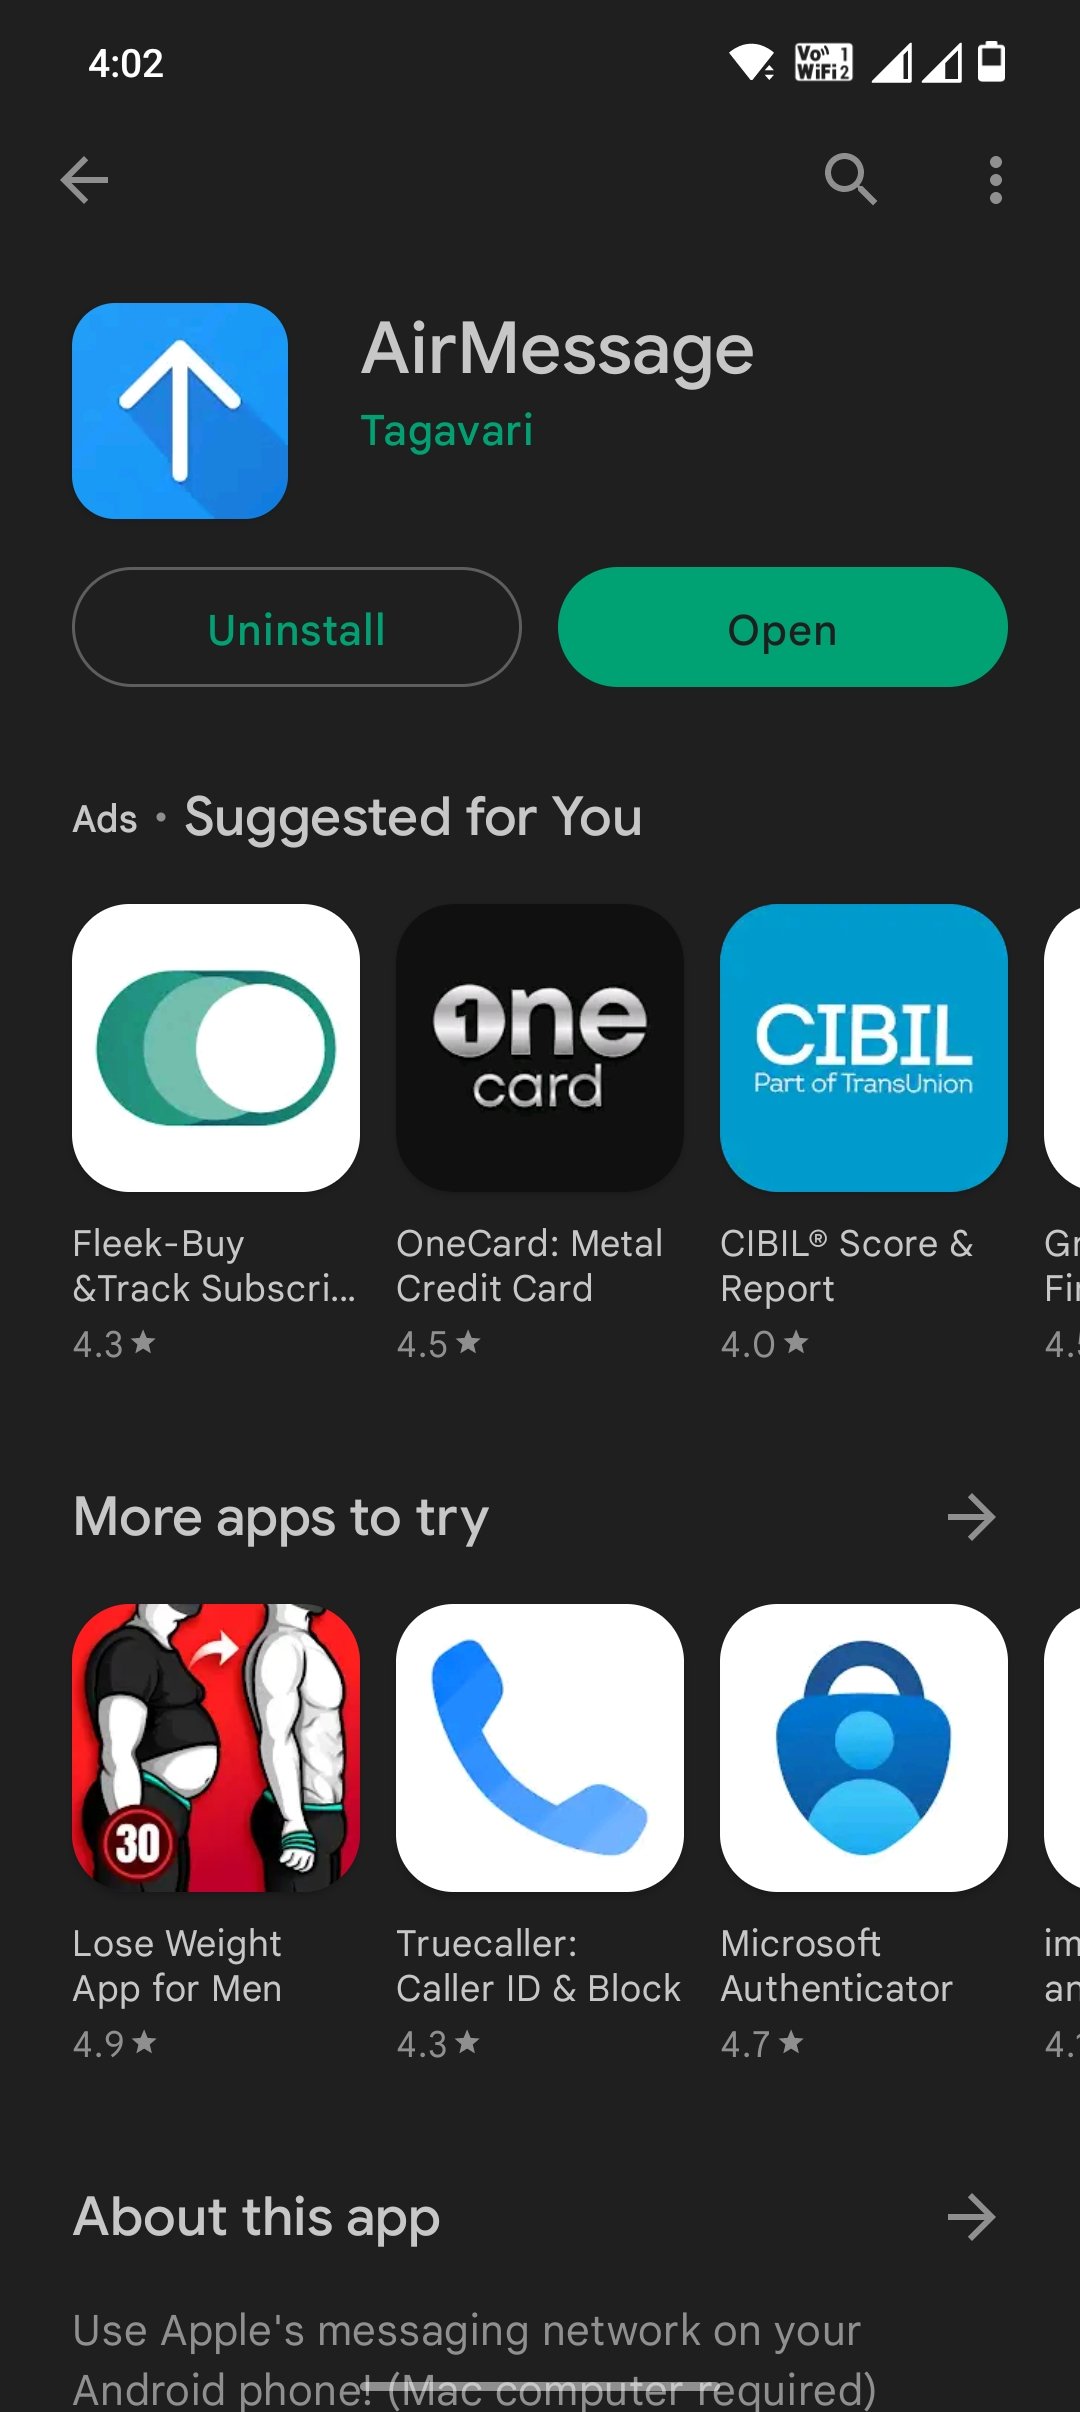
- Download AirMessage.

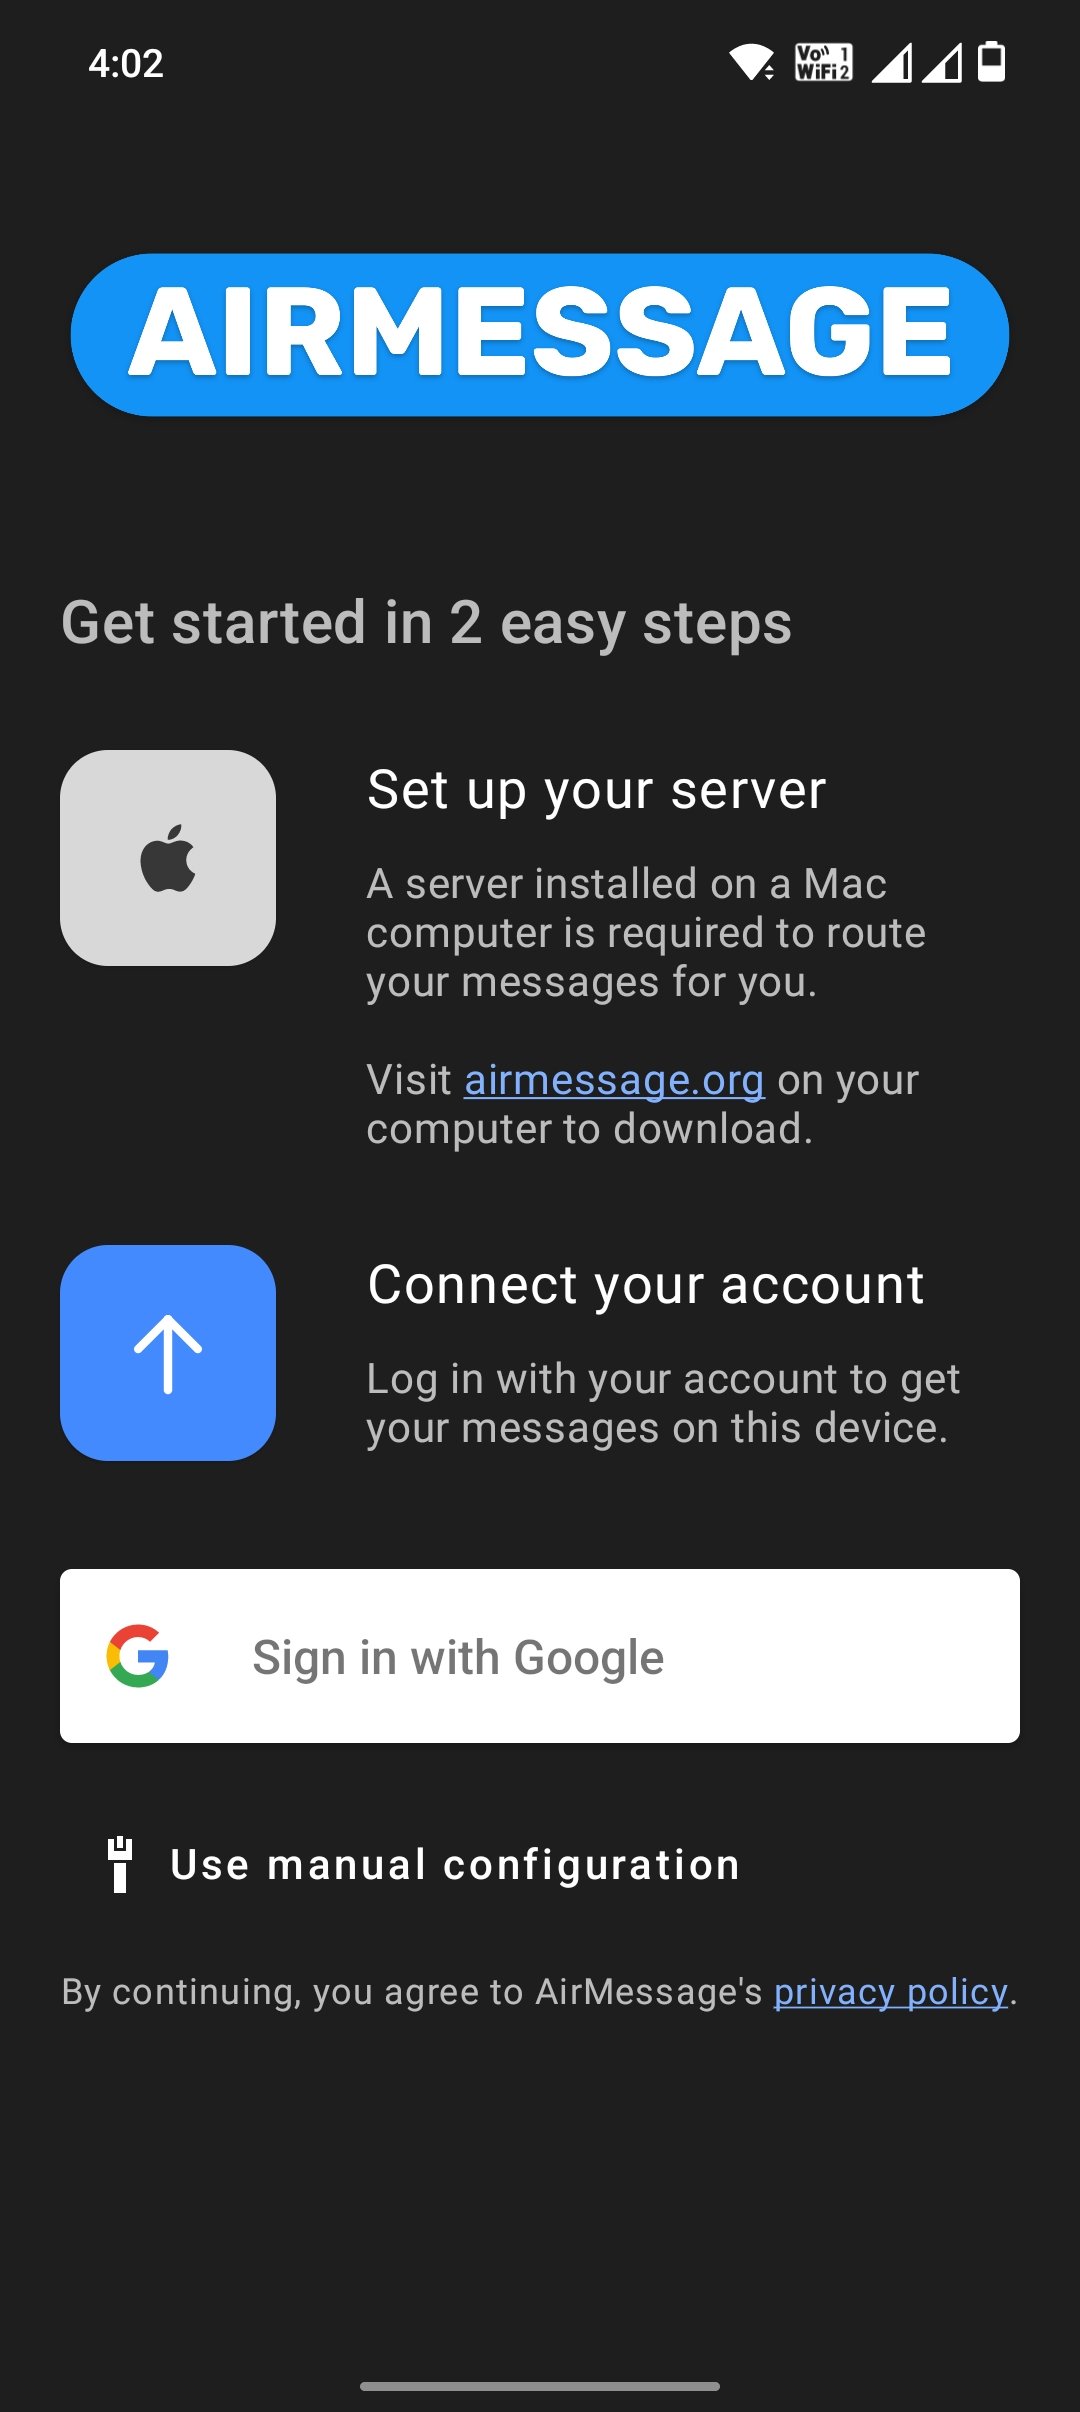
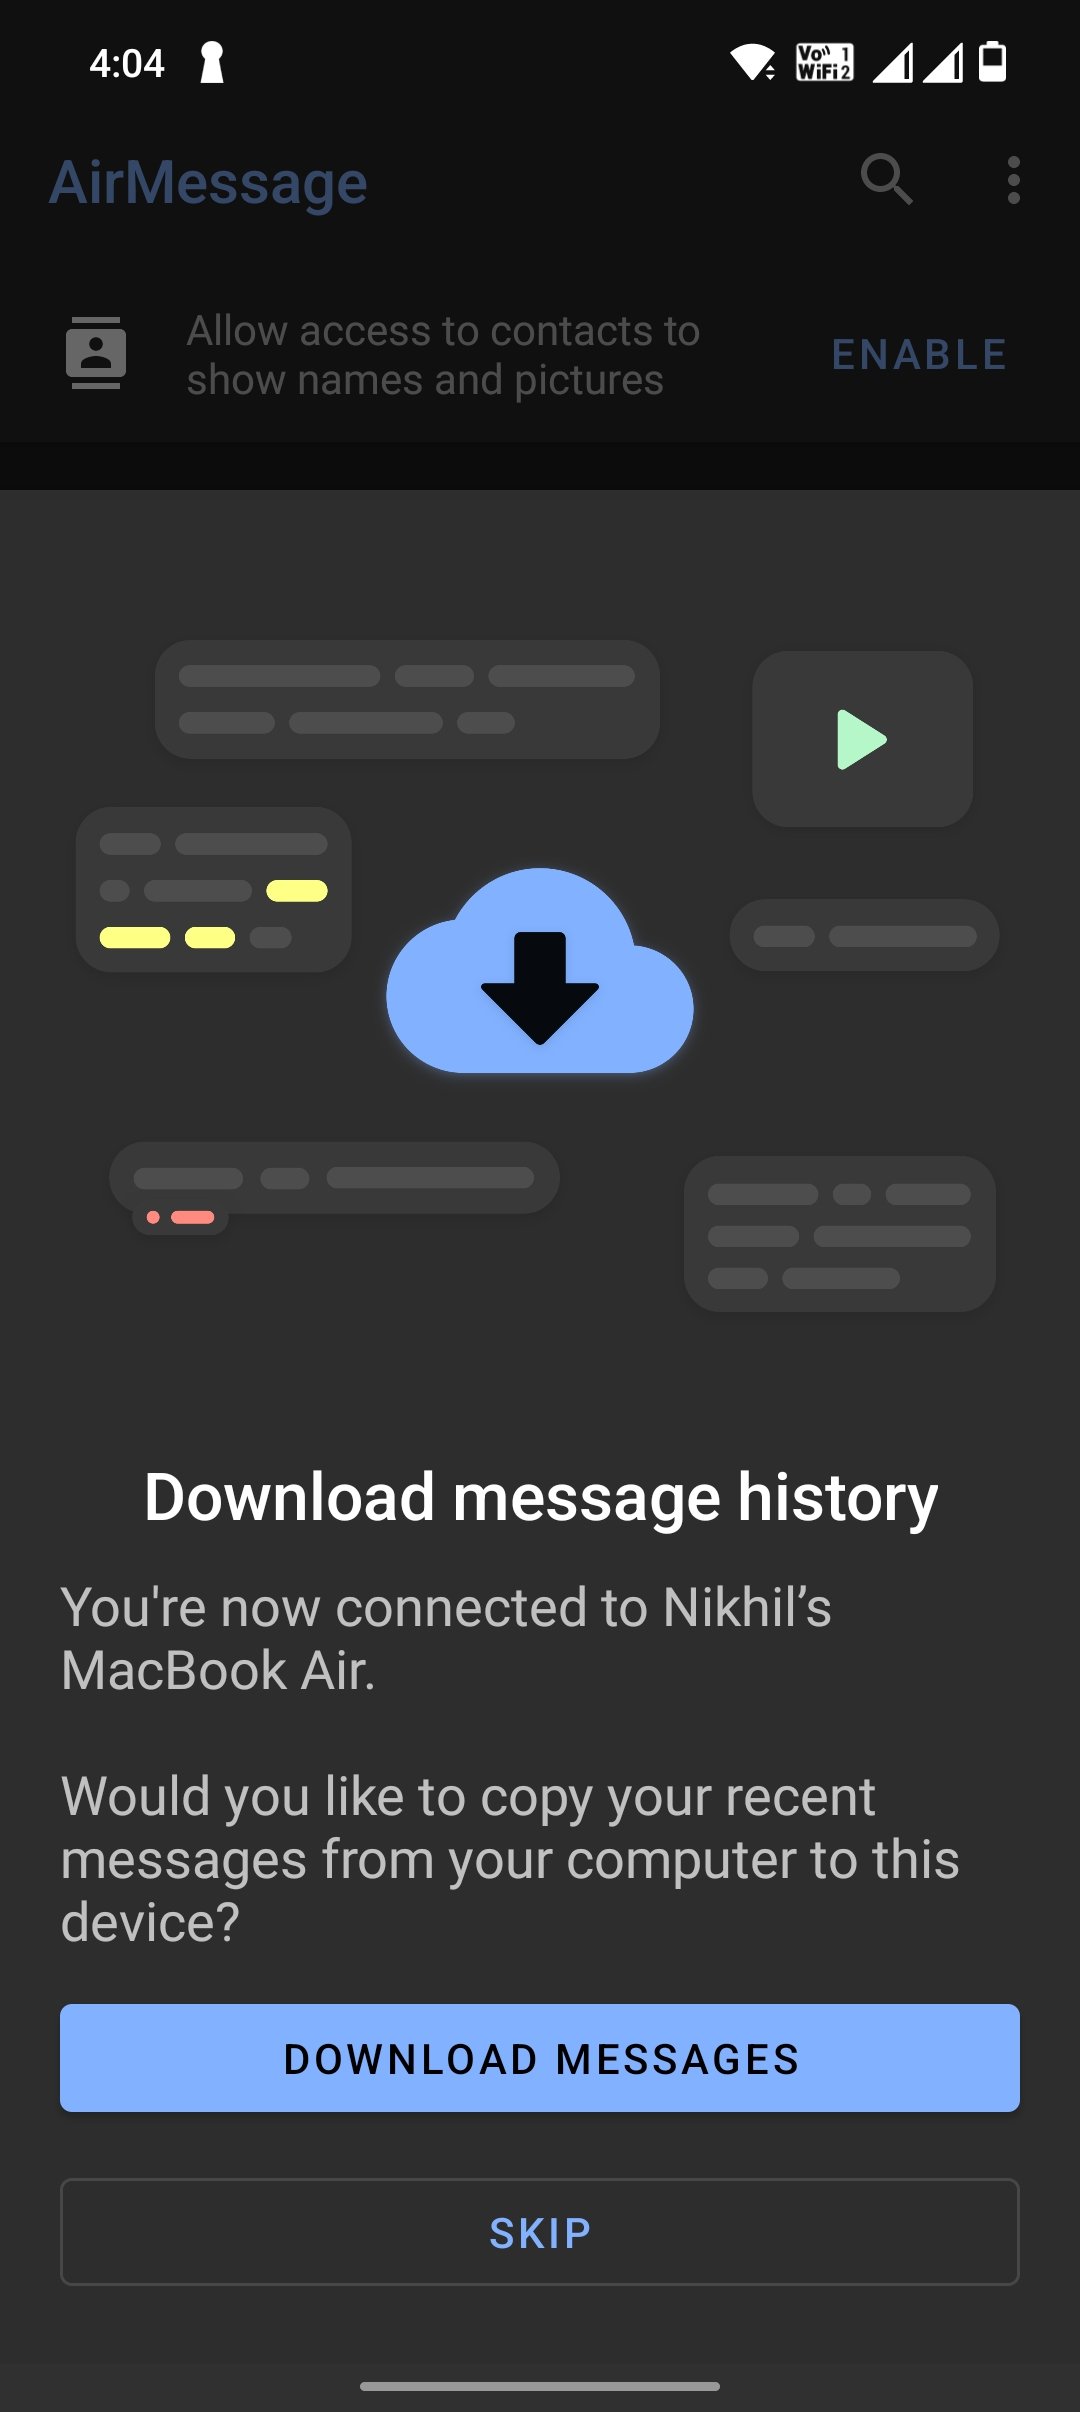
- Login with Google Account; if you wish, download the iMessage chat or Skip.
- Done! You can access and use iMessage on Android.


Step 4. Keep Mac Awake
The AirMessage needs to be available all the time in order to send and receive messages, as it functions as a server on your Mac. So, turning off the PC or Shutting the lid down will close the process. To turn your laptop into a stationary server, we recommend that you use a keep-awake utility such as Amphetamine. (Free App)
You can simply install and use Amphetamine to keep your system awake when the AirMessage app is running. The app also offers a number of options to choose from. You can use Caffeinate built-in command line to keep the Mac system awake.
Conclusion
That’s it; you can now use iMessage on Android using this simple guide. If you are facing any issues or are not able to connect your Mac or AirMessage, then please comment below.
If you've any thoughts on How to Use iMessage on Android Mobile?, then feel free to drop in below comment box. Also, please subscribe to our DigitBin YouTube channel for videos tutorials. Cheers!
