This guide explains how to use Sora AI, an online tool from OpenAI that can generate realistic video footage by receiving user text or image prompts.
Sora was recently released for the ChatGPT Plus, Pro, and Team users.
If you have any of these subscriptions with OpenAI, you can access the Sora official website to create AI videos.
Using the tools and features available on Sora, you can create, render, and download AI-generated videos in 480/720/1080p resolutions.
How to Access Sora?
You don’t need a separate account to log into Sora. The same email ID you use to sign up for OpenAI/ChatGPT will help you sign up and log into Sora.
Here are the steps to sign up and log into the Sora official website.
- On your PC browser, launch the OpenAI ChatGPT website.
- Press Sign up.
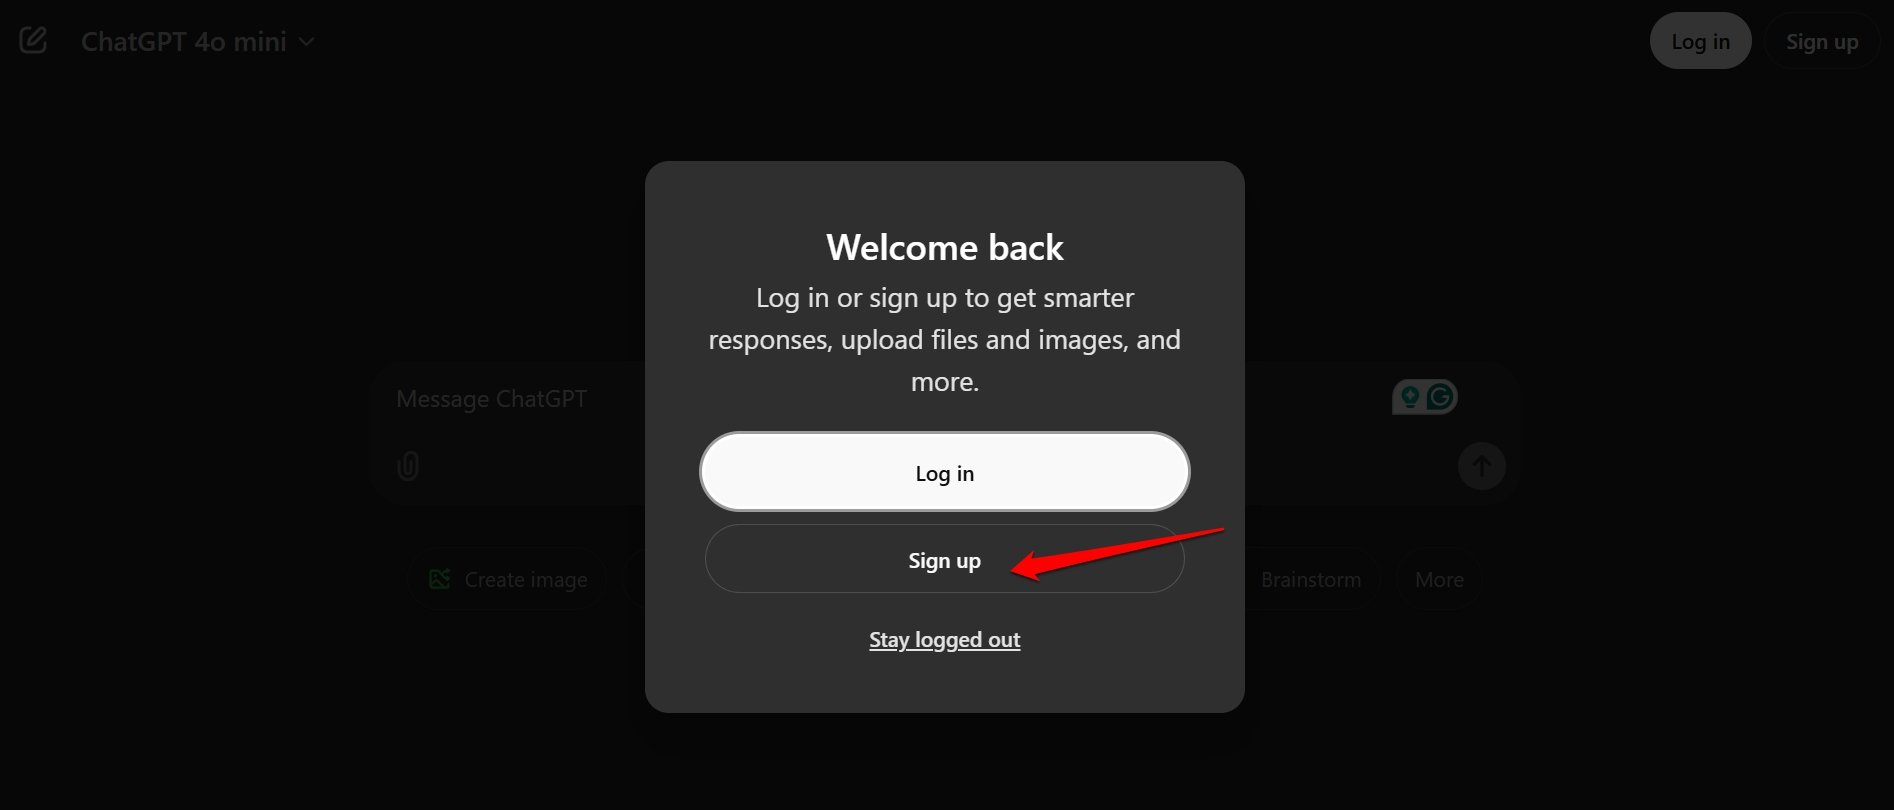
- You can choose from your email ID, Gmail account, Microsoft account, or Apple ID to sign up for ChatGPT.
- Now, go to the Sora official website.
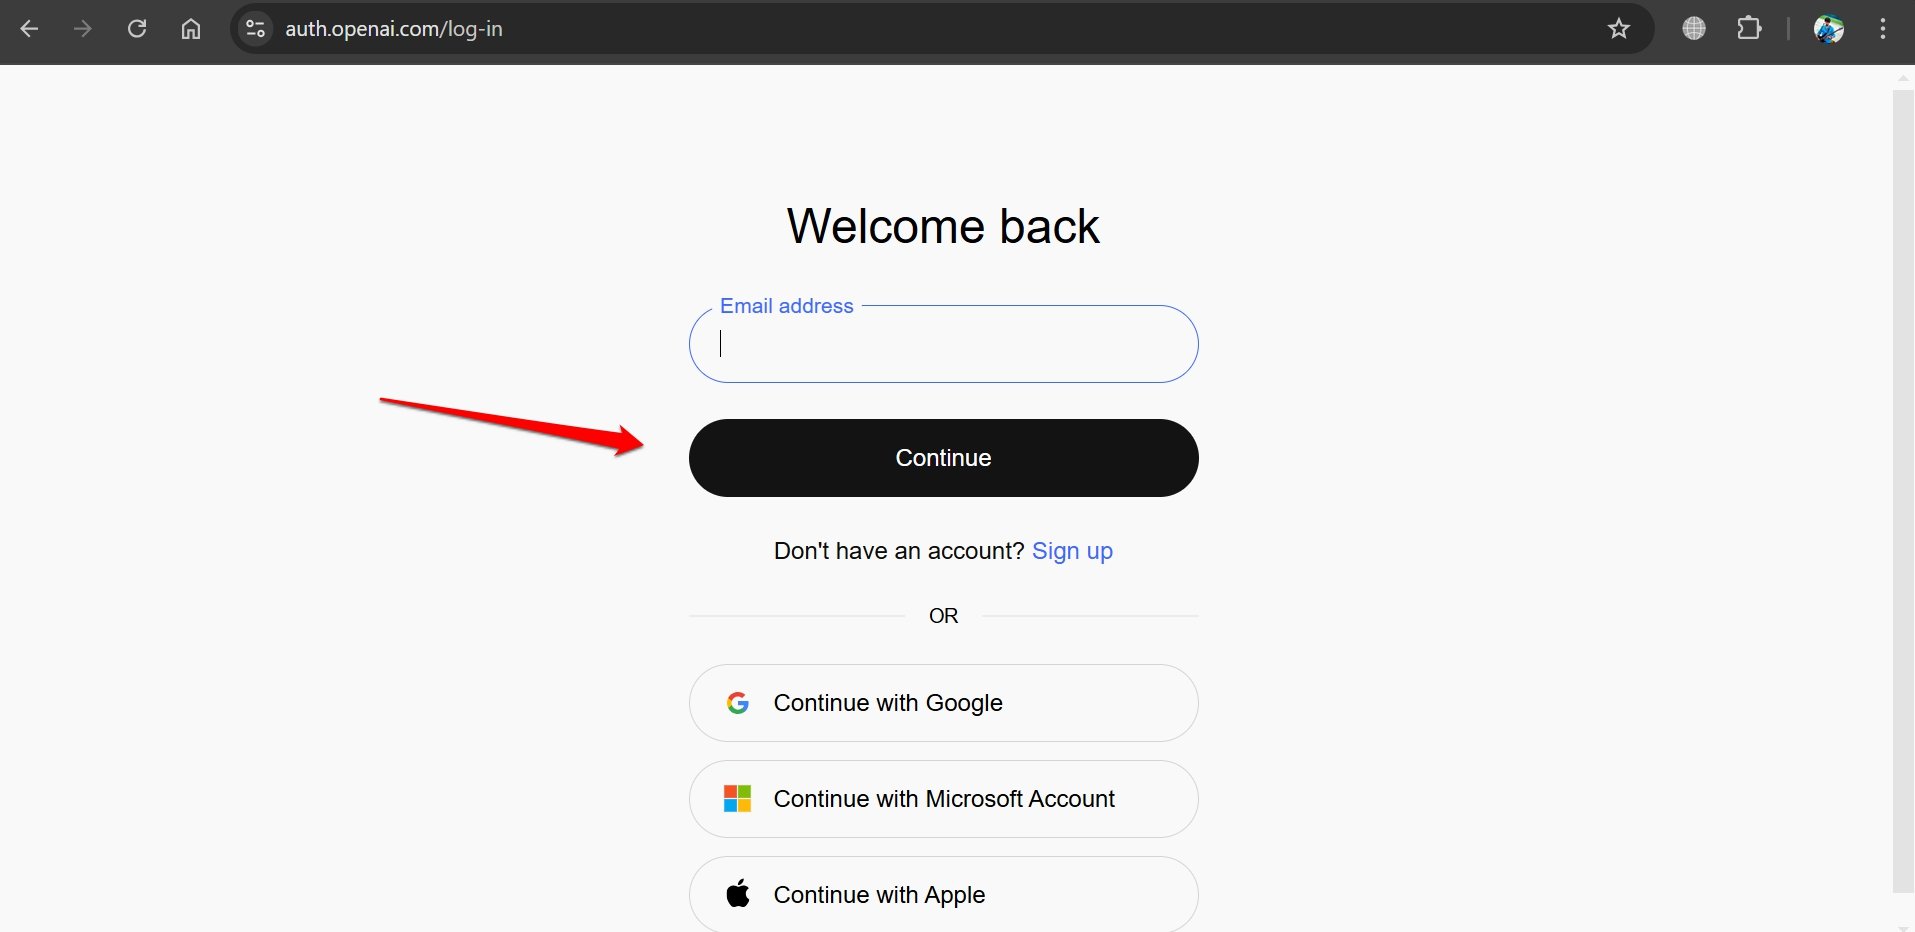
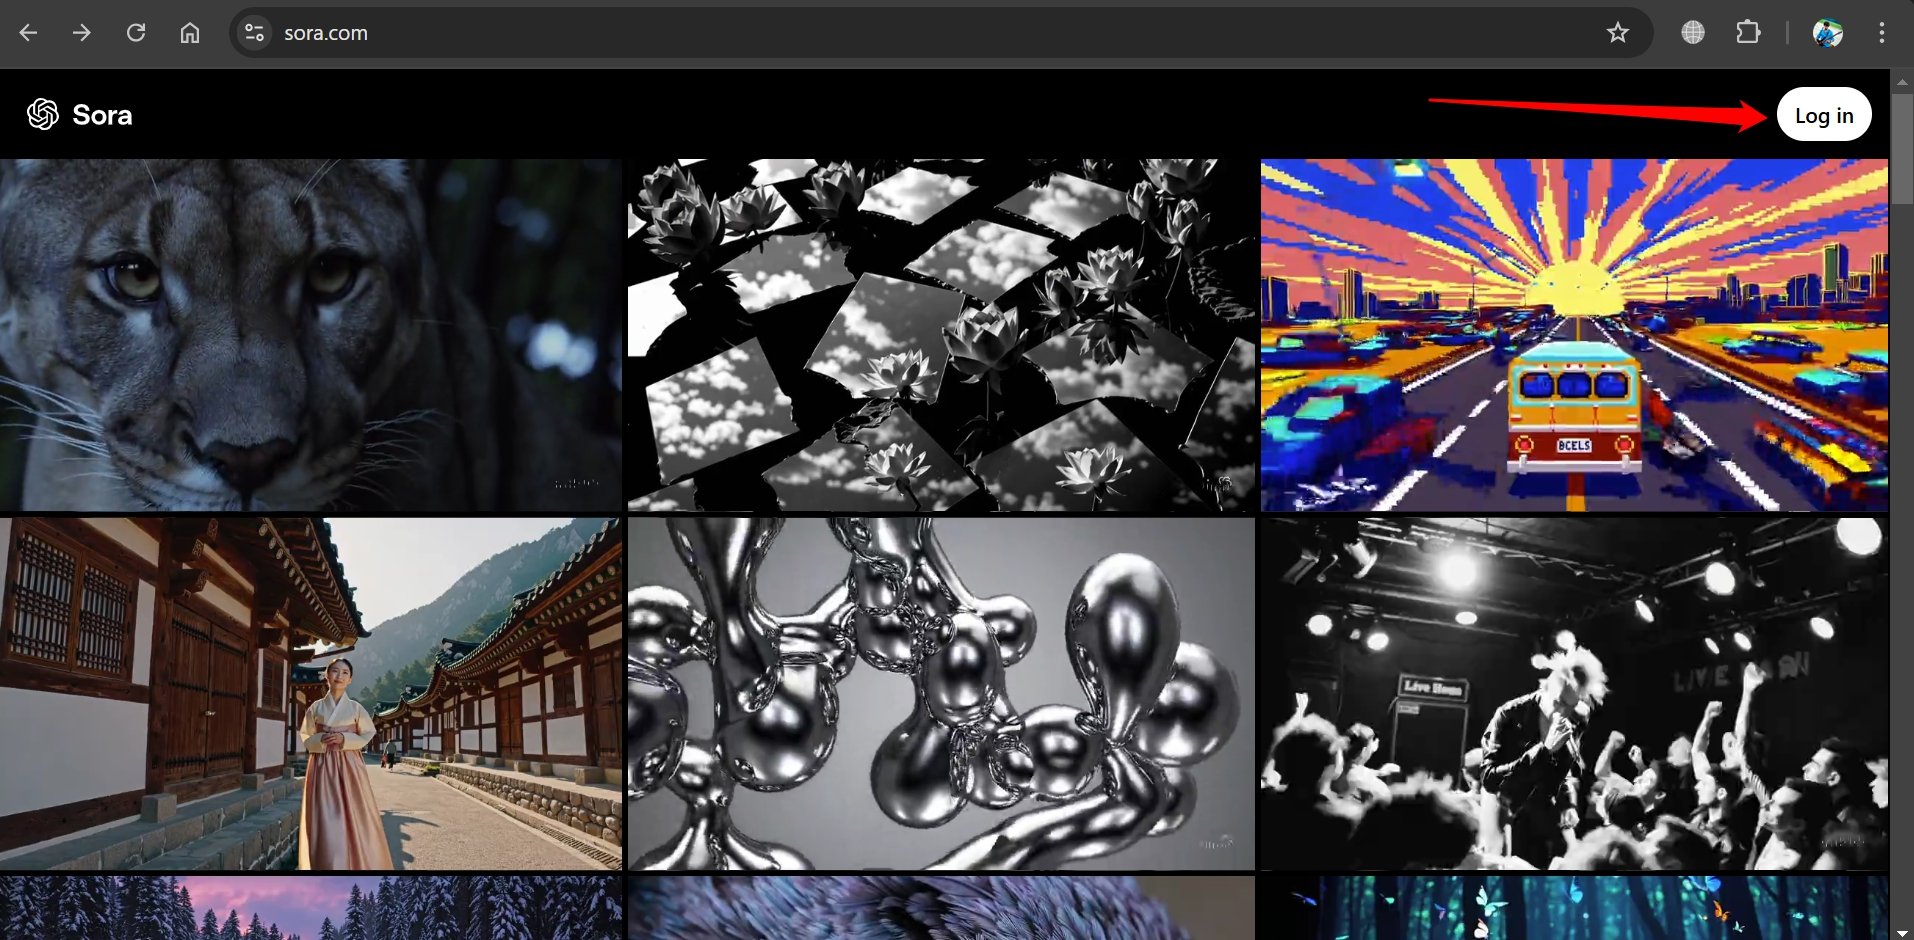
- On the landing page, click on Login.
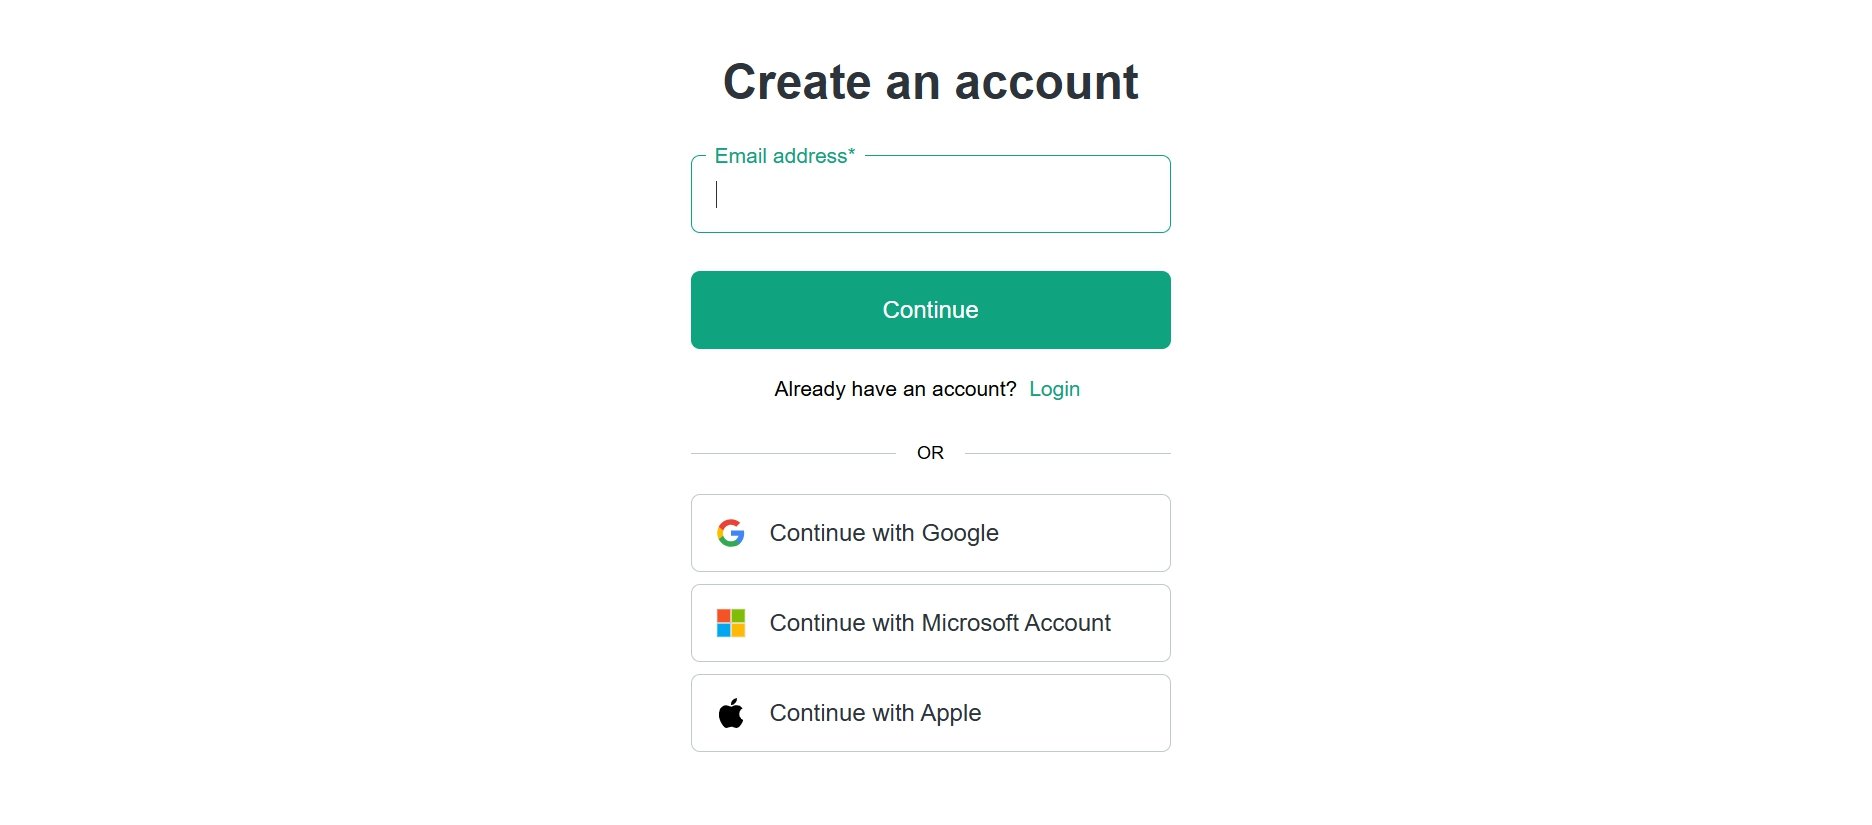
- On the next page, select if you want to log in with your email account, Gmail ID, Microsoft account, or Apple ID.
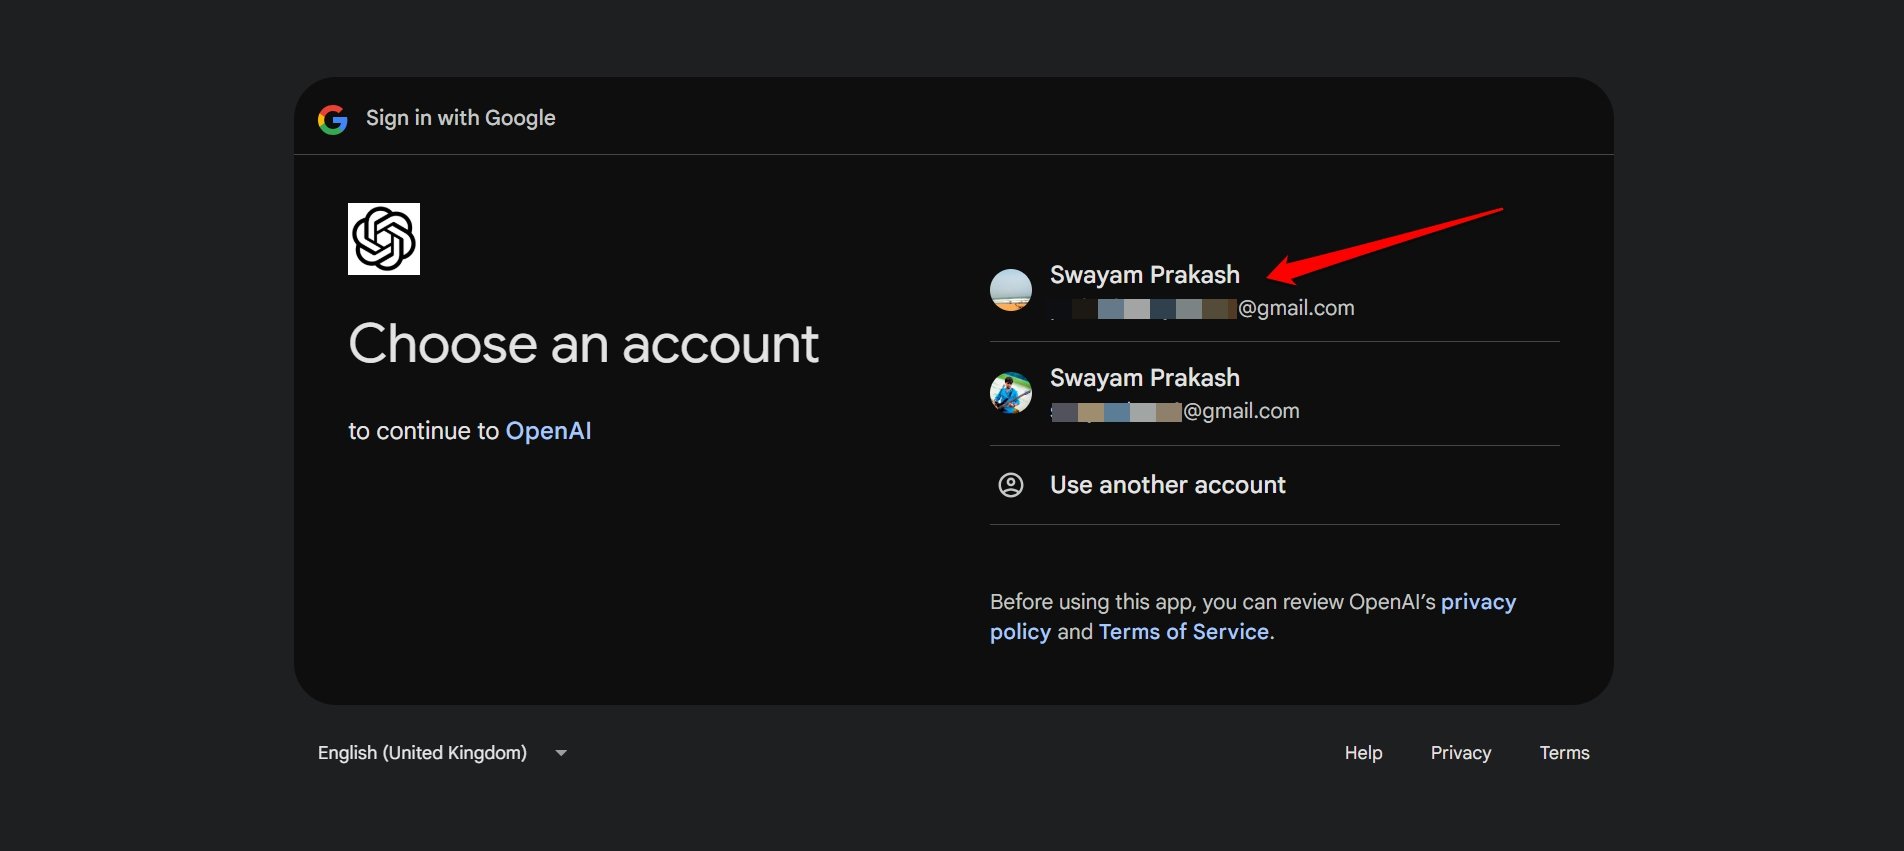
- Choosing to use my Gmail account to use Sora, I must select the account I had used to sign up for OpenAI ChatGPT.
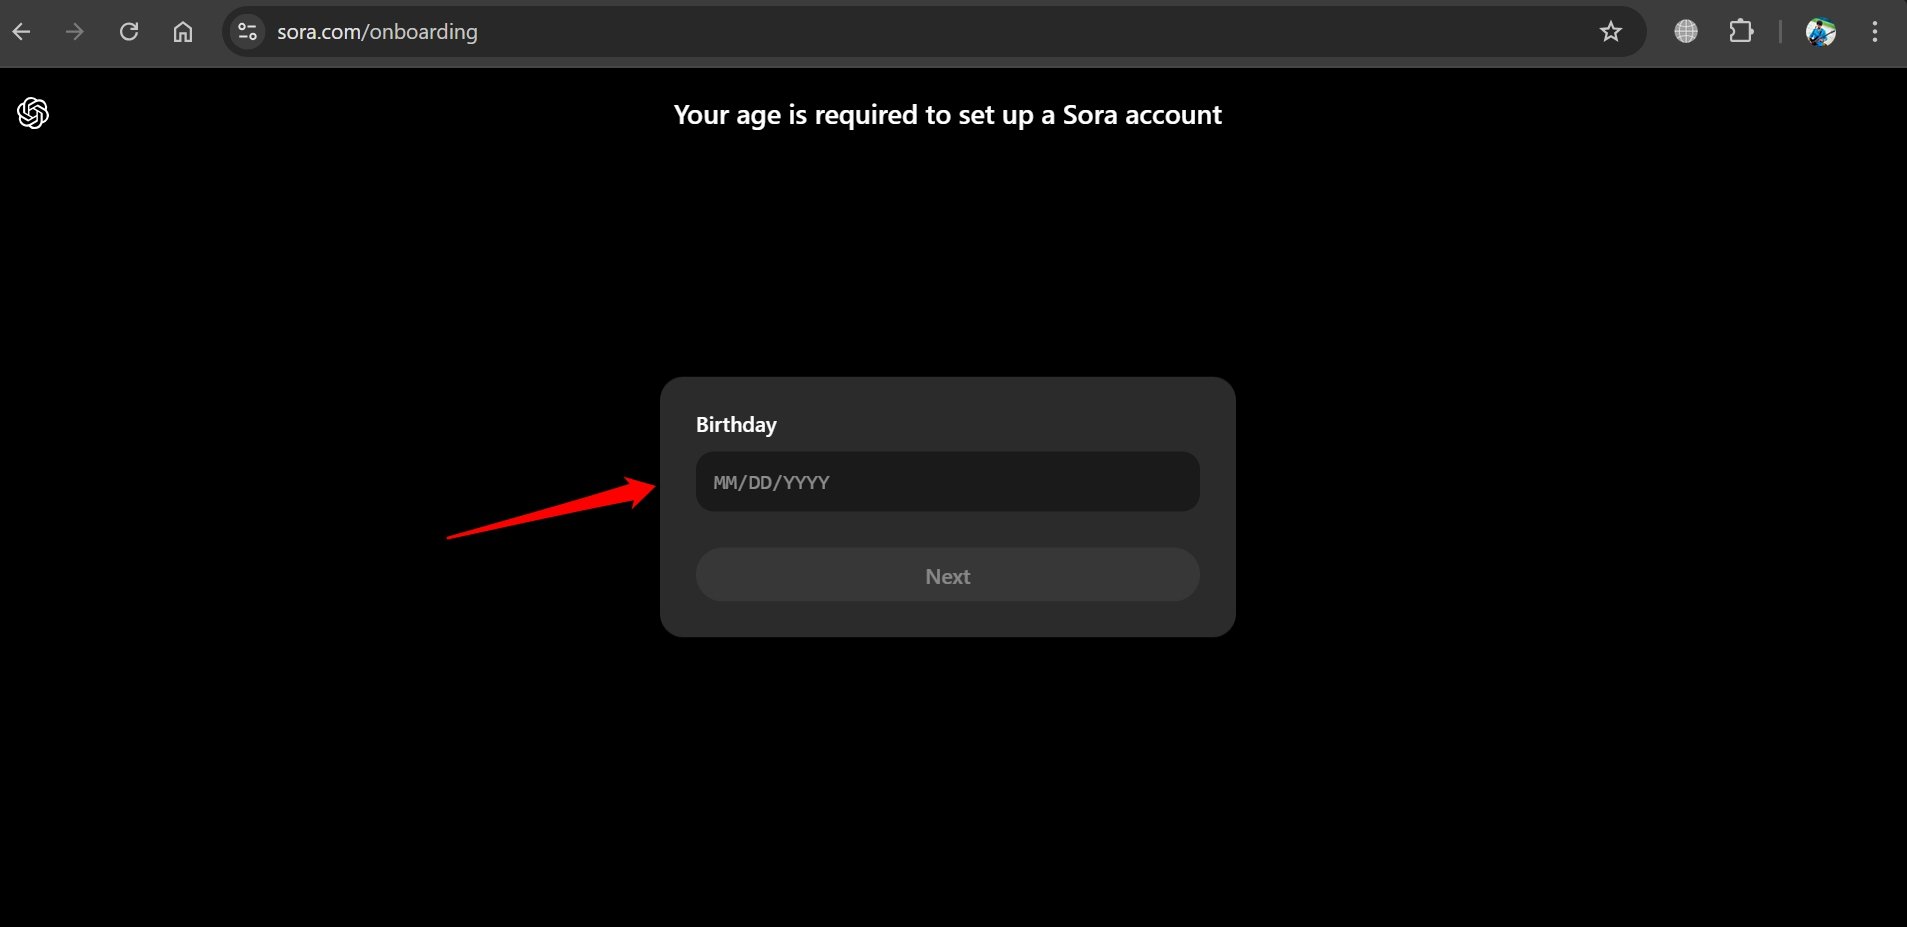
- On the onboarding page, provide your date of birth and press Next.
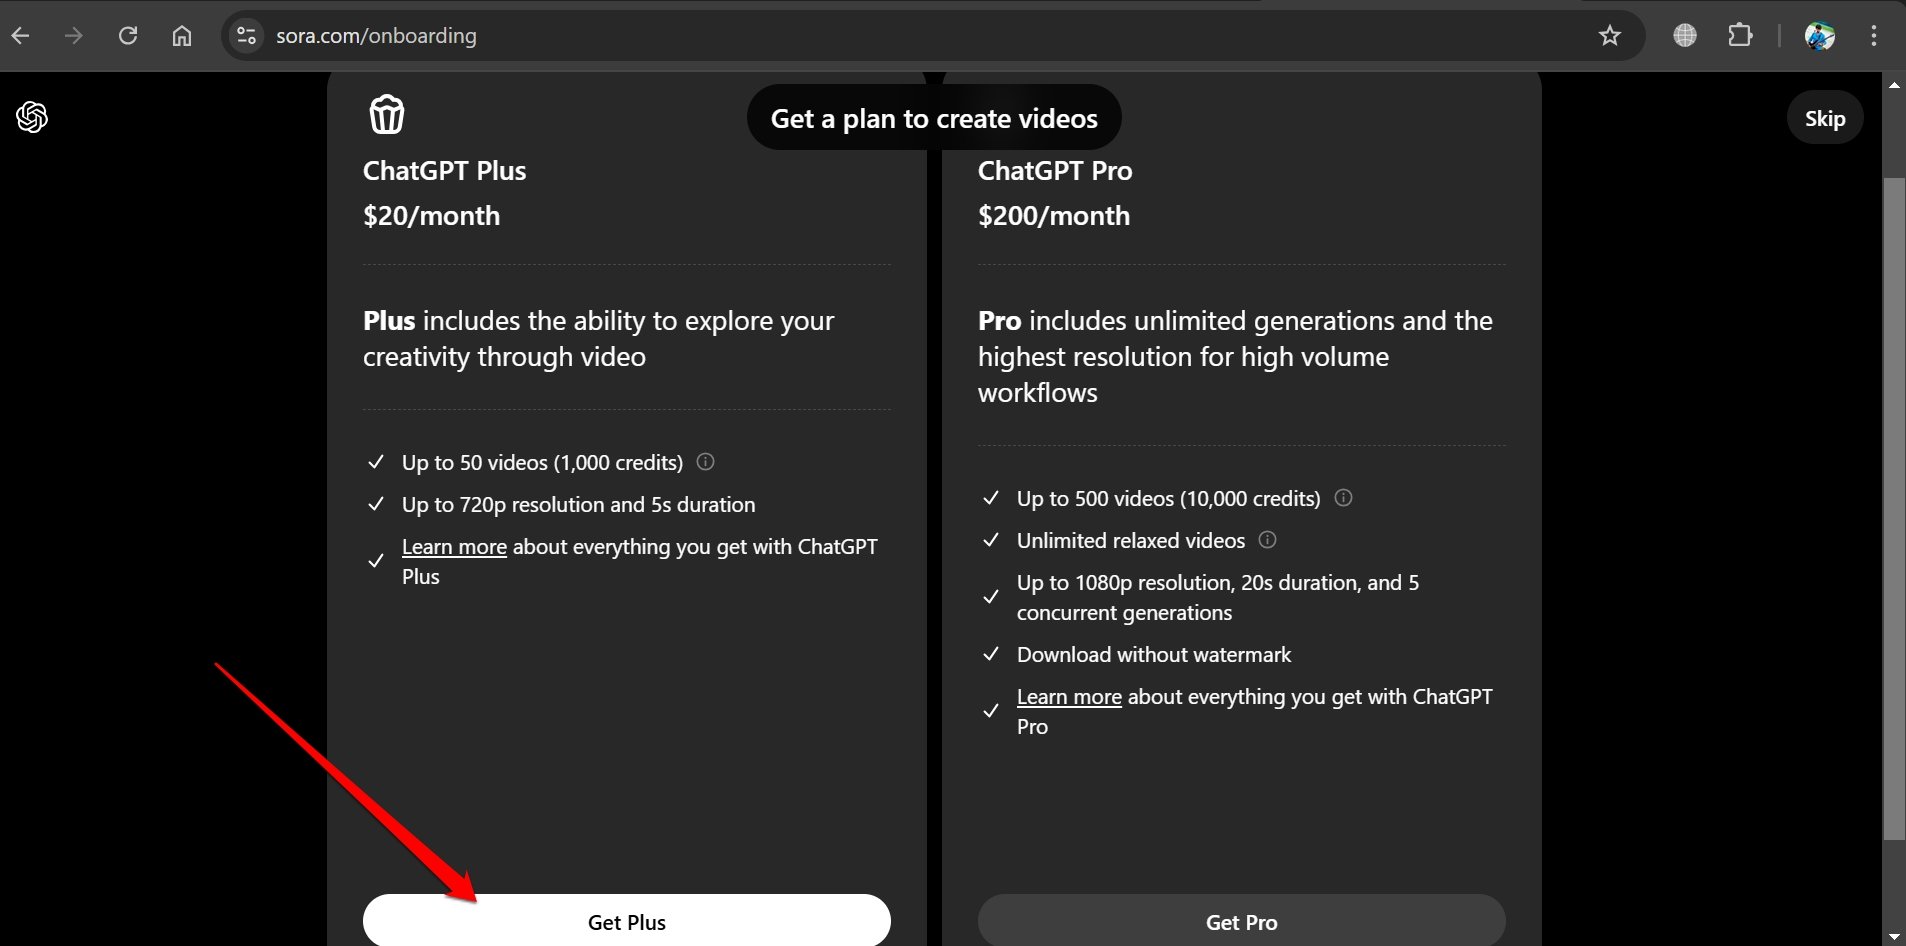
- Next, you must buy a ChatGPT Plus or ChatGPT Pro subscription to create AI videos on Sora.
How to Use Sora to Create Videos?
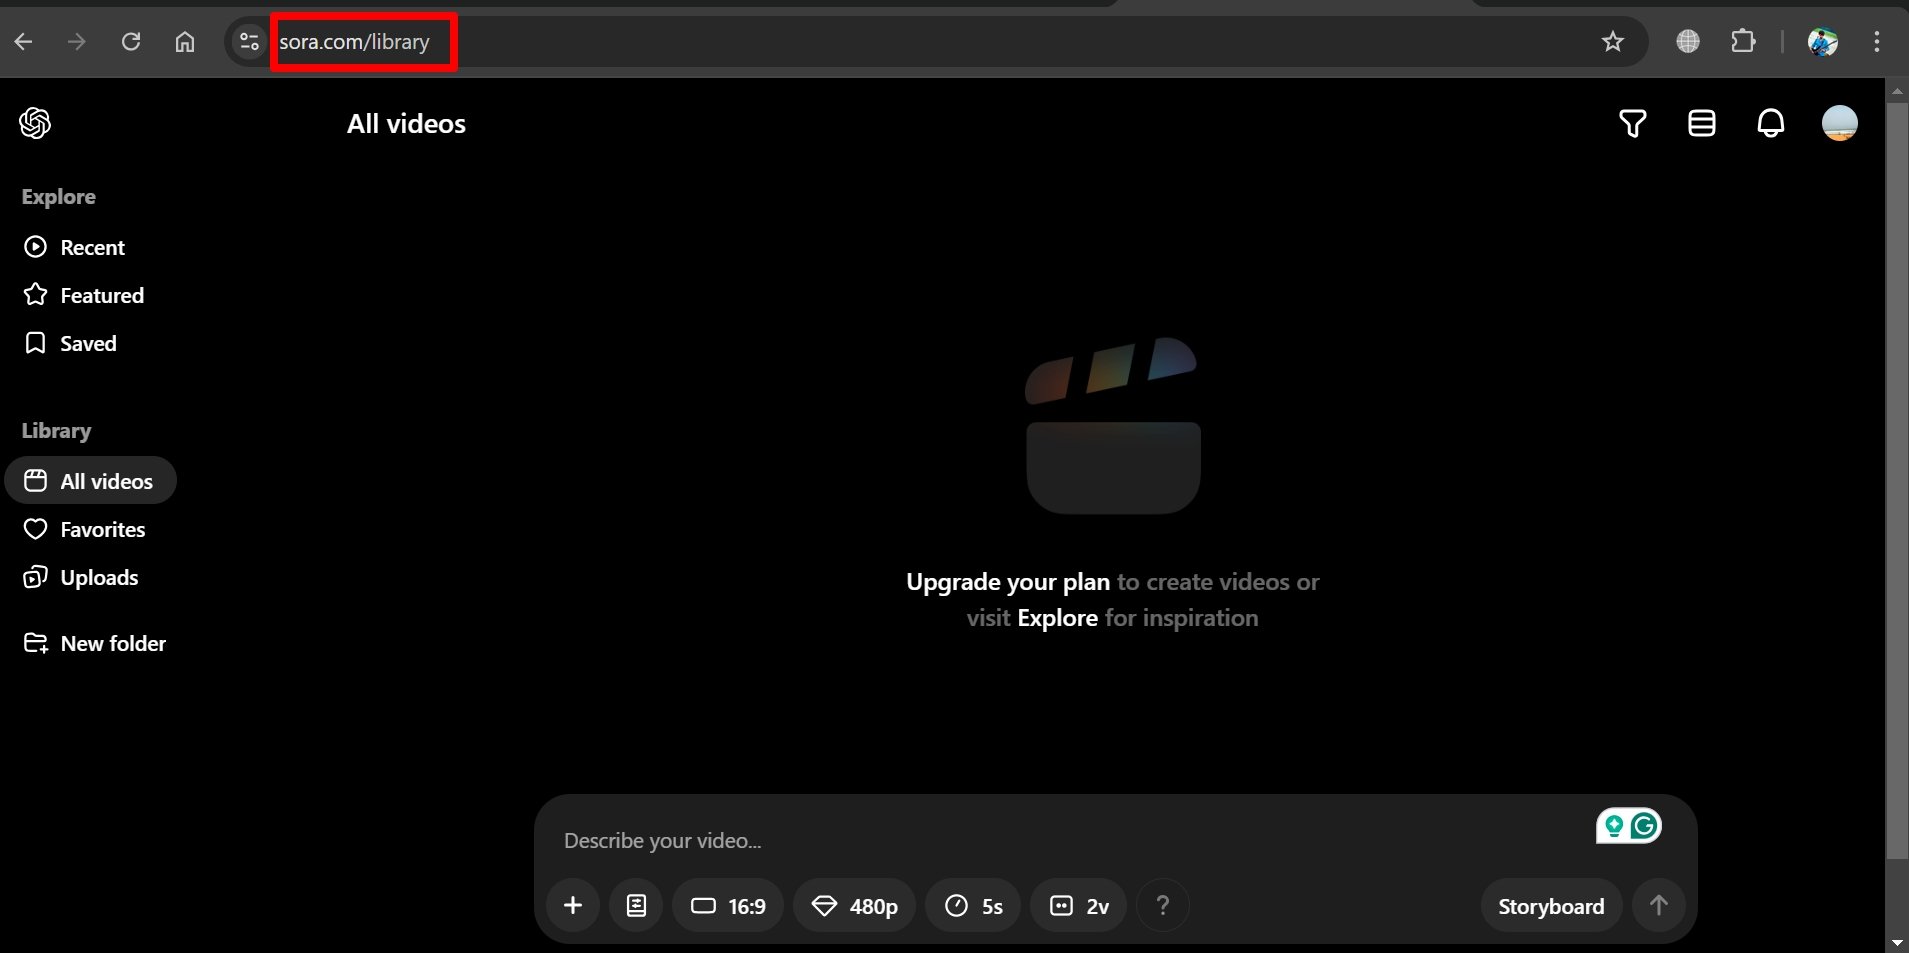
Once you have logged into Sora, you will land on the library page where you can view the Storyboard and Explore tab on the left side of the page.
Sora AI provides a comprehensive suite of tools to help you craft engaging videos.
Let me explain how to use the components and features Sora offers to create your videos.
Storyboard Components
To generate a video, you must provide a text prompt to Sora.
Click on the Describe your video field, and type the text prompt.

You may also upload an image or a video from your PC to serve as a prompt to help Sora generate your AI video. To do that, press the + button on the Sora prompt panel.

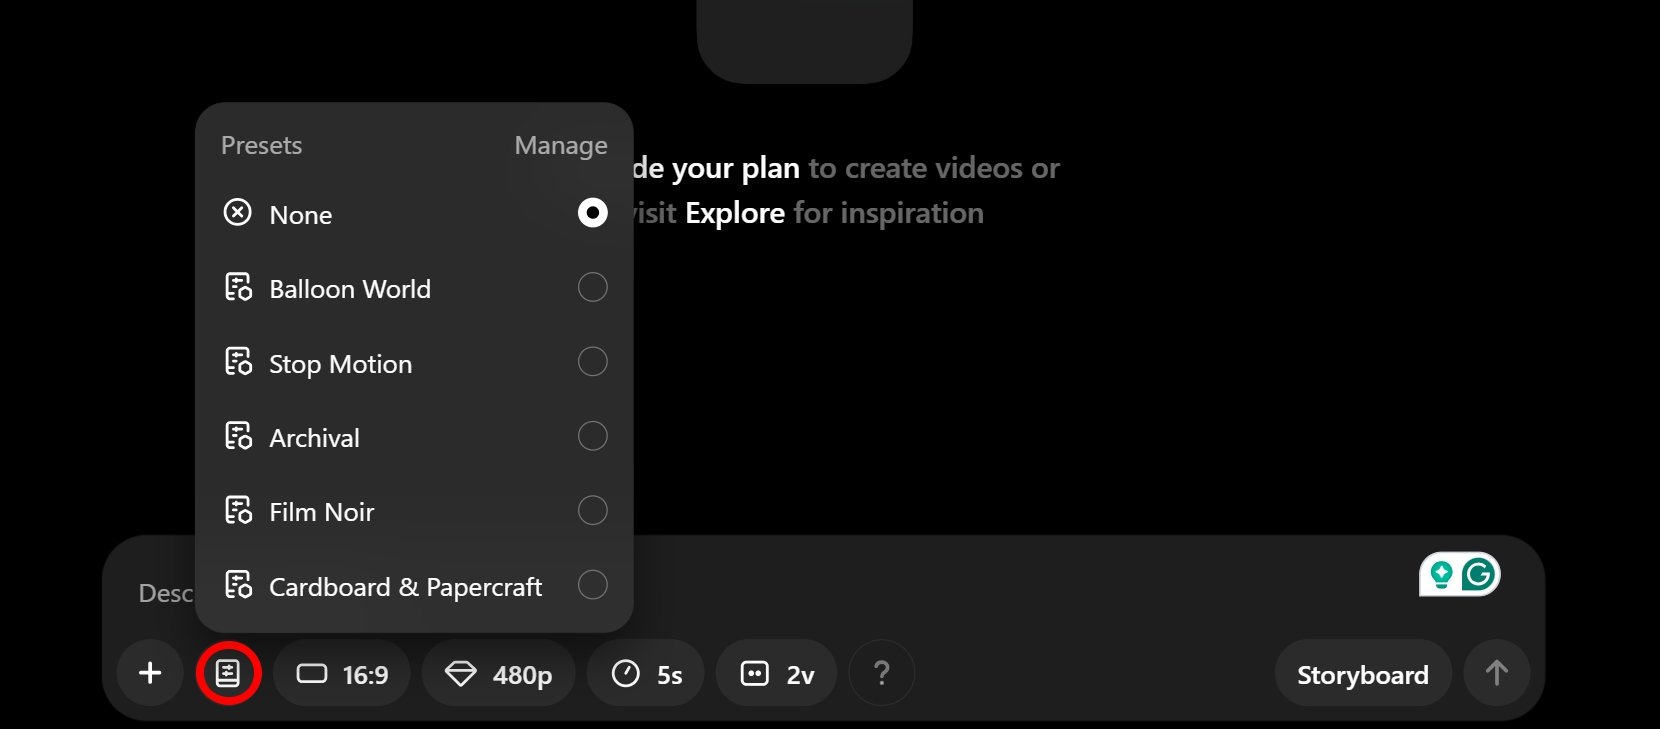
Click the Preset button on the Prompt panel to select any video effect presets you want to use on the AI video Sora will create.
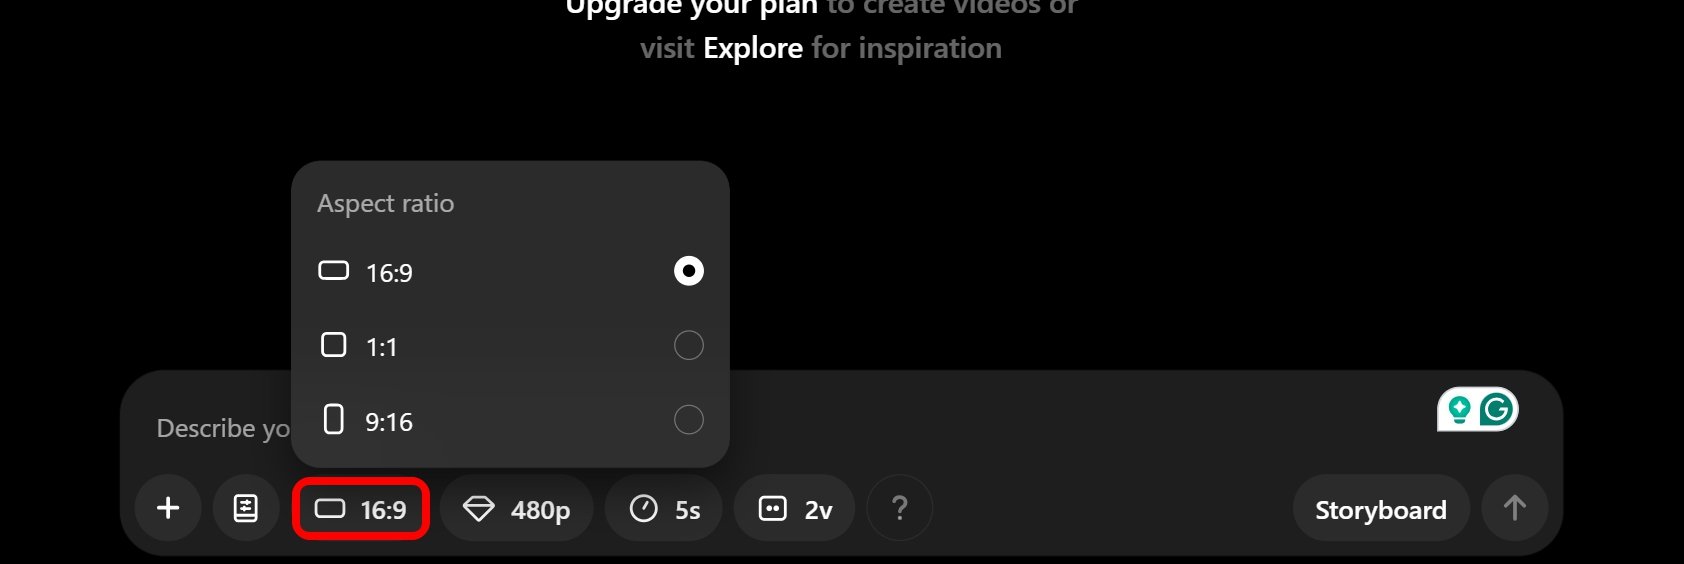
Set the aspect ratio of your choice by pressing the Aspect Ratio selector.
Next, click the video resolution panel to select the resolution of the video output.

Note that, the higher the resolution (such as 720p or 1080p), the more time Sora will take to generate the video.
It may take up to an hour to generate a video in 480p resolution by spending too 50 credits from your allocated credits.
Credits are allocated to your account only when you are a ChatGPT Plus/Pro subscriber. You can learn more about Sora credits and how it works.
Next, select the time duration of your AI-generated video. You can choose 5 seconds as the minimum time and go up to generating a video of 20 seconds.

The more time you set for your video, the more credits will be consumed. So, plan according to your credits.
Video Variations
When you generate a video, it is possible to select if you want to preview single, double, or four variations of the video.
Different variations will help you get a separate point of view of the same video. As per preference, You can select any one of the variations.
The variation selector button is on the Sora text prompt panel. Note that, selecting more than one variation will consume credits.

Generating and Downloading the AI Video on Sora
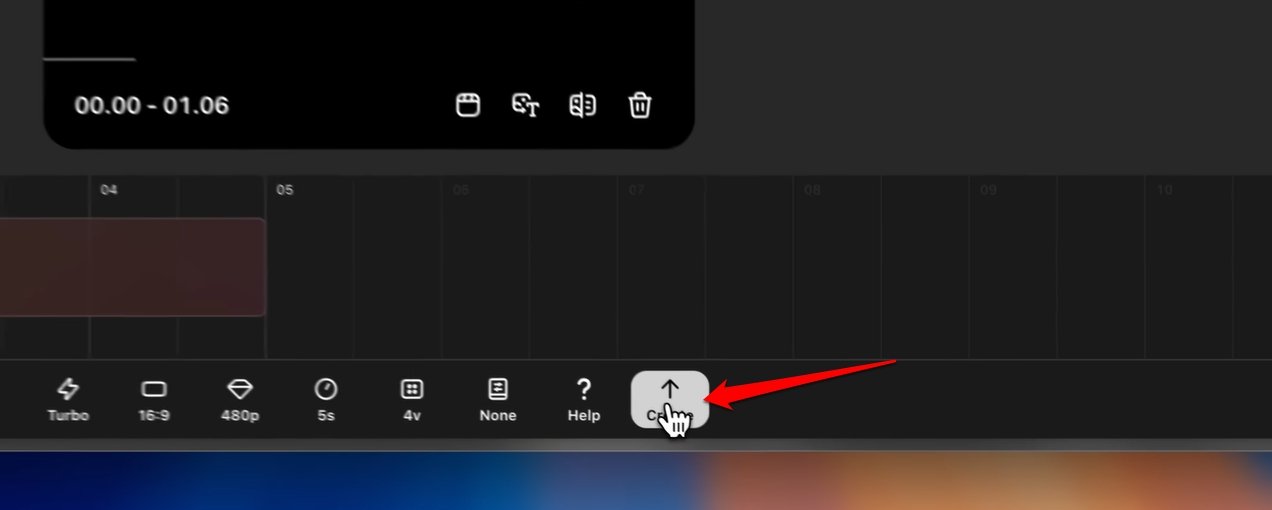
After typing your text prompt and selecting the other settings, click the up-arrow button to generate the video.

The time taken to generate your video will depend on the queue of video generation requests by other users on the platform.
If you run out of credits, your requested video will be changed to the relaxed mode of generation to be processed and generated later. This is only possible if you have a ChatGPT Pro subscription.
Otherwise, with a ChatGPT Plus subscription, you must follow the priority mode of video generation on Sora. This is the regular way where you make a request and wait until the video is generated.
After the video is generated, on the preview screen at the right corner, press the downfacing arrow to save the video on your device.

To share the video you created on Sora on your social media handles, press the up arrow icon on a tray which is just beside the download button.
Recut Feature in Sora
Let us assume you generated a video and you like a specific few seconds of the video. You can extend the time of that segment in the video by using the recut feature to create a new separate footage.
- Once the video output is generated, click on the Recut button.

- The video will now appear on the Sora storyboard.
- On the timeline, trim the video to the section you prefer to extend.
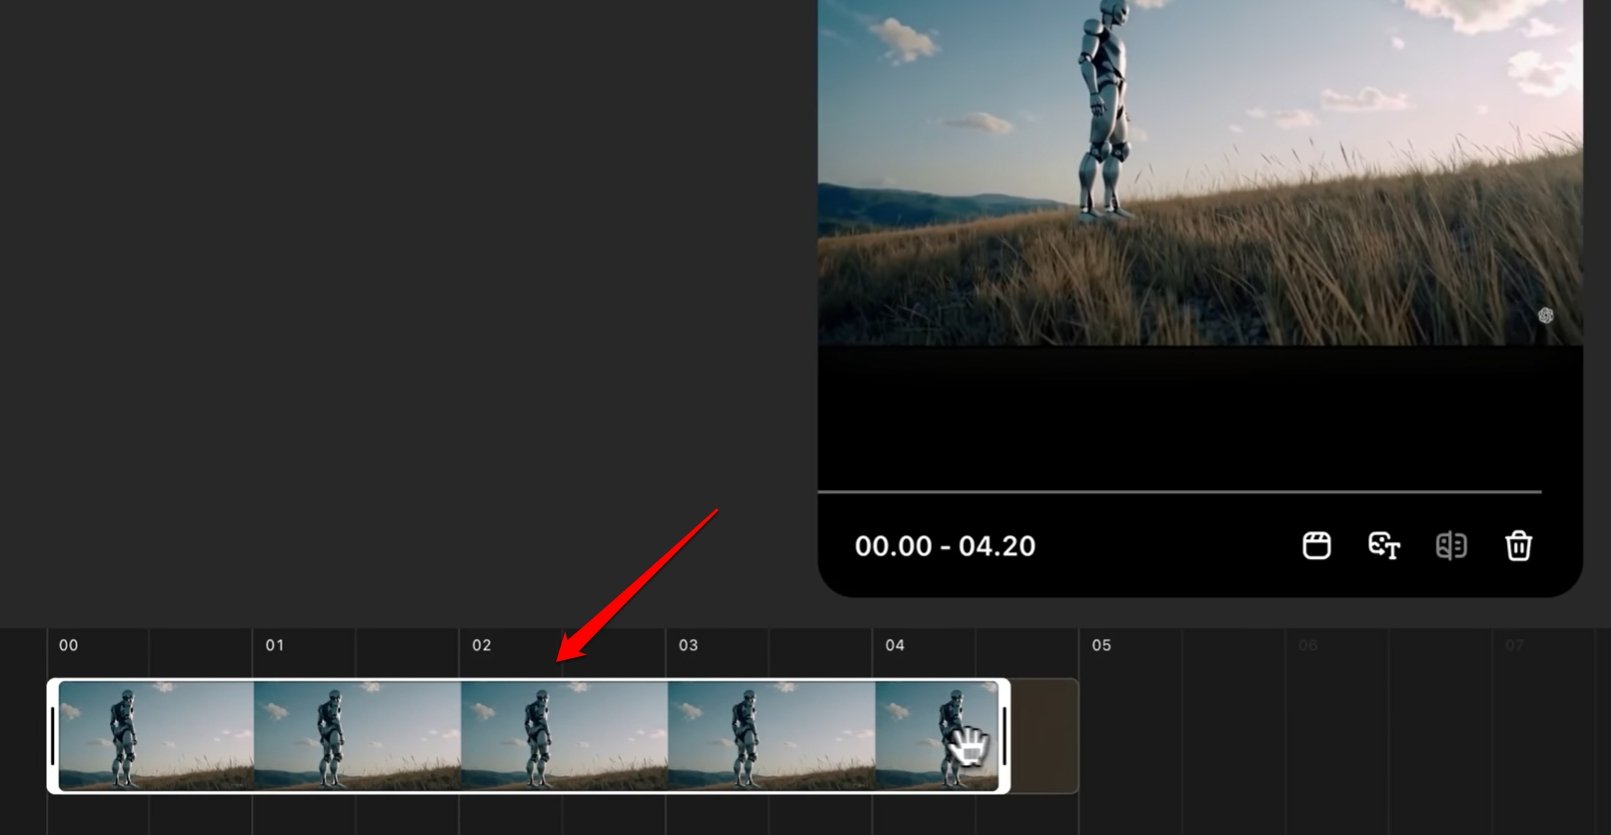
- Press the Create button to create a new extended cut of the video section you trimmed from the original AI video that Sora generated.
How to Use the Blend Feature in Sora?
Blend allows you to take two videos and create a transition where one video blends with another video to create a new video clip.
- First, create a video on Sora.
- Click on Blend.

- Select another video clip from the Video library.
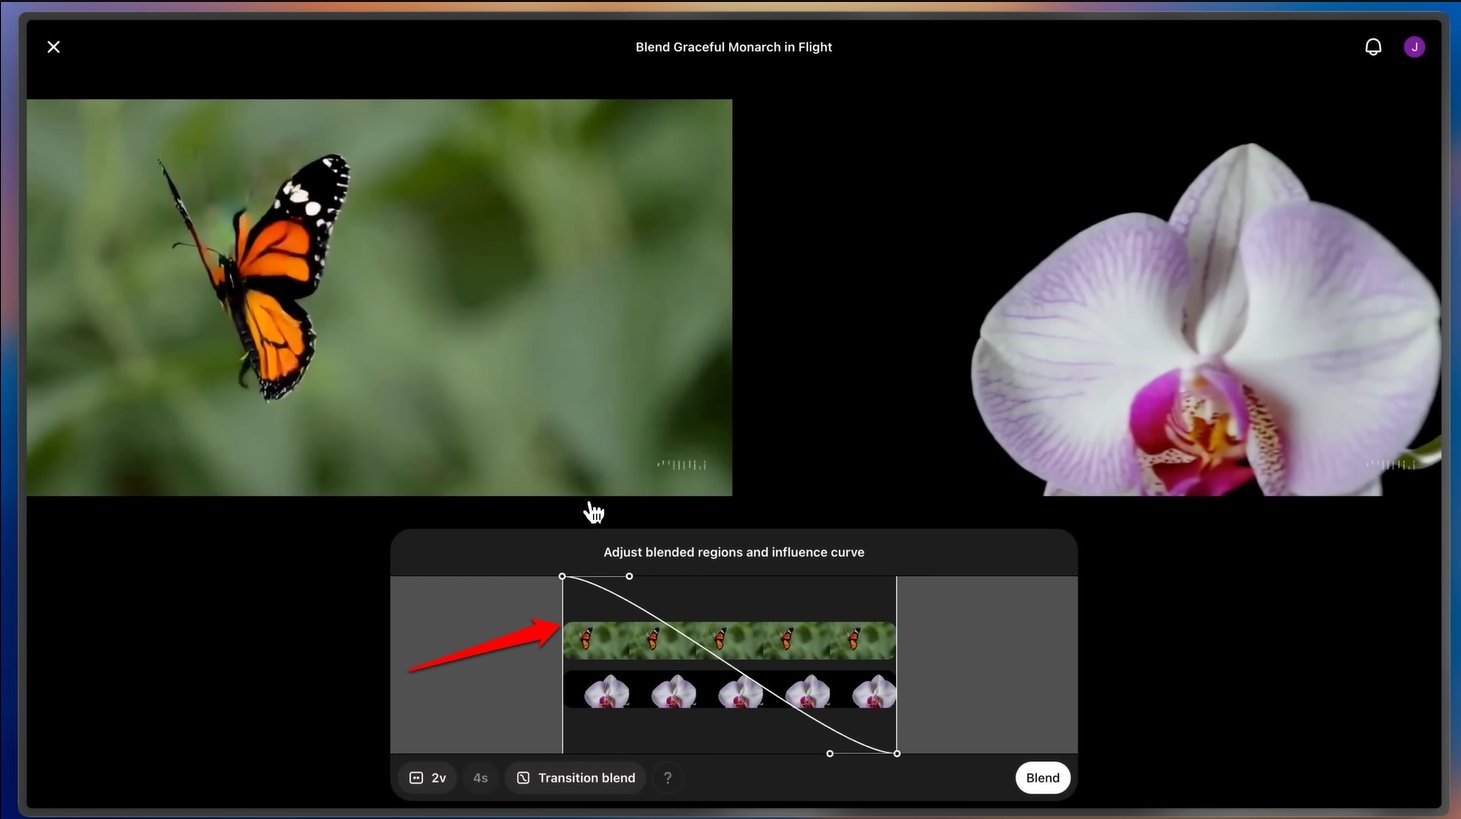
- Use the curve in the blend editor to set a specific portion of both video clips you want to blend.
- Click on Blend to generate the new merged footage.
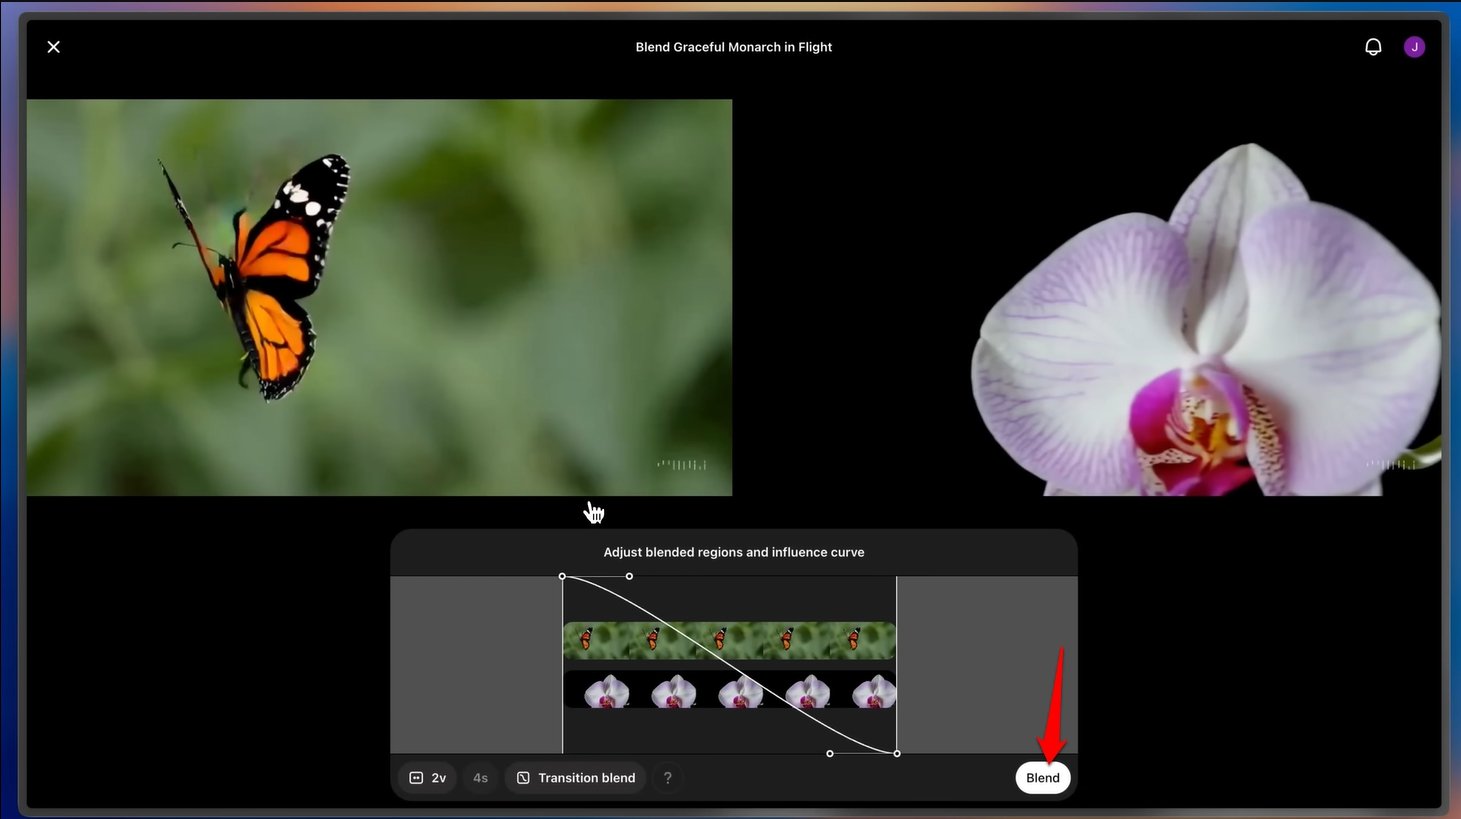
You can still edit the previous blend, recut, or remix the new blended video.
What is Loop in Sora?
As the name suggests, the looping effect allows you to select a portion of a video in Sora and play it continuously.
- After you generate a video, click on Loop.

- In the Loop editor, drag the handle on the start and end point of the video to select the section you want to loop.
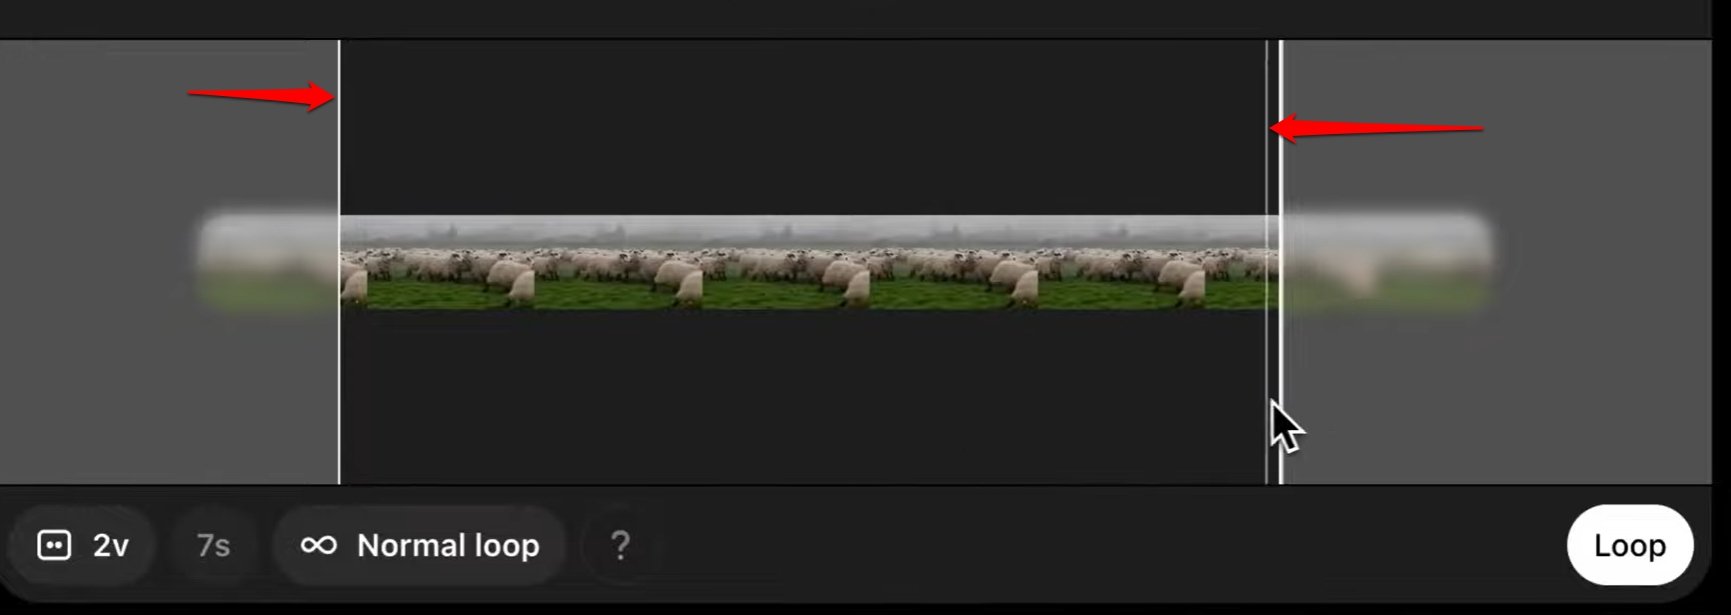
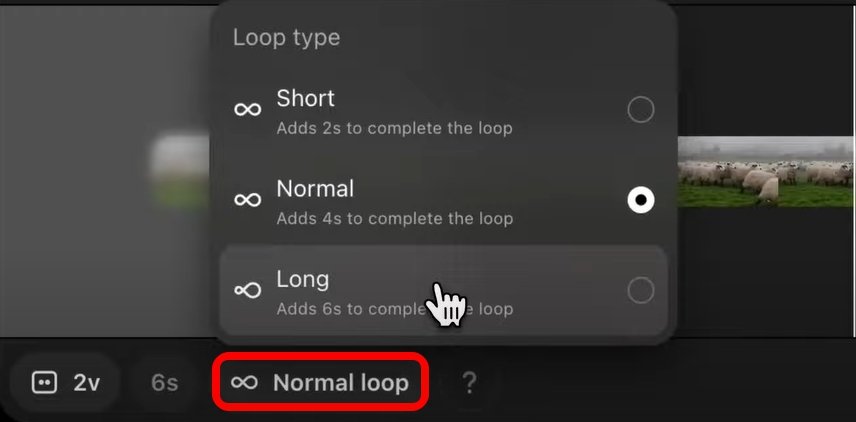
- Select your preferred Loop Type. There are three types of loops, Normal, Long, and Short.
- After finalizing all the settings, click on Loop.
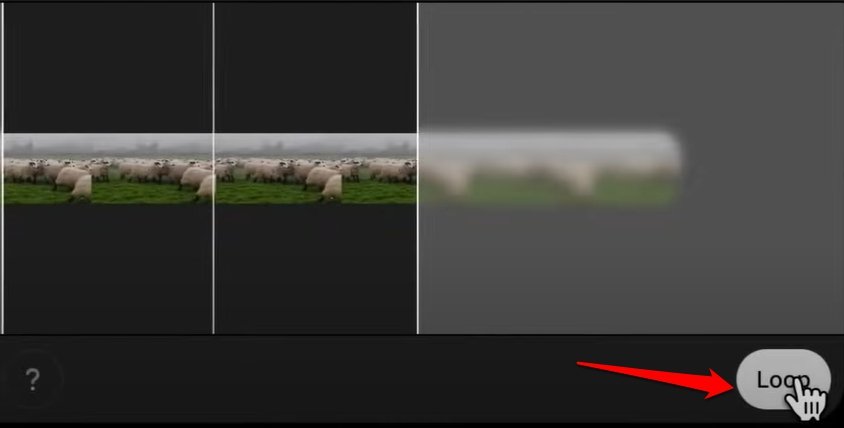
Sora allows you to edit the looped footage, blend, recut, or remix it further.
How does the Remix Feature on Sora Work?
This is the most exciting feature in Sora that enables users to add, remove, or edit an object from a video generated on the platform.
- First, generate a video on Sora.
- Click on Remix at the bottom of the preview panel.

- In the Remix panel, describe the changes you want Sora to make to the video.

- Select the Remix Strength of your choice.
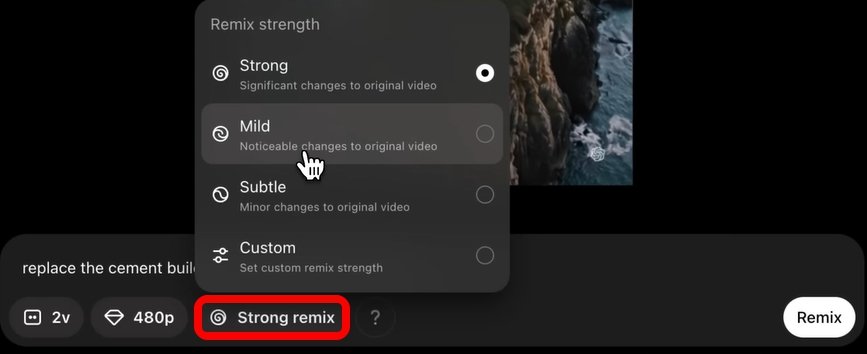
- Press Remix to bring the changes into effect on the video and you can preview the same instantly.

There are four types of Remix strength, Strong, Subtle, Mild, and Custom.
A Strong remix will bring significant changes to the original video.
A Subtle remix will change a few minor aspects of the video depending on your remix description.
A mild remix will bring noticeable changes to the video’s features.
There is also the custom remix strength, that allows you to fine-tune and customize the various visual aspects of the video more intricately.
Frequently Asked Questions(FAQs)
Can I use Sora AI for free?
NO. Sora is available to users with ChatGPT Plus/Pro/Team premium subscription.
What is the file format of the Sora AI video output?
You can generate videos in the MP4 video format on Sora. Convert the video format to any other type, using separate applications once you download the video.
What are the Supported Aspect Ratios on Sora?
Sora offers video output in three aspect ratios, 16:9, 1:1, and 9:16.
Can I Download Videos Generated on Sora?
YES. Once the video is rendered press the Download button to save the footage on your PC.
How to View the Videos I Have Created on Sora?
Go to sora.com/library, and click the All Videos section under the Library tab to view all the videos you generate using Sora.
How do I View the Videos Generated by Other Sora Users?
Go to the ‘Features’ panel in Sora to view the videos generated and shared by other users.
Bottom Line
Sora AI is a new-age tool for producing realistic videos with minimal effort. You don’t need a high-end camera or a visit to any exotic location to capture videos.
Offering a text prompt will generate high-resolution footage for you to use as sample video in your content.
We hope Open AI Sora will open the creative gateway for content makers in interesting ways.
If you've any thoughts on How to Try Sora AI for Free?, then feel free to drop in below comment box. Also, please subscribe to our DigitBin YouTube channel for videos tutorials. Cheers!


