Knowing how to screenshot on your Mac doesn’t seem important until there’s something urgent you need to capture, but you don’t know how. Thankfully, Apple offers a variety of easy methods to let you screenshot your Mac’s screen in no time, be it the full screen or a part of it.
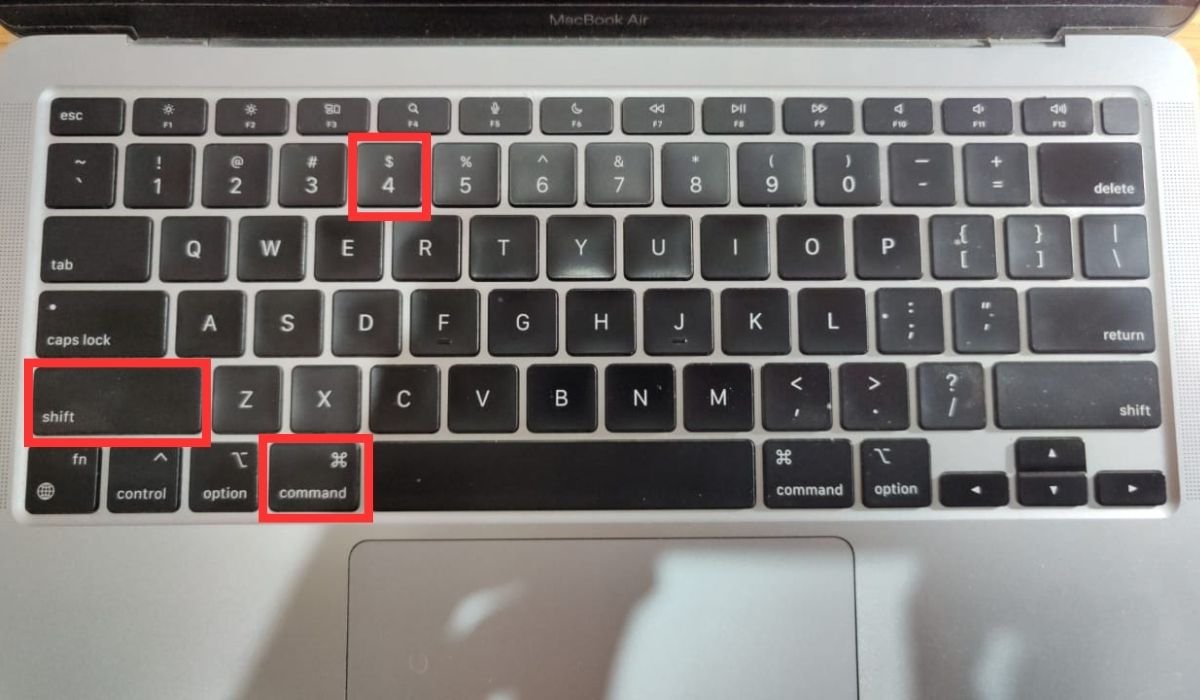
You can use the Cmd-Shift-3 shortcut for full-screen screenshots or Cmd-Shift-4 to capture a part of the screen. For additional options, press Cmd-Shift-5 to view the Screen Capture window and customize your screenshot experience. With that out of the way, let’s dive in to explore these methods more in detail.
Top Ways to Take a Screenshot of your Mac Screen
Apple offers diverse screenshot options for Mac users, including the well-known Cmd-Shift-3, Cmd-Shift-4, and Cmd-Shift-5 shortcuts. These methods remain consistent across Mac models (Mac Air, Mac Pro, M1, M2 Chip, Intel, etc.) so users stay familiar with the system. That said, here we’ll explore different ways to capture your Mac’s screen in detail:
Screenshot Full Screen on Mac (Cmd-Shift-3)
To capture the entire Mac screen, press Cmd-Shift-3.![]()
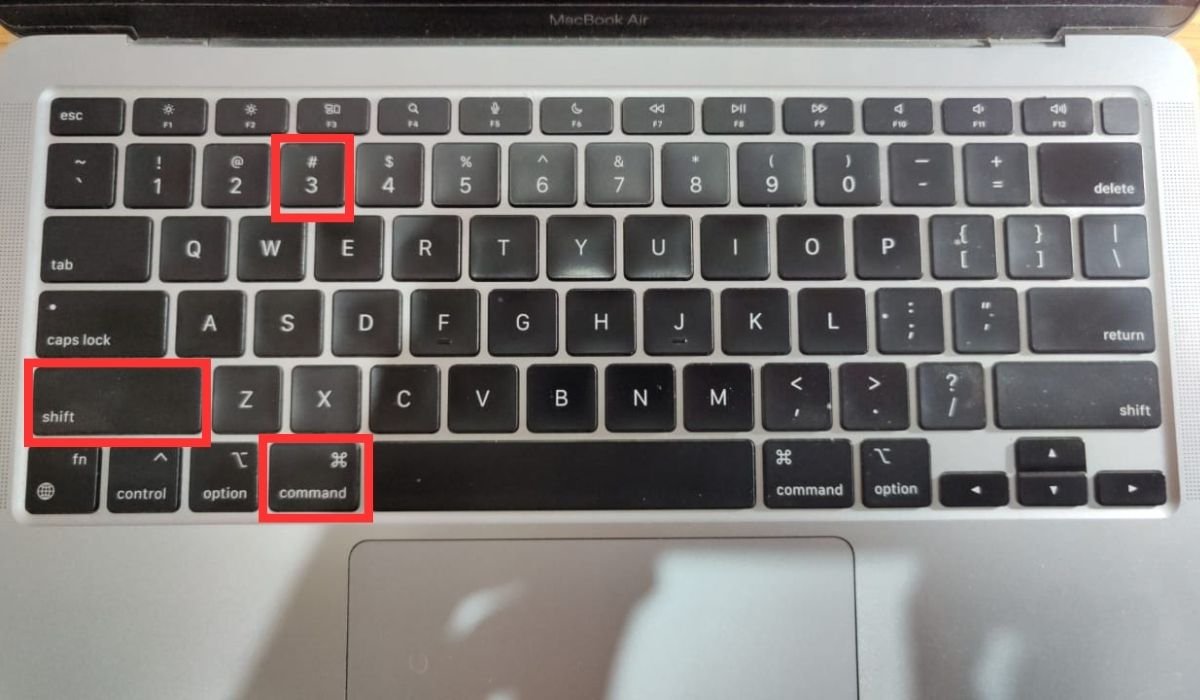
The screen will momentarily flash, indicating the screenshot’s capture. The saved image usually appears on the desktop. This built-in Mac feature provides a quick way to take full-screen snapshots effortlessly.
Screenshot a Part of the Screen (Cmd-Shift-4)
You can also capture a specific area of the screen on your Mac by following these steps:
- Use the shortcut Cmd-Shift-4.


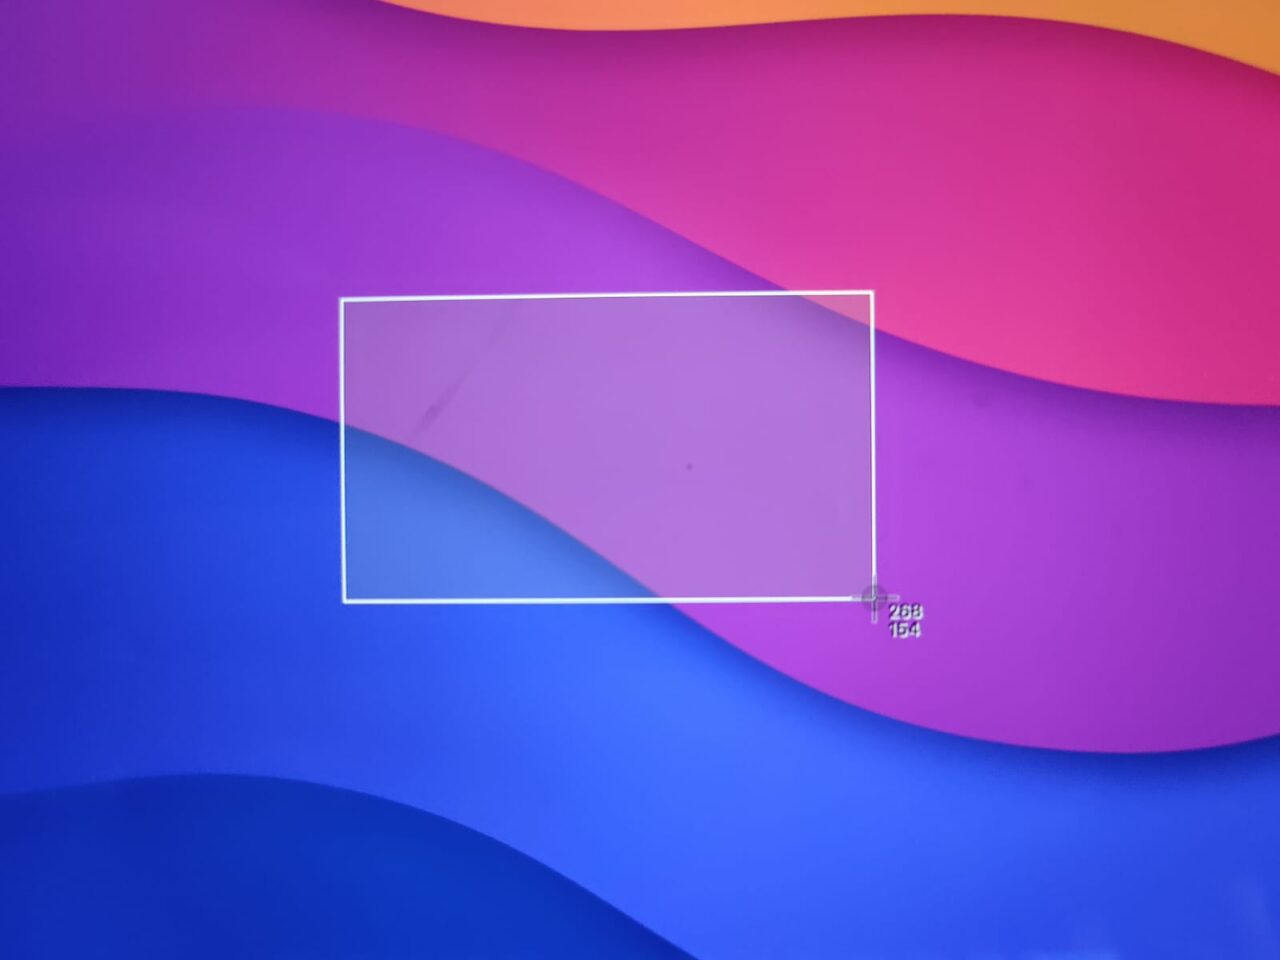
- This command summons a crosshair cursor, transforming your screen into a selection canvas.

- Simply drag the cursor to define the desired capture area, then release it to initiate the screenshot.
- Upon capture, the screen briefly flashes, indicating success.
Once the screenshot is captured, you can use these added shortcuts to extend the utility of this method:
- Press and Release Spacebar: After invoking Cmd-Shift-4, hitting the spacebar changes the cursor into a camera icon that can be moved over any open window. A screenshot is taken by clicking on the desired window, featuring a white-bordered window image with a subtle drop shadow.
- Hold Spacebar Before Release: This variation allows locking the shape and size of the selection while permitting repositioning before capturing. It’s useful for fine-tuning the selection area if it’s slightly off.
- Hold Shift Before Release: Holding down the Shift key post-selection locks all sides except the bottom edge to provide vertical repositioning of the selection area.
Tip: Press and hold Control when taking the screenshot with the Cmd-Shift-4 shortcut to copy it to the clipboard.
Screenshot With the Screen Capture Window (Cmd-Shift-5)
Another great way to capture a screenshot on your Mac is through the Screen Capture window. Simply carry out these steps:
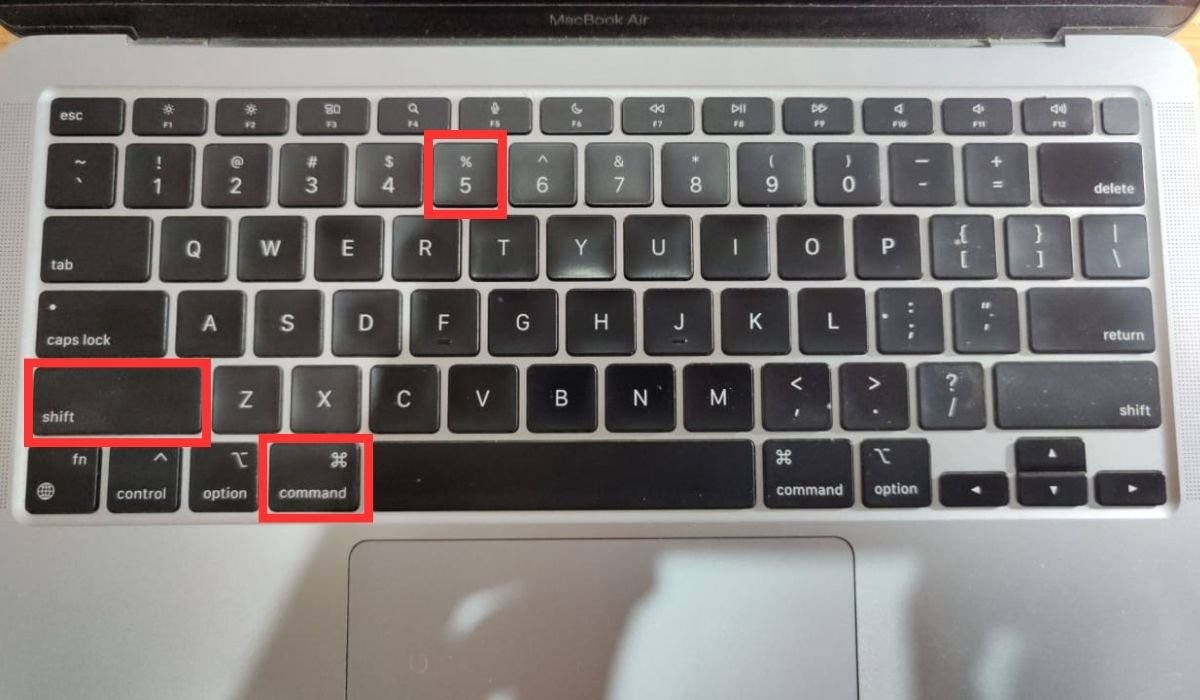
- Use the shortcut Cmd-Shift-5
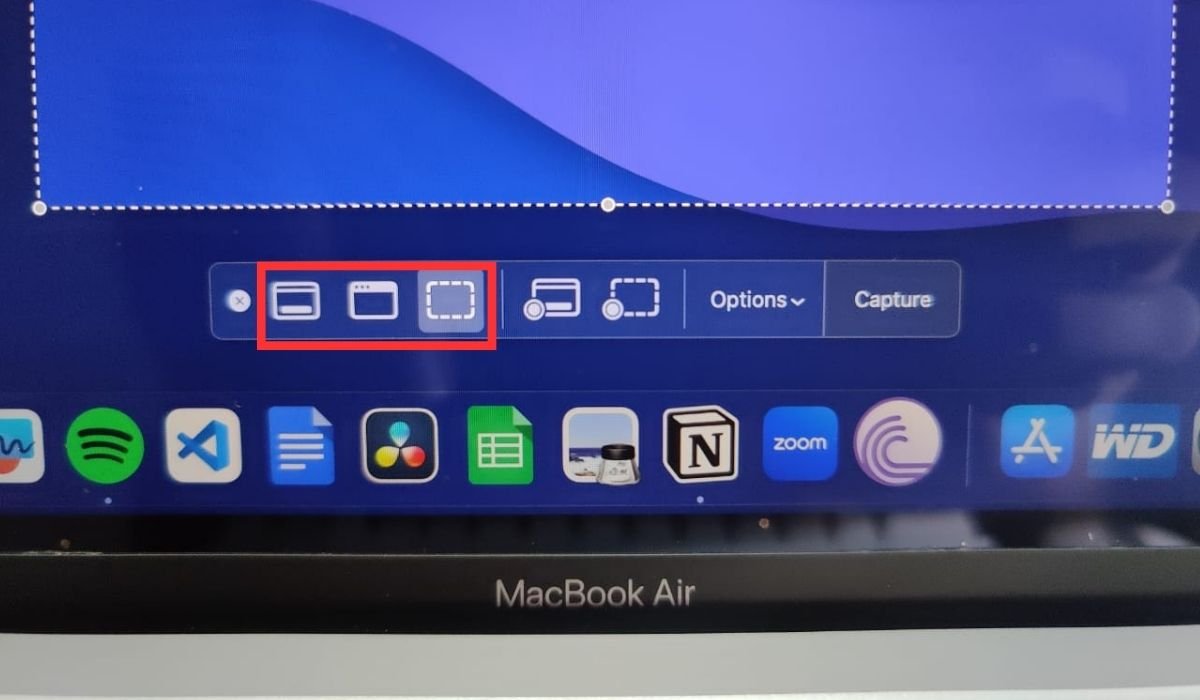
 to open up a screen capture panel at the base of your display, packing versatile screenshot choices.
- This panel offers three screenshot buttons for capturing the whole screen, a specific window, or a custom screen section. Click the button of your choice to take the screenshot.

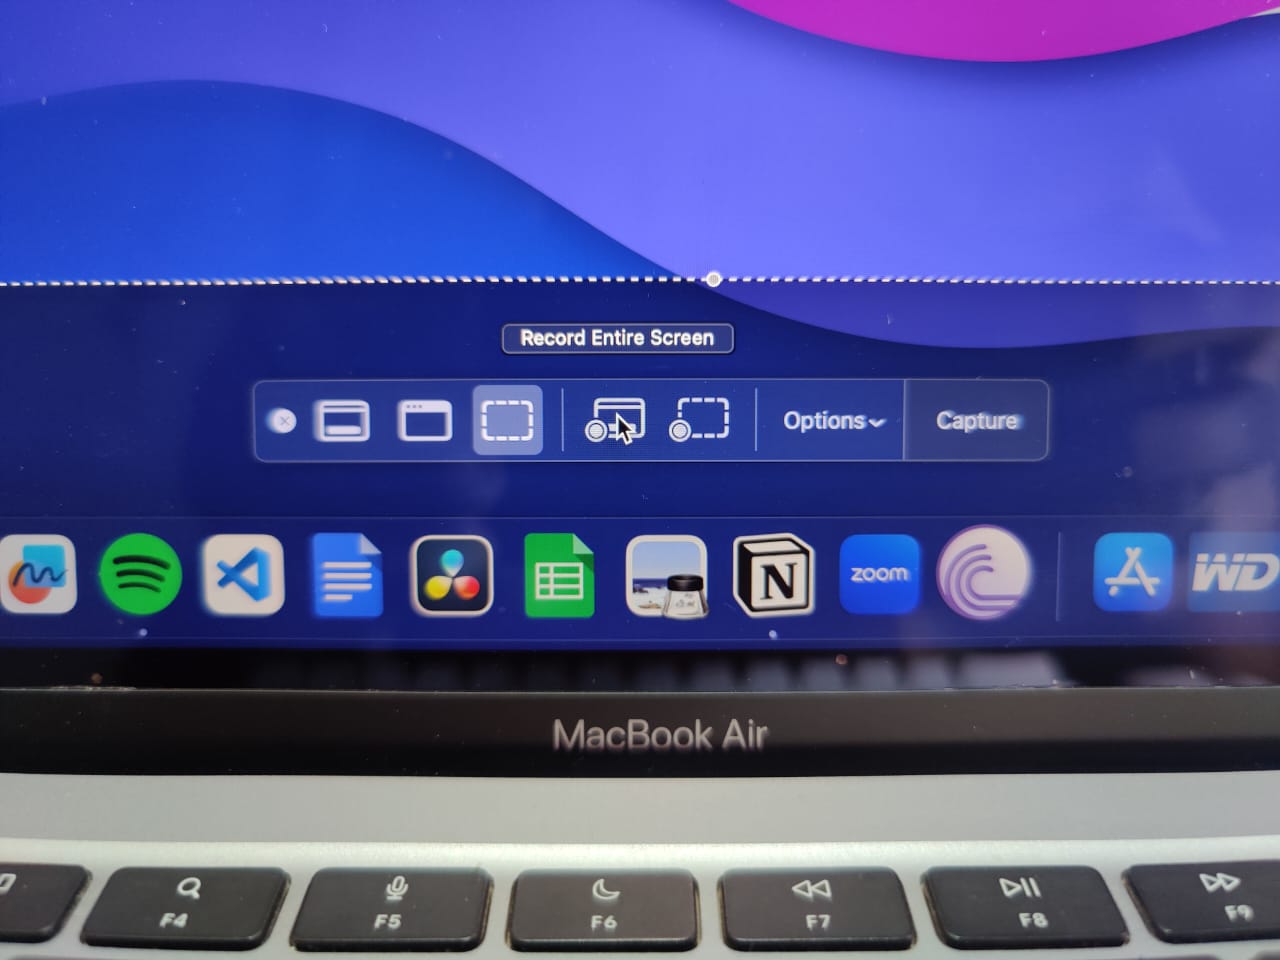
- Other than that, two video-recording buttons are also in place to let you record your full screen or a selected region.
- To exit the panel, you can either click the X button or press the Escape key.
The Options button on the right allows for further customization. It lets you choose screenshot save locations (Desktop, Documents, Clipboard, etc.) and set a 5- or 10-second delay for arranging elements before capturing.
A preview thumbnail feature, like in iOS, is activated by default, appearing in the lower-right screen corner. Unlike iPhones, Mac users can disable this feature. The choice to display the mouse pointer in screenshots or videos is also available.
Screenshot Touch Bar on Mac (Cmd-Shift-6)
An additional option exists for those with an older MacBook Pro featuring the Touch Bar. Press Cmd-Shift-6 to capture the current display on the Touch Bar and get a uniquely elongated screenshot of its contents.
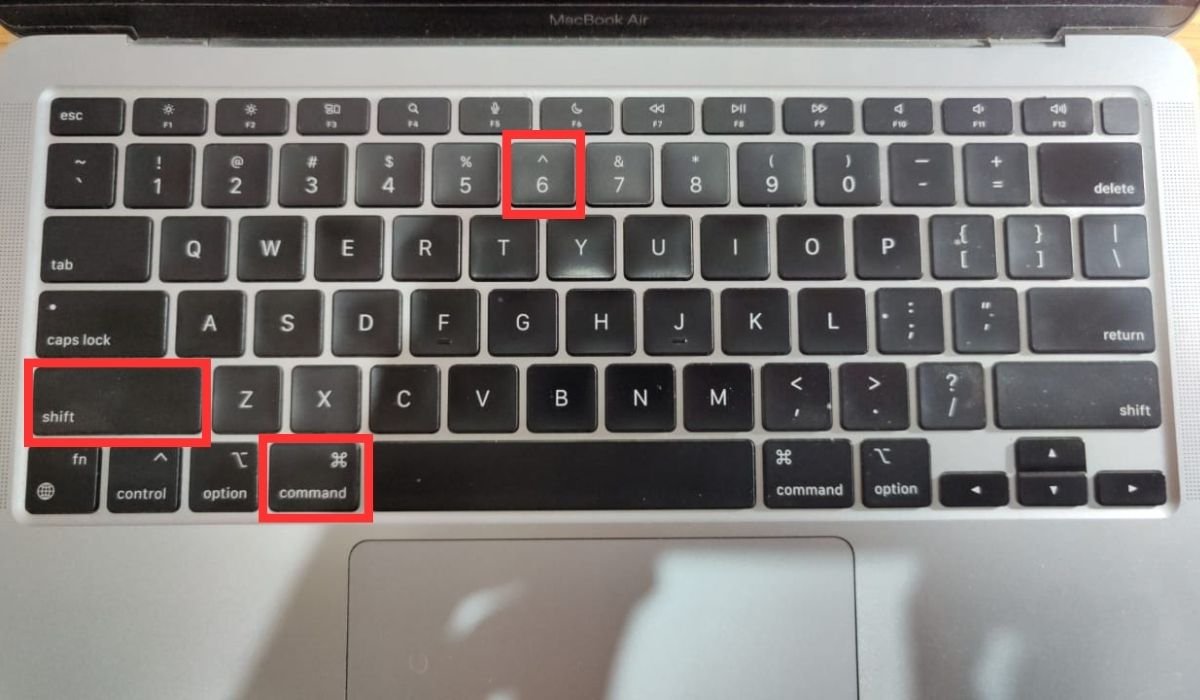
This tailored shortcut lets you document your Touch Bar’s status or layout quickly and effectively.
Use a Third-Party Screenshot App
Another great way to take screenshots on your Mac is by using a third-party screenshot app. These apps offer added screenshot features and customization options to expand your options beyond your Mac’s built-in methods.
Lightshot
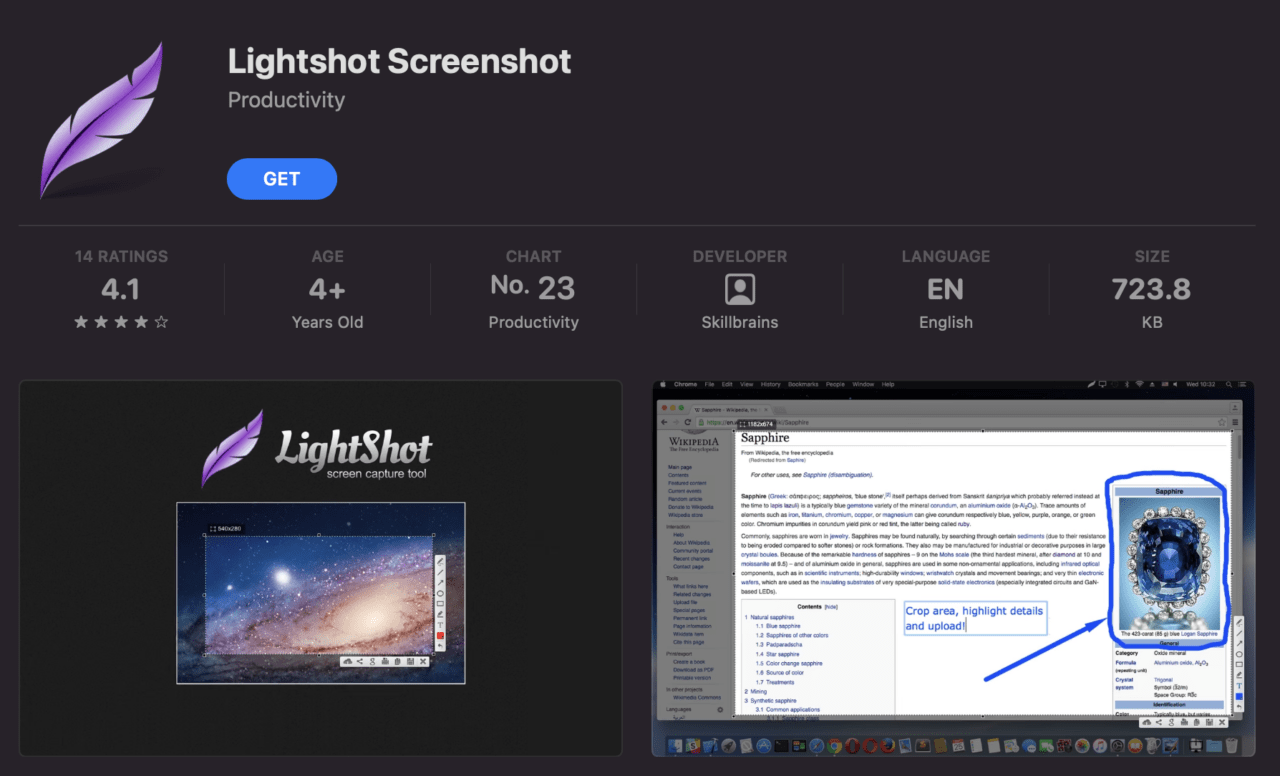
Lightshot is a free screenshot app on the App Store that offers advanced screenshot tools. You can access it through a feather icon in the menu bar or the Cmd-Shift-9 shortcut. You can drag-select the desired area that prompts menus for annotations like lines, shapes, and text. The horizontal menu lets you save, share, and upload your screenshots to cloud storage. Moreover, Lightshot’s convenient “save destination” feature keeps your desktop organized.
Snagit
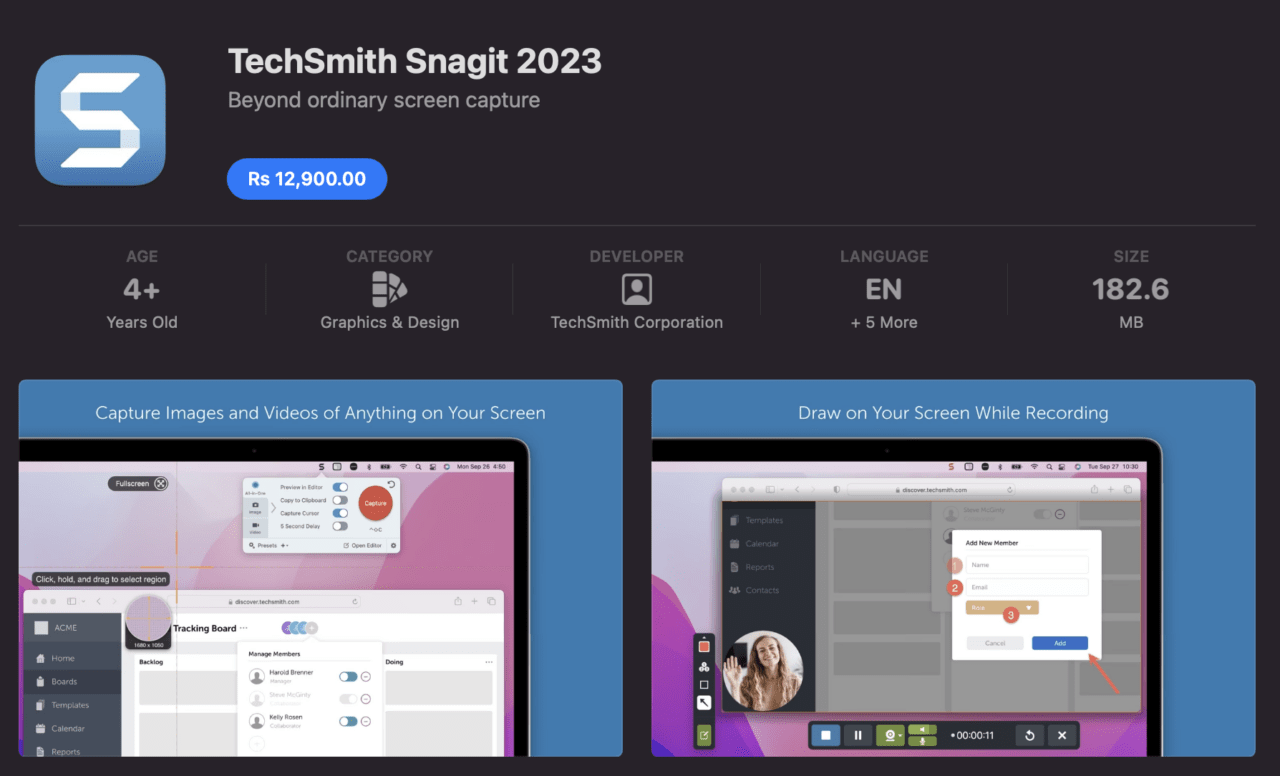
Snagit stands out as premium screenshot software for Mac that provides comprehensive screenshot control. Its advanced features surpass many free alternatives. For instance, it lets you annotate extensively with varied fonts and text details (like shadows and opacity), making it akin to a mini Photoshop. Though it’s a paid app, Snagit offers a 30-day refund option and a free trial.
How to Record Screen on Your Mac?
To record your Mac screen, follow these steps:
- Press Cmd-Shift-5 to access the Screen Capture window.
- In this window, click Record Entire Screen or Record Selected portion to begin recording. Press the Stop Recording button to stop recording.

- Generally speaking, recordings are saved on the desktop so you can access them quickly.
You can also record your Mac’s screen using QuickTime Player. Start by launching the application from your Applications folder. Then, access the File menu in the menu bar and choose New Screen Recording. Within the recording window, you can adjust settings by clicking the arrow next to the record button, such as selecting audio input from your Mac or microphone.
Once configured, begin recording by clicking the Record button. To stop the recording, click the Stop button in the menu bar or use the shortcut Cmd-Ctrl-Esc. Your recording will be automatically saved and can be readily shared with others.
Where to Find Screenshots on Your Mac?
The screenshots you take are usually saved on the desktop for easy accessibility.
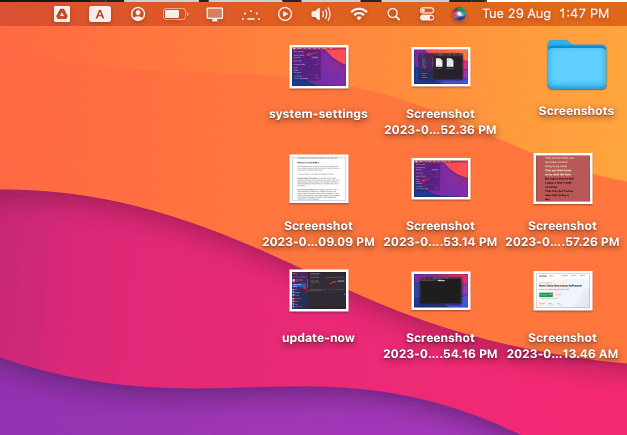
The macOS Mojave and later macOS versions also let you change the default save location for screenshots by clicking the Options menu when taking the screenshot with the Screenshot Capture window (accessed using (Cmd-Shift-5).
Tip: The file names of screenshots always start with Screenshot followed by the date. For recordings, the file names might start with Screen Recording along with the date.
How to Edit Screenshot Keys on Mac?
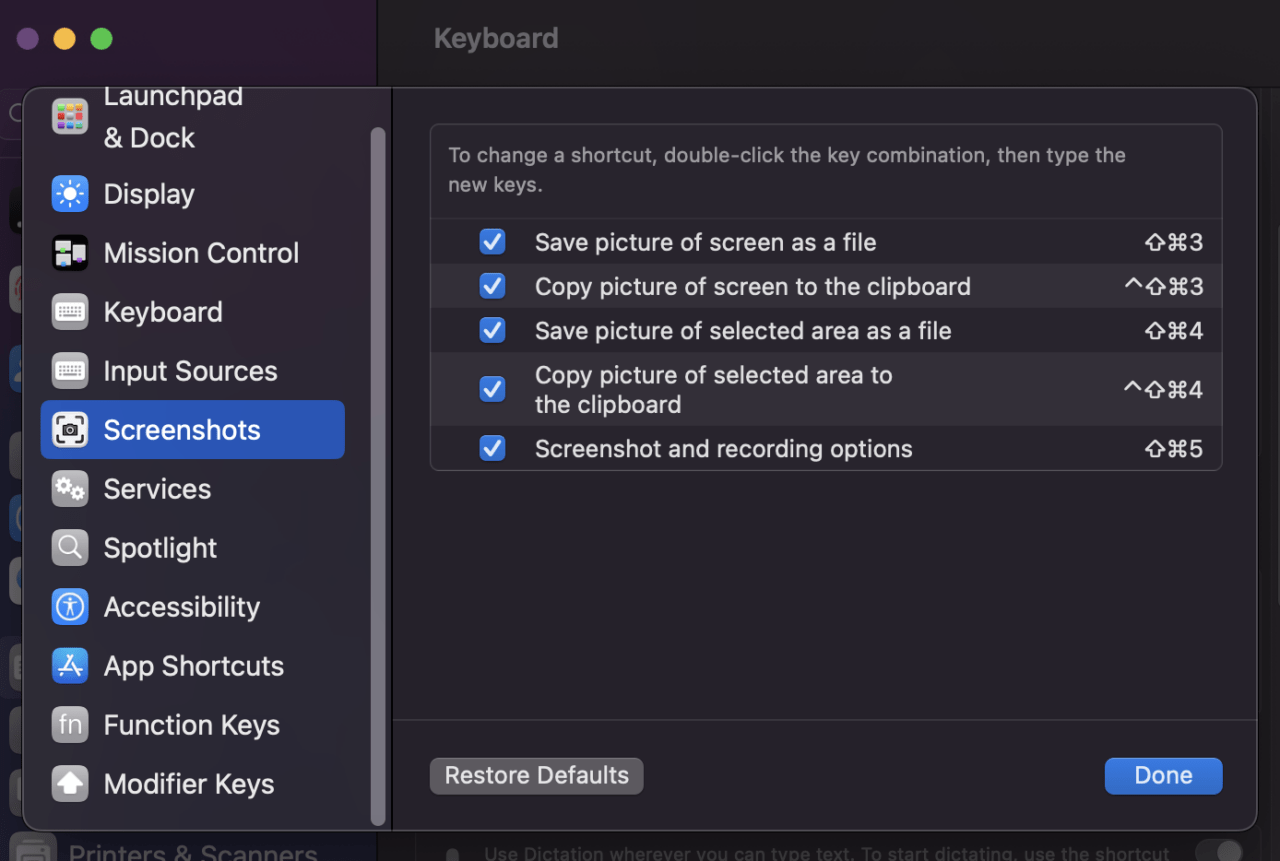
If you’re not satisfied with the default screenshot shortcuts on your Mac, you can always customize them. Simply carry out these steps:
- Access the Apple Menu and choose System Settings (System Preferences on older Macs).
- Within the Keyboard section, navigate to the Shortcuts tab.
- To alter screenshot shortcuts, choose Screenshots from the menu on the left.

- Next, select the specific screenshot option you wish to modify.
- Select the current keyboard shortcut and hold the new key combination you want to assign.
- The new shortcut will be applied automatically.
Tip: To revert changes, click Restore Defaults at the window’s bottom right.
How to Annotate Screenshots on Mac?
After taking a screenshot, this Thumbnail appears briefly, also referred to as the Floating Thumbnail feature.
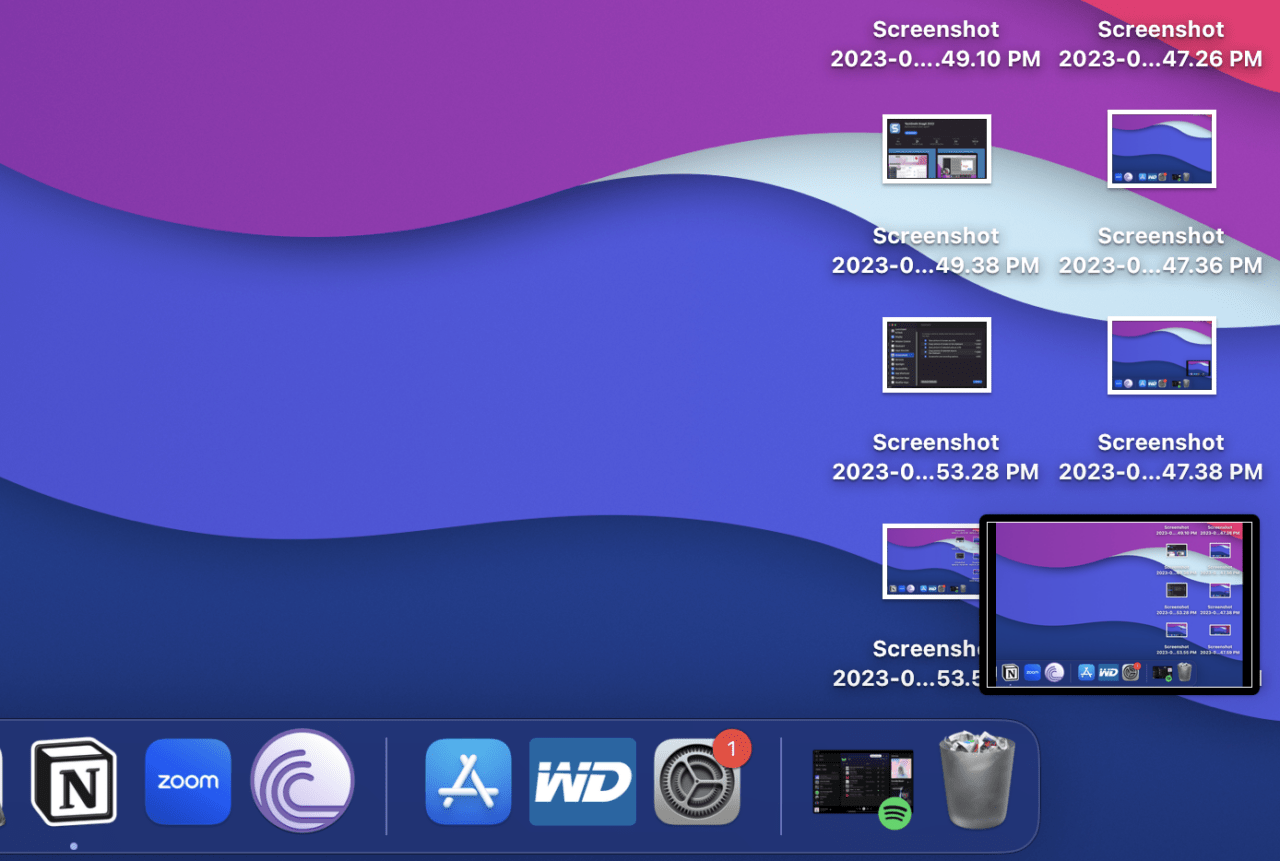
You can either dismiss it so it saves in the selected location or click it to conveniently annotate your screenshot before saving it. As you click on it, a Markup View preview window shows up, packing a range of tools for easy annotation.
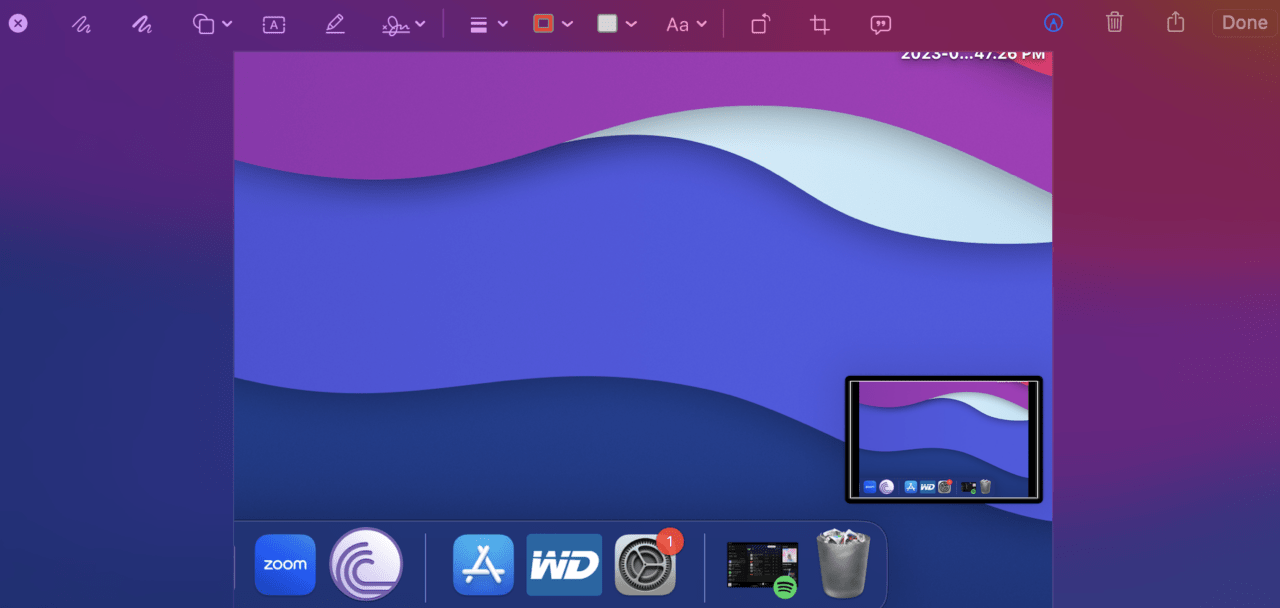
You can also access the following features by right-clicking the thumbnail:
- Save the screenshot to the desktop, Documents, or clipboard
- Open in Mail, Messages, Preview, or Photos.
- Open in the Markup preview window.
- Close (with saving).
- Show in Finder.
- Delete.
Taking Screenshots is a Skill You Should Master!
In today’s digital landscape, mastering the art of taking, editing, and sharing screenshots is an important skill. Whether for work, communication, or creative projects, this skill streamlines conveying information effectively. Fortunately, Mac provides various intuitive methods for capturing screens and annotating images. This guide has highlighted the diverse options at your disposal, so you can seamlessly harness this skill in various scenarios.
If you've any thoughts on How to Take a Screenshot on Mac: 5 Easy Methods, then feel free to drop in below comment box. Also, please subscribe to our DigitBin YouTube channel for videos tutorials. Cheers!
