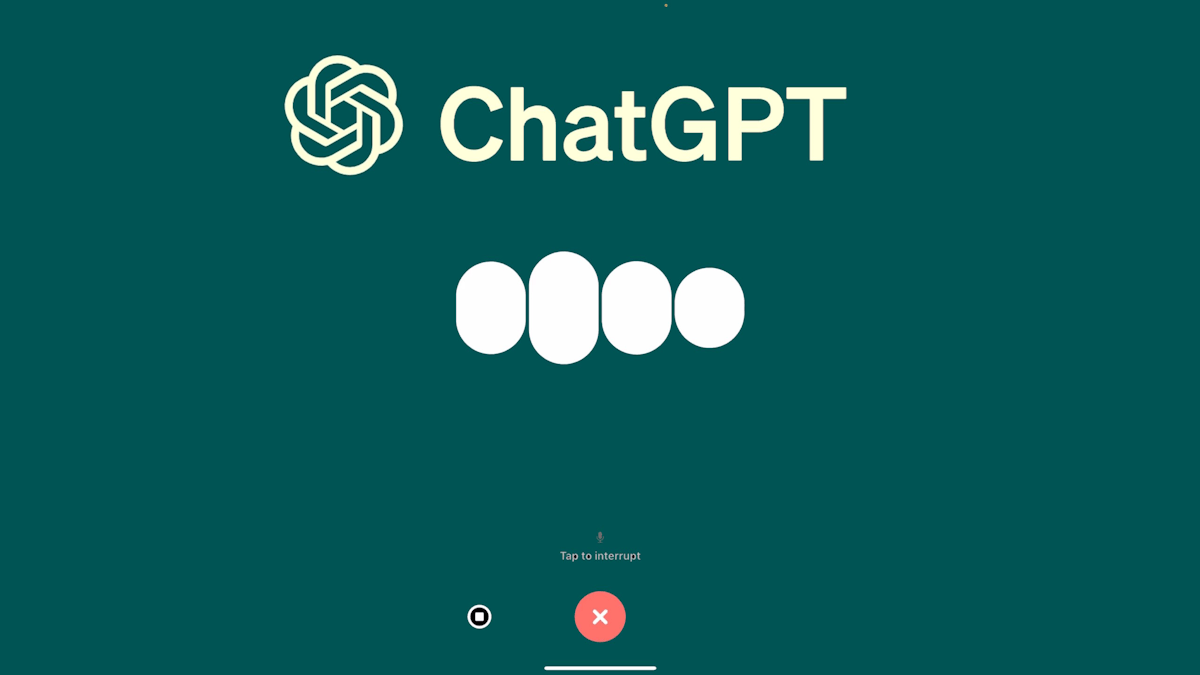
Google Assistant is the default assistant app on all Android devices. It is undoubtedly the best option for fetching information. However, if you want a more interactive assistant, one that offers conversational depth and contextual understanding, ChatGPT certainly seems like a better choice. It could be your go-to buddy for generating creative ideas, explanations, tutoring, and solving complex problems.
Now, if you imagine having ChatGPT as your default voice assistant, sadly, the official ChatGPT app doesn’t support this feature yet. But what if we tell you we have encountered a workaround that lets you set ChatGPT as the default voice assistant on Android?
Sounds fun, right? While the current GPT app doesn’t allow users to set it as default, the OpenAI team is working on this feature. But until they introduce it to the official app, we have got a simple hack to get the job done. Here is a complete guide to show how to change your default Android assistant to ChatGPT.
Having ChatGPT as the default assistant will enhance the user experience with personalized responses and feedback. Although the GPT app has no such feature, we came across a third-party plugin that extends its capabilities and enables it to be set as an alternative to Google. Below is a step-by-step breakdown of the process.
Now, you are all set to start your first conversation with ChatGPT as your default voice assistant. Every time you press and hold the Home button on your screen, it will open the ChatGPT voice assistant. You can ask your queries and get instant answers from your advanced assistant.
Additionally, if you wish to see a description of your voice conversation, tap the back button. This will open the Voice GPT app showing a list of all your queries and AI responses over voice.
Although VoiceGPT is a third-party application, it integrates seamlessly with the official ChatGPT app and offers a great experience. Besides, the simultaneous responses and conversation style almost make the user feel like talking to a real person.
However, note that ChatGPT does not have access to the internet and hence cannot provide you with real-time data. If that’s not an issue, it is certain to provide a great user experience. Just make sure to follow the steps carefully, and you are just a few clicks away from having a powerful AI assistant at your service.
This post was last modified on November 30, 2024 2:47 pm