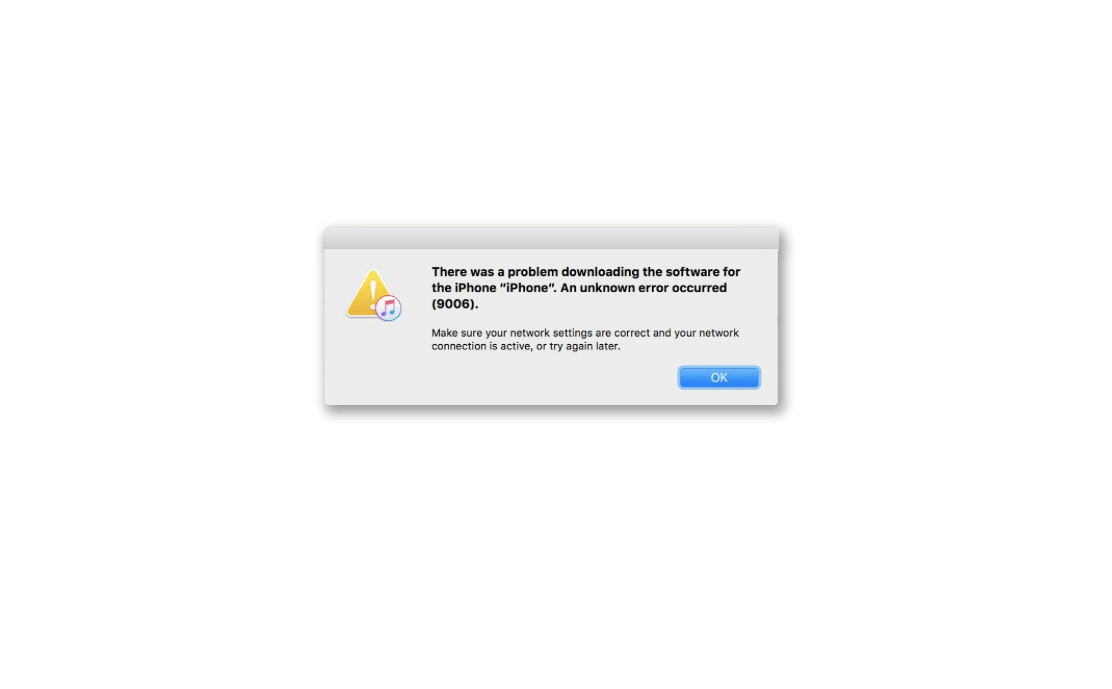

Fix iTunes Error 9006
In this guide, I am going to tell you how to fix iTunes error 9006. This technical error occurs when you have connected your iPhone to the PC and trying to install an update via iTunes. When for some reason the connection to the Apple Servers is not established you see the iTunes error 9006.
There may be some technical issue with your internet connectivity. Or the anti-virus on the PC may not allow the installation of a new app considering it as a potential threat. Most people forget to update the apps that they and the same may be the case with iTunes. If you are seeing the iTunes 9006 error, then you may be using an older version of iTunes which you need to upgrade. Various other reasons can cause the error 9006 on iTunes.
I have listed the possible reasons as well as a detailed guide to fix these errors by following some easy troubleshooting methods.
Here are the troubleshooting methods you need to follow to fix the 9006 error with iTunes.
For starters, you can try to restart your computer. Often a simple technique like rebooting the PC fixes up the major issues.
You can disconnect the iPhone from the cable and the PC. Then restart the iPhone if there is some small technical glitch that can be fixed easily.
Many users run iPhone on beta iOS which may be buggy. So, it is important to timely install iOS updates when they are available to stay clear of bugs.
The Windows OS may also have some problem that is causing interference with iTunes leading to Error 9006. So, you can try to update the Windows OS as well.
If you feel the Anti-virus on your PC is not allowing you to install an update or do anything that you are trying to do via iTunes, you can temporarily disable the anti-virus on the PC.
If you are using Windows Security, then you can disable it.
If you have a third-party anti-virus app installed on your computer, open that app and you should find an option to disable its services for a short time.
If the internet connection is unstable then your desired action in iTunes cannot be executed as you will not be able to reach the Apple servers thus leading you to experience iTunes Error 9006.
So, get technical help from the support team of your ISP. Otherwise, you can try connecting to a different network that is stable. You can also try to disconnect and re-connect your internet connection.
Also, don’t use VPN and if it is enabled, then disable it before using iTunes.
As per my earlier mention, the iTunes error 9006 is often related to the failure of connectivity to the Apple servers. While it rarely happens, Apple servers for iTunes may be down.
You can do that by visiting the official Apple System Status website. As of this writing, there is no issue with iTunes services as you can see from the screenshot attached below.
The IPSW file is a profile of the iOS that is installed on the iPhone. It may have been corrupted thus creating the iTunes error 9006. You can try to remove that file.
On Windows PC,
Windows Firewall is designed to block applications that it may recognize as a potential threat to the computer. Even though installing an update or transferring a file may not be a threat but if executable files are involved Firewall will most likely block it unless you whitelist the concerned app which is iTunes in this case.
So, these are the various troubleshooting methods that you can use to fix the iTunes Error 9006.
This post was last modified on October 30, 2021 5:16 pm