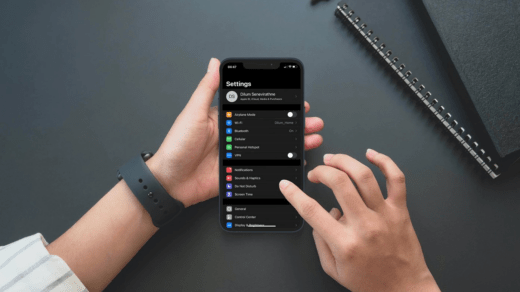
In this guide, I’m going to explain to you how you can disable the touchscreen on the iPhone or iPad so that when your child gets access to your device won’t get to mess around with it.
Let me simplify this. Let’s say you have got kids at home and they use your iPhone or iPad for watching any kid’s content. You cannot monitor your kids round the clock. Kids being curious may try to open the browser and surf something that is not meant for them. They may try to purchase any game or any other things that are not required.
So, there is this feature that allows you to disable the touchscreen on your iPhone or iPad before you give it to your child to use. They can only watch or use that one app that they require. If they are supposed to watch only YouTube Kids, they can’t use the iPhone or iPad to use some other app. iOS and iPadOS have a feature that restricts the touch function entirely on the phone. Let us know what is it and how to enable it.
Disable Touchscreen on iPhone or iPad Using Guided Access Feature
You can simply enable this feature called Guided Access before handing over the iPhone or iPad to your kids. Once they are done using, you can re-enable the touchscreen for your use.
Steps to Enable Guided Access on iPhone or iPad
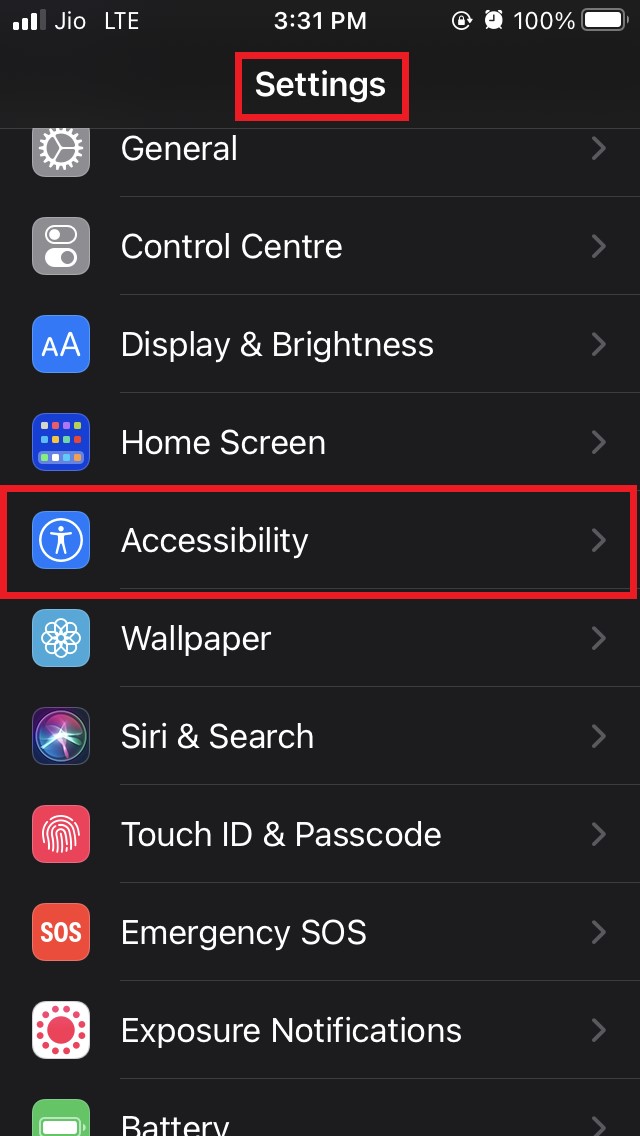
- Open the Settings app
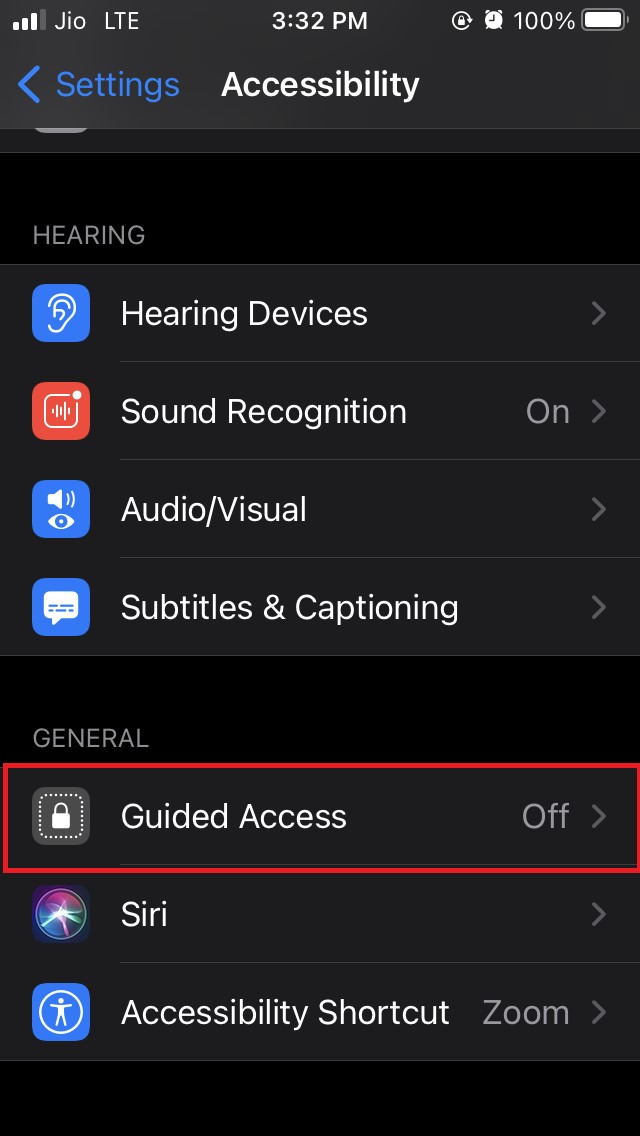
- Navigate to Accessibility and tap on it

- Under Accessibility go to Guided Access and tap on it to open it

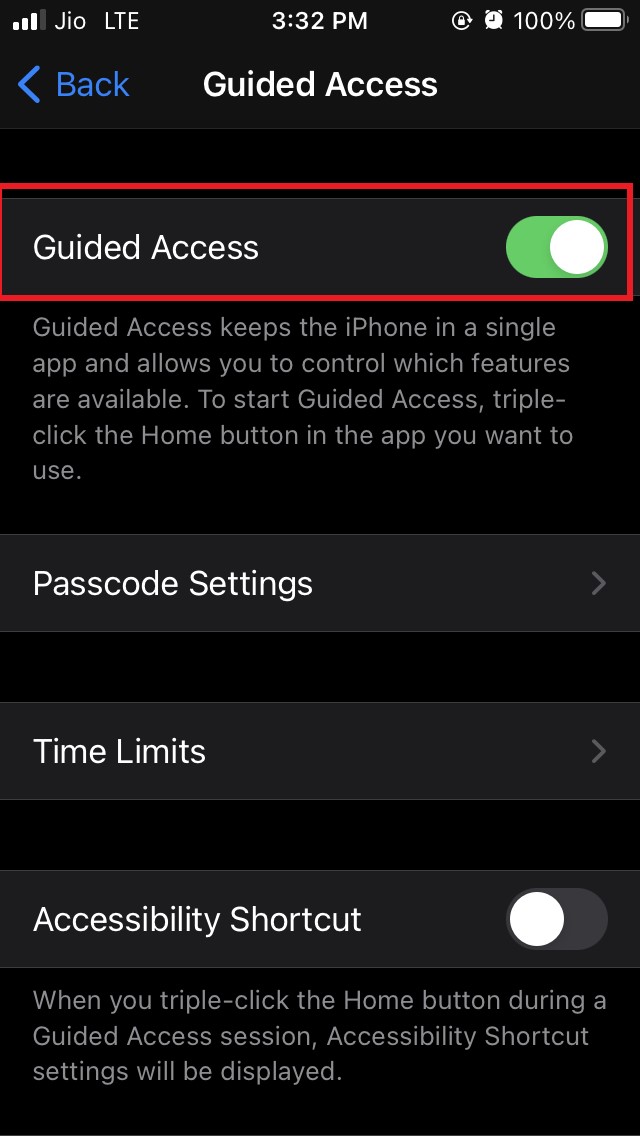
- Tap on the switch beside the option Guided Access to enable it

- Open the app that your kid wants to use
- Click 3 times successively on the home/Touch ID button [if your iPhone doesn’t have Touch ID press the side button instead]
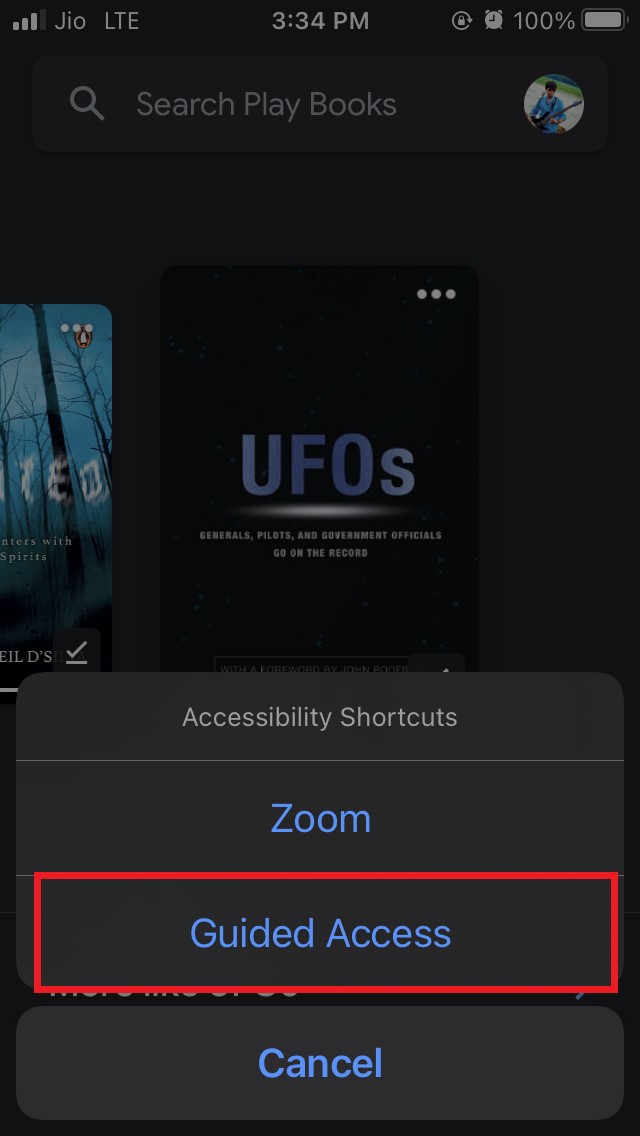
- The Shortcuts Accessibility menu will show up at the bottom of the screen.
- From the menu tap on Guided Access

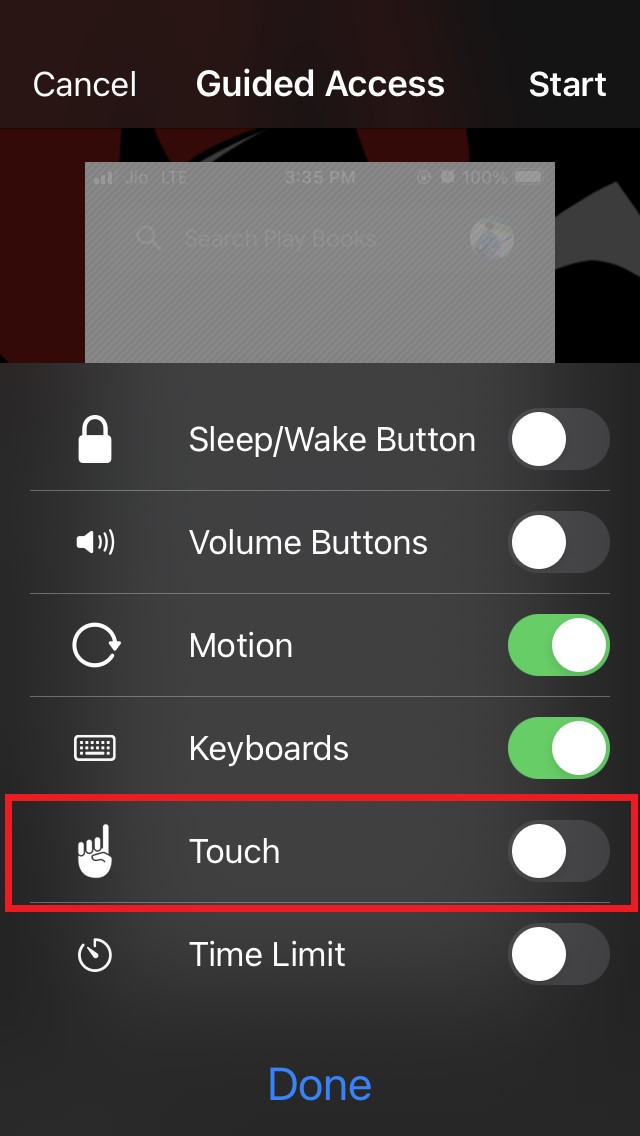
- Under Guided Access, tap on Options.
- Another menu will show up.
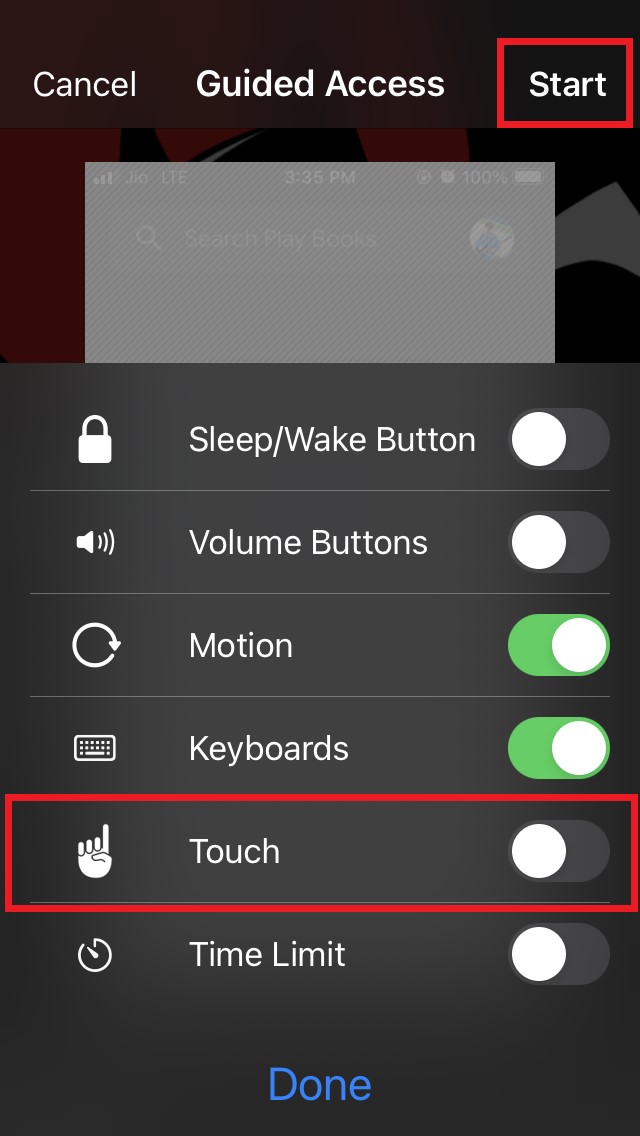
- From that, disable the option touchscreen by tapping on the switch beside it.

- Then on the top right corner, there will be an option Start. Tap on it.

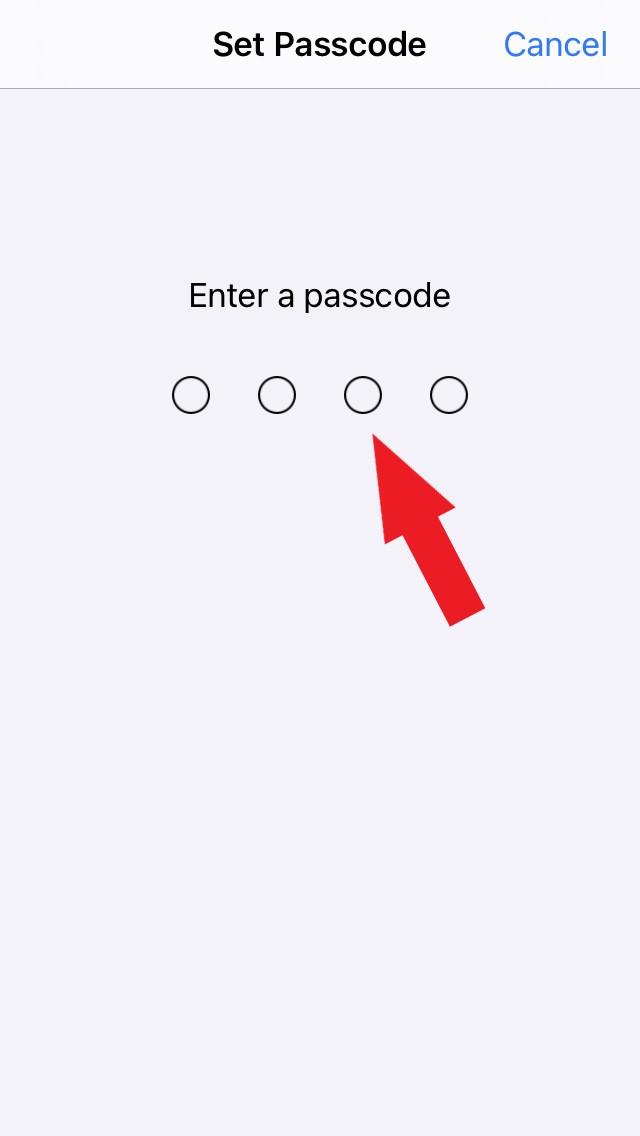
- Up next, you have to set a passcode. You will require it later to exit the Guided Access or if you want to access the settings of the Guided Access feature and make changes to it. It is important to note that only you should know this Passcode and not your kids.

Now, the touchscreen of the iPhone or iPad is disabled. Only one app that your kids will use is available. They can only use that app. Apart from that, they cannot access anything else.
If they touch the screen, the following message will display at the top of the display.
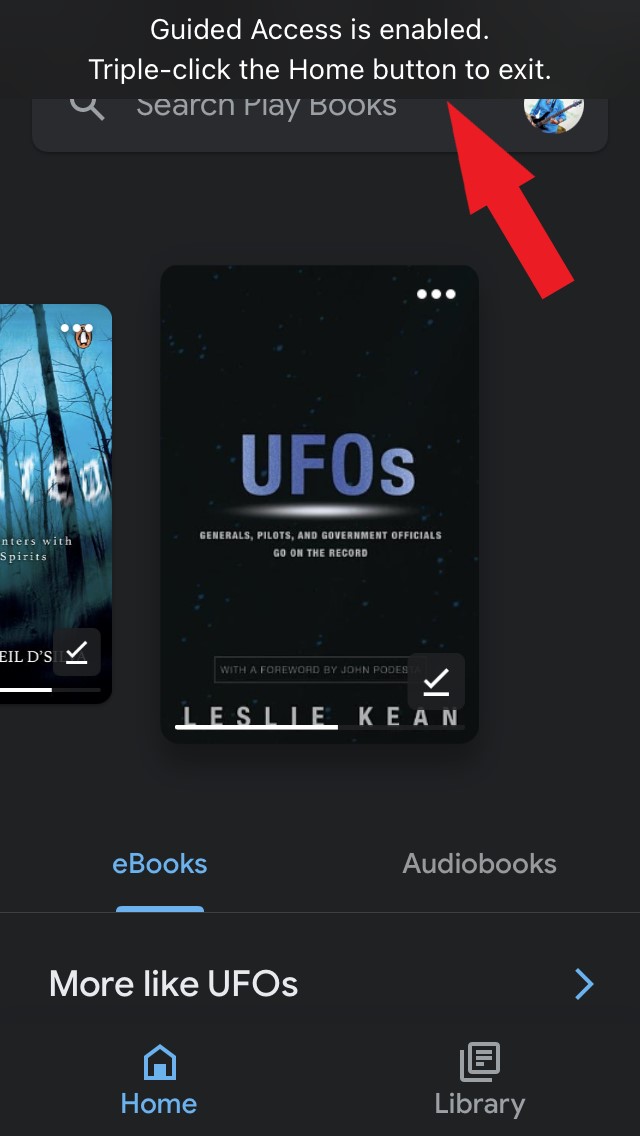
To disable Guided Access your kids need to have the passcode that only you know. Hence, only you can re-enable the touchscreen.
Steps to Re-enable Touchscreen on iPhone and iPad
I have also put up the steps below that you can follow to exit the Guided Access feature and re-enable the touchscreen on your iPhone.
- Click 3 times on the home button/Touch ID [side button if you have an iPhone without Touch ID]
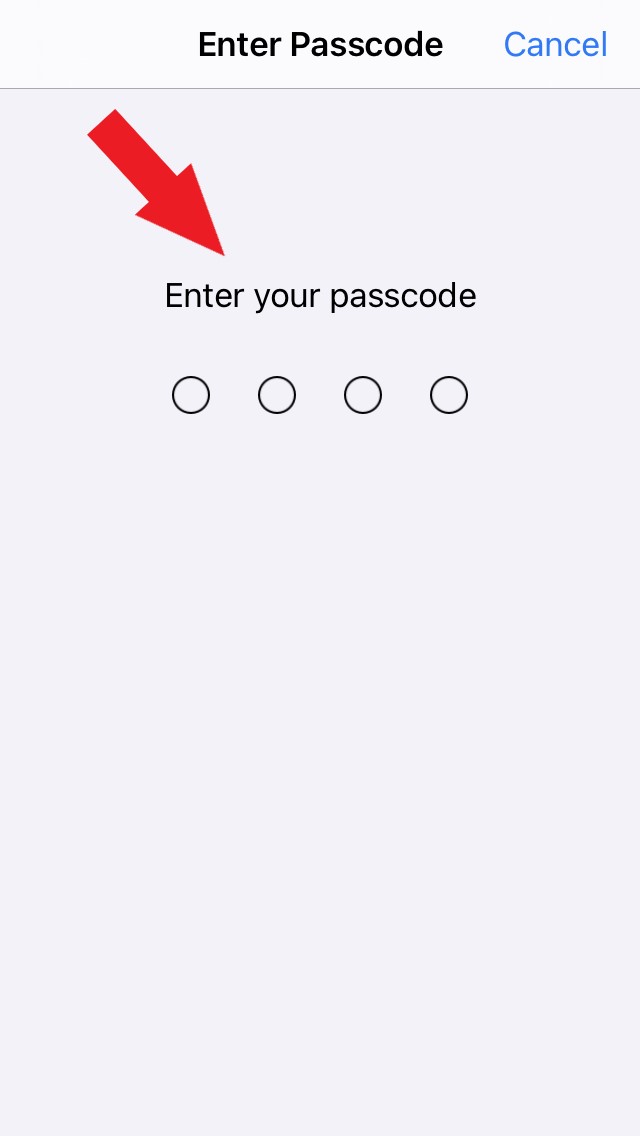
- Next, you have to enter the passcode that you have set in the previous section of this guide

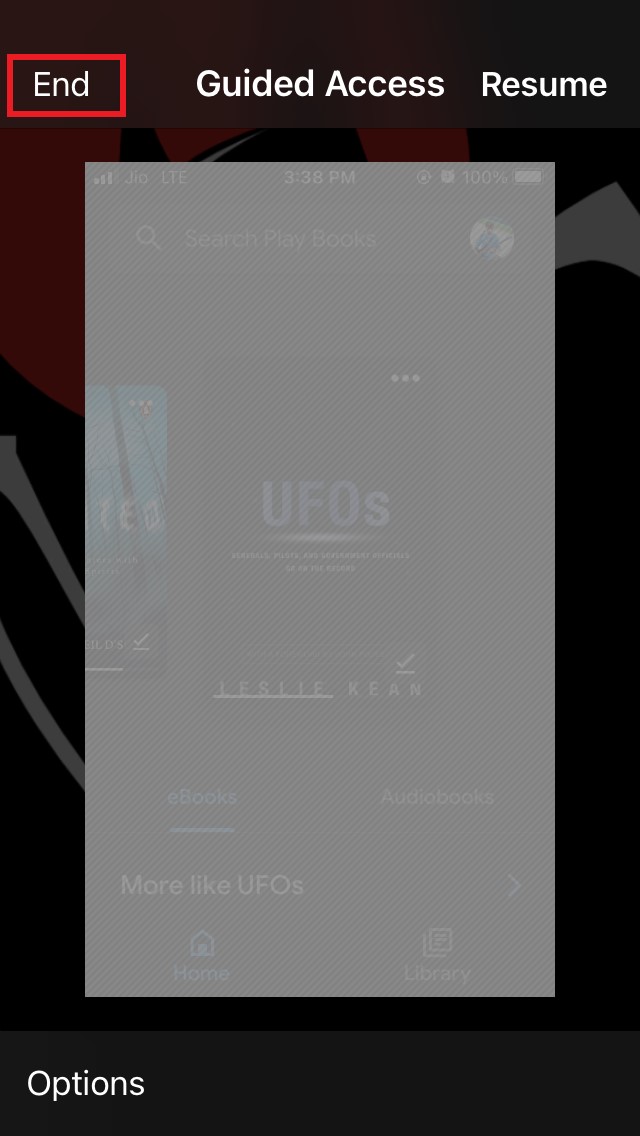
- You will redirect to the Guided Access menu settings
- Directly, you can tap on End to finish that session of Guided Access.

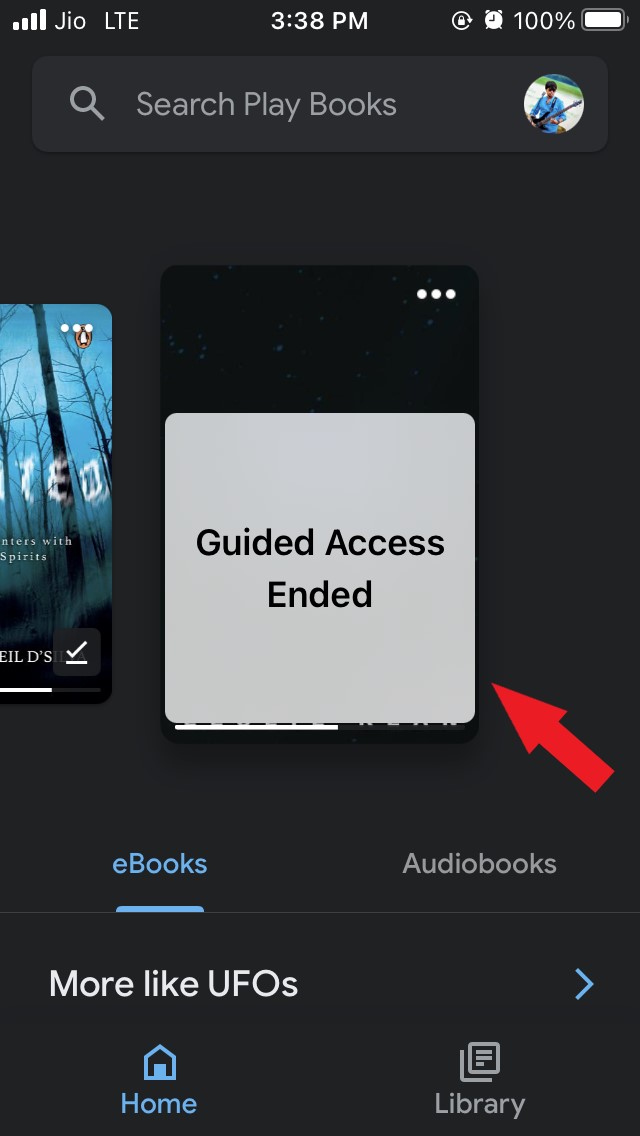
- Otherwise, you can tap on Options at the bottom left side and tap on the switch beside Touchscreen to re-enable it. Once the guided access session ends, a pop-up will notify you of the same.

So, that’s all about how to disable touchscreen on iPhone and iPad to keep control of how your kid uses the devices and not mess around or misuse it.
If you've any thoughts on How to Disable Touchscreen on iOS for Kids?, then feel free to drop in below comment box. Also, please subscribe to our DigitBin YouTube channel for videos tutorials. Cheers!
