Your Mac has hidden files for a reason, and it’s usually a good idea not to mess with them. But if you ever need to access or modify these files for some reason, you can use Mac’s built-in features or third-party apps. In this guide, we’ll explore more about hidden files on your Mac, where they are located, and how to show hidden files on your Mac. Let’s get started!
Why Are Some Files Hidden on Mac?
Some files are hidden on Mac for reasons like system functionality and user experience. Firstly, they protect system stability by preventing accidental changes to important system data that could harm the operating system.
Secondly, hidden files protect user privacy and security by storing sensitive information like Wi-Fi passwords, preventing unauthorized access.
Last but not least, most users don’t need to view these files unless they face specific issues or if they have a particular task that requires access to hidden files. So, these files remain hidden to maintain a cleaner and more user-friendly macOS experience, letting users enjoy a clutter-free interface.
Where Are Most System Files Hidden on Mac?
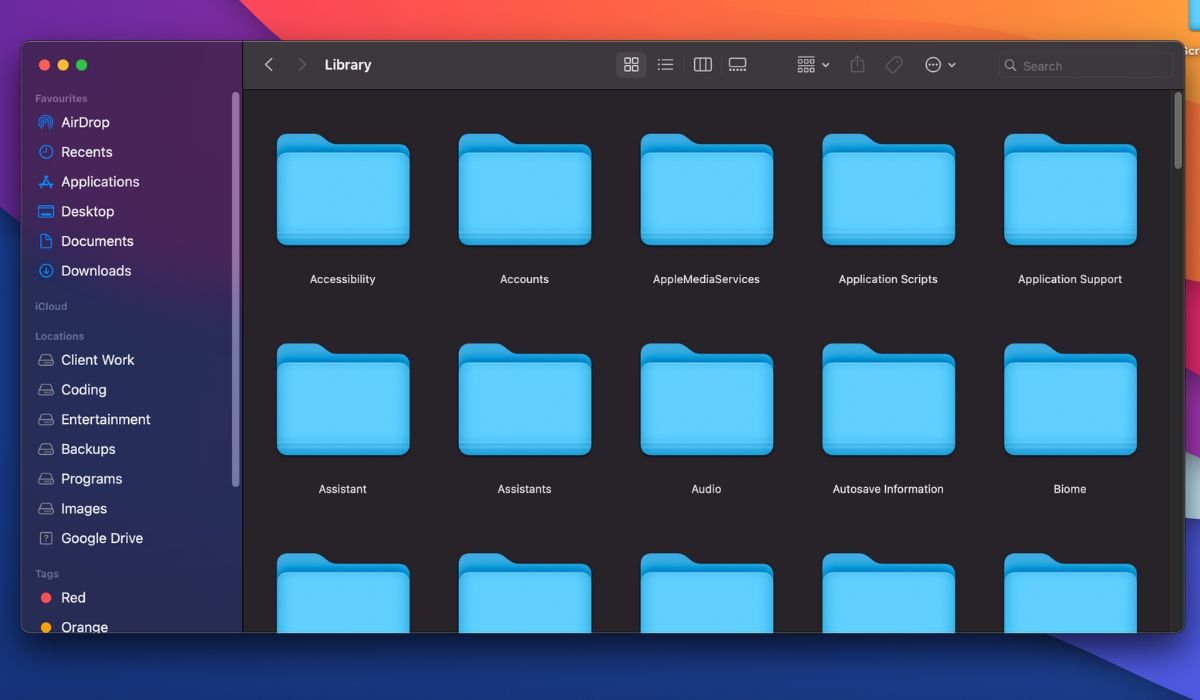
Most system files and important folders on your Mac are hidden in the Library folder. But you won’t usually see the Library folder in the Finder app because it’s hidden to prevent accidental changes or deletions, which could cause problems for your Mac.
Inside the Library folder are various subfolders, each with its own purpose. For instance, preferences for your applications, system settings, configuration files, and other support files are stored here. You can access the Library folder on your Mac through different ways, like:
- Finder
- Terminal
- Keyboard shortcuts
- Third-party file managers
We’ll explore each of these methods in detail below.
Tip: You can view all the hidden files inside the Library folder, make sure you don’t change or delete these files without knowing what you’re doing, as it can harm your Mac or even make it stop working.
Tip 2: Be extra careful about the files that are grayed out, as they’re super important, and it’s worth not interfering with them unless you’re an expert.
With that out of the way, let’s roll in.
How to Find Hidden Files Using Finder?
You can access hidden files in the Library folder with Finder, the default file management program on Mac computers. Simply carry out these steps:
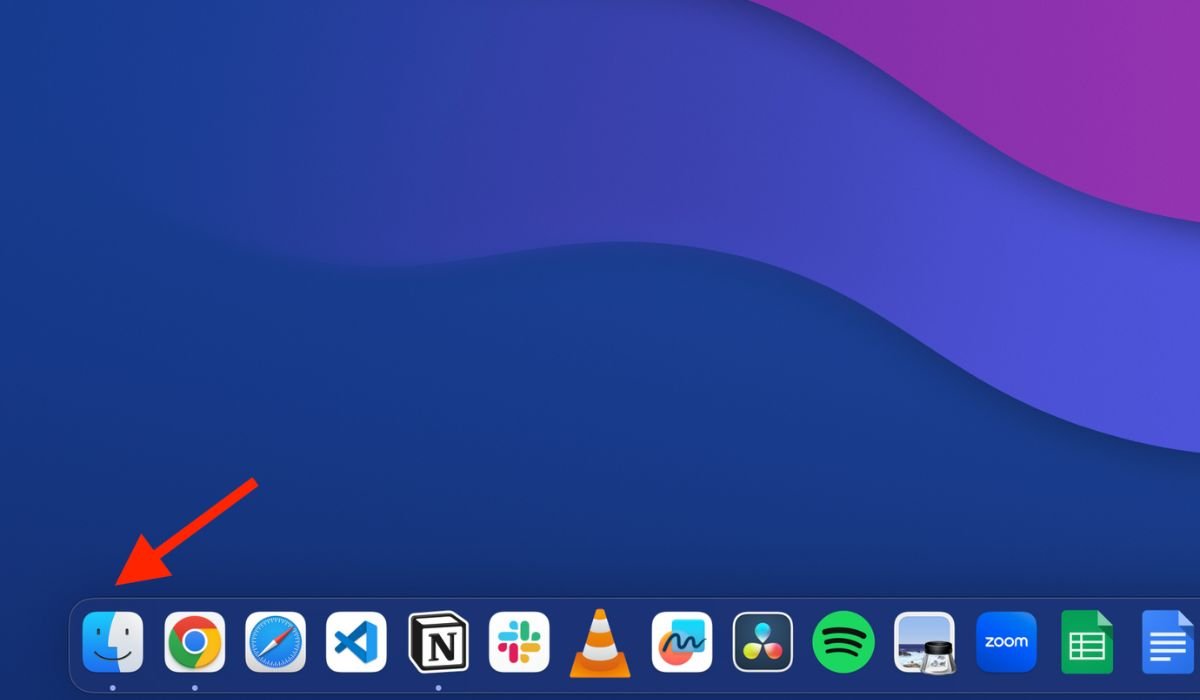
- Click the Finder icon in Dock at the bottom of your screen.

- Hold down the ⌥ Option key on your keyboard and then click on the “Go” menu at the top of your screen.
- In the drop-down menu, select “Library.”
- This will open the Library folder, where you can see hidden files.

How to Find Hidden Files Using Terminal?
Terminal on a Mac is a text-based app where you can give commands to show the hidden files. Here’s how to do that:
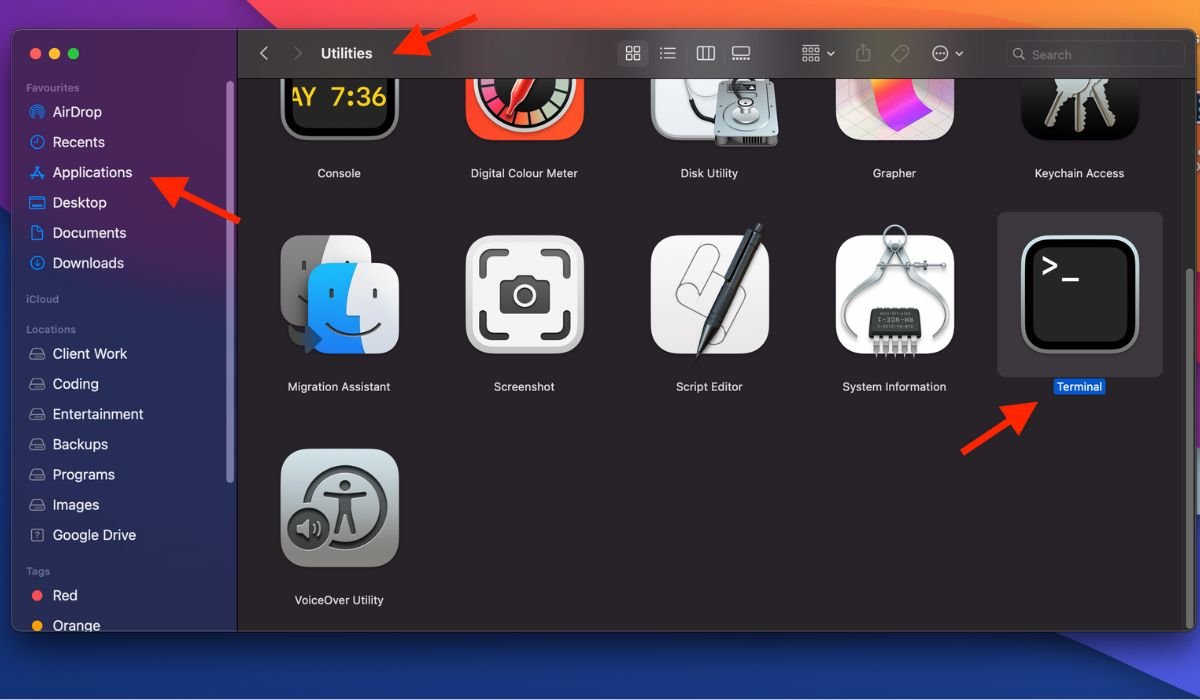
- Open Finder and go to Applications > Utilities > Terminal.

- After running the command, type the following command and press Enter again.
killall Finder
- In Terminal, type the following command and press Enter:
defaults write com.apple.Finder AppleShowAllFiles true
This command will make your Mac restart Finder and apply the changes. Once done, you should be able to see the hidden files on your Mac.
Good to Know: If you want to hide the files again, enter the following command in Terminal and press Enter:
defaults write com.apple.Finder AppleShowAllFiles false
You need to execute this code to hide all the files.
How to Find Hidden Files Using Keyboard Shortcuts?
Keyboard shortcuts are a quick way to find hidden files on your Mac. Simply carry out the following steps:
- Open Finder and navigate to the Library folder or any other folder with hidden files on your Mac.
- Hold down Command, Shift, and the period key at the same time (Command + Shift + .).

This will make hidden files in the folder appear. If you want to hide them again, press the same key combo again (Command + Shift + .) to hide the files. This method requires you to open a folder with hidden files. But you can also go to your desktop and use this shortcut to show hidden files on your desktop.
How to Find Hidden Files Using Third-Party File Managers?
While Finder and Terminal are the default apps on your Mac, you also have the option to use third-party tools for finding hidden files. The following tools provide a more user-friendly approach and have additional features like detailed search options, visual representations, and simplified access to hidden files.
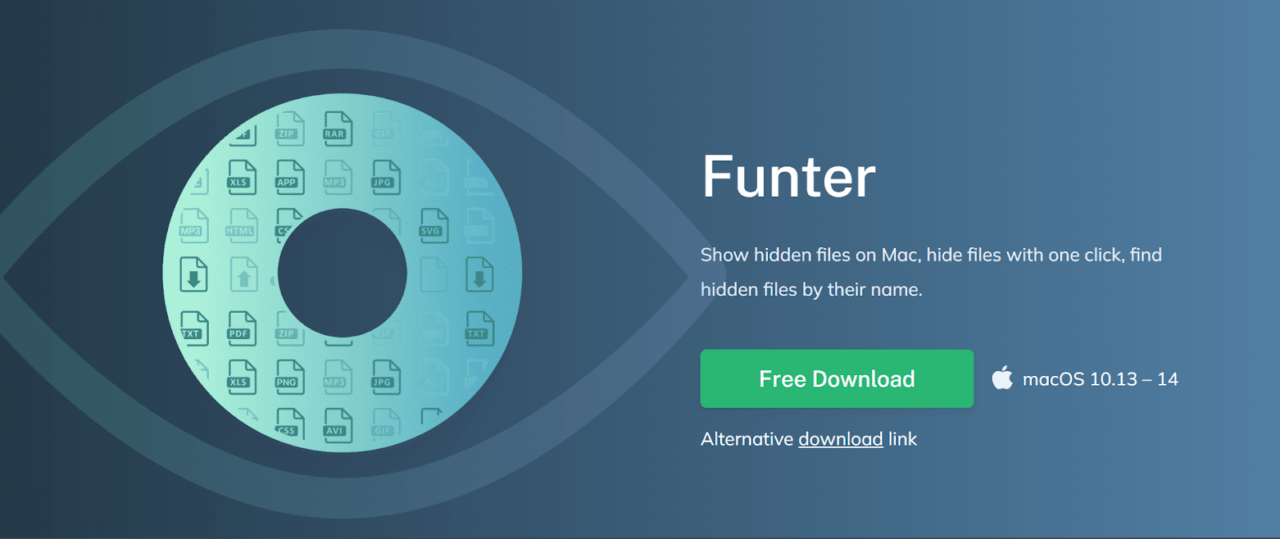
Funter

Funter is a great app for Mac users who want to easily manage hidden files and folders without following manual guidelines. This app has a user-friendly interface and requires no technical expertise, so even beginners can use it.
The best thing about Funter is that it’s free and has many useful features. It lets you quickly toggle hidden files on and off, making it effortless to access them when needed. Moreover, Funter offers a convenient way to securely delete files, which is great for maintaining privacy and freeing up disk space.
Forklift

Users who need to visit hidden files frequently should get a Forklift. It’s a paid app but offers features that are worth the money.
One such feature is its dual-pane interface, which allows users to drag and drop files between different locations effortlessly. Such an interface makes it easy to manage files, whether you’re moving documents, photos, or entire folders.
Moreover, ForkLift supports various protocols like FTP, SFTP, and WebDAV. This feature is excellent for those who frequently work with remote servers or cloud storage services. Advanced file synchronization options also make it easy to keep files up-to-date across multiple devices.
Final Words
Accessing hidden files on a Mac isn’t hard if you know how to find them. While built-in apps provide a quick way to access hidden files, you can also use third-party tools to manage your files easily. Especially if you are not comfortable with using command-line interfaces or navigating system folders manually, you can take advantage of third-party tools to make the process smoother and more accessible.
If you've any thoughts on How to Access Hidden Files on Mac?, then feel free to drop in below comment box. Also, please subscribe to our DigitBin YouTube channel for videos tutorials. Cheers!


