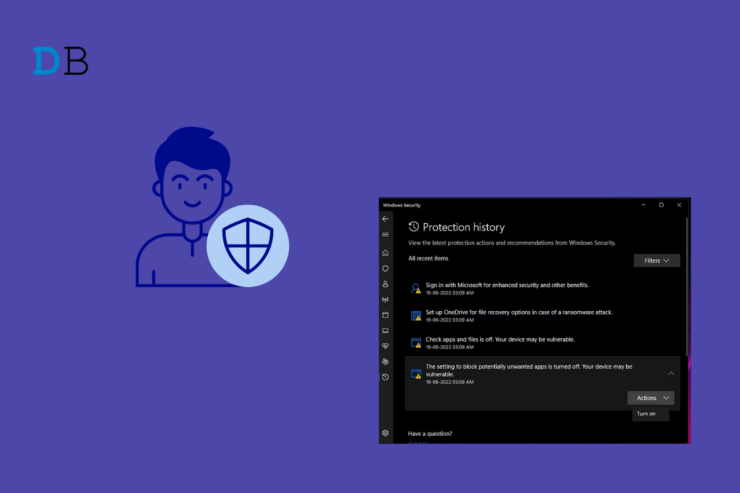
Windows Security Protection History is a component included under Windows Defender. It maintains a log of all the security threats to the PC and the corresponding actions taken to neutralize them. Sometimes, the users cannot view the data in Windows Security Protection History on their PCs.
The problem can occur due to corrupt system files or any random system-generated glitch. Even malware attacks can cause the details of the protection history to go missing. Using beta builds of Windows 11 may lead to bugs that fail to load the Windows Security Protection History.
Top Ways to Fix Windows Security Protection History Not Showing
I have compiled some troubleshooting tips. Use them to inspect what went wrong with Windows Defender and how to reinstate the Windows Security Protection History on your PC.
1. Restart the PC
A restart to the PC should be sufficient to eliminate any random glitch on the Windows OS. Usually, installing a new program or any modification to the system results in strange glitches. The same may result in the missing Windows Security Protection History.
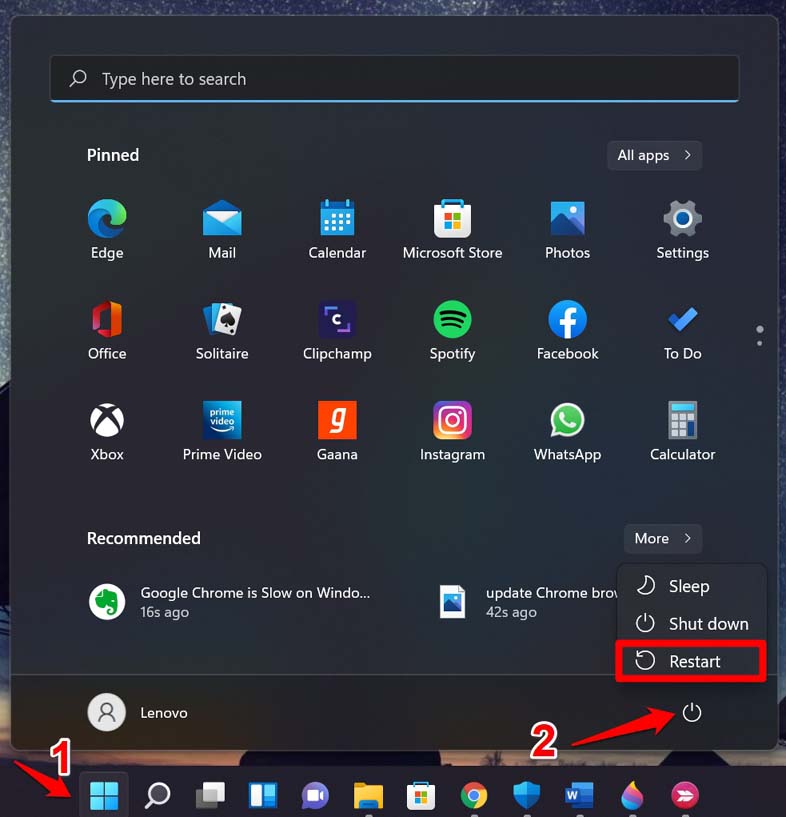
- Press the Windows key to launch the start menu.
- Click the Power icon.
- Select Restart from the menu.

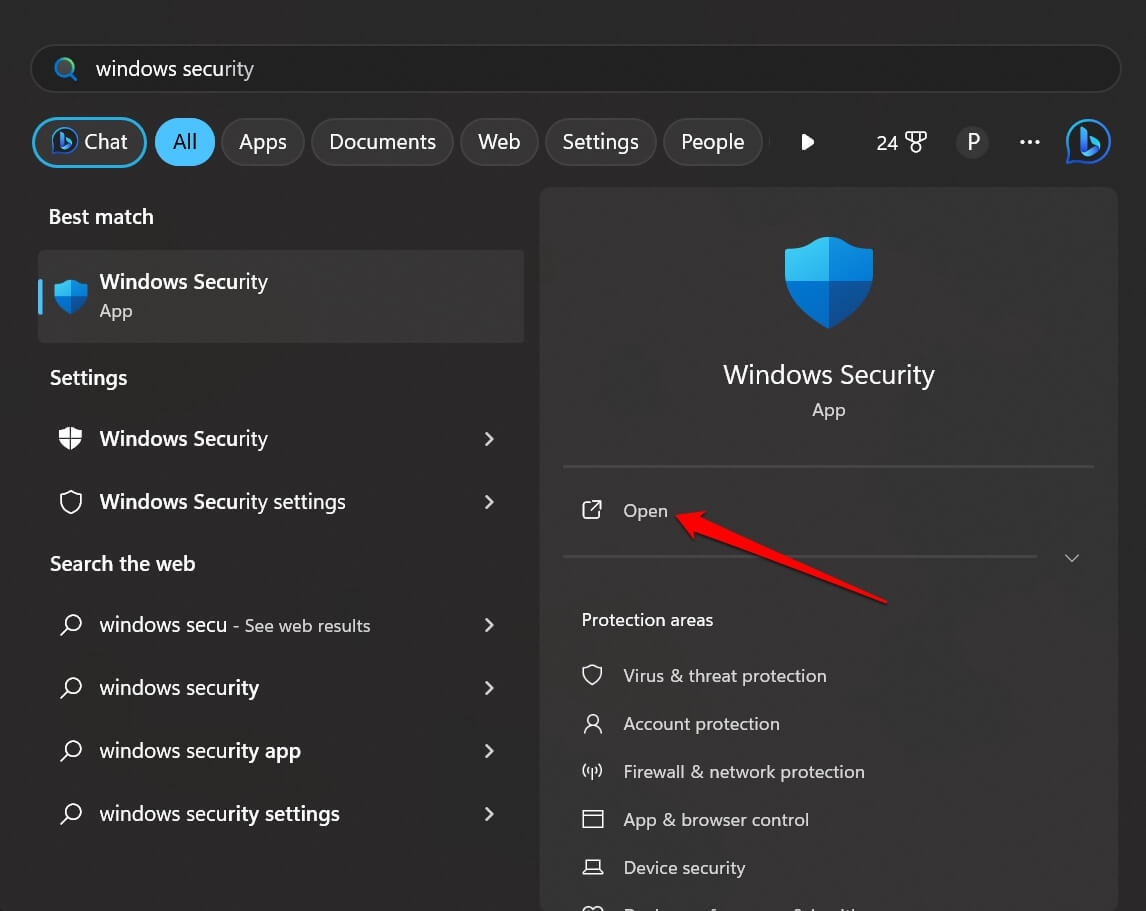
- Launch Windows Security.

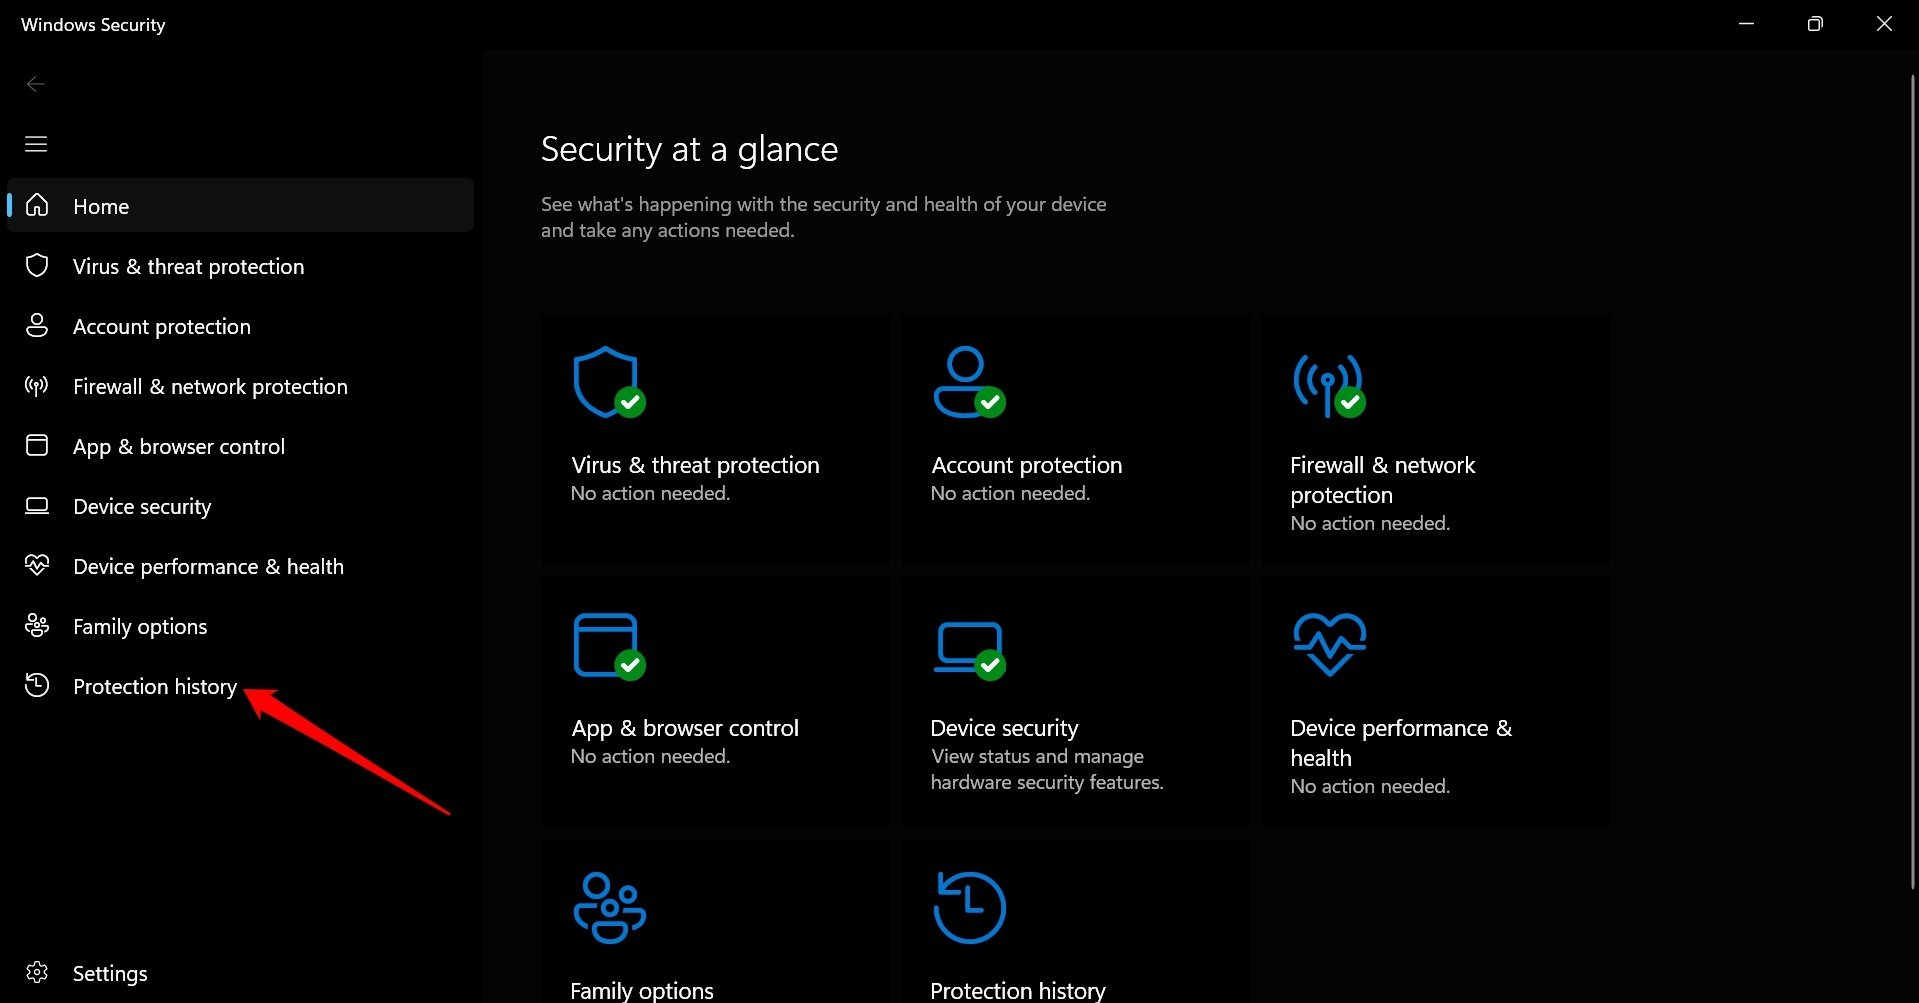
- Click on Windows Security Protection History on the left sidebar.

2. Remove the Detection History Files
When you remove the detection history files, it will lead the operating system to rebuild the Windows Security Protection History. That can fix the error with the Windows Security component.
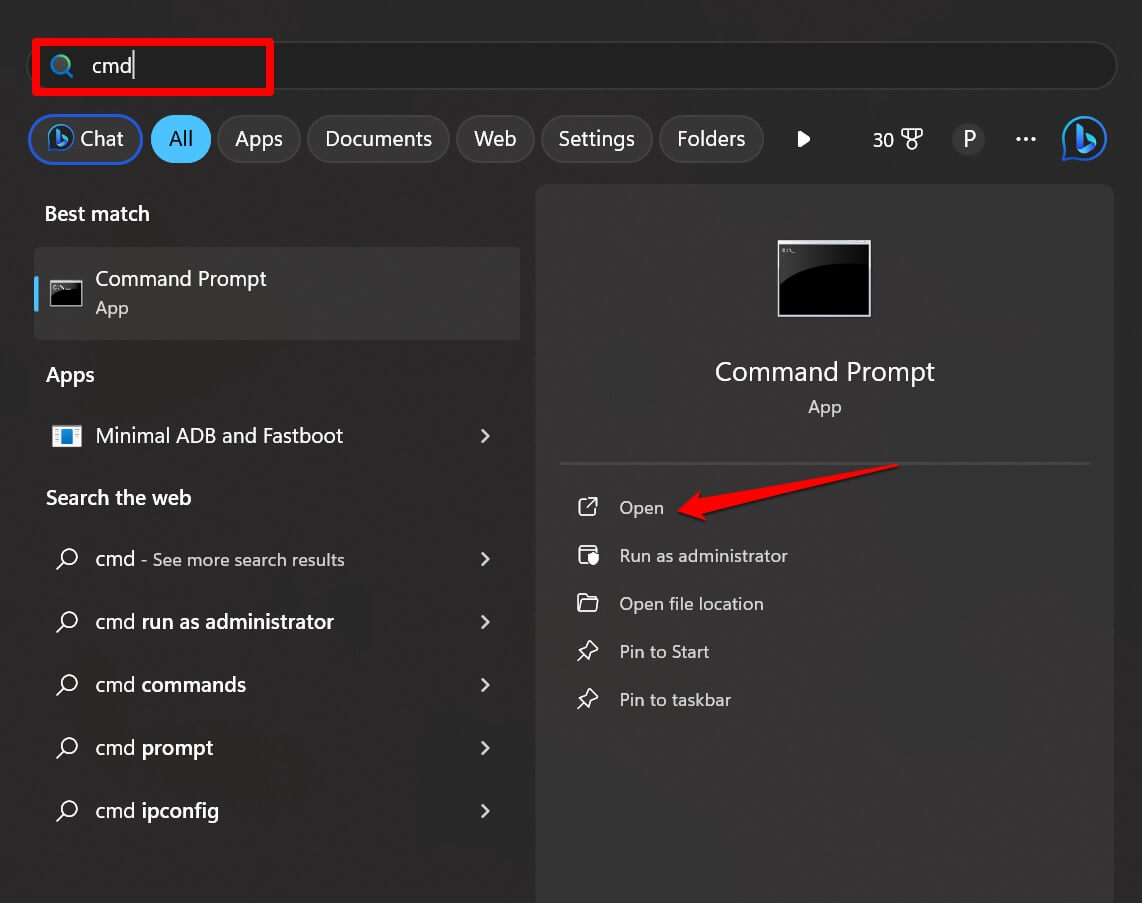
- Press Windows +S to launch the search.
- Type cmd and click Open.

- Type this command and execute it.
del “C:\ProgramData\Microsoft\Windows Defender\Scans\mpcache*” /s > NUL 2>&1
- Now, type the following command.
del “C:\ProgramData\Microsoft\Windows Defender\Scans\History\Service\DetectionHistory*”
- Finally, type this command and press Enter.
del “C:\ProgramData\Microsoft\Windows Defender\Scans\mpenginedb.db”
- Exit the command prompt and restart the PC.
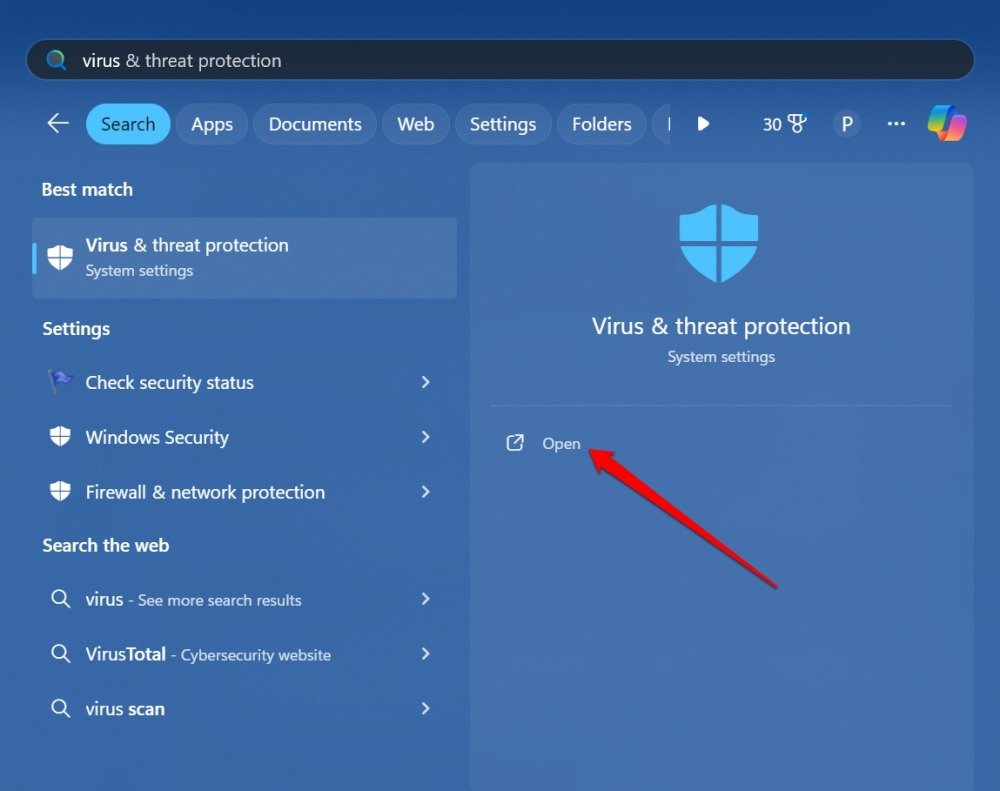
- Open Windows Search by pressing the Windows key.
- Type Virus and Threat Protection.

- On the left-hand side, click on Protection History.

3. Re-register Windows Security Package
Reset the Windows Security package on your PC and reinstall it. It will most likely solve technical issues with the Windows Security components.
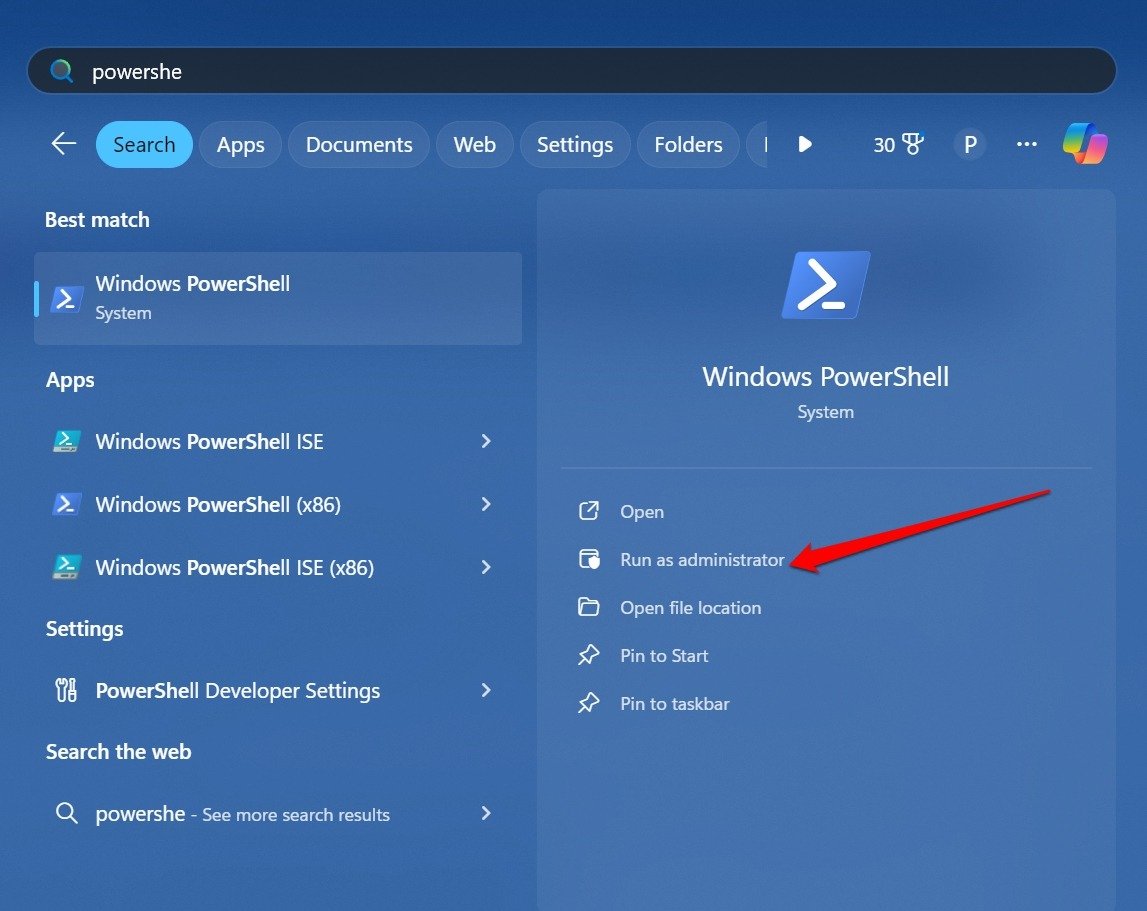
- Press Windows + S to launch the search.
- Type PowerShell in the search bar.
- Click Run As Administrator when the relevant search results appear.

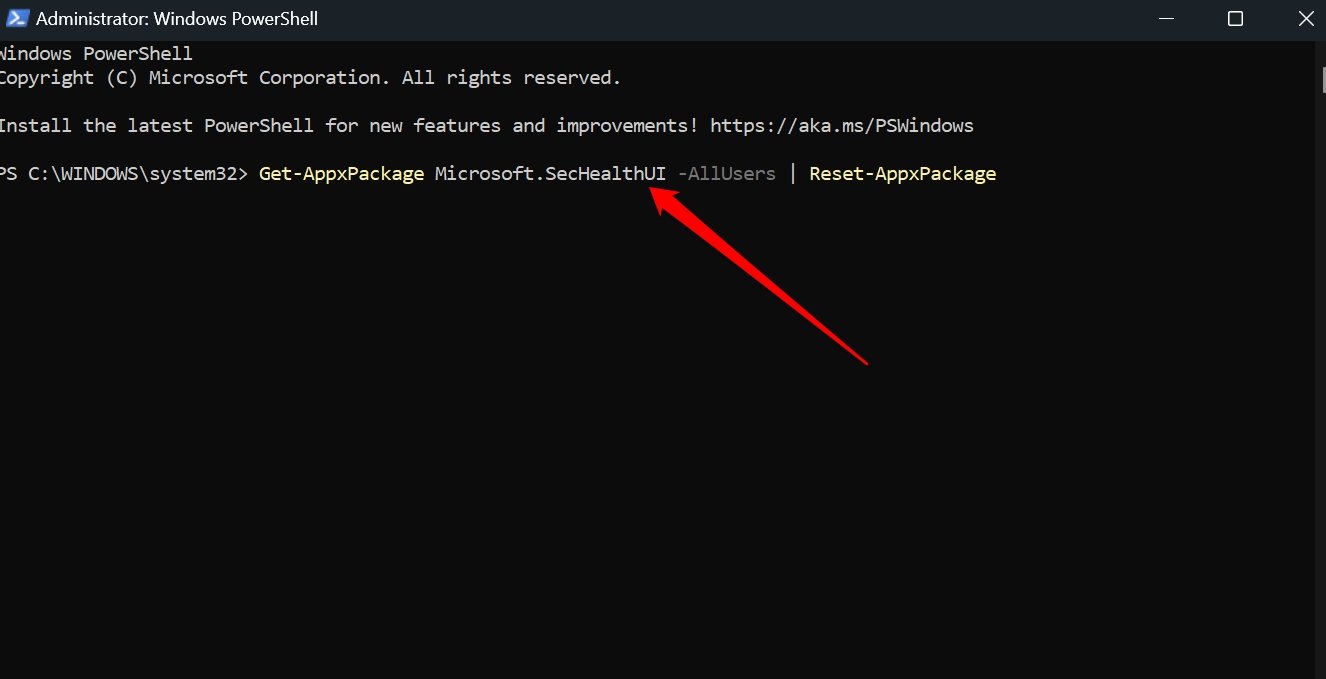
- Type this command.
Get-AppxPackage Microsoft.SecHealthUI -AllUsers | Reset-AppxPackage

- Press the Enter key.
- Now, restart the PC.

- Launch PowerShell and run it with administrator privilege.

- Type the following command to re-register the Windows Security package.
Add-AppxPackage -Register -DisableDevelopmentMode "C:\Windows\SystemApps\Microsoft.Windows.SecHealthUI_cw5n1h2txyewy\AppXManifest.xml"

- Hit the enter key to execute the command.
- Exit the Windows PowerShell.
Launch Windows Security and check if the Windows Security Protection History details are now visible.
4. Fix the Corrupt System Files
Use the SFC and DISM commands on the Command line tool to find and fix corrupt system files on your PC.
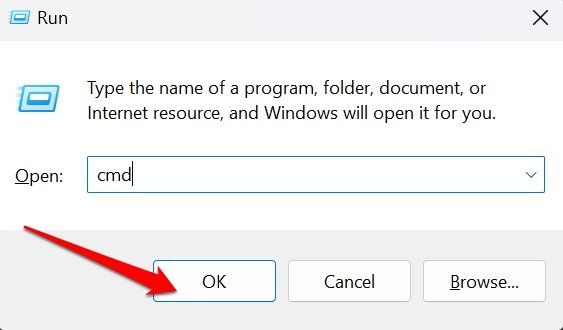
- Press Windows + R to launch the Run box.
- Type cmd and press enter.

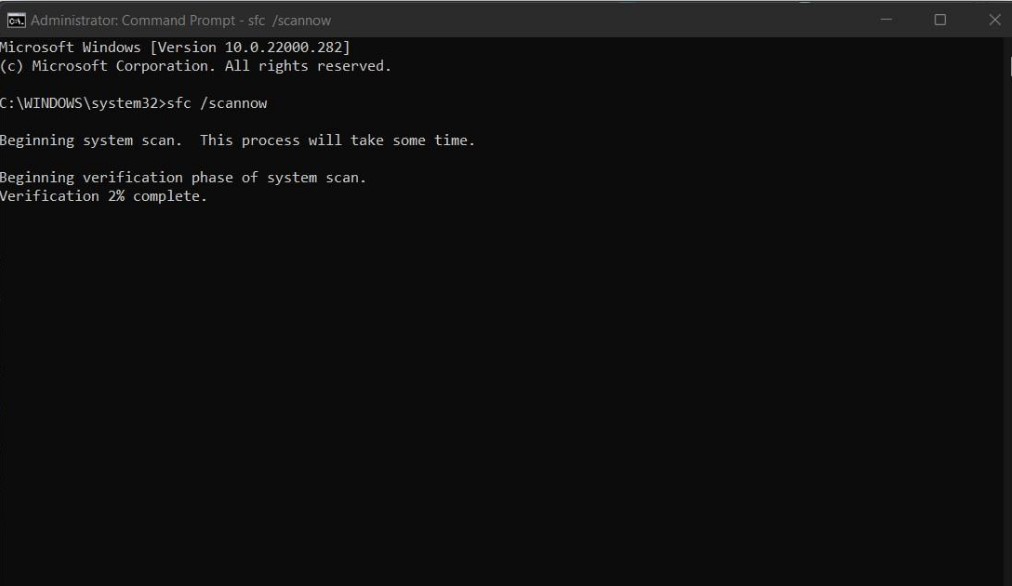
- Type this command and press the enter key.
sfc/scannow

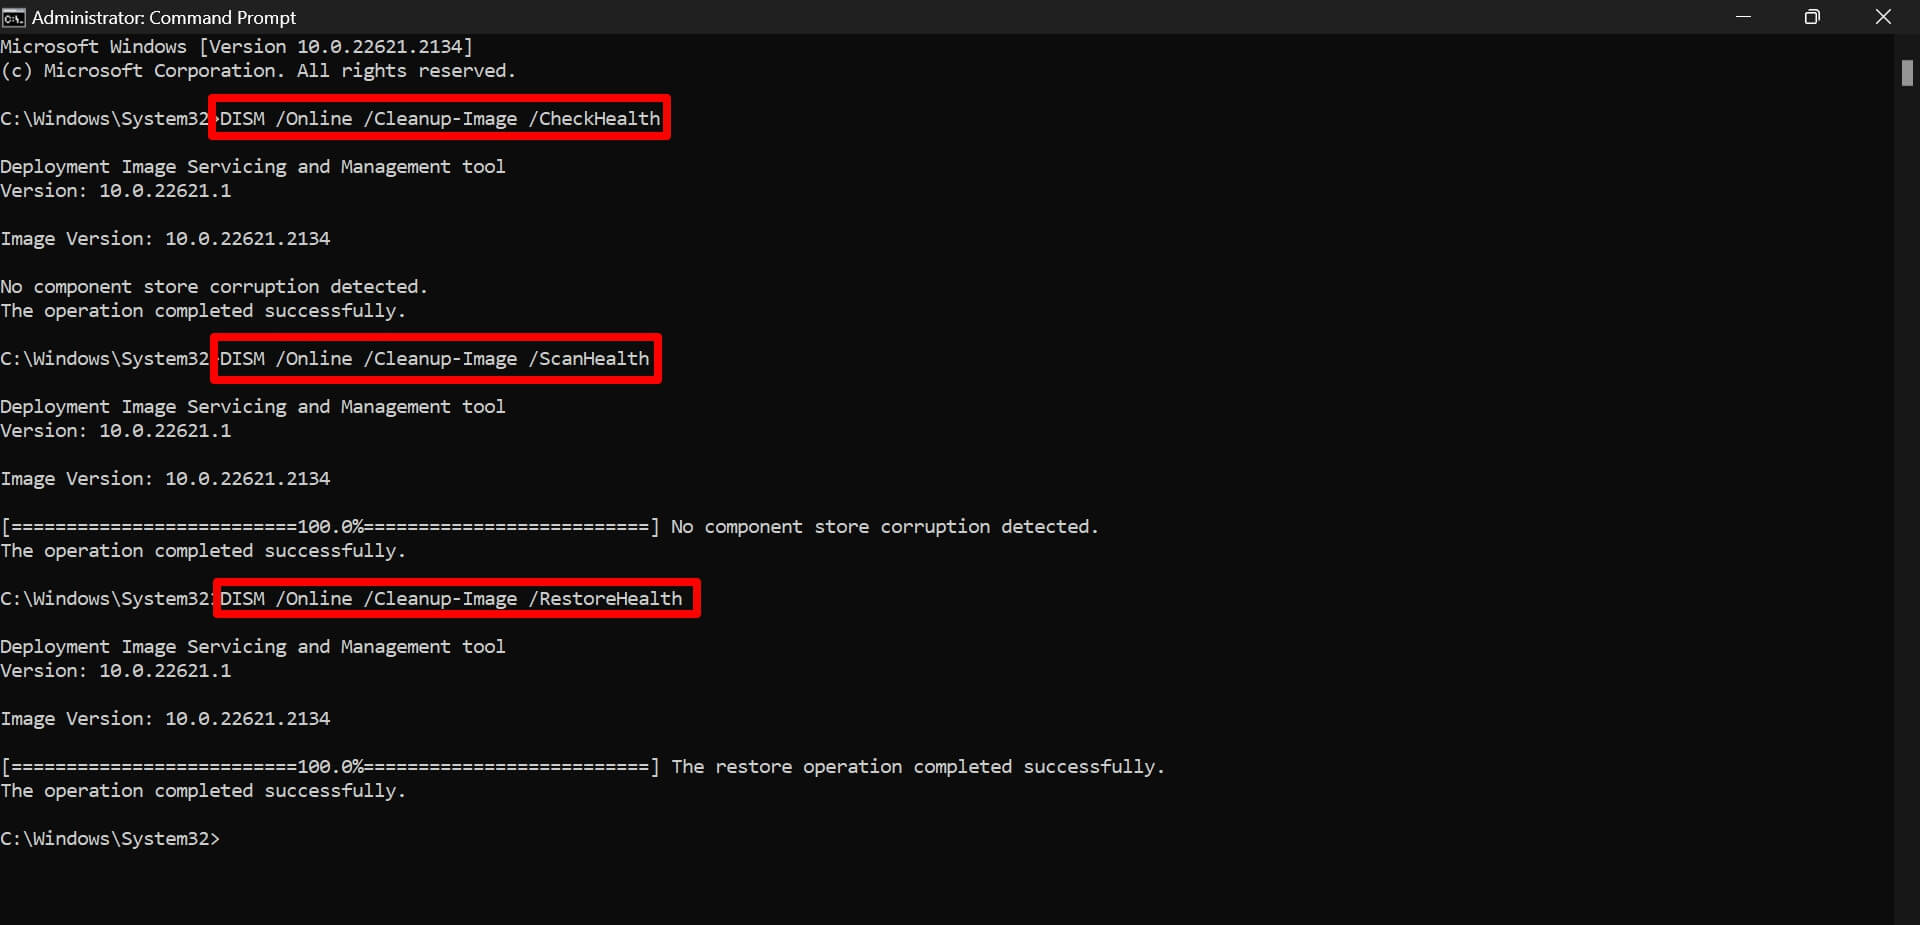
- To implement the DISM scan, type these commands one by one.
DISM/Online/Cleanup-Image/CheckHealth

DISM/Online/Cleanup-Image/ScanHealth

DISM/Online/Cleanup-Image/RestoreHealth

Restart the computer after fixing the corrupt system files. Access Windows Security and check if you can see the Windows Security Protection History data.
5. Repair Windows Security
Windows 11 offers the provision to repair and reset the problematic system components on a PC. As the Protection History comes under Windows Security, you can repair the latter to fix the problem.
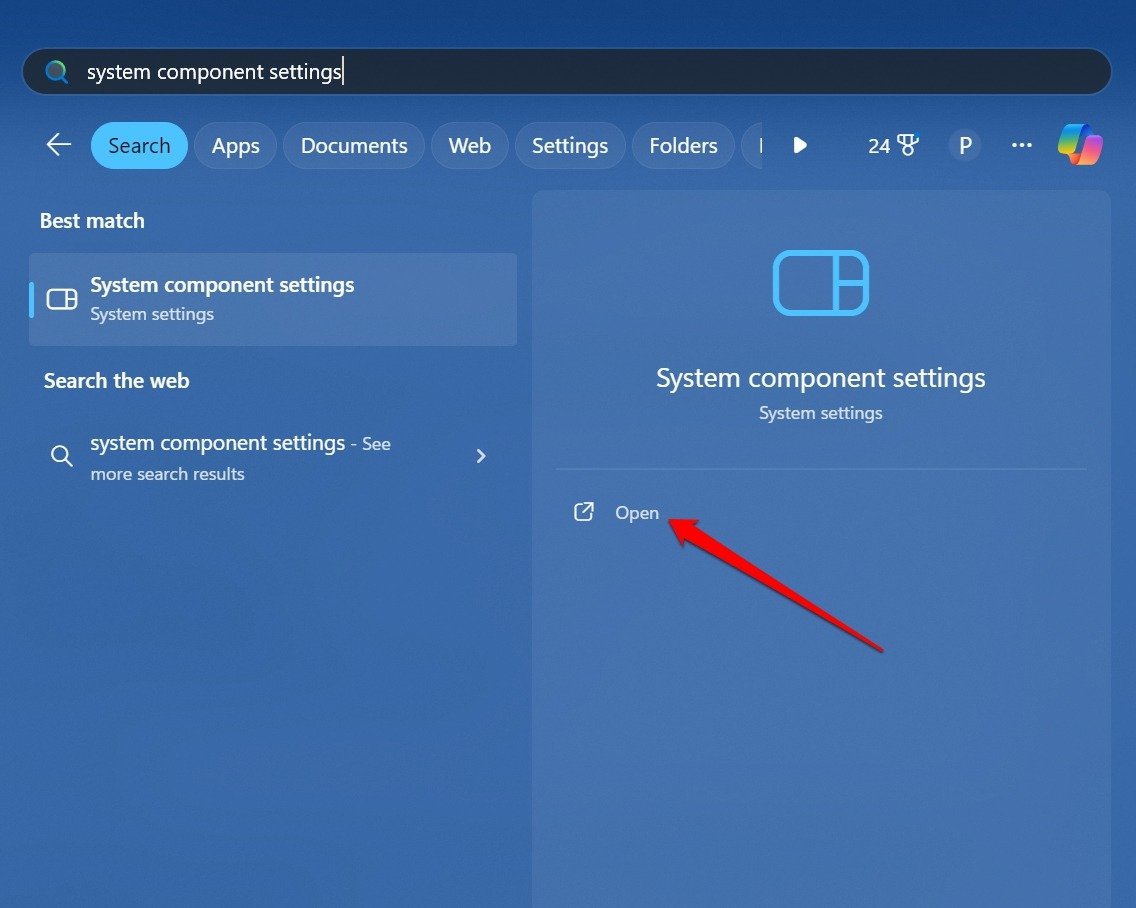
- Press the Windows key to bring up the search.
- Type System Component Settings.
- Click Open.

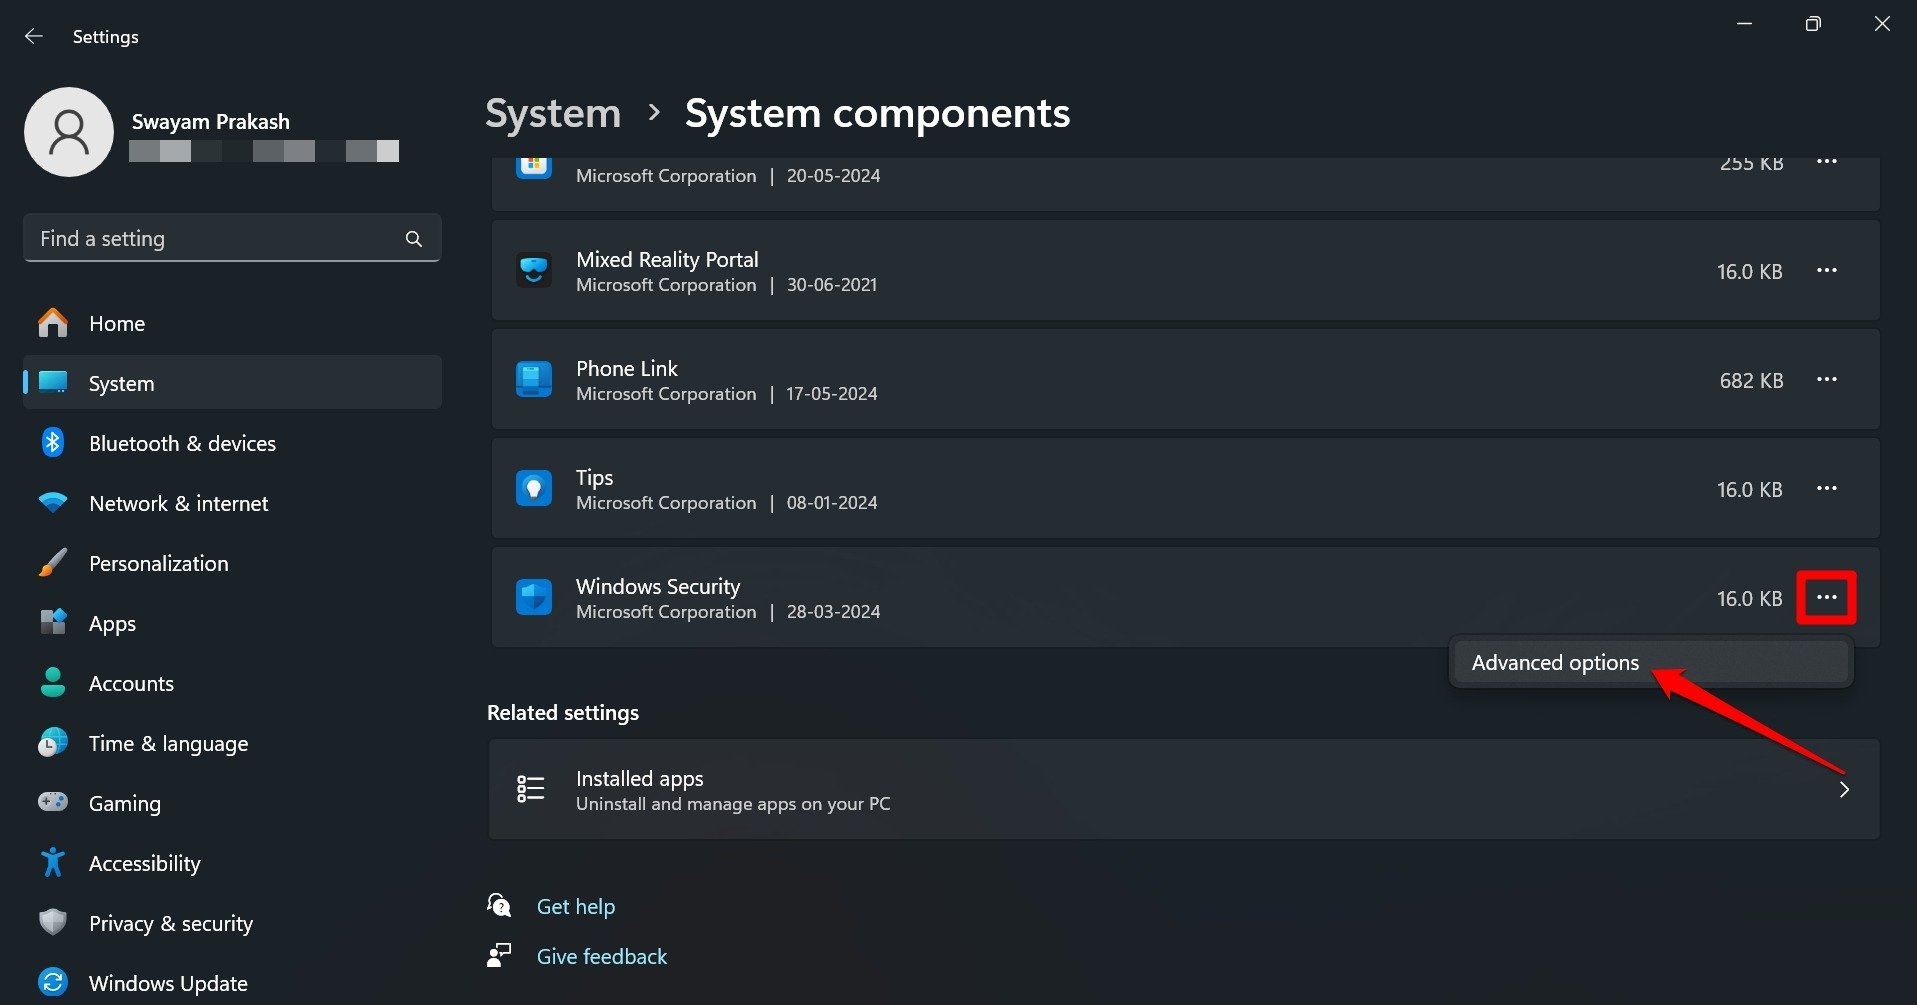
- Scroll to Windows Security and click the overflow icon next to it.
- Click on Advanced Options.

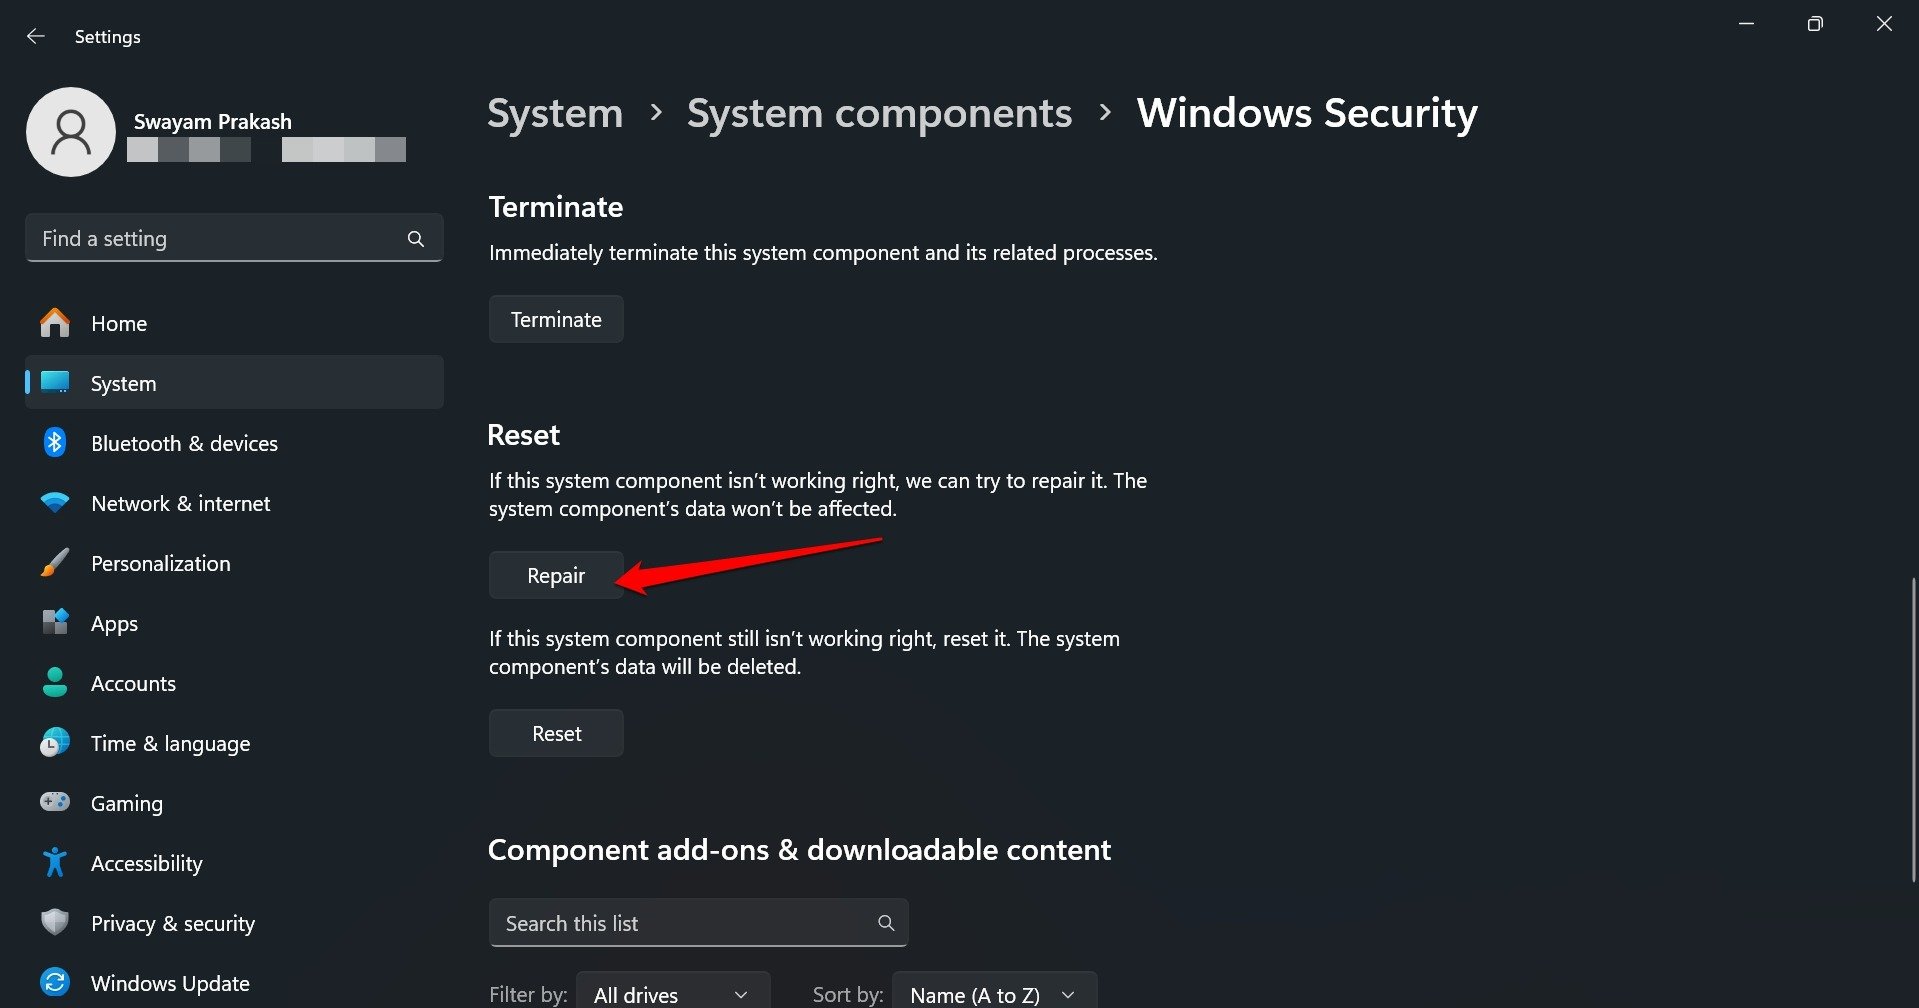
- Go to Repair and press the button.

- Alternatively, you may Reset the Windows Security as well.
- Restart the PC after the repair or reset is complete.

6. Scan for Malware
Lastly, you can also inspect for any malware presence on your PC. These can be downloaded to your PC if the Windows Defender was turned off and you were browsing the web. Installing tools from untrusted sites may also result in a malware attack.
To scan for infected files and folders,
- Press Windows + S to launch the Search.
- Type Virus and Threat Protection.
- Click Open.

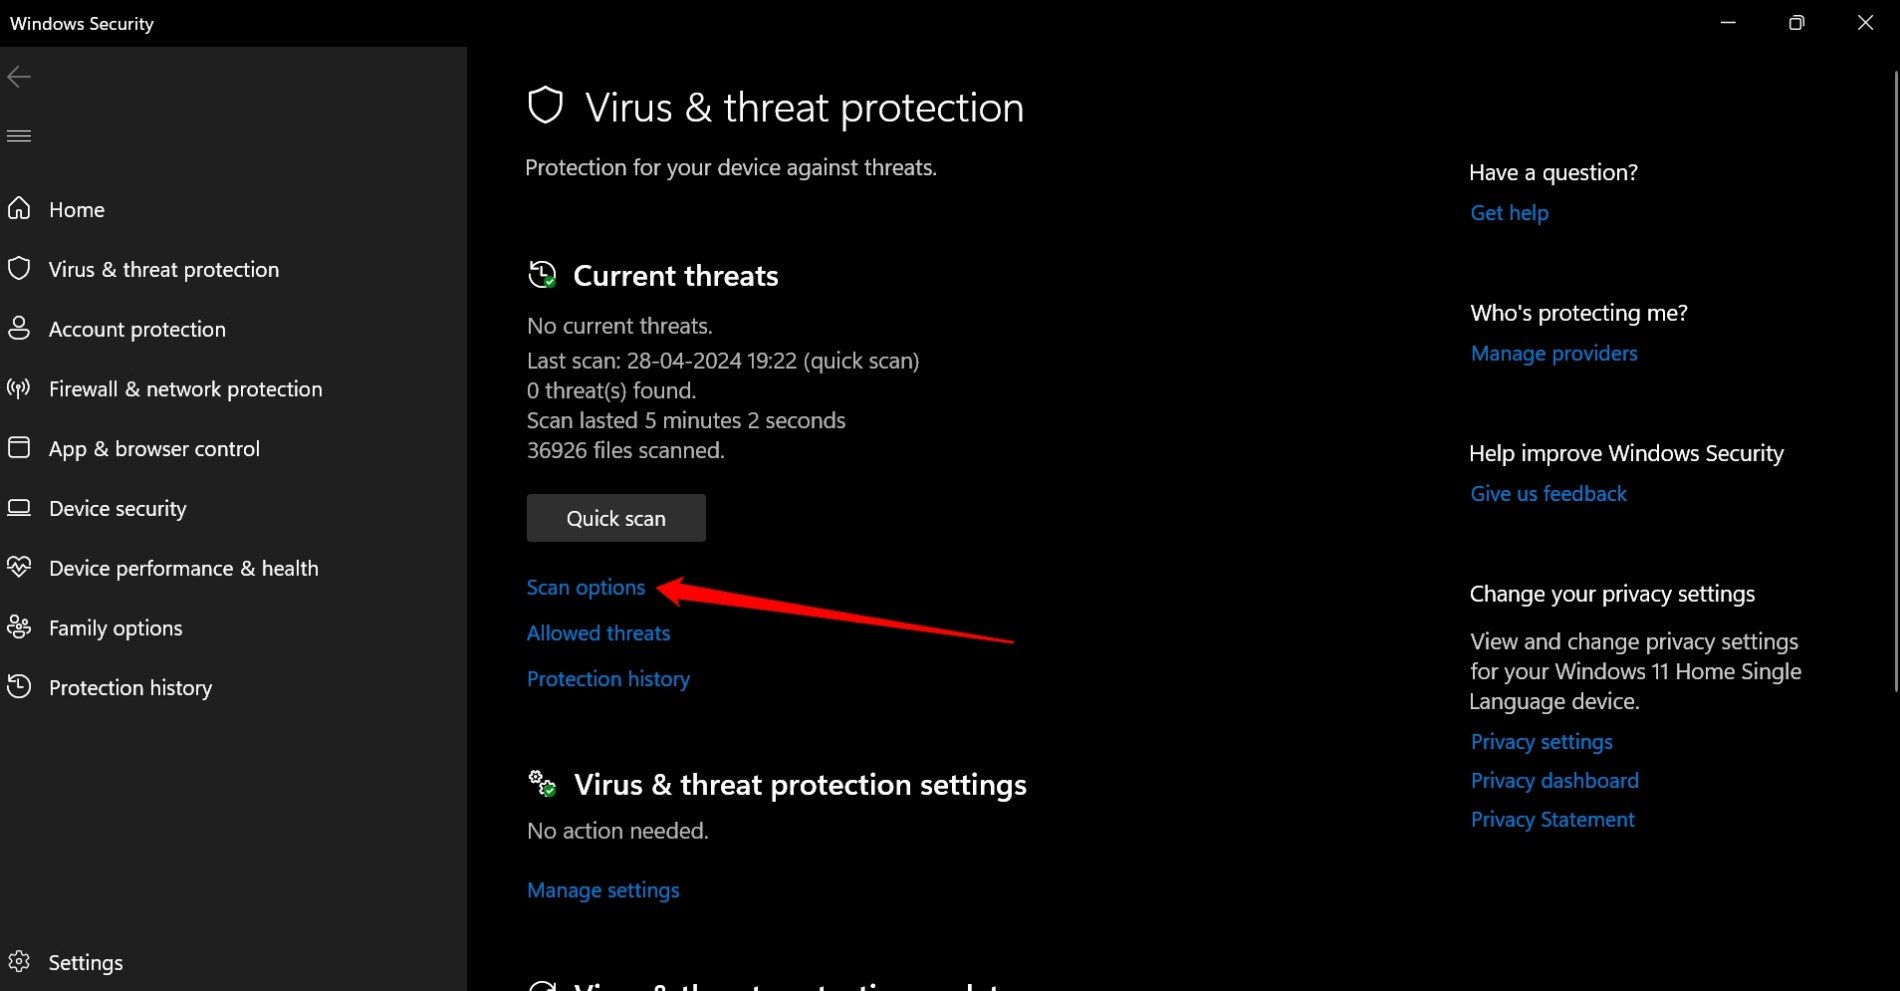
- Go to Scan Options and click on it.

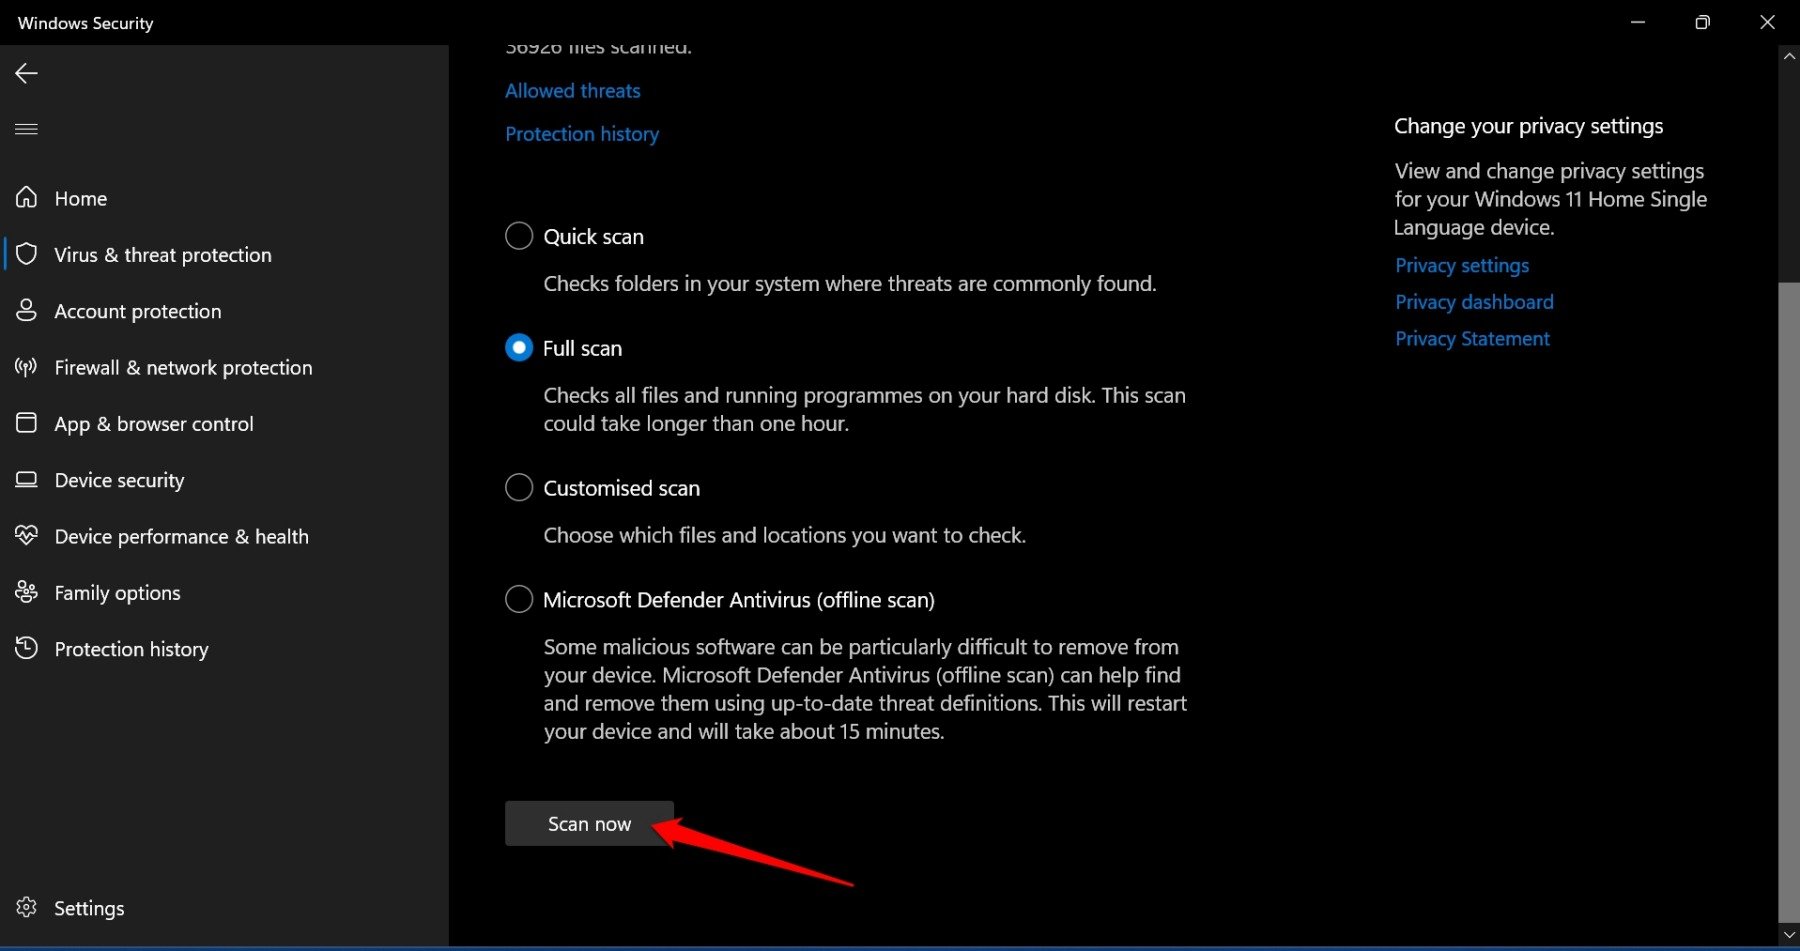
- Select Full Scan and press Scan Now.

If the Defender program marks any file as a threat, immediately remove it from your PC. After you manage the malware risk, restart the computer and check if you can access the Windows Security Protection History.
Bottom Line
The Protection History keeps a log of important security issues that your computer has faced. If you cannot access that, it indicates some serious flaw with the Windows system components. The tips shared in the guide should fix the problem and help you regain access to the Windows Security Protection History.
If you've any thoughts on How to Fix Windows Security Protection History Missing in Windows 11, then feel free to drop in below comment box. Also, please subscribe to our DigitBin YouTube channel for videos tutorials. Cheers!
