Windows Could Not Complete the Installation
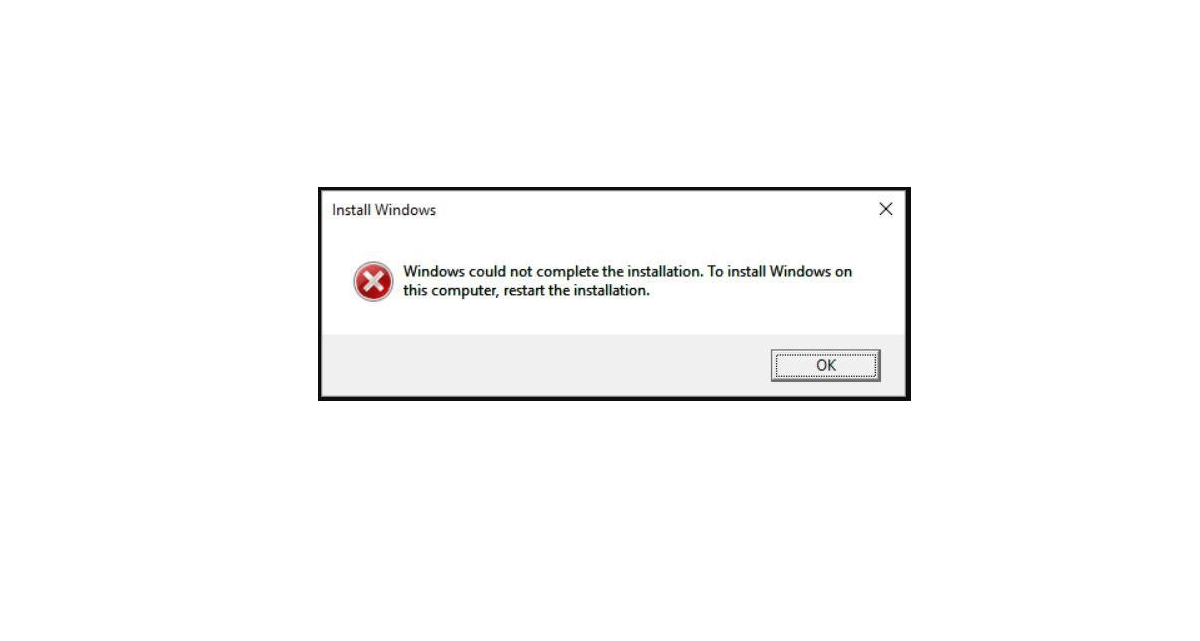
Are you facing a persistent error notification stating, “Windows could not complete the installation. To install Windows on this computer, restart the installation.” while trying to install a fresh copy or upgrading the Windows OS, then you are not alone. This error notification has plagued several users, and it does not allow the user to complete the Windows OS installation.
This could be a pretty scary error message in between the installation of Windows OS, as without any OS, your computer becomes unusable. If you also happen to be experiencing this issue, then you have landed on the right post. Because in this post, we will give you some important methods or tips that you can follow to fix Windows could not complete the installation error. With that said, let us jump straight into the article.
Here are the Best Methods to Fix Windows Could Not Complete the Installation Error on PC
One of the most effective methods or measures that you can follow if you are also experiencing the Windows cannot install issue on your computer, then you can continue the Windows OS installation process using Advanced Recovery. Under the Advanced Recovery menu, you will find the Automatic Repair option. Here’s how to do this;
Turn ON your PC and right when your Windows starts to load, Switch OFF your PC. You need to do this process two-three times until a message “Preparing Automatic Repair” shows on your screen.
Now, you will be shown two options, i.e. Restart or Advanced options. Here, you need to select the Advanced options button.
Afterward, select Troubleshoot.
Under the Troubleshoot menu, you need to select the Reset this PC option.
Select Keep my files.
Simply press Cancel on the next screen.
Finally, choose your account and enter your password (if any).
Now, hit the Continue button.
On the error screen, you need to press the Shift+F10 buttons. This will open up the command prompt.
You need to type in “cd %windir%/system32/oobe/”and hit the Enter button.
Then type in “msoobe” and again press Enter.
Now, all you need to do is set up an account and password in the user account creation wizard. Note that you may be asked to enter the product key.
Simply restart your computer and see if the error is fixed or not.
There could be some missing files with a particular version of Windows like Windows 10 Education. So, what you can do in this case is simply try reinstalling Windows, and while doing that, do not activate it. You can activate your copy of Windows once the installation is complete.
On checking several forums, several users have reported changing password requirements did help them fix this Windows cannot install error. Apparently, if you are in Audit Mode, which lets you skip the Windows welcome screen, then you may also receive this error.
This mode causes password requirements to be added to the local security policy. So, you need to set up a password that is of complexity and minimum password length.
On the error screen, press the Shift+F10 buttons together.
A command prompt will open.
Type in “secpol.msc” and hit Enter button.
Now, you need to head over to Account Policies>>Password Policy.
Here, set the Minimum password length option to 0.
Moreover, also disable the Password must meet the complexity requirements option.
Apply and save the changes.
Click OK on the Windows cannot install error message and restart your PC.
Multiple users have also reported that changing or tweaking some of the registry values also helped them get out of the Windows cannot install error.
On the error screen, press the Shift+F10 buttons together.
Type “regedit” and press Enter.
The above command will open the Registry Editor.
Head over to the path Computer\HKEY_LOCAL_MACHINE\SYSTEM\Setup\Status
Modify the values as mentioned below:
Audit: 0
HKEY_LOCAL_MACHINE\SYSTEM\Setup\Status\ChildCompletion
setup.exe: 3
HKEY_LOCAL_MACHINE\SYSTEM\Setup\Status\ChildCompletion
audit.exe: 0
HKEY_LOCAL_MACHINE\SYSTEM\Setup\Status\SysprepStatus
CleanupState: 2
HKEY_LOCAL_MACHINE\SYSTEM\Setup\Status\SysprepStatus
GeneralizationState: 7
HKEY_LOCAL_MACHINE\SYSTEM\Setup\Status\UnattendPasses
auditSystem: 0
Now, simply restart your PC, and check if the problem is fixed or not.
On the error screen, press the Shift+F10 buttons together.
Type “sysprep /oobe /generalize” and press the Enter button.
This will disable Audit Mode.
Exit CMD and reboot your PC.
Well, sometimes we are just beating around the bush, but the main problem is with the source of installation. Maybe the files are not complete and some important ones are corrupt, which would result in such an error. You should make sure to download your copy of Windows from Microsoft.
That’s about it from my side in this post. Note that though this windows cannot install error is quite common while installing Windows operating system on PC, the solution to this error differs. For most, method 1 did the job, but for some tweaking registry values did the trick.
So, you can try out all the methods listed here and see which one of the methods helped you with fixing this issue. You can let us know in the comments section below if you like. For more such awesome coverage, you can check out our DigitBin YouTube channel. Until the next post…Cheers!