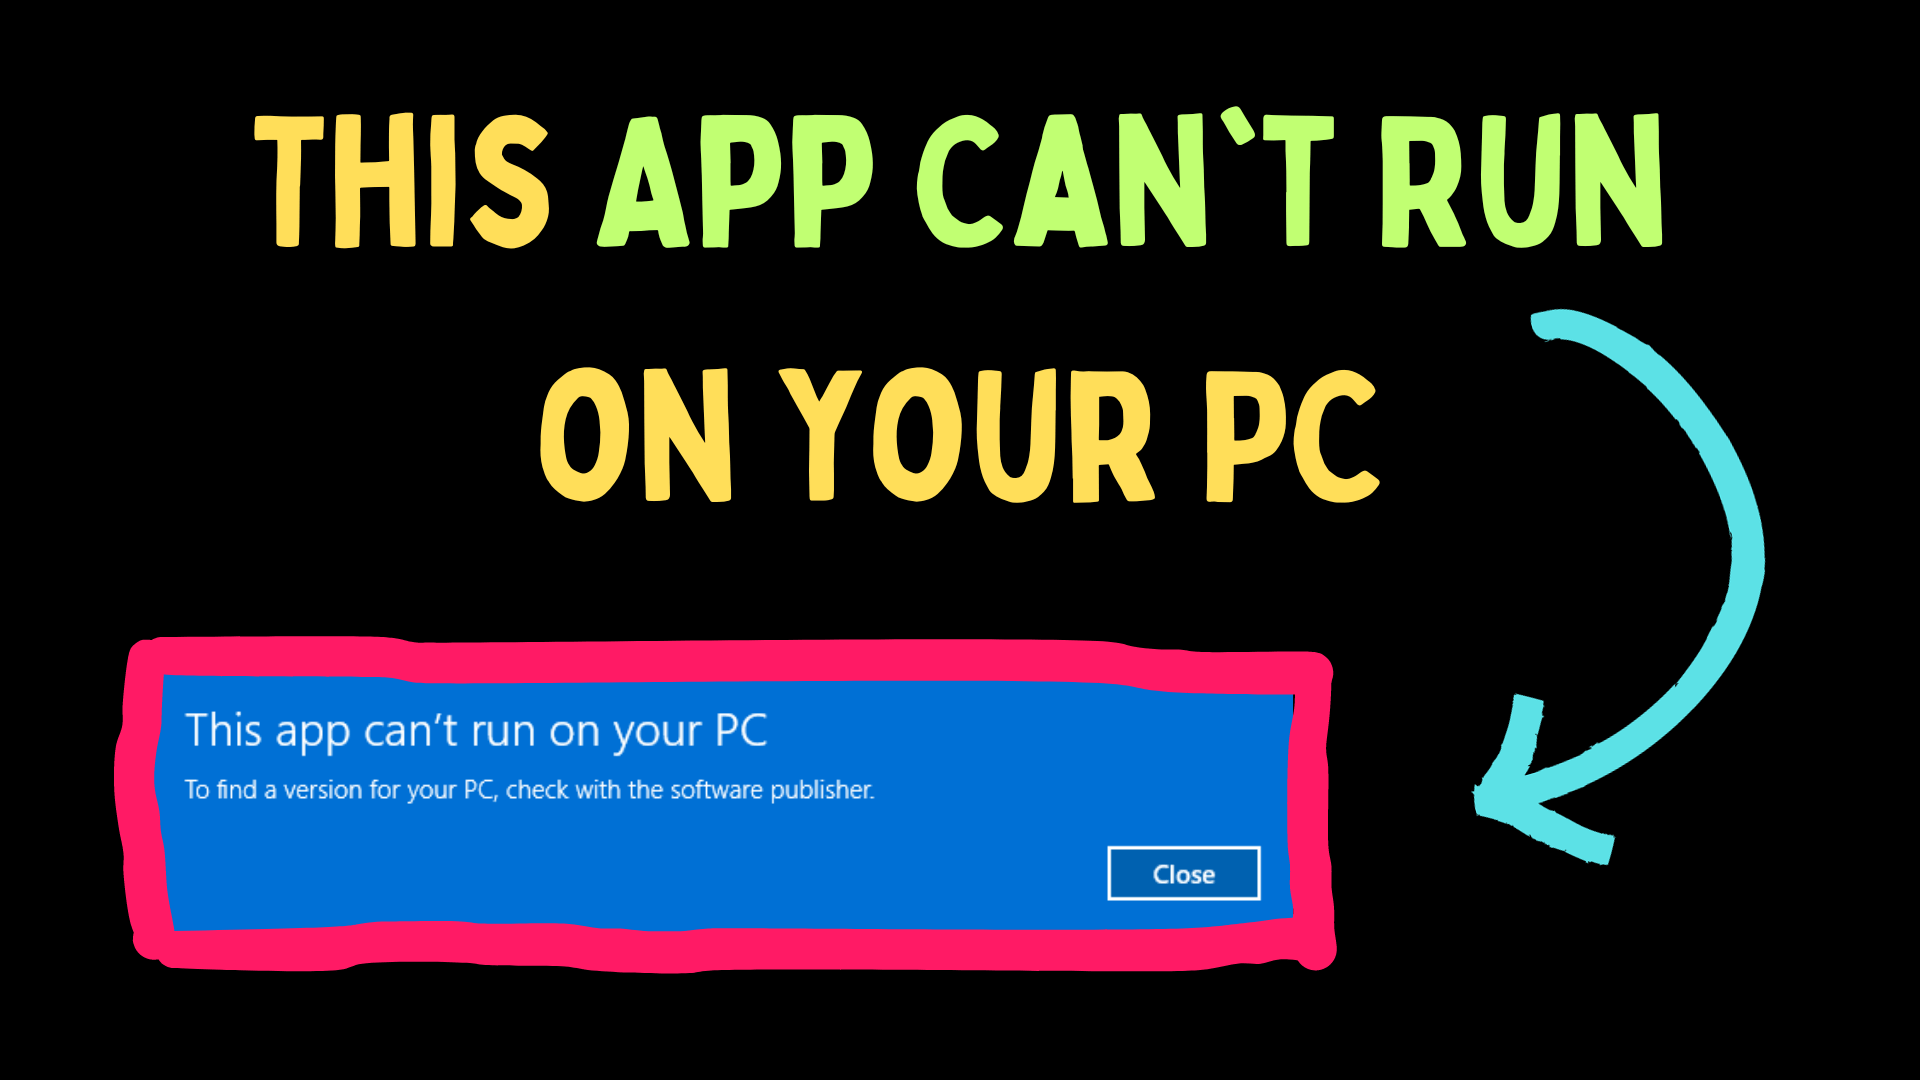

A lot of users have claimed that while trying to run an application on their system, they encounter the error This App Can’t Run on your PC. This error prevents you from accessing the application. In the article below, we will explain the solutions to this problem.
Compatibility issues can cause errors, the presence of viruses, overprotective anti-virus software, problematic app settings, corrupt system files, network issues, etc. The solutions will be in a sequence such that the most common cause will be addressed first.
When you encounter this error, the first approach should be running the program in Compatibility mode.
Perhaps you are facing this issue because you don’t have permission to use the app. In this case, you can try running the app as an administrator.
Missing or corrupt system files may cause this issue. In this case, you can run an SFC Scan to fix the problem.
If the problem is caused by problematic app settings (and you don’t remember which setting was messed up) or corrupt files associated with the app, you can repair and reset the app. Repairing the app will fix corrupt files and resetting the app will reset the messed-up settings.
If repairing the app didn’t fix the problem, then reinstalling the app could be helpful.
If this issue is being caused by third-party software, then you can consider troubleshooting in the Clean Boot state.
You may encounter the error if a VPN or proxy network is installed on your system. In this case, you can disable the VPN and proxy to isolate the cause. For external VPNs, simply disable them as explained by their manufacturer. For proxy, try the following procedure:
This error may also occur if the system detects a virus or malware on the program. To be sure about it, you can scan the software.
In this article, we have discussed all possible causes behind the error and the best possible solutions to them. The solutions are exhaustive, and we hope that your issue will be solved by the time you exhaust the solutions.