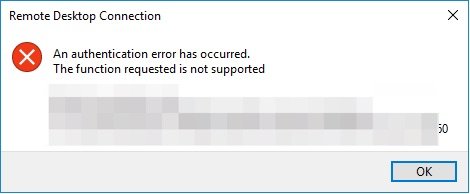
In this guide, I have discussed various troubleshooting tips to fix the remote desktop authentication error on Windows 11. The exact error popup you see would go as “An Authentication Error has occurred, the Function Requested Is Not Supported“. The Remote Desktop feature is exclusively available on Windows 11 Pro and Enterprise versions.
The common reasons for Remote Desktop authentication errors on Windows 11 can happen for various reasons. Usually, it is a slow network, incorrect login details, a disabled remote desktop feature, or the anti-malware program on the device disrupting the connectivity.
Fix for Remote Desktop Authentication Error on PC
Implement these fixes to resolve the remote desktop authentication issue on Windows PC.
1. Enable Remote Desktop on Windows
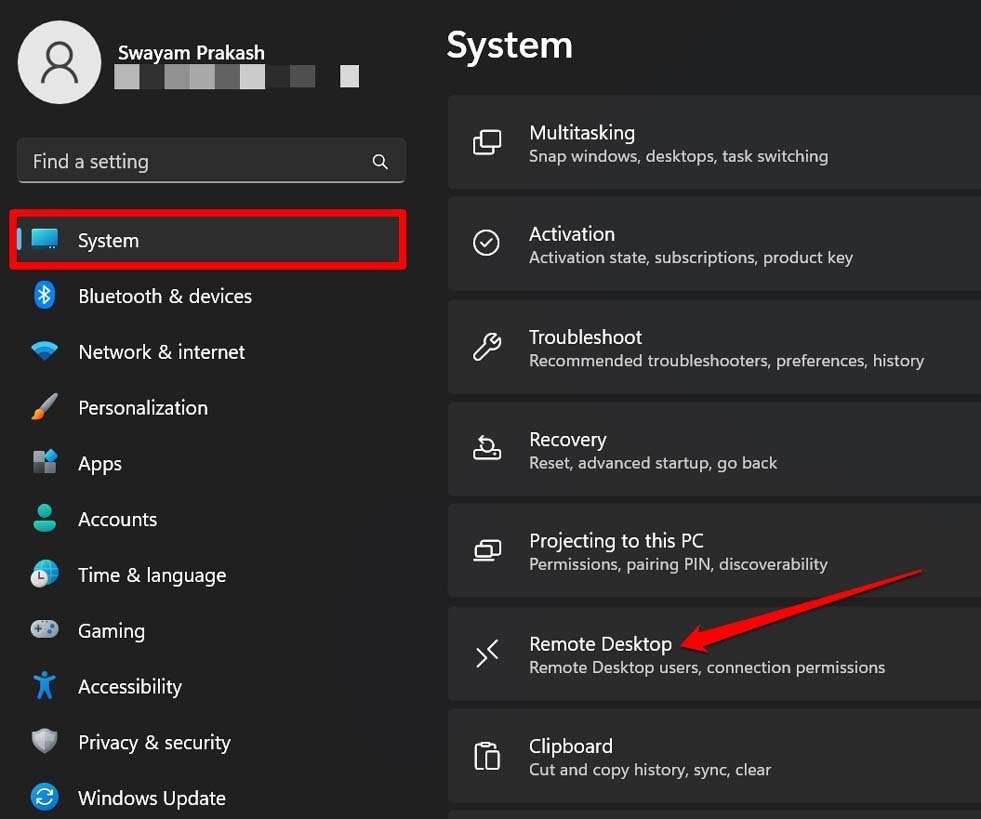
You must enable the remote desktop feature to create any remote desktop connection. Here is how you should check whether it has been enabled or not.
- Press Windows + I to open the Windows settings.
- Scroll to Remote Desktop and click on it.

- Click the switch beside Remote Desktop to turn it On.
- When the Remote Desktop Settings dialog box shows up, click on Confirm.
2. Temporarily Disable Windows 11 Firewall
Windows Firewall has the notoriety for blocking programs from running to manage the PC’s security. The same issue happens while using the Remote Desktop connection. To fix that, you must disable the Windows 11 firewall for some time.
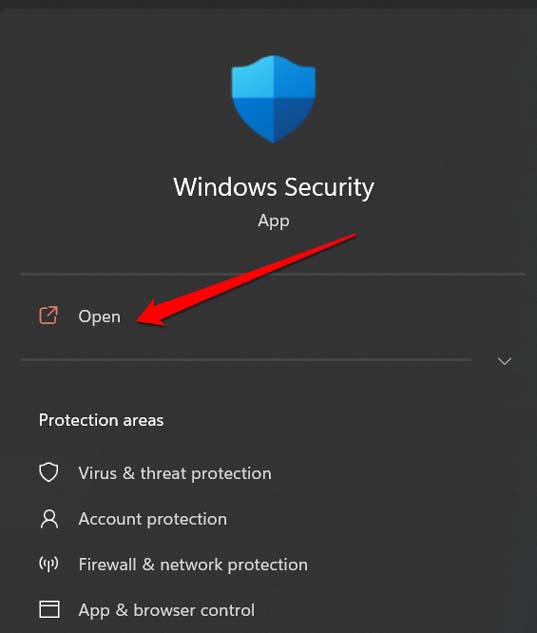
- Launch Windows Security using Windows search.

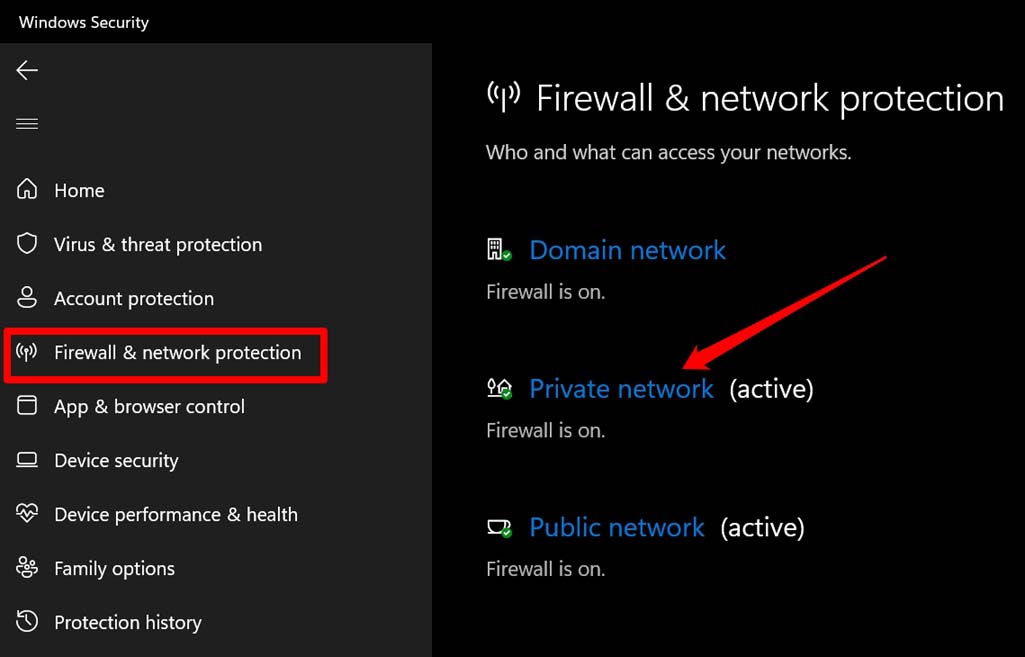
- Then click on Firewall and network protection on the left-hand panel.
- Click on Private Network.

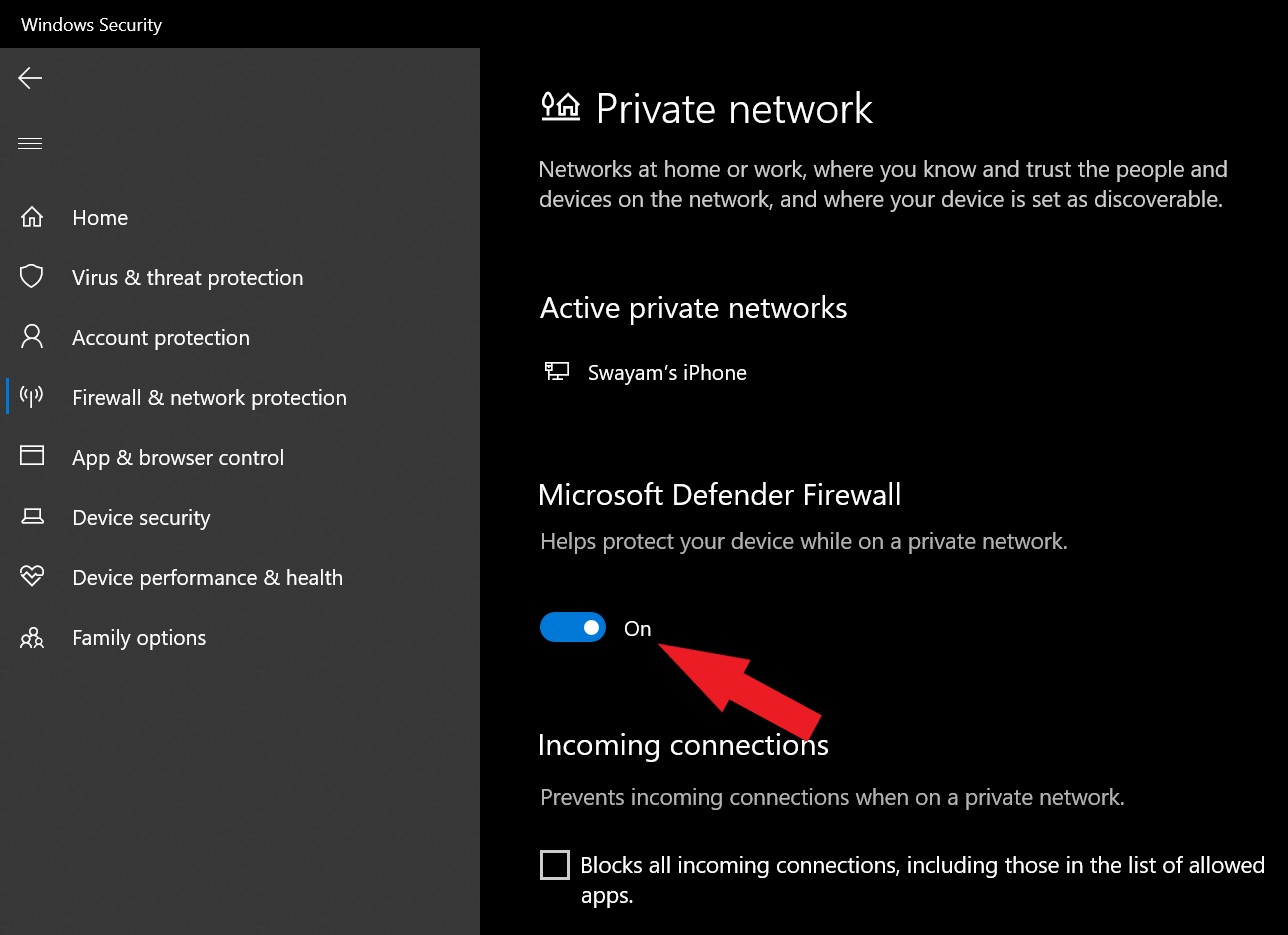
- Click the toggle below Microsoft Defender Firewall to turn it off.

- Go back to Firewall and network protection > click on Public Network > Click the toggle below Microsoft Defender Firewall to turn it off.
Now, with the Windows Firewall disabled, you can easily connect to the remote desktop.
3. Update Windows OS
You can never deny the possibility of some sneaky bug in the Windows OS causing it to obstruct certain features on the computer. While you are at fixing the Remote desktop authentication error, update the Windows OS to the latest build that is available.
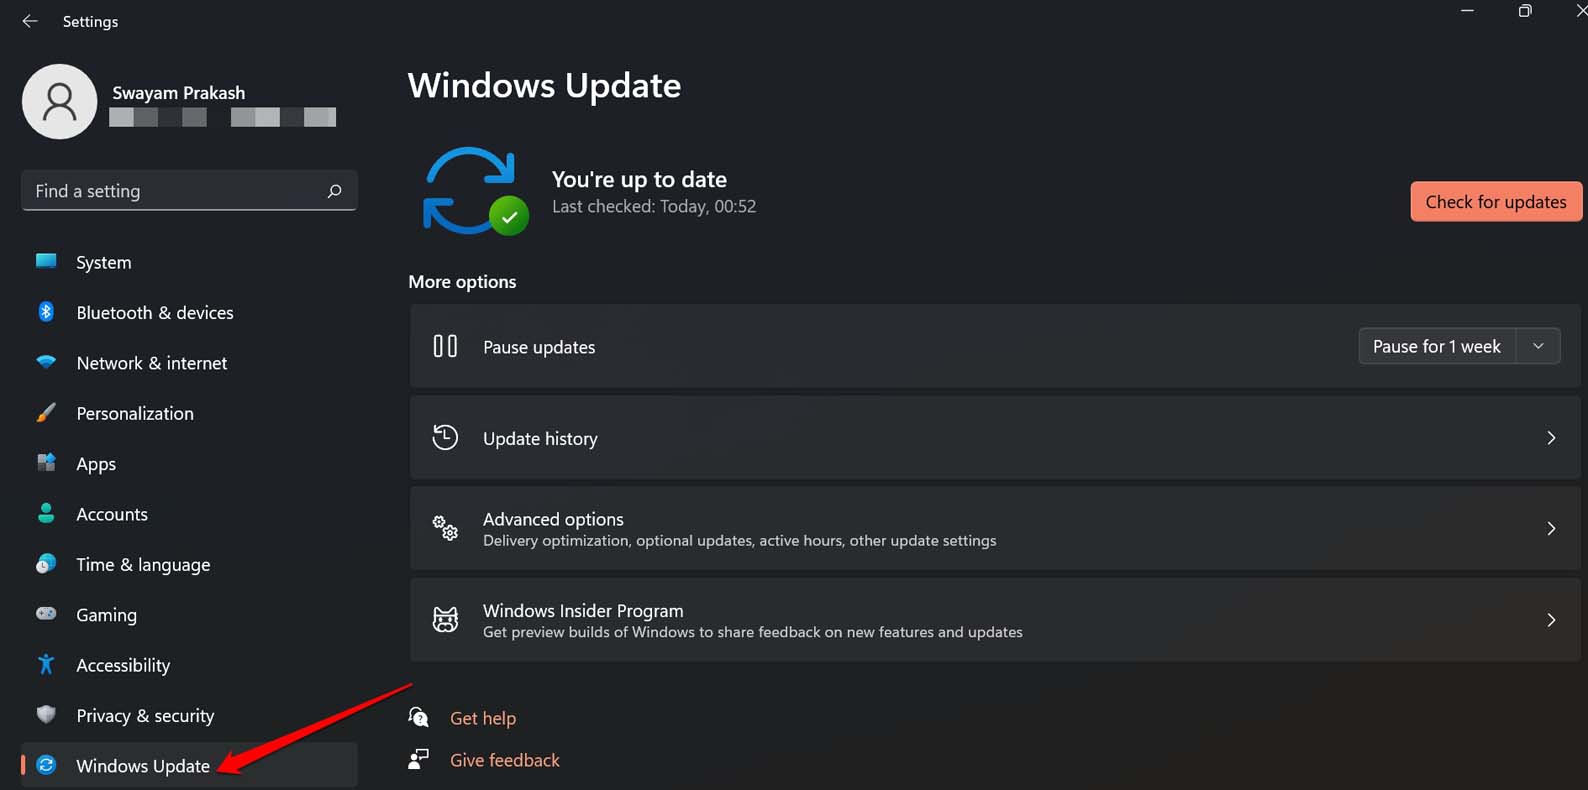
- Go to device settings by pressing Windows + I.
- Then on the left-hand panel, click on Windows Update.

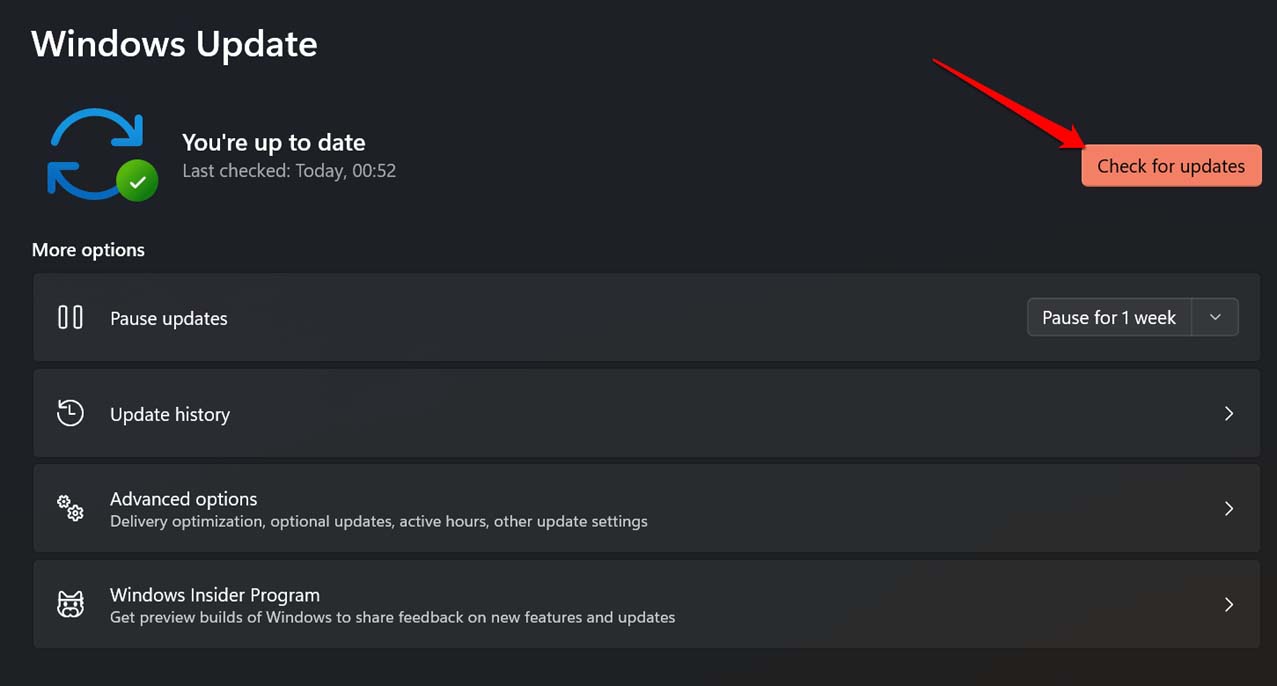
- Next, click on Check for Updates.

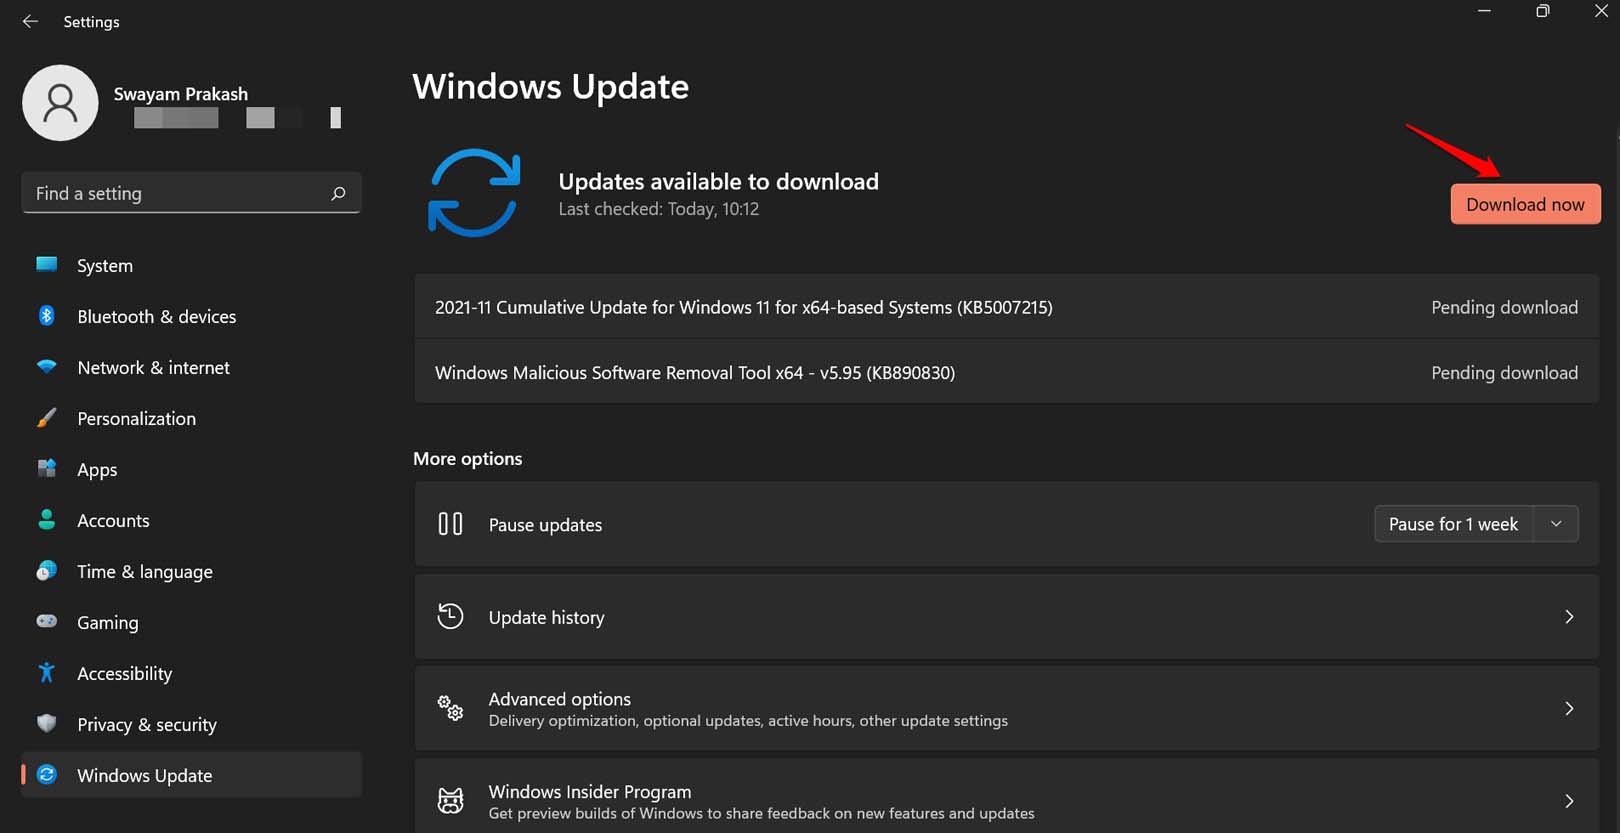
- If an update is available, click on Download Now to start installing the update.

Usually, when your PC is connected to WiFi, updates are downloaded automatically. You even get notified with a restart-to-update symbol on the system tray of the Windows desktop. All you have to do is restart the PC to initiate the update process.
After the updates are successfully installed, try to initiate the remote desktop connection. It should now work.
4. Disable Network Level Authentication on RDP Server
NLA or Network Level Authentication is a security measure that is used for authentication before setting the connection with the client machine. This mechanism may cause the remote desktop authentication error on Windows 11. You can turn off NLA using the steps mentioned below.
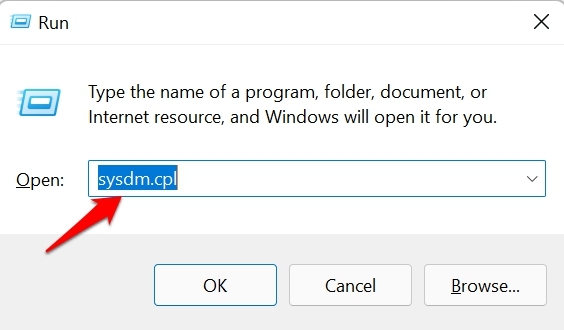
- Press Windows + R to bring the Run box.
- Enter the command sysdm.cpl and press enter.

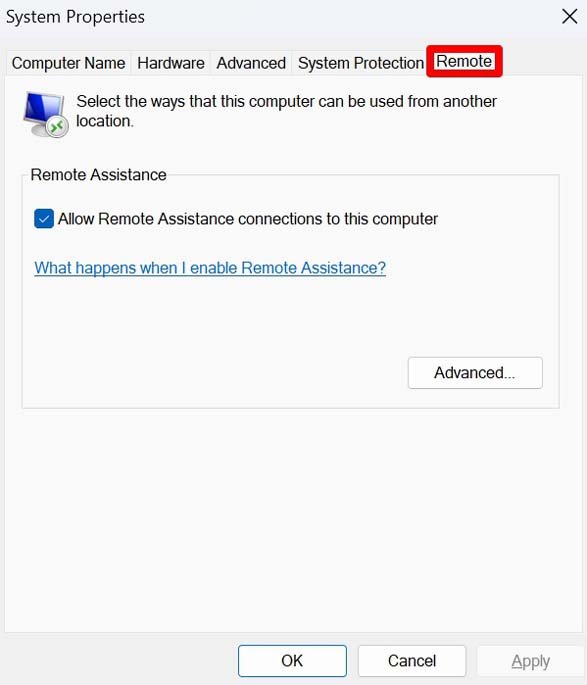
- On the System Properties dialog box, click on the tab Remote.

- Scroll to the Remote Desktop section and click on Allow Remote Connections to This Computer.
- Uncheck the box beside the option Allow connections only from computers running Remote Desktop with Network Level Authentication (recommended)
- Click Apply and OK to save changes. Make sure to reboot the PC as well.
Now, check if you can connect the client to the remote desktop or not. If not, check for fixing network issues.
5. Fix the Slow Network
If your Network is disruptive, then the connection will drop every time you try to establish remote access. As a quick fix, try to reset the router, disconnect, and reconnect your PC to the Network. If you have access to an alternative WiFi network, then connect your PC to that. You may also quickly toggle between flight mode enable and disable on the PC to see if that makes a difference in connecting to the Network easily.
6. Enable Remote Desktop Authentication from Registry Settings
By making changes to the Registry settings of Windows, you can enable remote desktop authentication.
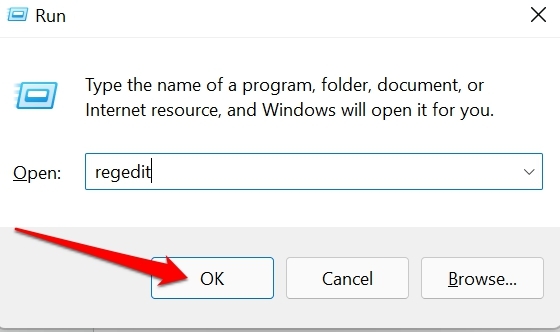
- Open the Registry editor using the regedit command in the Run box[press Windows + R].

- In the address bar of the Registry, paste the following address.
HKEY_LOCAL_MACHINE\SOFTWARE\Microsoft\Windows\CurrentVersion\Policies\System\CredSSP\Parameters
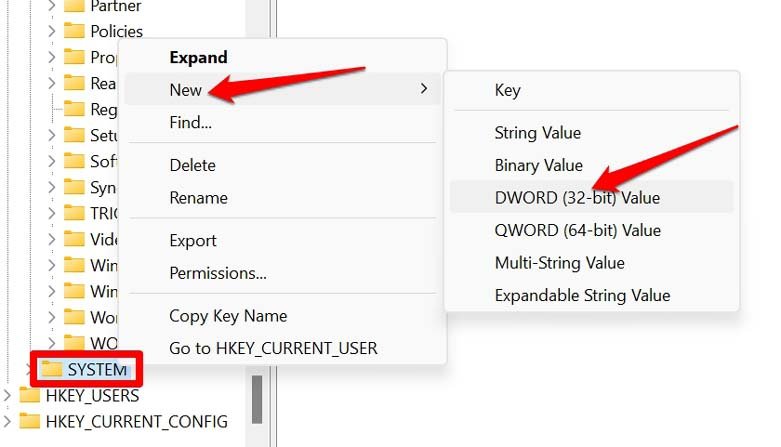
- Go to the System folder and right-click on it.
- Select New > choose the option DWORD (32-bit) Value.

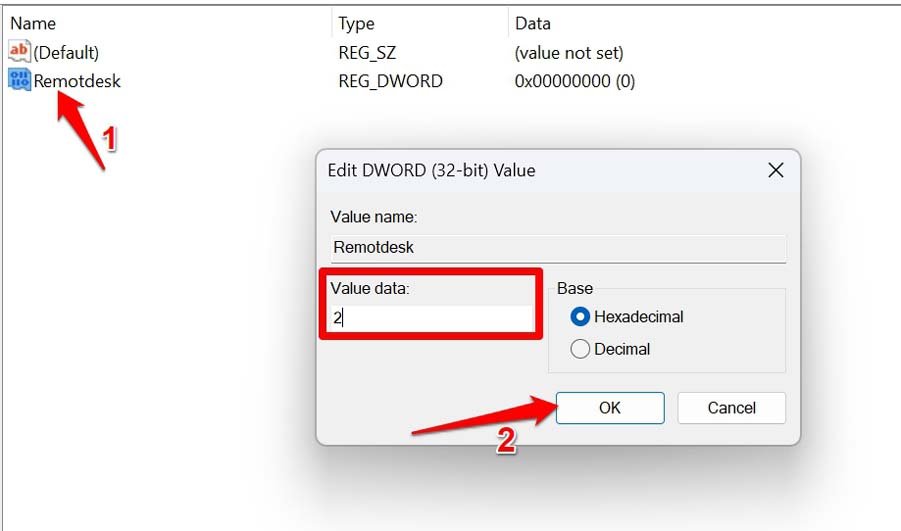
- Name it something convenient such as RemotDesk.
- Double-click on RemotDesk.
- Set the Value Data as 2 and click OK.

- Close the Registry and restart the PC.
Now, try to make the Remote Desktop connection, and you should be able to connect without any hassles.
7. Uninstalling Previous Windows Update
Sometimes, uninstalling the current version of Windows and rolling back to a previous build has proved useful in fixing various technical issues. You can try the same when you are encountering the remote desktop authentication error on Windows 11.
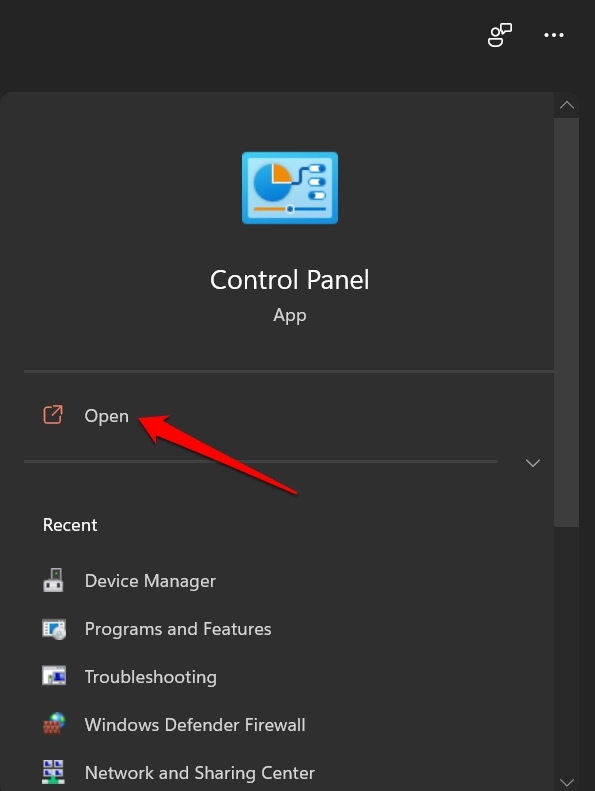
- Open Control Panel.

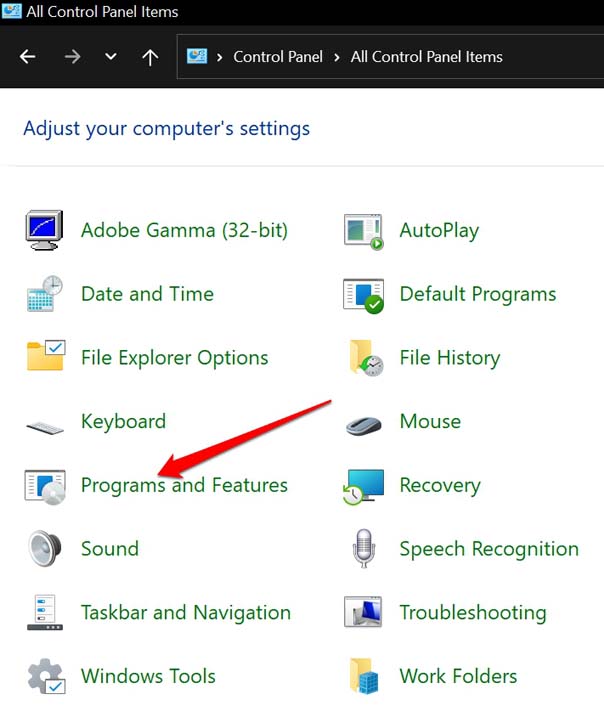
- Click on Programs and Features.

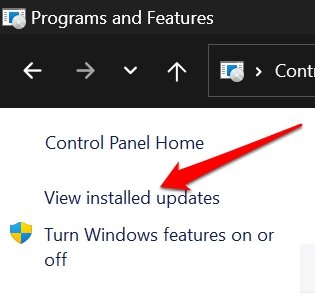
- On the next page, click on the option View Installed Updates in the left-hand panel.

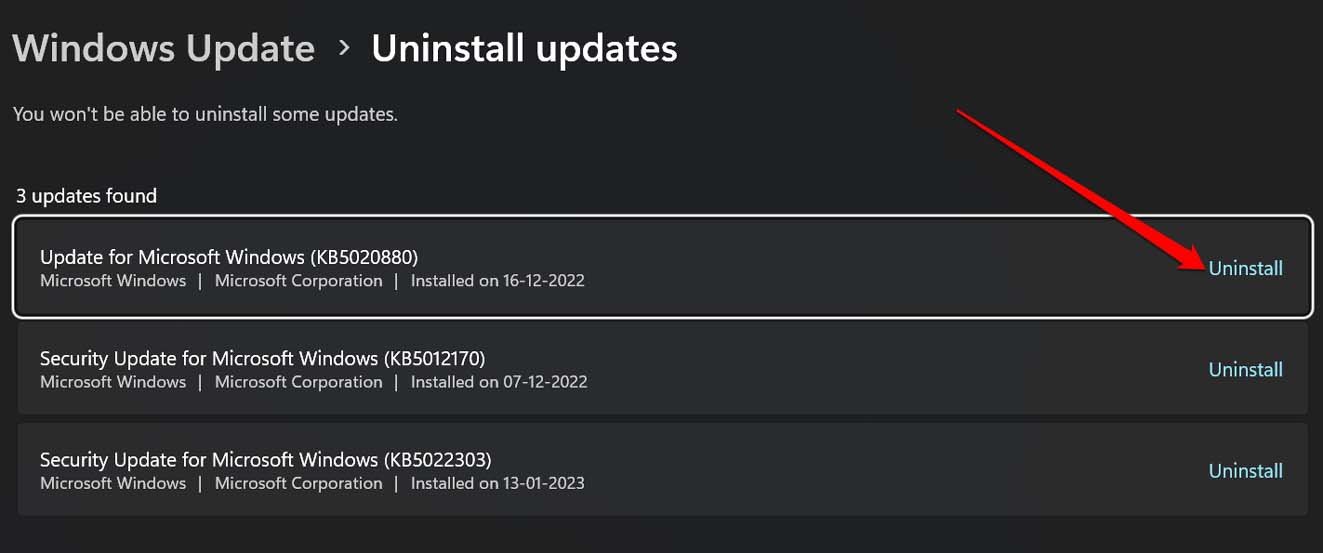
- You will be redirected to Windows Update under Windows settings.
- You will see the list of all the latest Windows updates installed on the PC.
- Click on Uninstall beside the software versions.

- Restart the computer and try to establish the remote desktop connection.
Conclusion
To smoothly access and use the Remote desktop feature, it is essential to fix the remote desktop authentication error. You surely do not want your connectivity to be hampered due to this. I hope the tips and tricks in this guide were helpful.
If you've any thoughts on How to Fix Remote Desktop Authentication Error on Windows 11?, then feel free to drop in below comment box. Also, please subscribe to our DigitBin YouTube channel for videos tutorials. Cheers!

