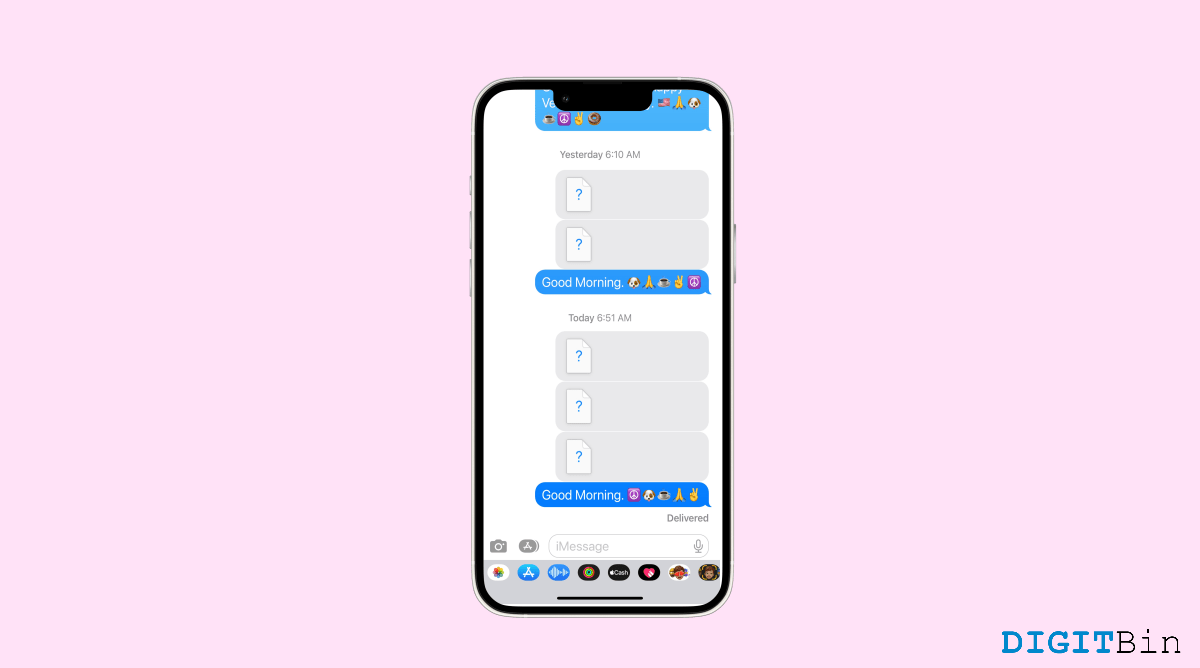

iMessage is certainly a home to most iOS users when it comes to paving the way for non-stop communication. Its elegant interface with premium features and reliable service attracts more users to stick to it. While it lays a strong foundation for better communication, it is also prone to technical glitches that might give you a hard time. Lately, a major issue that concerns iMessage users is the images not loading or showing up in the app.
Not only does it break your conversation streak, but it also makes it difficult to convey your messages. So, if you have ever wondered why you can’t see pictures on iMessage, the answer is quite complex. But worry no more—we have a few tips and tricks to resolve it. This guide discusses why images are not displaying on the iMessage app and how to fix it.
Unfortunately, there is no particular reason why you can’t see pictures on iMessage. The reason behind this might vary from user to user so do the fixes. Below, we have listed the most common reasons that might cause this issue along with a proper fix to each.
Sometimes, the reason pictures do not show in iMessage could be as simple as a bad network connection. So, check if the internet is working properly.
Try visiting a few websites and check if you have fast and reliable connectivity. If not, connect to a different Wi-Fi network and check if this resolves the issue.
If you are not able to view images on your iMessage app, check if the app is enabled in the Cloud. If it is disabled, you might not receive messages or images on your device. Here is how to enable iMessage in the Cloud.
Date and Time play an important role in keeping all your services synced. Similarly, the iMessage app requires the correct date and time to continue its services accurately. Hence, iMessage might not display images if your date and time are not correctly set in real-time. The steps below will guide you to set the date and time automatically as per the standard time zone.
If you are having trouble with both sending and receiving messages on the iMessage app, it might happen if MMS messaging is turned off on your device. MMS Messaging handles all media such as photos, videos, etc. Therefore, follow these steps to check if it is enabled or not.
Device storage is another major factor that might stop iMessage from displaying images. In such cases, it simply means that your device has no storage left to save the image. Therefore, check if your iCloud storage is completely filled. If that’s what is causing the problem, you need to delete outdated or unnecessary files to create some room. Otherwise, you can also purchase iCloud Storage plans as well.
Another reason behind this is an incompatible network setting. If you end up with conflicting changes in your device that affect your Network Settings, it may stop iMessage from loading any incoming images on iMessage. Fortunately, you don’t have to find out what’s wrong manually. Simply reset your network Setting to get back to the default. Apply the following steps to reset your network Settings.
Images not showing up on iMessage have been rapidly popularizing among users. However, it may require quite some time as to why you are facing the issue. Thankfully, these were some common fixes that have proven successful for many users. So, if you are going through the same issue as well, hopefully, this article will be helpful to you. With that said, let us know about your feedback or if you have any other suggestions.