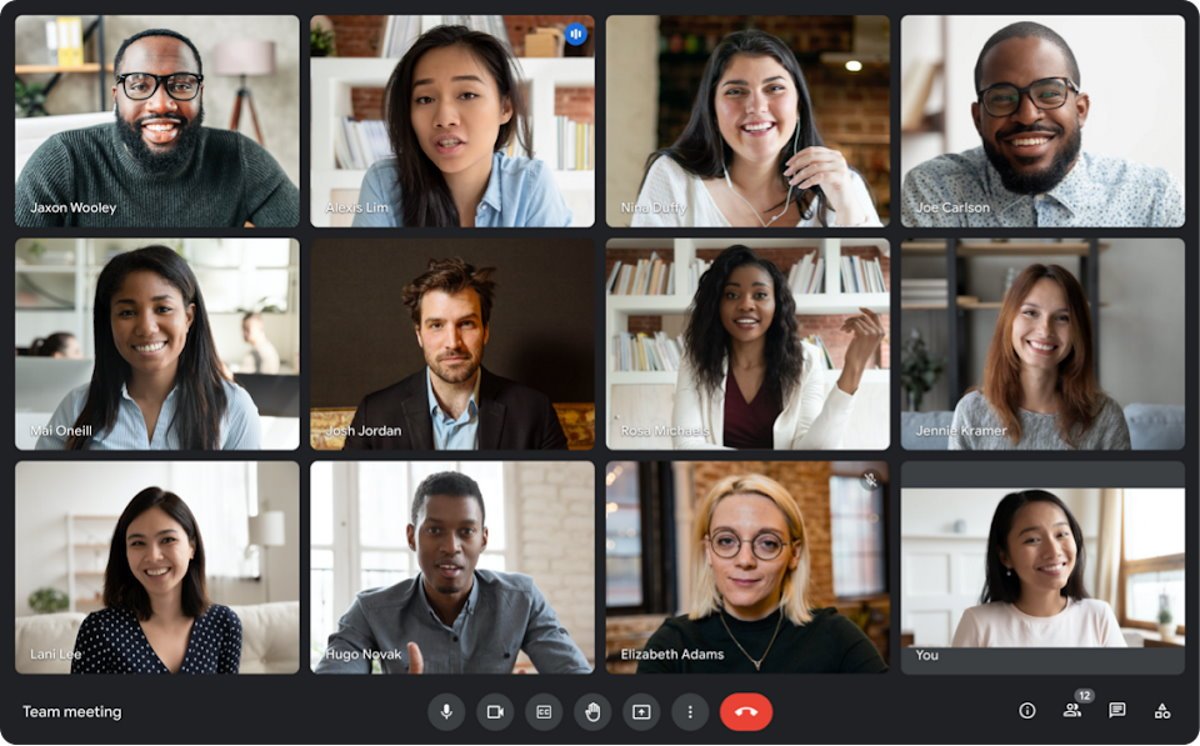

Do you remember the period when COVID first hit the entire world? Well, the whole world had to go digital, especially the educational system had to depend on Video Calls to carry on their courses. And undoubtedly, Google Meet played a massive role at that time. With loads of people using the service, Google Meet did a remarkable job managing all that hurdles. Even though, audio-video issues were prevalent with the platform then, and even now as well.
Sometimes the audio gets broken, the video quality degrades gradually, or they stop working. Either way, the entire communication process gets adverse. But worry no more as you have come to the right place. If you frequently use Google Meet and come up with audio-video issues, then this article will enlighten you with the right knowledge to fix Google Meet audio-video issues.
The audio and Video not working in Google Meet are prevalent issues, and most of us have often encountered it as well. However, most of the time, we blame everything on our internet connectivity but still keep using the service as it is. Well, let me tell you that you can fix it with some troubleshooting methods quickly. So, let us jump into our main content without any further ado.
Let us first address all the troubleshoots you can go through to fix poor audio quality on Google Meet.
Firstly review your system and check which microphone and speaker you are using. Then go to Google Meet Settings and select the devices properly.
Also, Mac users should make sure to turn off the Use ambient noise reduction. Simply follow the steps below to disable the option.
Users who use Chromebox for their meetings shall consider using a speaker mic to attain the best audio quality. Moreover, place the speaker mic close to the meeting participants to receive better audio over the platform.
That one place where most people go wrong is they use the camera’s microphone to obtain the ideal echo cancellation. Avoid using the microphone camera and instead set the volume and gain of the speaker and microphone accurately to eliminate the unwanted echo in the audio.
Alternatively, if you are on a desktop/ laptop, consider using a headset to get the optimum experience. A headset having a boom microphone would be like a cherry on top of a cake.
Poor video quality on Google Meet can be caused for a couple of issues. Let us look at what possible solutions we really have to fix this problem.
You can manually select what video quality you actually want to send to your audience at a meeting. If your first priority is to have better video quality, change your camera/ video resolution to maximum. Here are the steps to change the Resolution in Google Meet.
However, before you change the Settings, make sure to check if your device camera supports your quality requirements or not. If not, you will have to connect an extra camera supporting your video-quality requirements.
In this step, start by testing your camera in a controlled environment. Set up a test meeting and check if your camera is working well or not.
Additionally, as your requirements are quite high, check if the CPU holds enough power and memory to meet your requirements as well.
Measuring and optimizing the Bandwidth is another way of troubleshooting audio and video quality in Google Meet. To optimize the Bandwidth, you need first to identify the cause of the delay for Meet traffic. You can use a third-party monitoring tool for this purpose. And if your network doesn’t allow you to run any monitoring tools, run a test meeting on Google Meet and use the WebRTC tool for identification.
Last but not least, this method is for tech-geek people who are familiar with pinging websites and so on. In order to measure Latency, you can ping the Google Meet front-end server for a minimum of 4 hours. And this method is even suggested by Google, so you can go on without any second thoughts. For reference, you can visit this link to understand the same better.
Poor audio or video quality or Video getting stuck or completely not working are prevalent issues with any Video calling app. And likewise, Google Meet is no exception. In fact, they occur very frequently and sometimes even adversely. However, we hope that this article will finally solve all your issues and help you fix them instantly the next time you encounter such experiences.