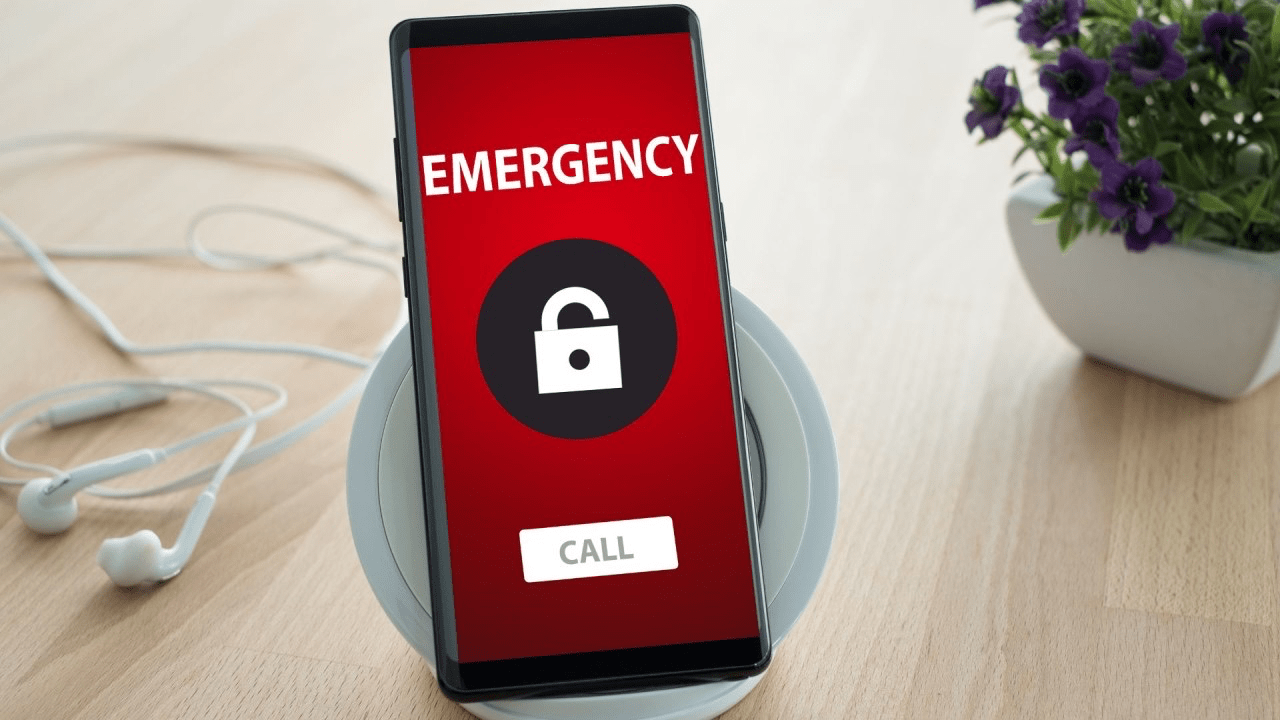
An active cellular connection is a necessity in today’s world. Thus, having no signal or the “Emergency Calls Only” error on your Android phone can be frustrating, especially when you urgently need to make a call.
The “Emergency Calls Only” error can be caused due to several reasons including network problems, SIM card issues, and software glitches.
But don’t worry; we are here to help. Let’s see how you can fix this issue with a few simple fixes. This comprehensive guide covers multiple solutions, so be sure to try each one until the problem is resolved.
If you have purchased your smartphone from a carrier on a contract, then it is likely that your contract has expired. Contact your carrier or visit the nearest store to know the status of your contract. If the contract has expired, you will have to either renew it or make a new contract altogether.
If you didn’t buy a phone on contract or if your contract is still valid, try toggling the Airplane mode. This will reset your network connection, forcing your smartphone to reconnect to the network.
Although 5G has become much more common, it still may not be as stable as 4G or LTE. If your smartphone’s network connection is restricted to 5G and there is no 5G network nearby, you may lose signal leading to the “Emergency Calls Only” situation.
Switch to 4G/LTE or even 3G, if that’s available in your location. Follow the steps below.
Restarting your phone is one of the most basic things to do when you encounter the issue out of nowhere. If the issue was caused due a glitch or minor bug in the system, a restart should be able to fix it.
If multiple network providers are available in the same location and some of them have weak connections, you might want to select the one with the most robust connection.
For example, if you’re using Airtel (carrier) but Jio (carrier) has a better reception in the area, you can switch to Jio’s network temporarily. Follow the steps below.
Did you insert your SIM card correctly the last time you removed it? If you don’t remember inserting it firmly, remove the SIM card and reinsert it. While you’re at it, check if the SIM card’s contacts are clean and free of dust and major scratches.
Clean or wipe the SIM card with a soft cloth without damaging its contacts. If you are using an e-SIM, try removing the e-SIM and re-adding it using a QR code or an activation code and see if that helps fix the issue.
Try inserting a different SIM card to determine whether the issue is with your smartphone or the SIM card. Isolating the culprit is easy.
If the other SIM card functions normally, then there is an issue with your original SIM card. In this case, contact your carrier or visit their offline store to replace your SIM card.
If the other SIM card also poses the same issue, your smartphone may be malfunctioning. You can try removing its protection case, and if that doesn’t work, contact your phone manufacturer for assistance.
If your smartphone’s software update is pending, install it immediately. Software updates also bring carrier updates, which can improve network connectivity and resolve related issues.
Resetting your network settings will fix any network-related issues caused by incorrect settings. Note that this will reset all your Wi-Fi networks, and remove VPNs, Bluetooth devices, and other network-related settings.
Finally, if none of the above solutions help fix the issue, you can factory reset your phone. This will get rid of any apps or misconfigurations that might be causing the issue. All your data will be wiped, so be sure to take a backup before proceeding.
That’s it for this guide. We hope that the above solutions have helped you fix the issue and get back to making calls and using cellular data on your Android phone.
If you know of any other solutions that might help, let us know in the comments section below. In case you are still facing the issue, contact your mobile carrier or smartphone manufacturer for further assistance.


