UNhandled Exception Installation Failed
Bluestack is the most popular Android emulator out there in the market. Yet, you might need a beefy system to run it fluently. The installation process is simple and easy most of the time. However, you might run into some errors if you did not do it properly. One such error that most people are reporting is the “Unhandled Exception” error when installing Bluestacks on their PC. So in this article, we are going to explain how you can solve this issue easily.
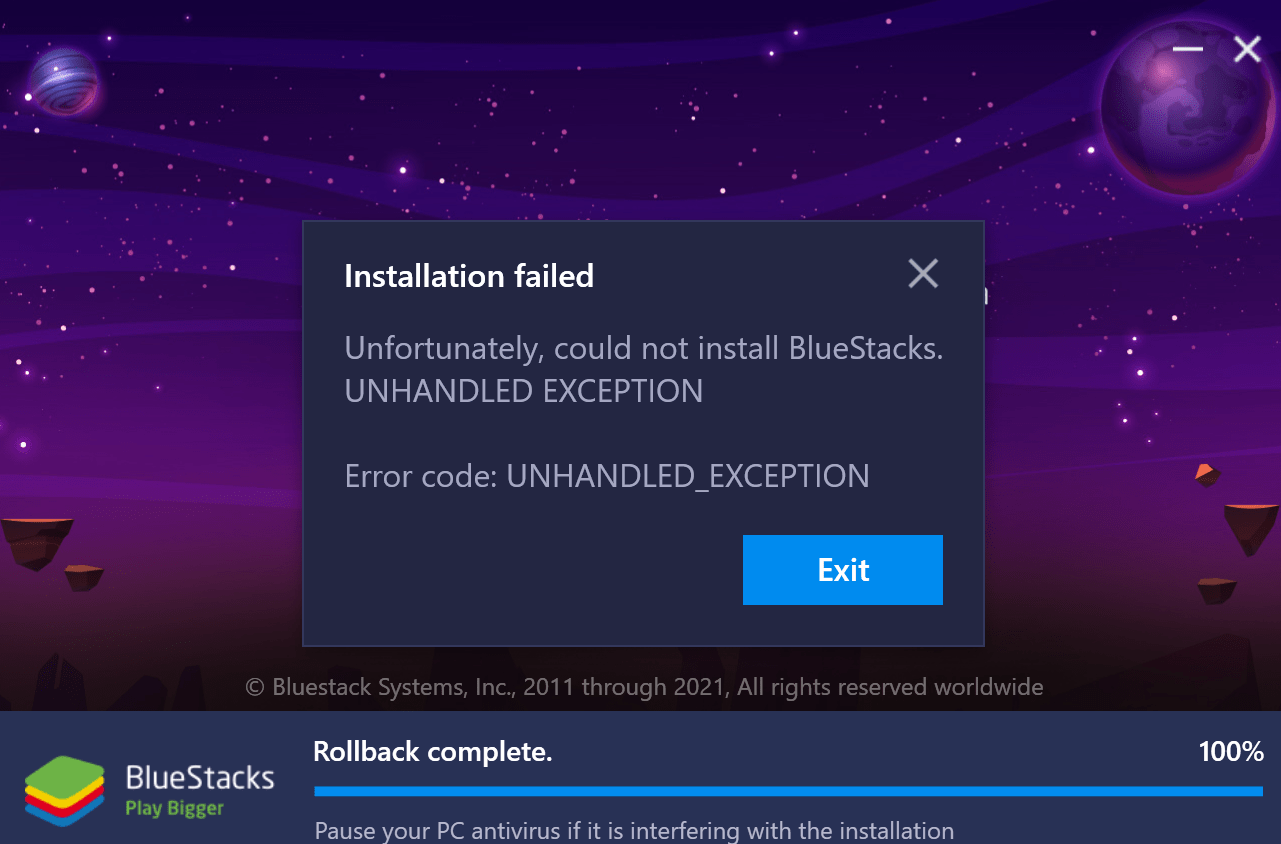
The error “Unhandled Exception” occurs when trying to install Bluestacks 5 Beta on Windows. The error states that
Unfortunately, Bluestacks could not be installed on this system. Error “Unhandled Exception”.
After doing some research, we found out that the issue is with the older version that has not been removed completely. So removing it should fix the issue.
Since an unhandled exception occurs during the installation of the program, it can be fixed via reinstalling the software. However, before installing, make sure to download Bluestacks from an official source to avoid such installation errors.
The errors mostly occur when you have an older version of Bluestack already installed on your system. Since most people reported that this issue occurred when they tried to install Bluestack 5 Beta, we should completely remove the previous version to avoid any issues.
Steps to uninstall Bluestacks on your PC:
Appwiz.cpl
Once the process is complete, restart your PC, and you should be able to install the latest Bluestacks without any issue.
Some people also reported that removing all visual C++ files from the programs list solved the issue for them. So you can also try this after uninstalling Bluestacks.
Steps to uninstall Visual c++ files:
Now check if you could install Bluestacks.
Note: Removing all Visual C++ files could cause some other programs to crash. So before removing, please take a note of what you are removing and reinstall them once the installing Bluestacks is completed.
Bluestacks online installer downloads all necessary files required to install the program to a temporary folder in Windows. If your previous installation failed and leftover some files in the temporary folder, this error could happen. In this case, you have to remove those temporary files manually.
Steps to remove temporary files from windows:
%temp%
Now check if you could install Bluestacks without any issues. If you still cannot install, then try other methods.
Sometimes Bluestacks could also create additional files that can cause issues with a fresh install. These files cannot be removed manually or at least easily. For this specific purpose, the Bluestacks development team created a tool called “Bluestacks Uninstaller”. This tool searches all leftover files from your system and removes them.
Steps to use Bluestacks uninstaller:
Sometimes, this issue could also occur if you have downloaded an older version of Bluestacks from a third-party site. So to avoid such issues, it is always best to get the latest version from the official website. So visit the official site from here and download the latest version and try to install it.
Note: At the time of writing this article, the latest stable version of Bluestacks was version 4. But Bluestacks also offers a beta version (Version 5) for the enthusiasts to test out. So if you are interested in the beta version, then you can try It from here. But keep in mind that the beta version may have some performance and compatibility issues.
So to wrap things up, these were some fixes to solve the “Unhandled Exception” issue when installing Bluestacks on your system. As you can see, the main reason behind this issue is that the previous version’s leftover files. So removing it and removing all temporary files solves the issue. These steps are simple, and you should be able to get it right in no time.