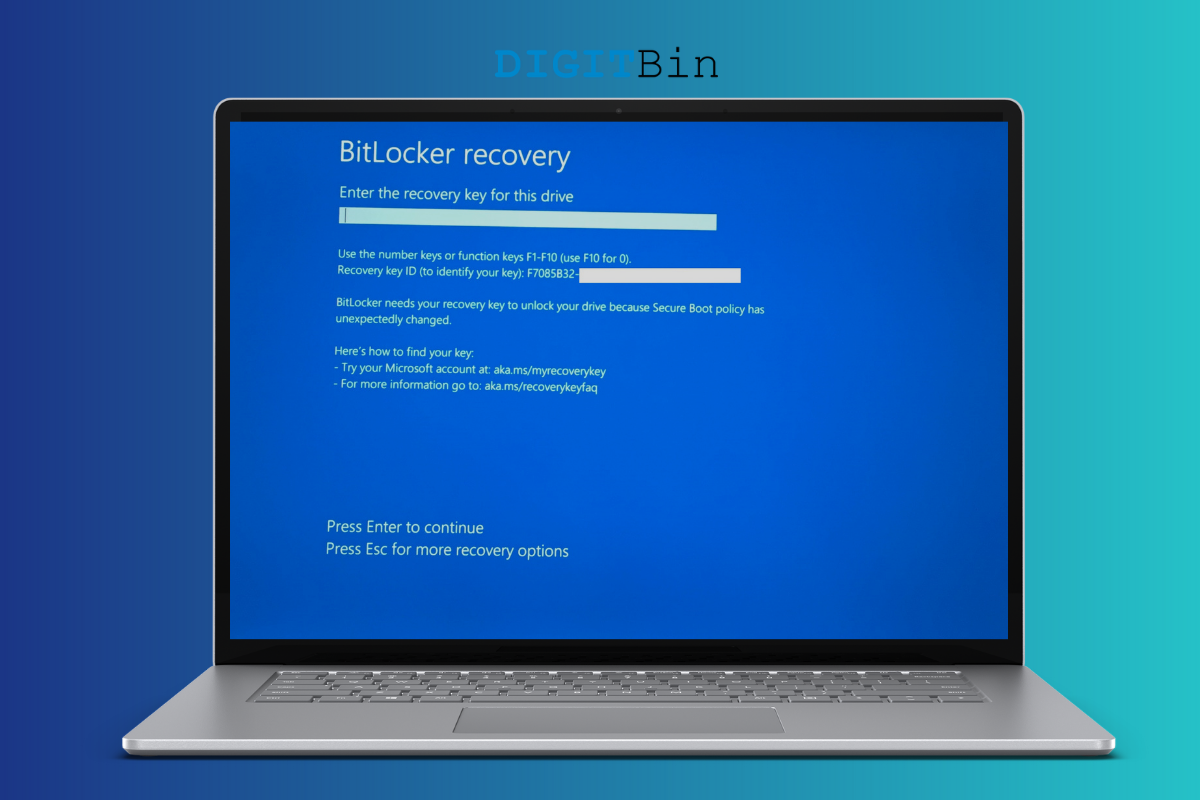

I turn on my Windows 11 machine and I was greeted with “Enter the recovery key for this drive” in Windows 11 machine. Manufacturers are shipping the new prebuild desktops and laptops with the BitLocker enabled in the storage drives. Millions are greeted with the BitLocker Recovery mode on the screen, and it’s a tricky situation for a non-tech-savvy individual. I will show you how to boot into the system without losing data and compromising security.
BitLocker is a Microsoft encryption technology, and it protects the computer from various security breaches. There is no doubt that Windows 11 is a security-focused update, and it is the major upgrade yet. Many so-called reviewers have criticized the 2020 software edition for UI uplift and not for functionality. We cannot ignore the TPM 2.0 and Secure Boot requirement, which strengthens computer security. BitLocker made a difference in the Windows 10 or earlier version with its encryption capabilities. Let me give you valid reasons why Windows 11 or earlier version is asking for a recovery key.
Modern Windows laptops have Thunderbolt 3 (TBT) and USB Type-C ports. My Windows 11 machine shipped with two USB Type-C ports in the side, and that’s a potential reason for it.
I inserted a bootable flash drive that had Elementary OS (Linux software) in it. I wanted to test the latest Linux operating system edition from eOS and that may have caused the issue. BitLocker keenly looks at the boot configuration for new changes and prompts to enter the recovery key.
I have shown you how to try Linux operating system from a USB flash drive without installing it on the storage drive.
The removable device that you connected might have a security policy or protocol that triggered the issue. It could a USB flash drive, an external hard drive, or a physical security key. You may have lost the USB startup key required to boot the Windows machine.
BitLocker encryption is aware of the installed hardware and it detects the removed or newly installed hardware. Users have to enter the recovery key to authenticate the hardware removal or installation.
Your system BIOS and boot configurations are the heart and soul of the system. BitLocker responds to the modifications in the BIOS and boot configuration and asks you to authenticate the software. Unauthorized individuals will be locked out from the Windows machine, and they no longer have access to the stored data.
BitLocker encryption technology responds to the boot configuration modification, BIOS changes, and hardware-level changes. Allow me to show you how to unlock the drives & partitions in Windows 11 without losing stored data and compromising security.
The desktop or laptop is locked out, and you can’t access it until the recovery key is entered into the machine. You need a device such as a smartphone, computer, and tablet to find the recovery key. You have to access the Microsoft account associated with the Windows 11 machine then find the recovery key from it. Make sure to memorize the MS account credentials, and you can reset the password during the process.
1. Open the browser and go to Microsoft’s BitLocker recovery key page.
2. Enter the username or email address associated with the Windows PC.
3. Enter the password, then click on the “Sign in” button.
4. You have to verify the identity, and a code is sent to the recovery email.
5. Open the recovery email address app and memorize the code.
6. Go back to the browser and enter the code, then press the “Verify” button.
7. You can choose to stay signed in or skip it.
8. The BitLocker keys are on your screen.
Match the key ID showing up in the locked laptop or desktop with the Microsoft BitLocker recovery keys. Enter the matched recovery key in the locked laptop/desktop manually and press the Enter key to register it. Your Windows machine boots back into the Lock Screen and you gain access back to the machine.
Millions have enabled BitLocker encryption in specific partitions so they can protect it from unauthorized access. I will show you how to regain access to the BitLocker locked partition in Windows 10/11.
1. Select the partition and open it.
2. The partition asks for the recovery key, so open the browser.
3. Go to the Microsoft account page and click on the “Sign in” button.
4. Enter the credentials, and if you forgot the password, then you can reset it right over there.
5. Find the Windows PC and click on the “View details” option.
6. Click on “Manage recovery keys” under the BitLocker data protection section.
7. Verify the account. Microsoft has sent a code to the registered recovery email address.
8. I received the code in the form of an email, and I memorized it from the app.
9. Enter the code in the empty file and click “Verify” to finish the process.
10. BitLocker recovery keys are on your screen.
11. Match the key ID from Windows PC and Microsoft BitLocker recovery keys.
Enter the recovery key manually and press the Enter key.
12. Choose how you want to open the partition.
13. The partition is accessible on the Windows PC.
You can try the same solution in Windows 11 or earlier versions without any issues. BitLocker encryption technology is available for older software, and it won’t impact the functionality of the older Windows versions.
I have shown you to resolve “Enter the recovery key for this drive” in Windows 11 and access the BitLocker locked partition in Windows 10. You can remove the BitLocker encryption permanently in the system, but that’s a tutorial for another day. You shouldn’t remove the encryption for convenience and let the Microsoft-developed encryptor protect the data from authorized access. You can carry the BitLocker recovery key in a cheap security key, and it is available at an online shopping site.