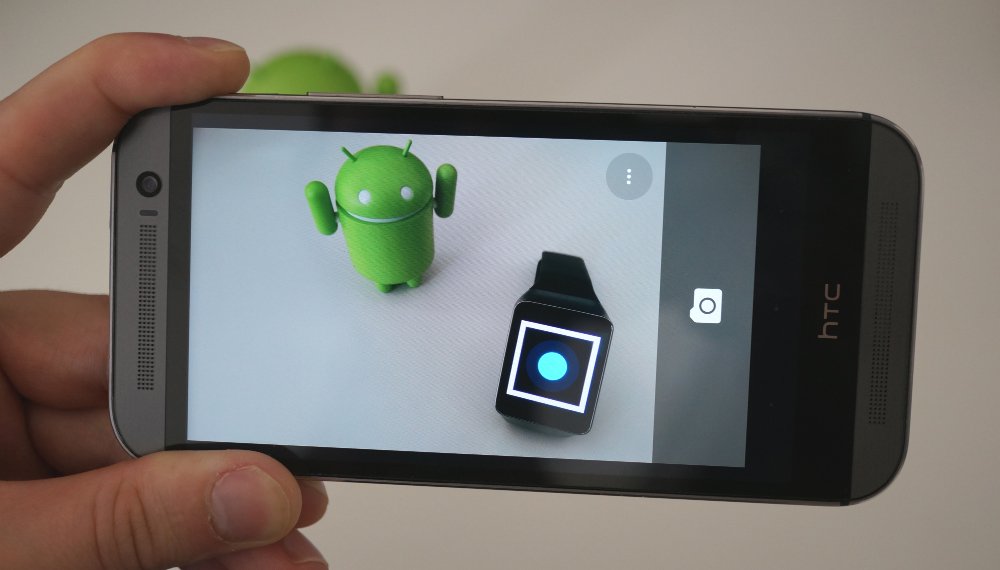

Android Camera not working
A camera is an integral part of any smartphone and also very integral part of our lives. If you are having problems with your camera then it could be irritating. The problems which we usually face while using camera app on Android are force closing, shutting down abruptly without any failure message, stop working with a pop-up message ‘Unfortunately, camera has stopped’, screen going black, freezing, misbehaving, not responding, getting message of ‘camera failed’, can’t connect to the camera, closing unexpectedly (process.com.android.camera) stopped or any other problems.
There are no specific reasons for camera app problems but here are some potential reasons for app misbehaviour.
Here I have come up with the list of all possible solution to fix the problems related to Android cameras. The solutions are listed based on the potential ability of fix to strike out the issue.
Note: I first recommend you to free some space on your device & RAM storage and look for camera function. If camera still misbehaves proceed with the solutions below.
A simple reboot should fix the problem, rebooting eliminates the technical problem if any. Reboot also helps in clearing RAM by killing background apps that are not performing any actions thus giving the camera more free space to run.
Directly pull the battery out while the device is still in power. It is a type of soft reset that can make your camera function once again. This option may not be applicable for all devices as the battery may be inbuilt.
Note: Clearing data and clearing cache will delete app data like preference settings made, account with the app etc
Google Services Framework syncs your data and stores device data. It also helps in proper functioning of system apps. Especially if you use a device which runs Google camera, clearing cache will help fix the problem.
Safe mode lets you disable all 3rd party apps you installed for a temporary time.
Reboot in safe mode
For Android 5.0 and more
There may be many 3rd party apps installed on your device that has permission to access the camera like WhatsApp, Facebook etc. These apps obstruct the normal functioning the camera thus causing issues.
If you are not facing any issue with camera in safe mode than some 3rd app is causing the camera to disfunction, uninstall the apps one by one that ask for camera permission and look for the issue. If unistallation of any app solves the problem, the problem is solved.
Note: For devices with Android 6.0 Marshmallow and above you can preferably choose app permission. Just reboot again to restore and come back to normal mode.
If you downloaded any third party camera app then uninstall the app. The app may have modified some files which may cause the camera to misbehave. Avoid downloading apps (Camera apps) from non-reliable sources as they may contain malware, virus or spyware which may infect the device.
The camera app may stop suddenly due to its own internal issues so you can even try any other third party apps if you haven’t tried any.
Many smartphone manufacturers give option to just reset phone settings. It is worth a try as it can set default all the settings of the device as it was when unboxed.
Settings > Backup & restore > Reset device settings
Note: No data will be lost in this process only settings will come to default.
It is the best solution as far as device performance is considered. A software update may contain patches for camera improvements and bug fixes. If your device has one surely go for it.
If the problem still persists you have no other option than going for a factory data reset of your device. Take complete backup of the data as reset will wipe all of that.
Settings > Backup & restore > Factory Data Reset
The device will reboot automatically.
You need rooted device to perform the operation.
Download CWM Recovery from Google Play Store. Enter the recovery mode with the option provided on ROM Manager menu or else you can reboot the device by pressing and holding the power key and continuously tapping on the volume button.
Recovery Mode Android
Reboot the device.
Note: You will loose all the device data so take backup before you proceed.
Note and Conclusion: Go through all the solutions provided before performing the factory reset. If still the problem persists there is no solution to fix it. Do comment below for any suggestions. And help us improve this post. Thank You!
This post was last modified on June 5, 2016 9:05 am