My PC randomly crashed and the EXCEPTION_ON_INVALID_FILE error was on the Windows 11 screen. It’s a devasting moment for the new users who have upgraded from Win 10 to the latest version. Many contributing factors lead to the Blue Screen of Death in the machine. We will investigate the matter and resolve it at the same time.
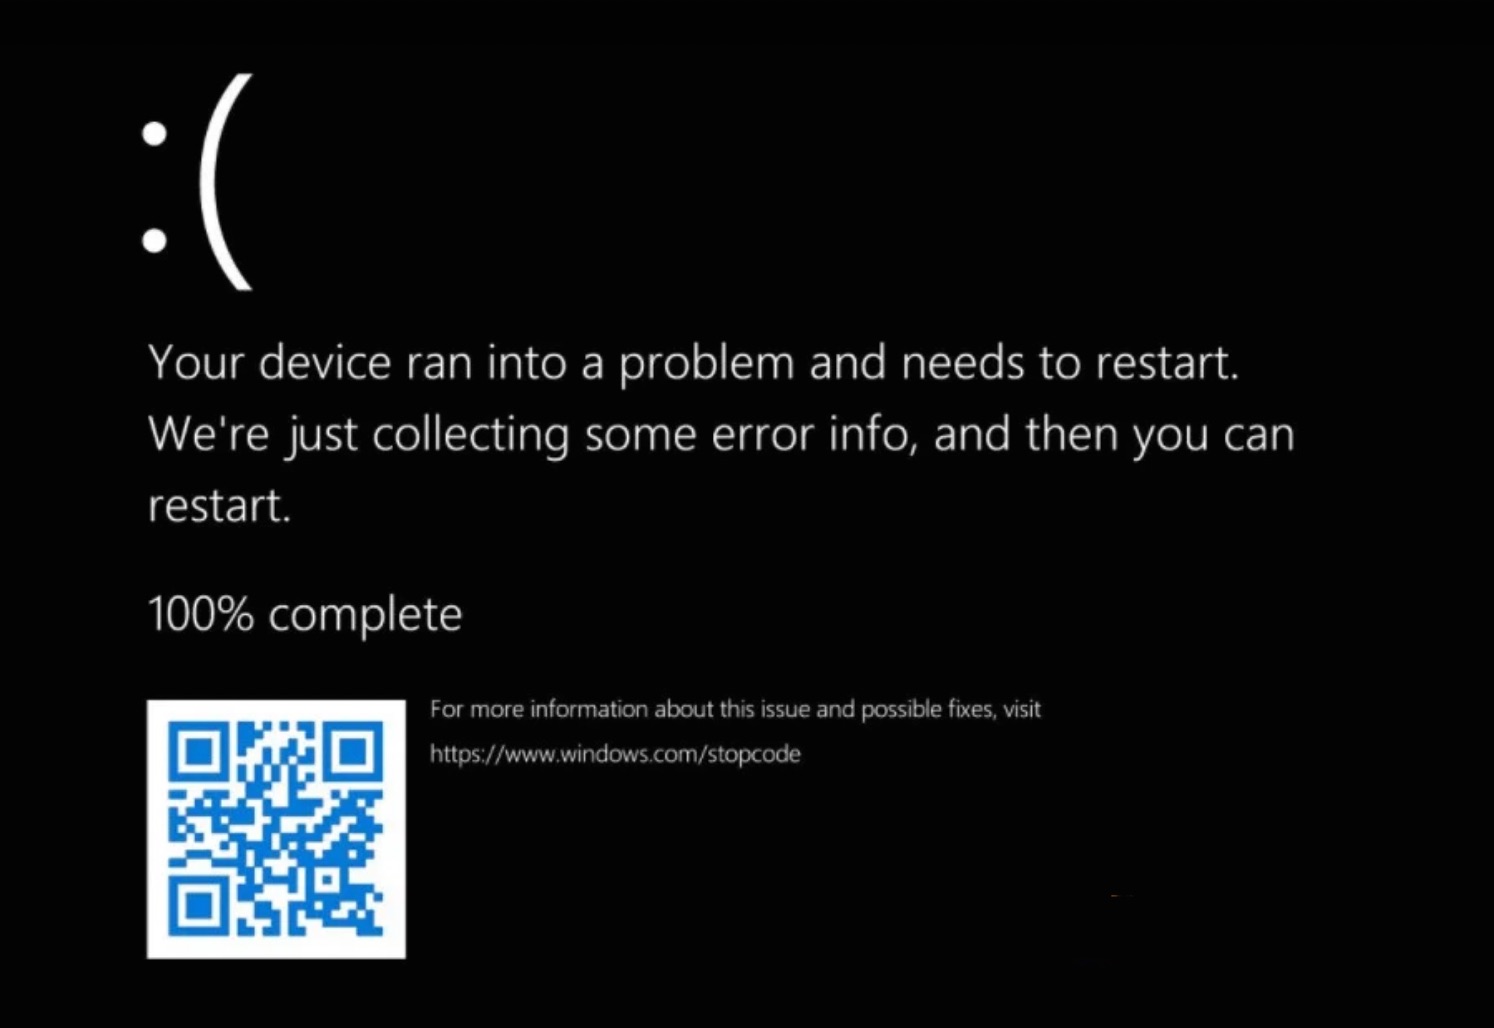
What is EXCEPTION_ON_INVALID_FILE in Windows 11?
We should learn the meaning behind the BSOD error code and that allows us to prevent it from repeating. Let me list down several factors that involve the EXCEPTION_ON_INVALID_FILE error code.
- Windows bugs
- Misconfigured or lost BCD (Boot Configuration Data)
- Outdated drivers running in compatibility mode
- Mechanical hard drive with bad sectors
- Corrupted Windows 11 system files
I have mentioned five possibilities and one of them is the culprit. I didn’t explain every point in detail because I have provided a solution below which answers the questions.
1. Restart PC
Don’t panic about the EXCEPTION_ON_INVALID_FILE error code and it is happening due to being an early Windows 11 user. The new software has bugs, limitations, and incompatibility, which take months to resolve. The official developers, partners, and third-party developers take a lot of time to release patches and updates to create a stable environment for the users.
- Press Windows Key + D altogether.
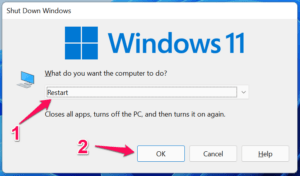
- Press Windows Key + F4 altogether.
- Choose “Restart” then click on the “OK” button.
Force restart the machine using the physical power button.
Laptop:
- Press and hold the power button for three seconds.
- Release the power button once the display goes dark.
- Wait for a few seconds.
- Press the power button for three seconds to turn on the machine.
Laptop users have a programmed power button that forces shut down the machine by holding the button for three seconds.
Desktop:
Fortunately, desktop users have a dedicated restart key located below the power button. Press the dedicated restart key and it will exit the BSOD screen.
You should switch to Windows 10 if the problem doesn’t resolve in a few weeks. It would take November 2022 for the 11th edition to receive stable drivers, patches, and programs.
2. Create a Bootable Windows Drive
I’m assuming that your PC is not starting at all and you are stuck at the recovery mode screen. In such cases, you have no choice and I recommend you to create a bootable Windows USB drive.
You are going to need a few things to create a bootable drive and I will prepare you for it.
- 8GB flash drive
- Active internet connection to download up to 6GB ISO file
- Secondary Windows PC
- Microsoft’s Windows 10/11 installation media
I recommend the users create Windows 11 USB drive and try to repair the system first.
In case, if the Windows 11 software doesn’t get fixed then you should go for Win 10 instead. It is stable and won’t land you in a similar state as long as the internal components are faulty.
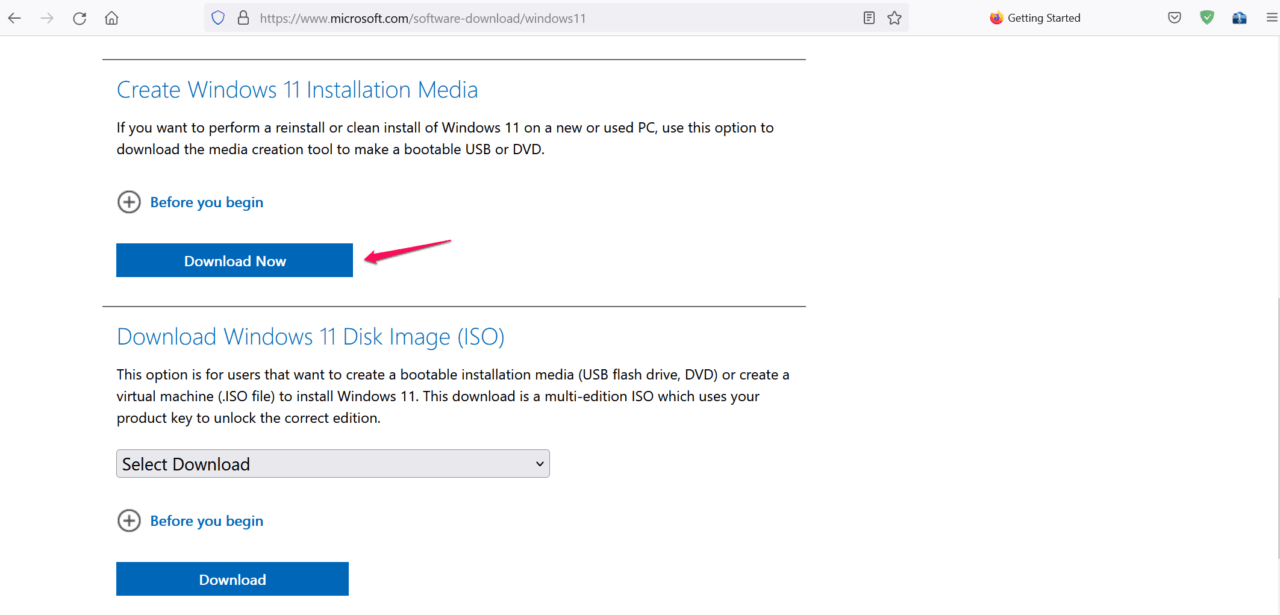
- Go to the Microsoft site and download the Windows 11 installation media tool.
- Click on “Download now” under Create Windows 11 Installation Media.
- Run the Windows 11 installation media tool as administrator and let it get things ready for you.
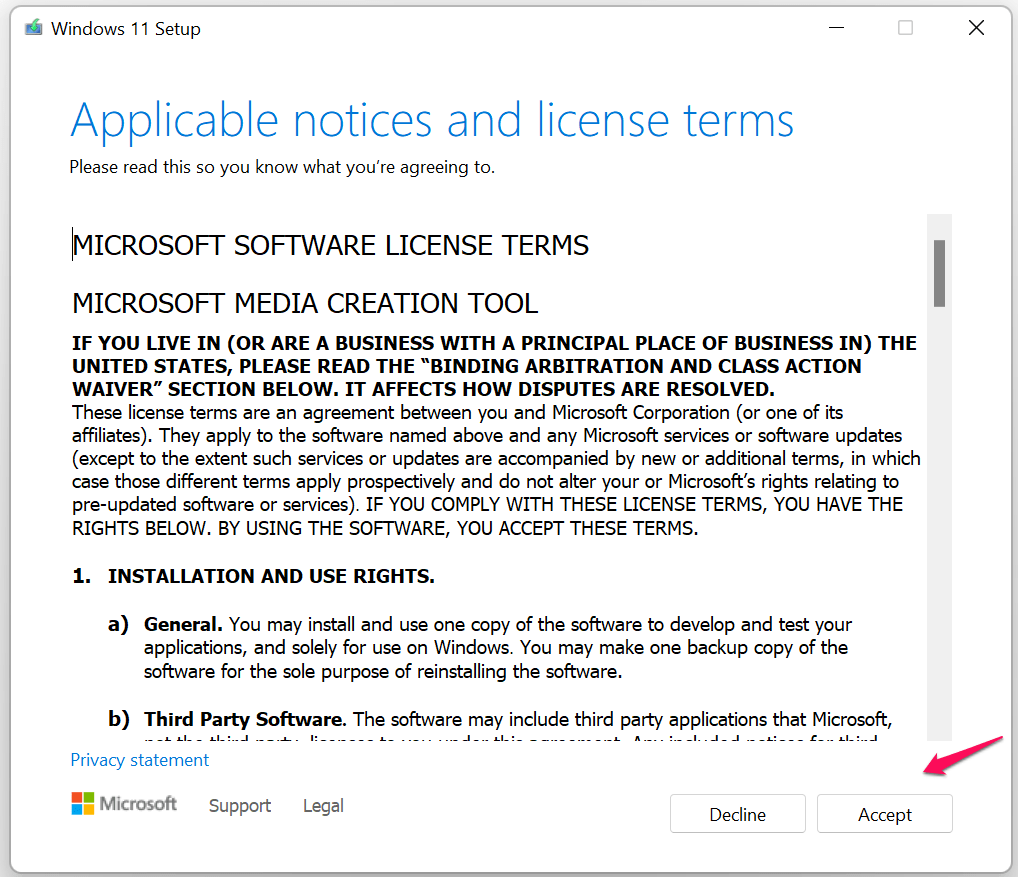
- Read the Terms & Conditions then click on the “Accept” button.
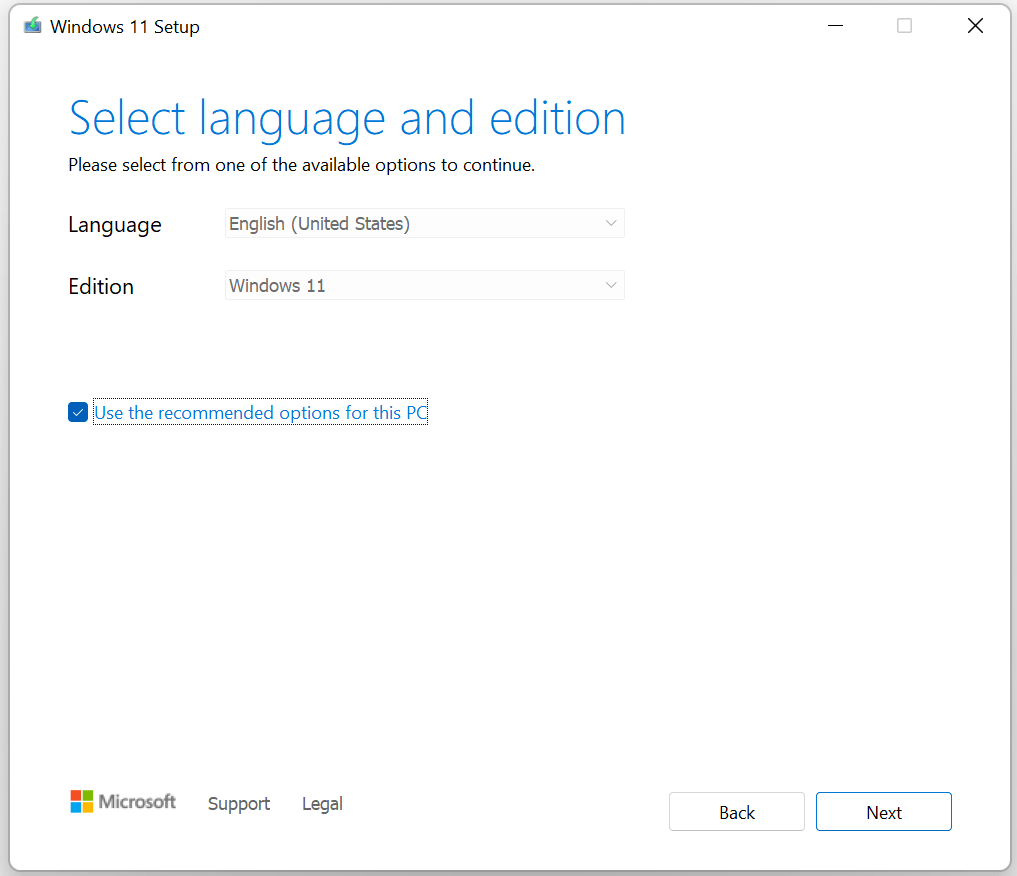
- Choose your preferences then click on the “Next” button.
- Select the “USB flash drive” option then click on the “Next” button.
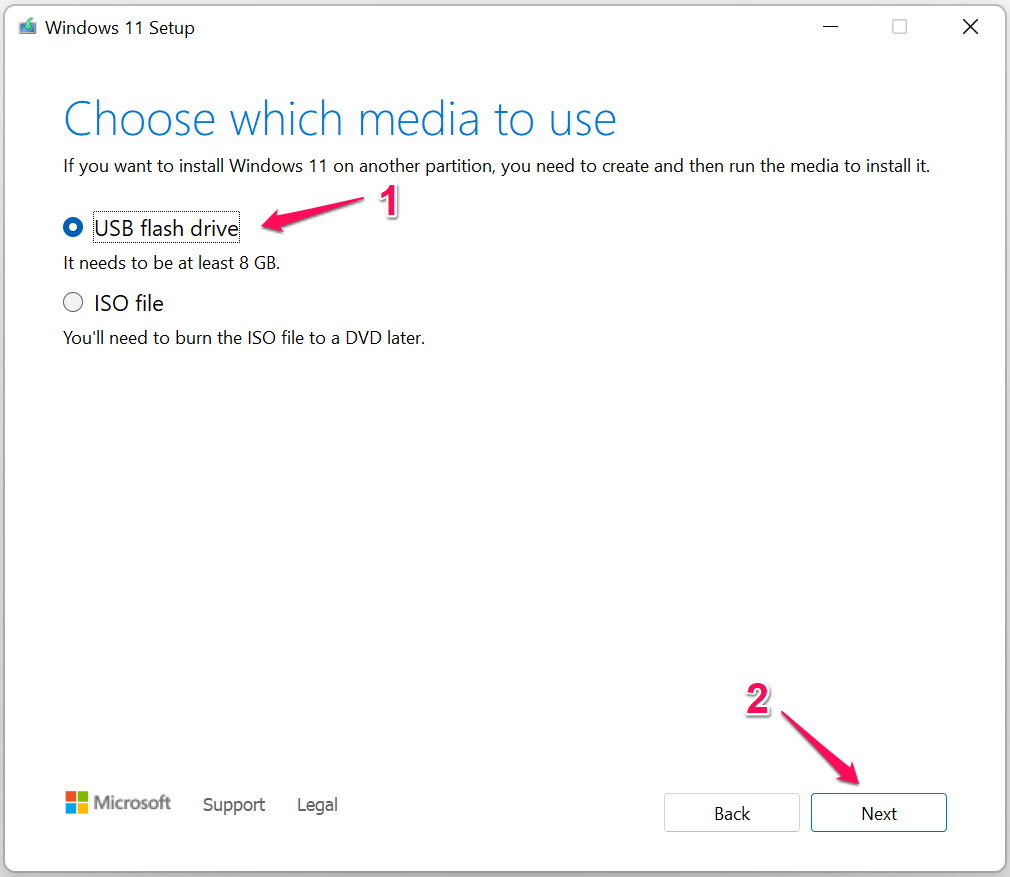
- Connect the USB flash drive and select the tool, then click on the “Next” button.
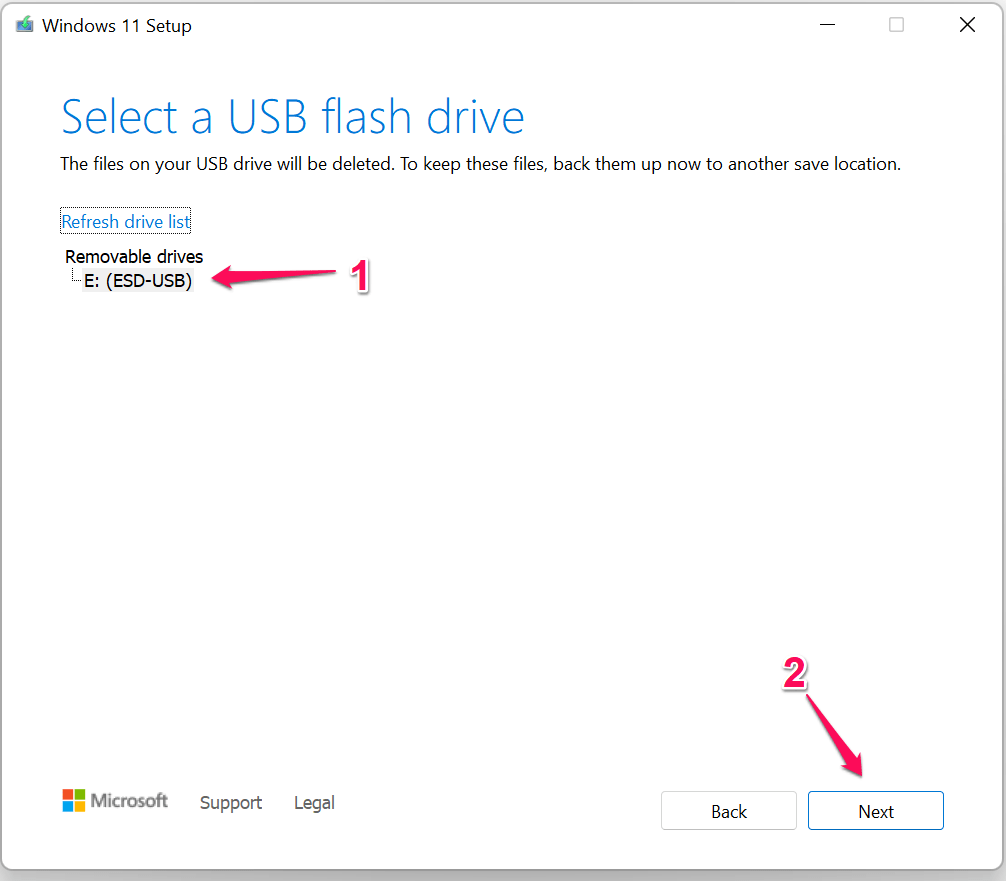
- Wait for the tool to create a bootable drive and let it finish the process.
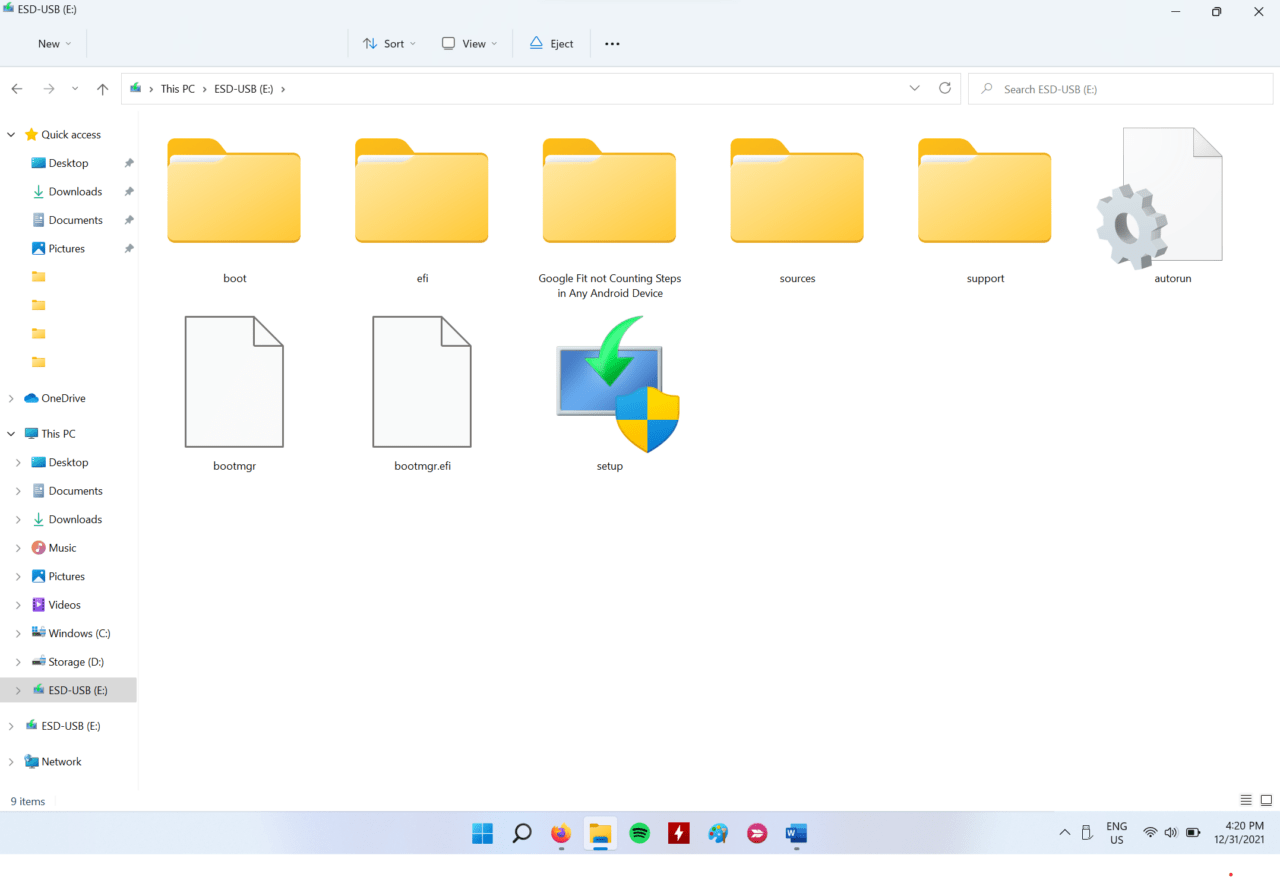
My internet connectivity speed is 40 Mbps and the tool finished the process in twenty minutes. Close the Windows Installation Media tool and open the USB drive.
You can boot into a Windows USB drive by using Boot Menu Key.
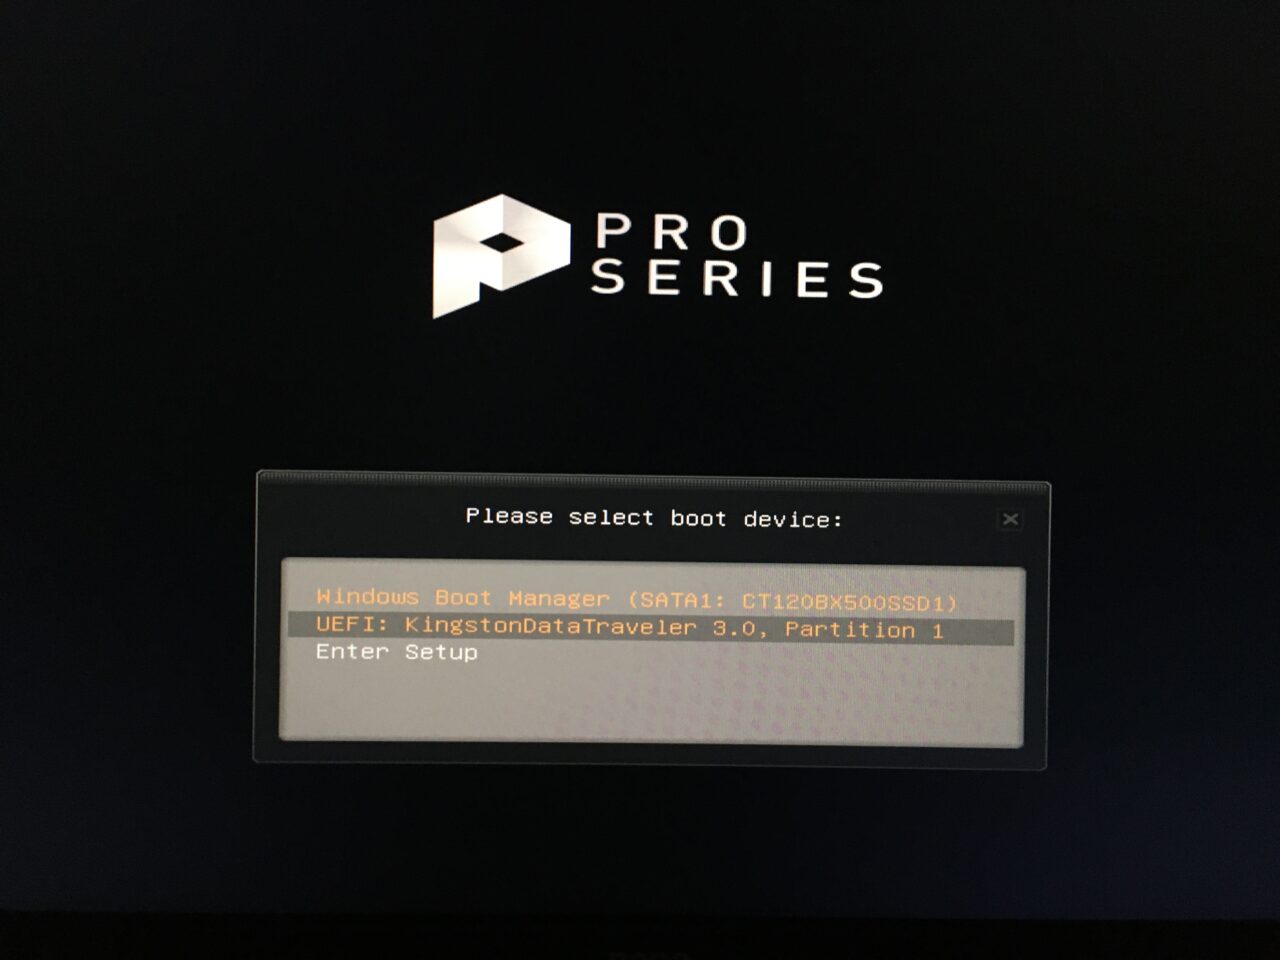
- MSI: F11
- Acer: F12
- Gigabyte: F12
- Intel (motherboards only): F10
- HP: F9
- Common Boot Menu Keys: ESC, F2, DEL, F10, F12, F9, F8, F5, F7, etc.
Boot menu key allows the users to choose the USB flash drive, and you will boot into Windows 11 setup drive.
3. Run Windows System Files Scanner
The system files are corrupted in Windows software and that is leading to the EXCEPTION_ON_INVALID_FILE error. Let me show you how you can scan the system files in the Windows setup screen.
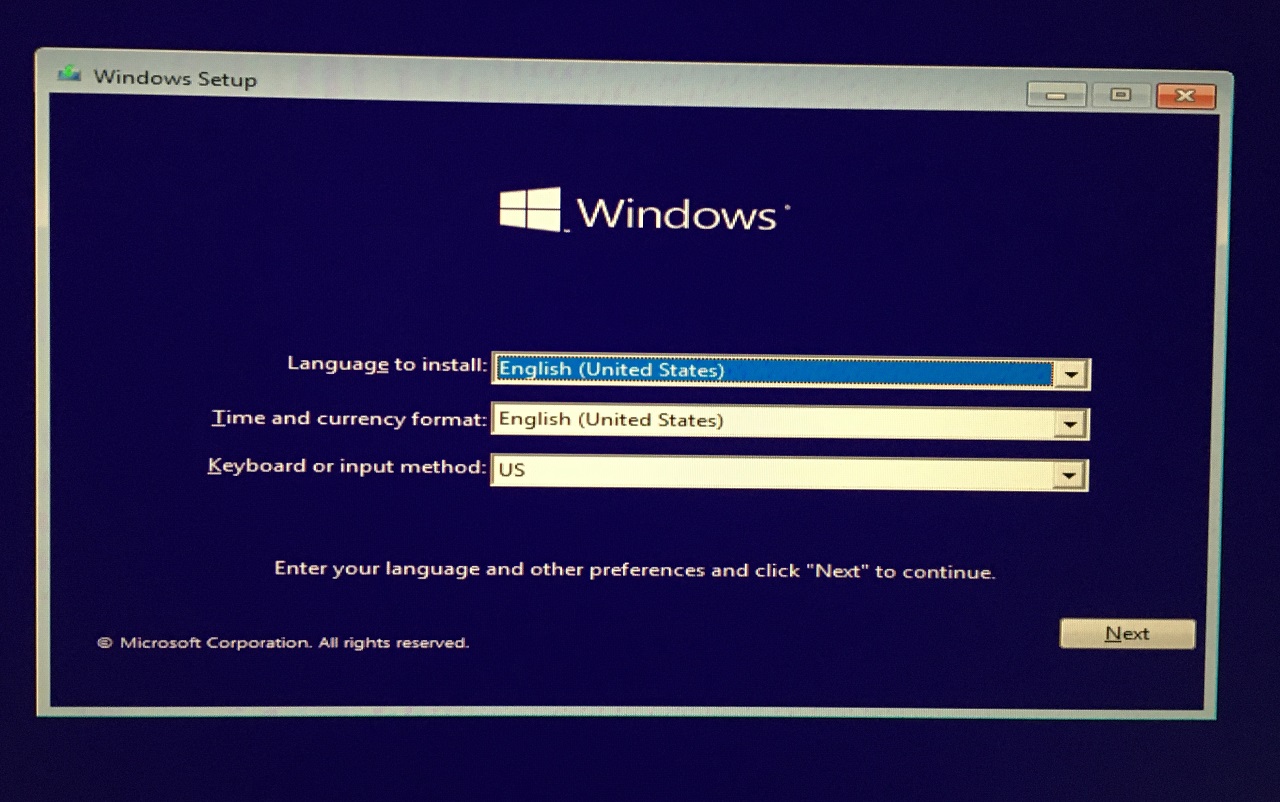
- Boot into Windows bootable drive and click on the “Next” button.
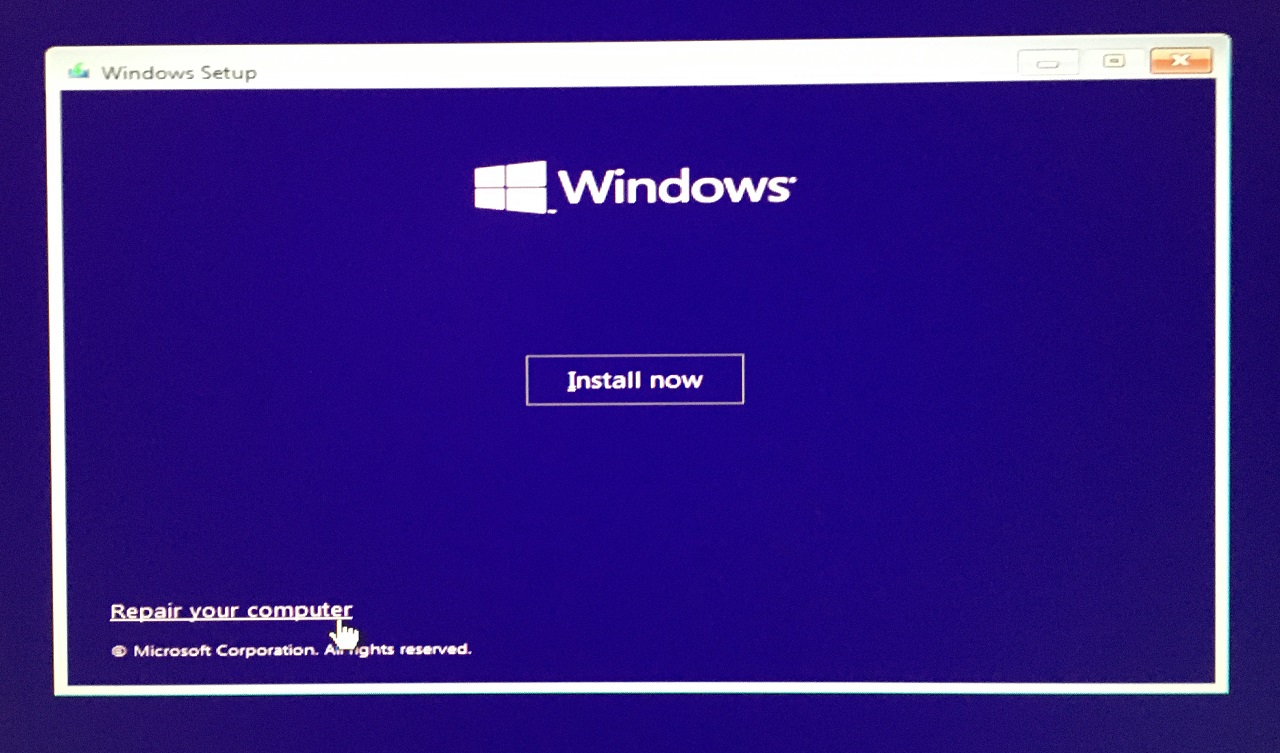
- Click on “Repair your computer” located at the bottom left corner.
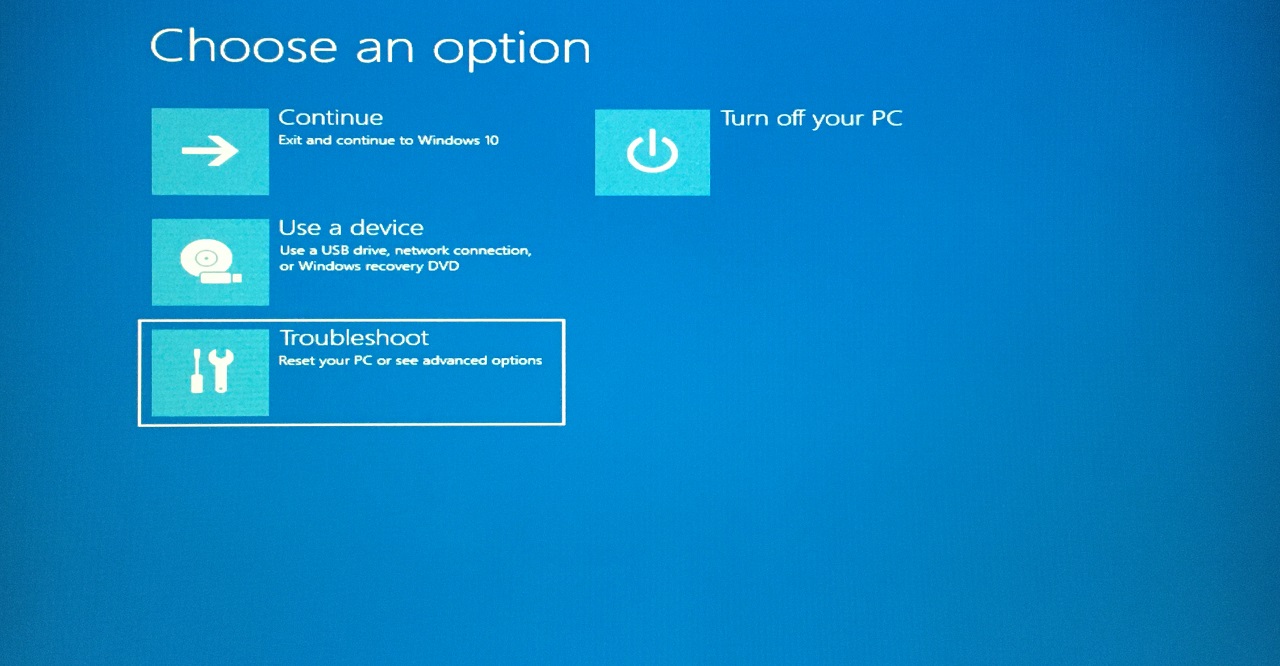
- Click on the “Troubleshoot” option.
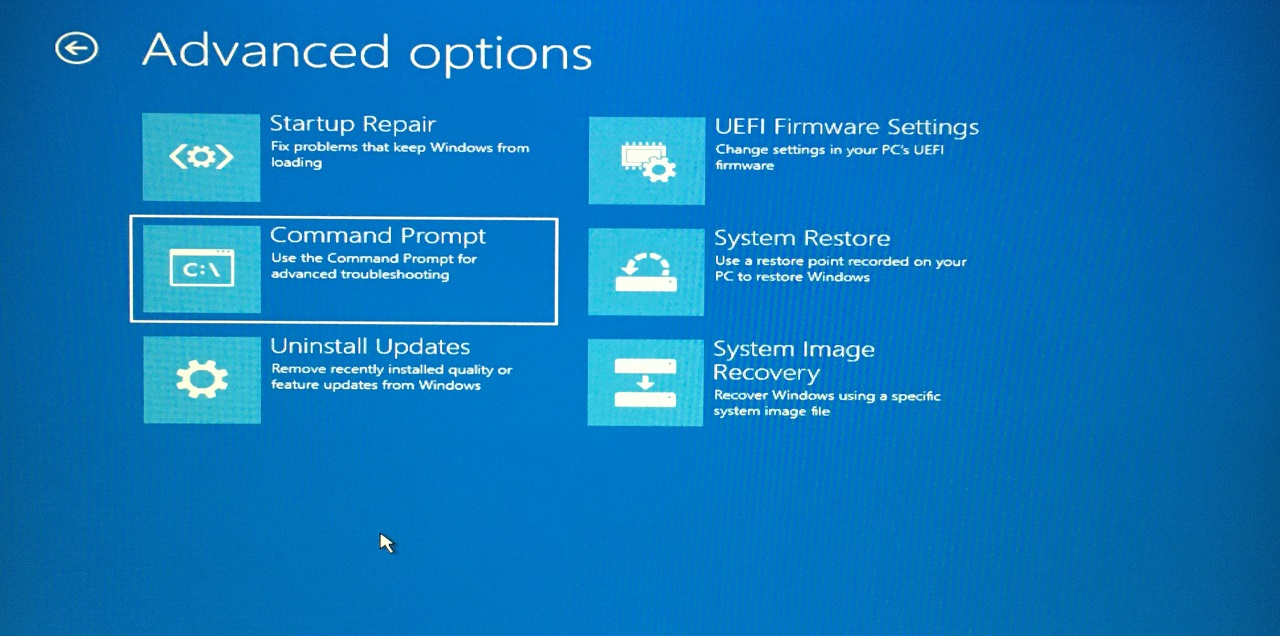
- Select the “Command Prompt” option.
- Type “SFC /scannow” command and press the Enter key.
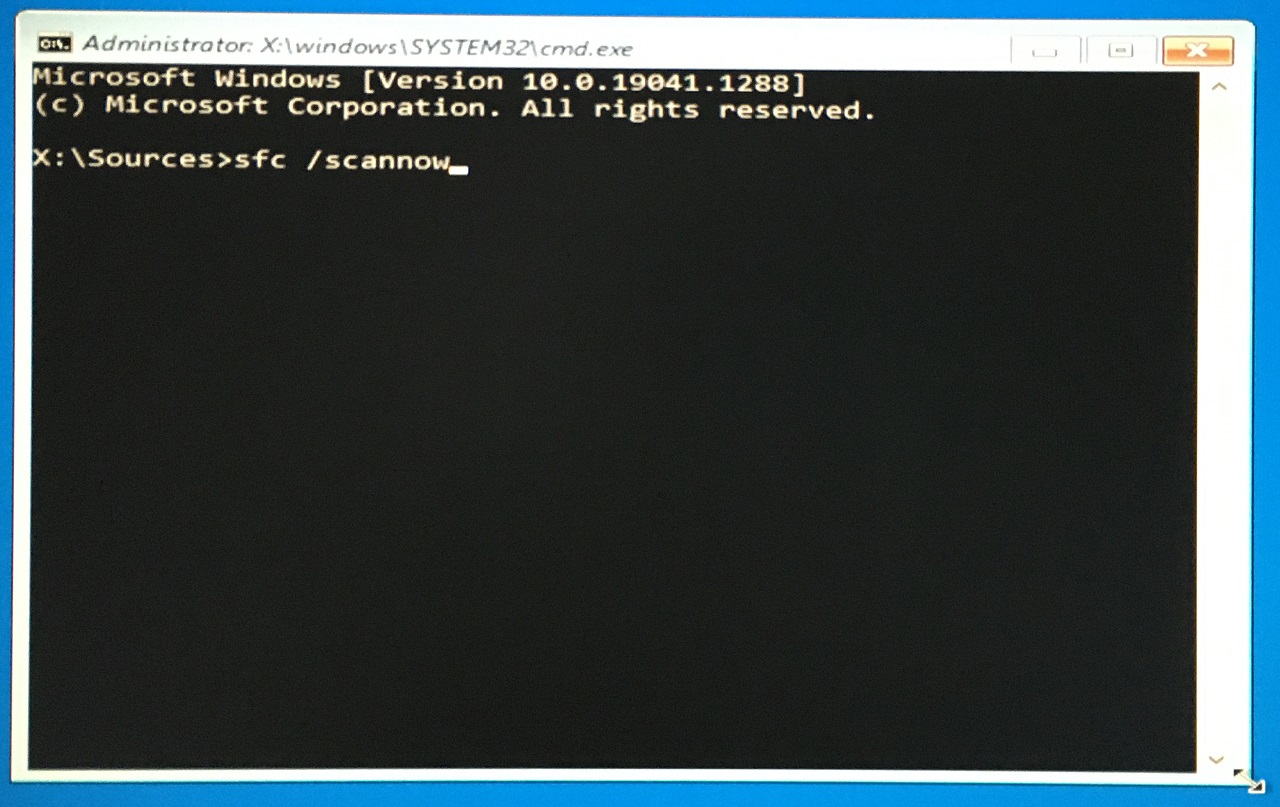
- The system file verification begins and waits patiently till the scanning is finished.
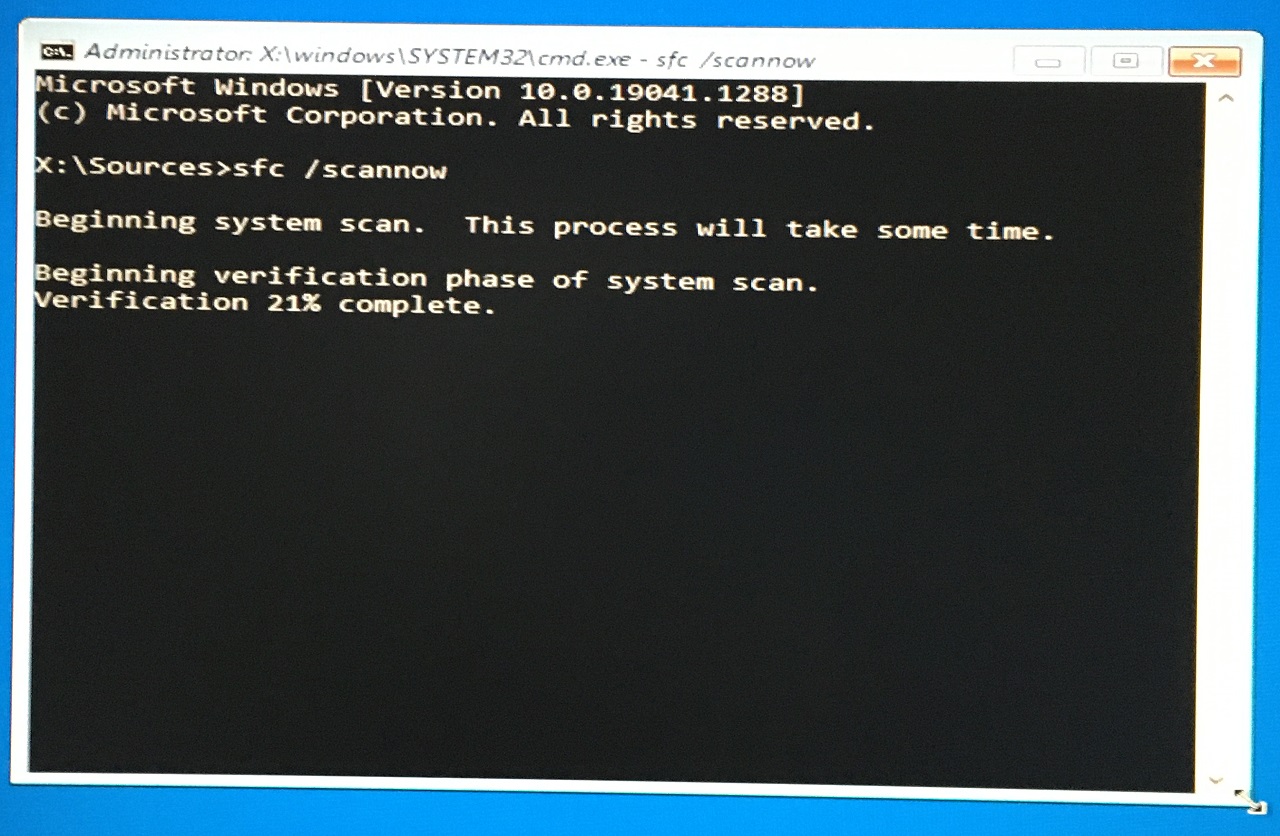
- The verification process ended within a minute.
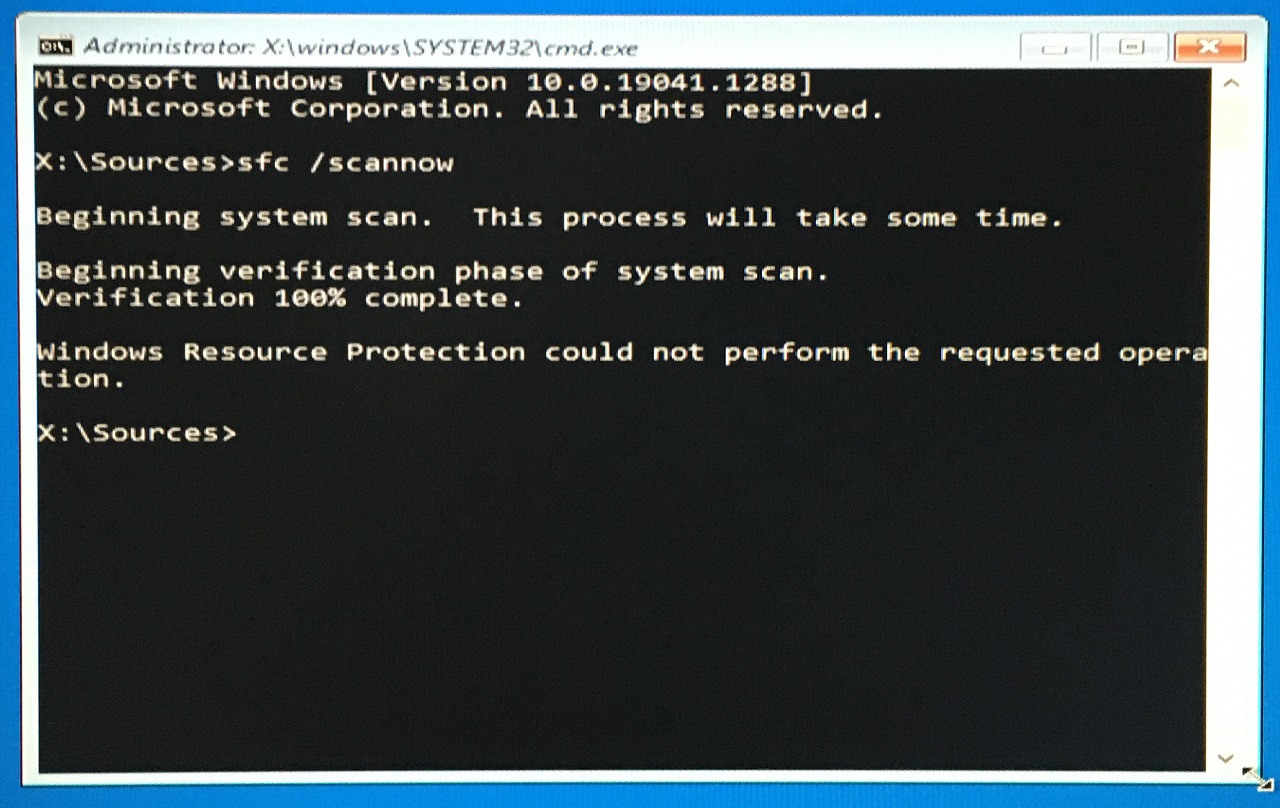
The scan result is “Windows Resource Protection could not perform the requested operation”.
That’s a red signal and you should boot into Safe Mode, if possible, to perform the scan again. I would reinstall Windows 10/11 operating system because I don’t see a way to fix the corrupted system files.
4. Run Disk Utility
The Windows installed storage drive might have bad sectors and you can identify the culprit by following simple steps.
- Boot into a bootable USB flash drive and click on the “Next” button.
- Click on “Repair your computer” located at the bottom left corner.
- Click on the “Troubleshoot” option.
- Select the “Command Prompt” option.
- Type the command chkdsk c: /r and press the Enter key.
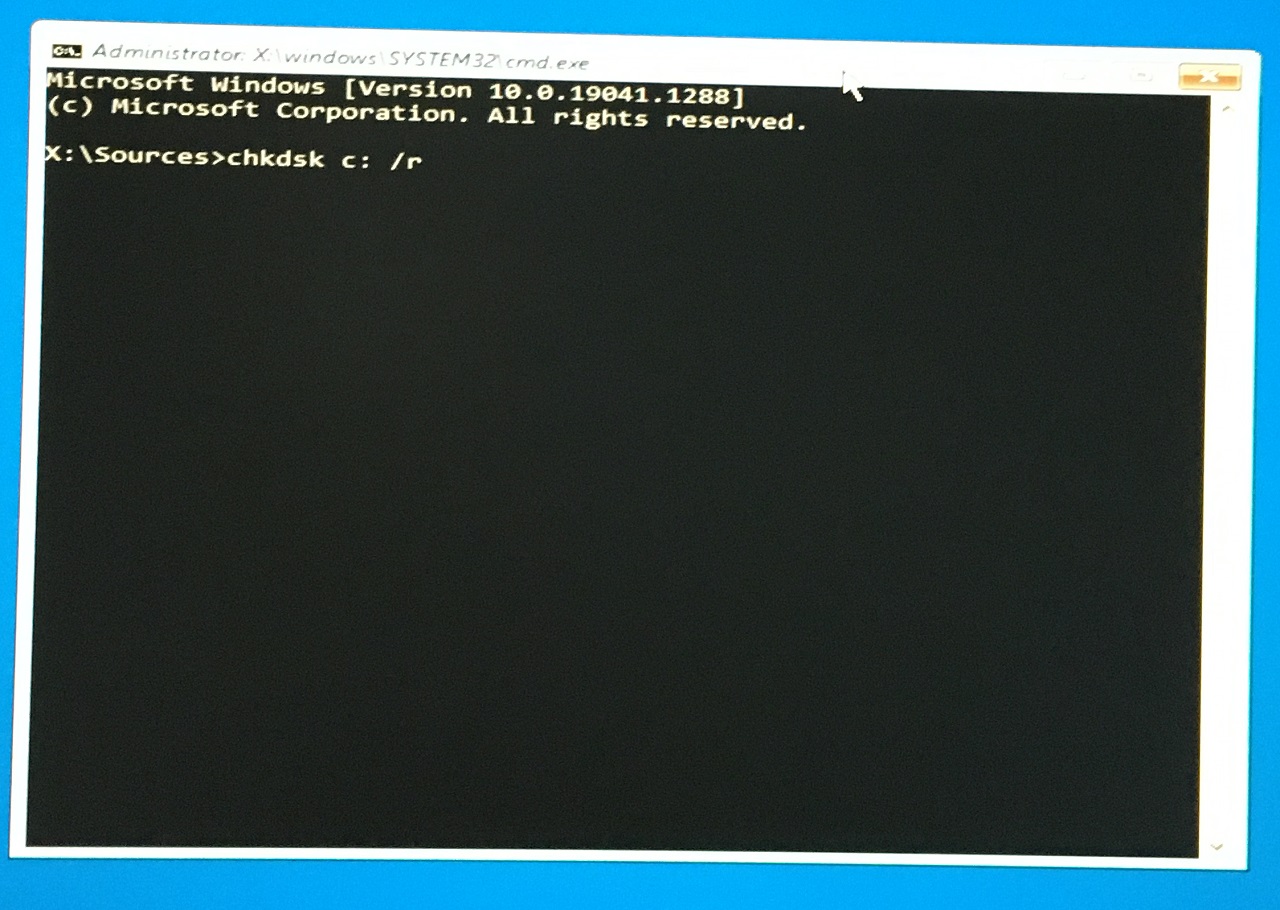
- The scanning process started and let it take time.
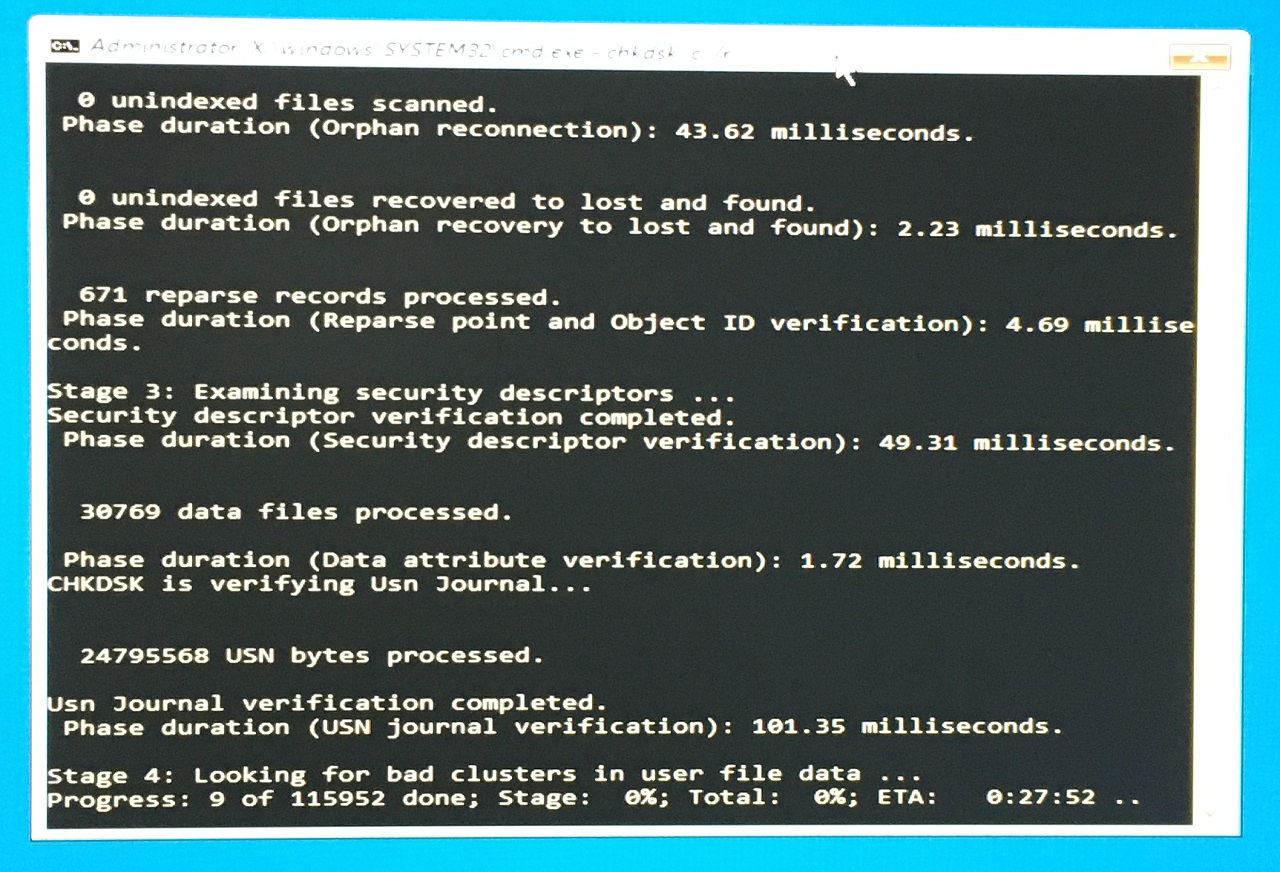
- The stats are on the screen and there are four stages.
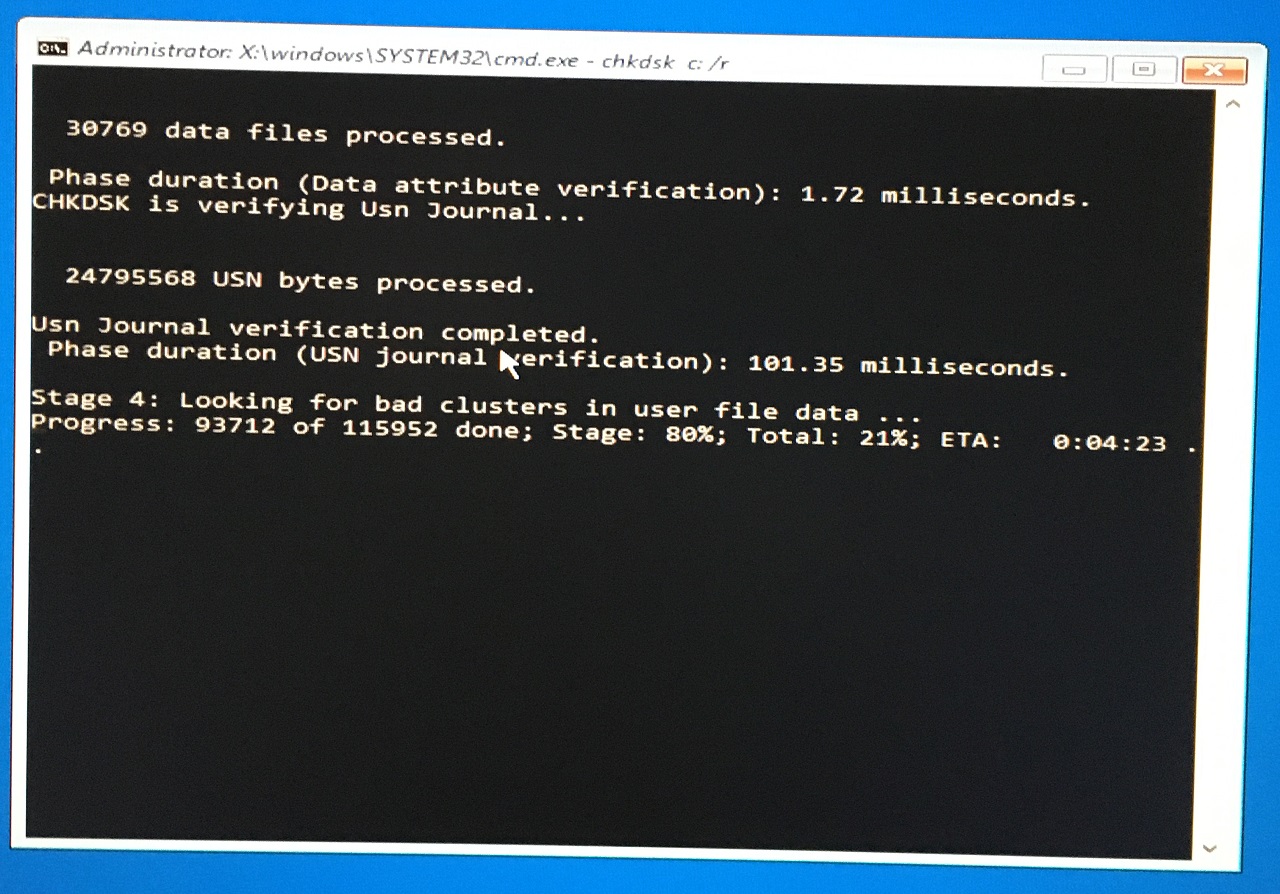
- The scanning results have arrived and it didn’t find any problems.
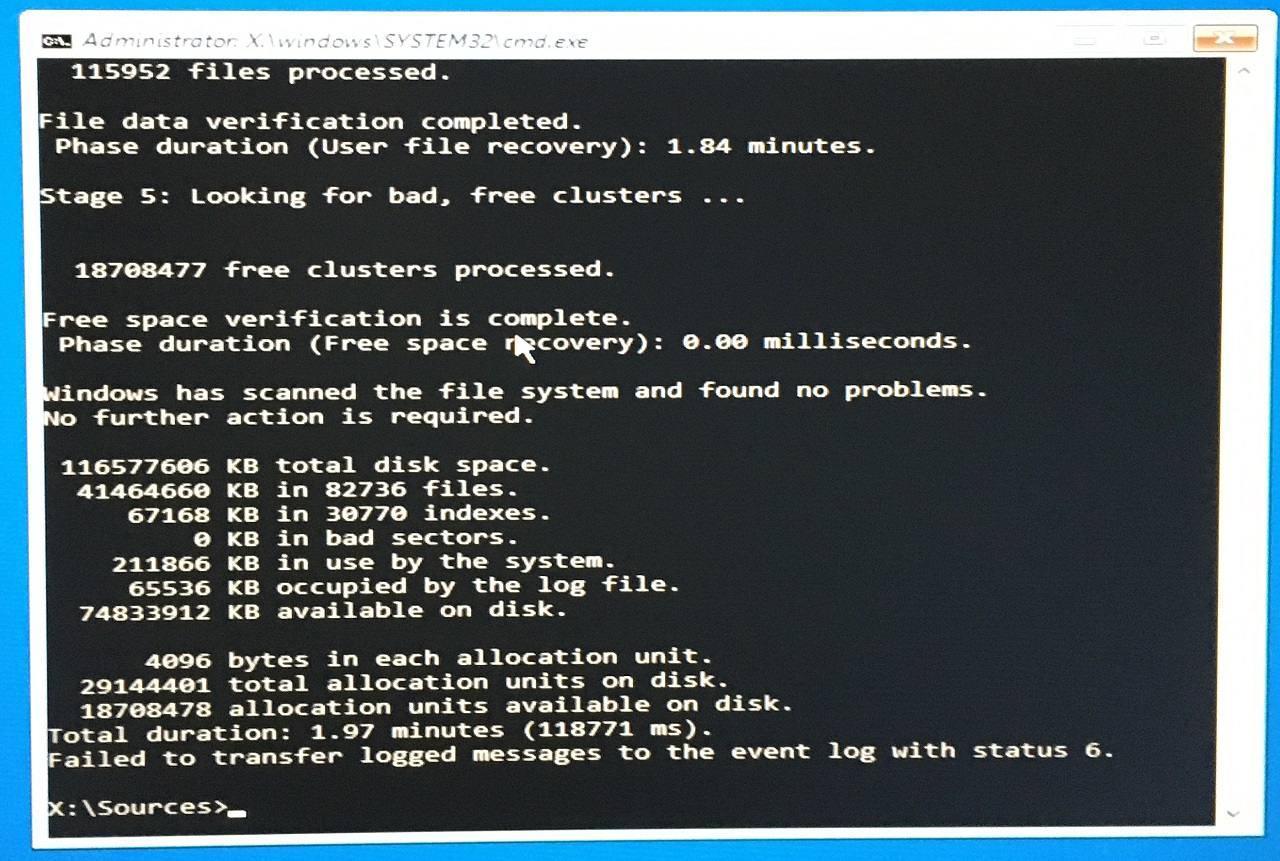
None of the hard drive components and software has issues so far.
5. Repair Windows Startup Files
The startup files are destroyed or messed up in Windows 11 machines and you can fix them with the assistance of the inbuilt repair tool.
- Boot into Windows bootable drive and click on the “Next” button.
- Click on “Repair your computer” located at the bottom left corner.
- Click on the “Troubleshoot” option.
- Select the “Startup repair” option.
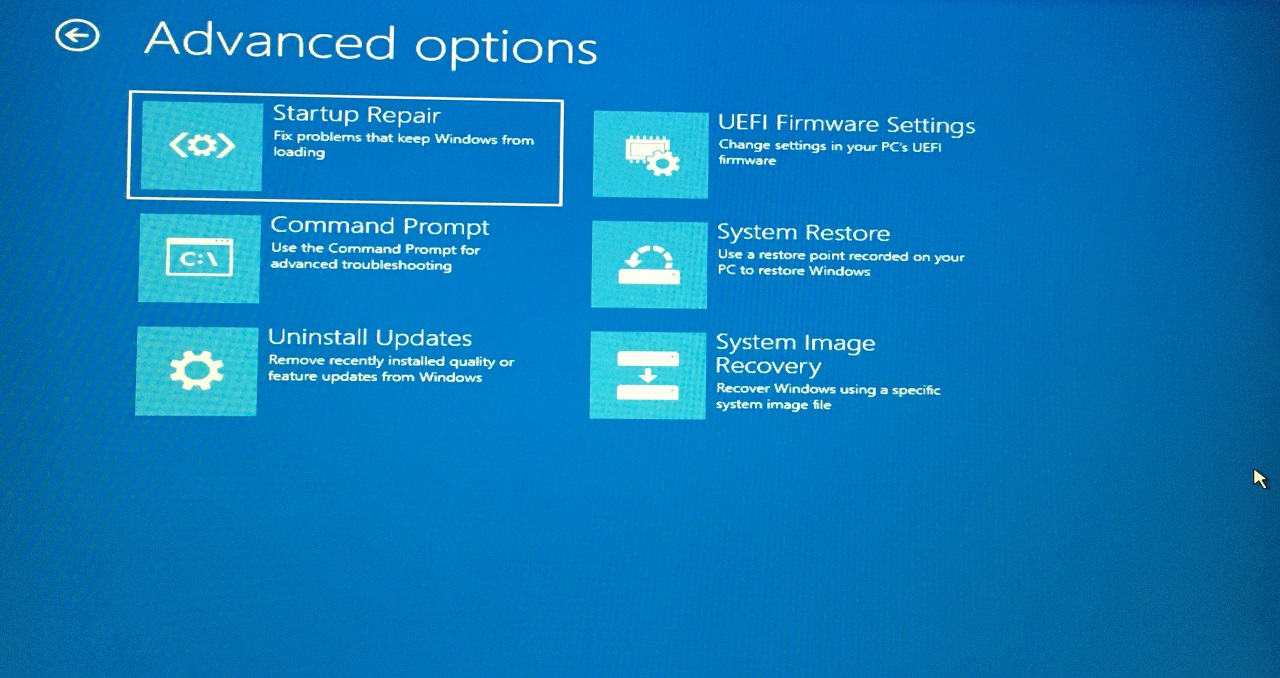
- Choose the operating system and press the Enter key.
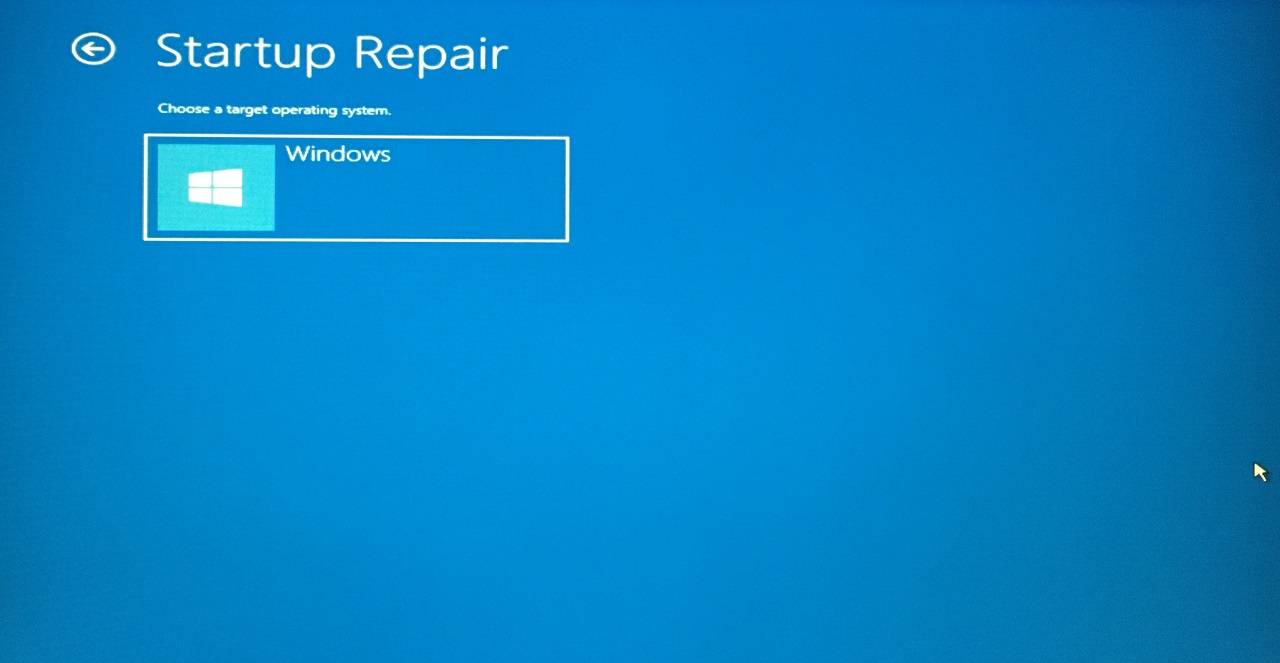
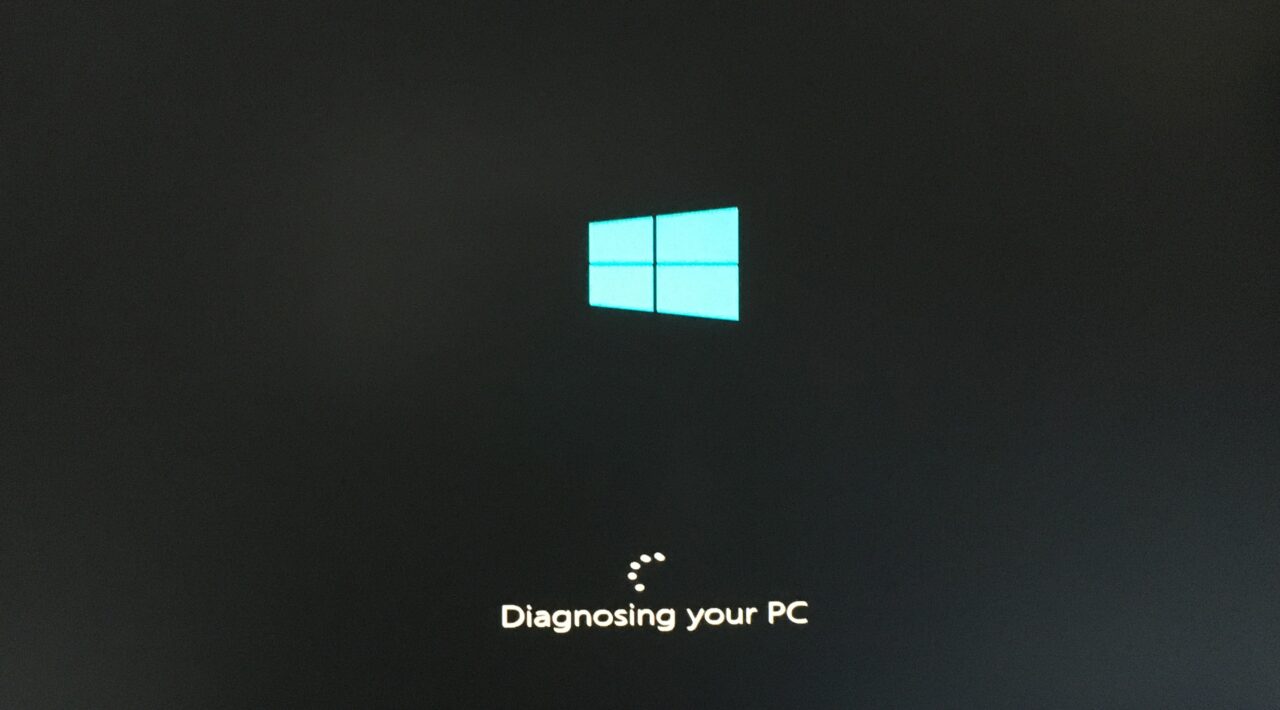
- Let the inbuilt tool diagnose the boot data and repair it.
- The inbuilt tool failed to repair the startup files.
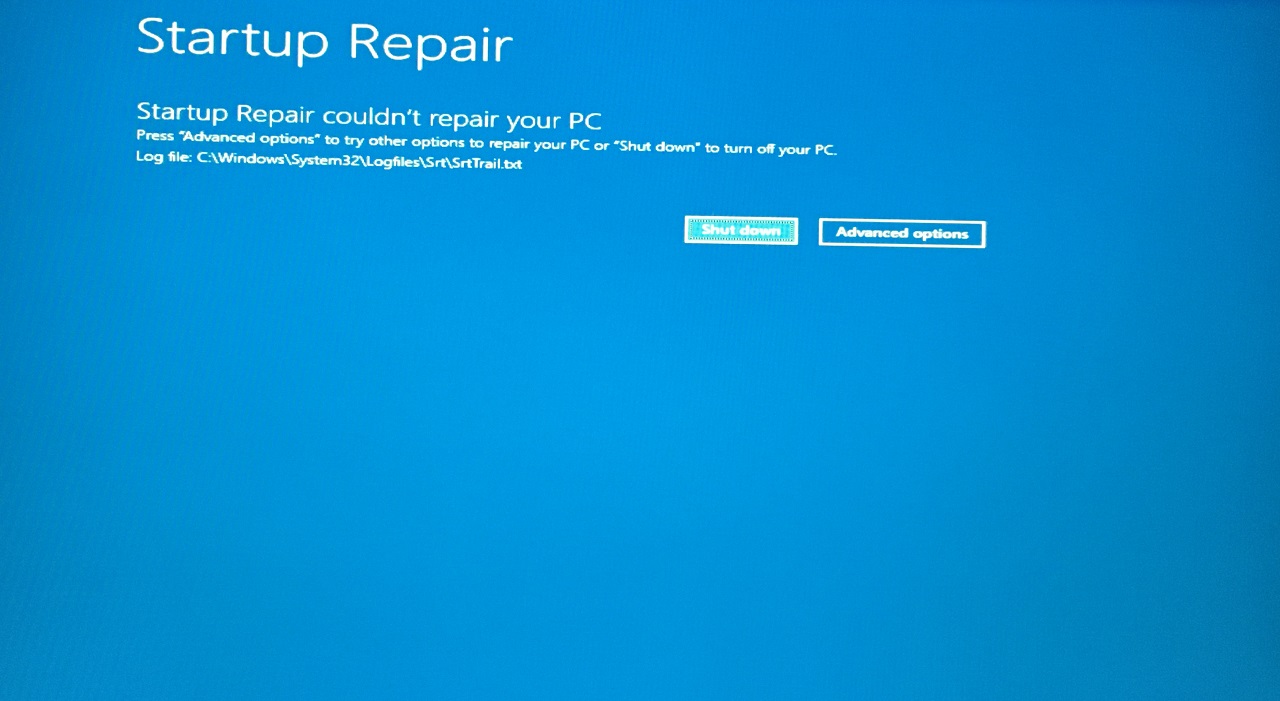
Unfortunately, I had to repair the same words twice and reinstall Windows 10/11 in the machine. The Windows system is not booting normally and I would tell you to reinstall the software.
6. Uninstall Software Updates
Microsoft is forcing the administrators to install the latest quality and feature updates in the Windows machine. Unfortunately, you don’t have an option to opt-out of the service. I will show you how to uninstall the software updates from the Windows PC.
- Boot into a bootable USB flash drive and click on the “Next” button.
- Click on “Repair your computer” located at the bottom left corner.
- Click on the “Troubleshoot” option.
- Select the “Uninstall Updates” option.
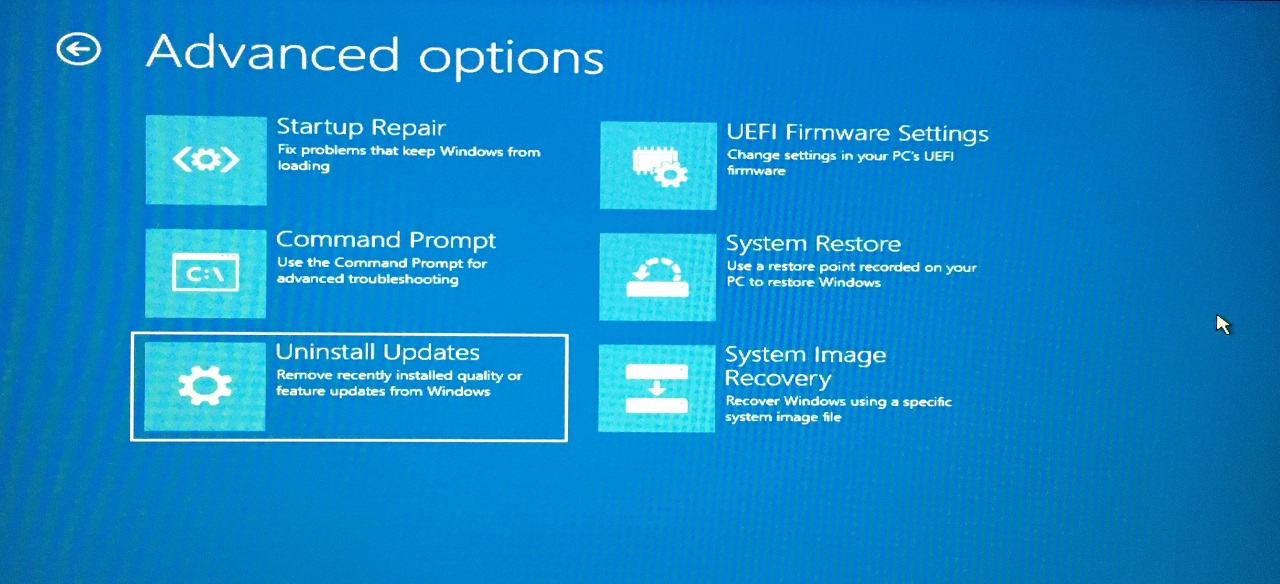
- Choose “Uninstall latest quality updates” to continue.
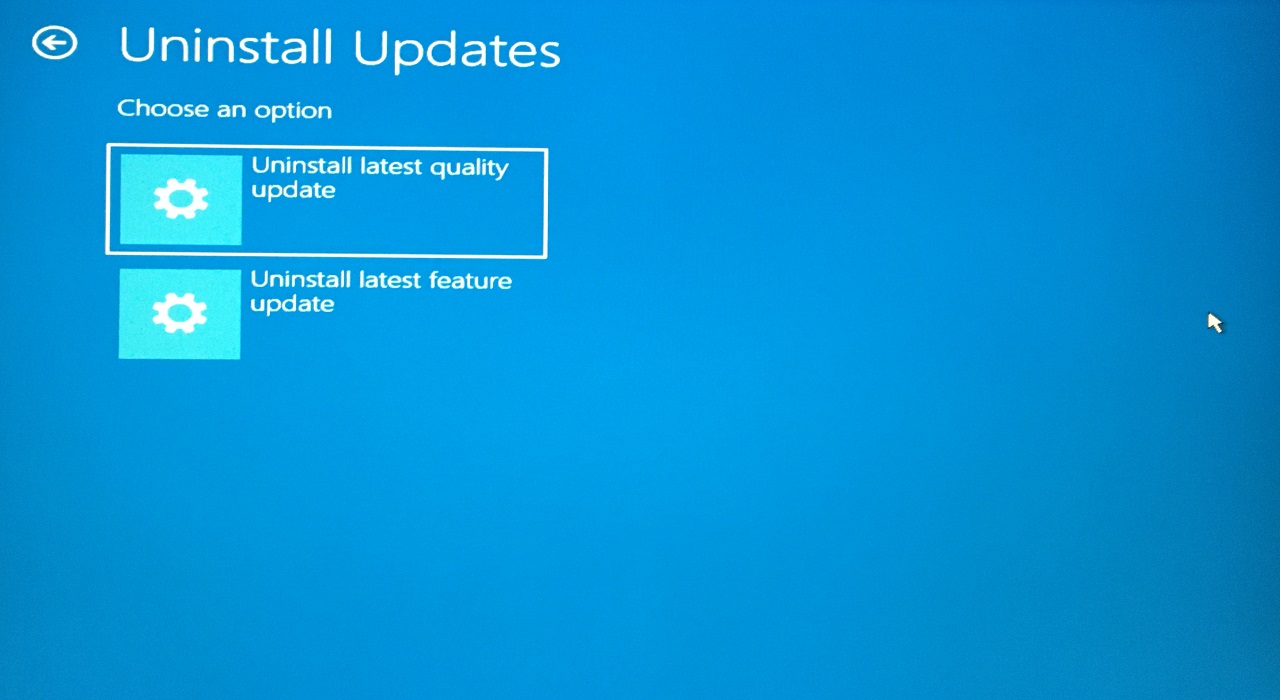
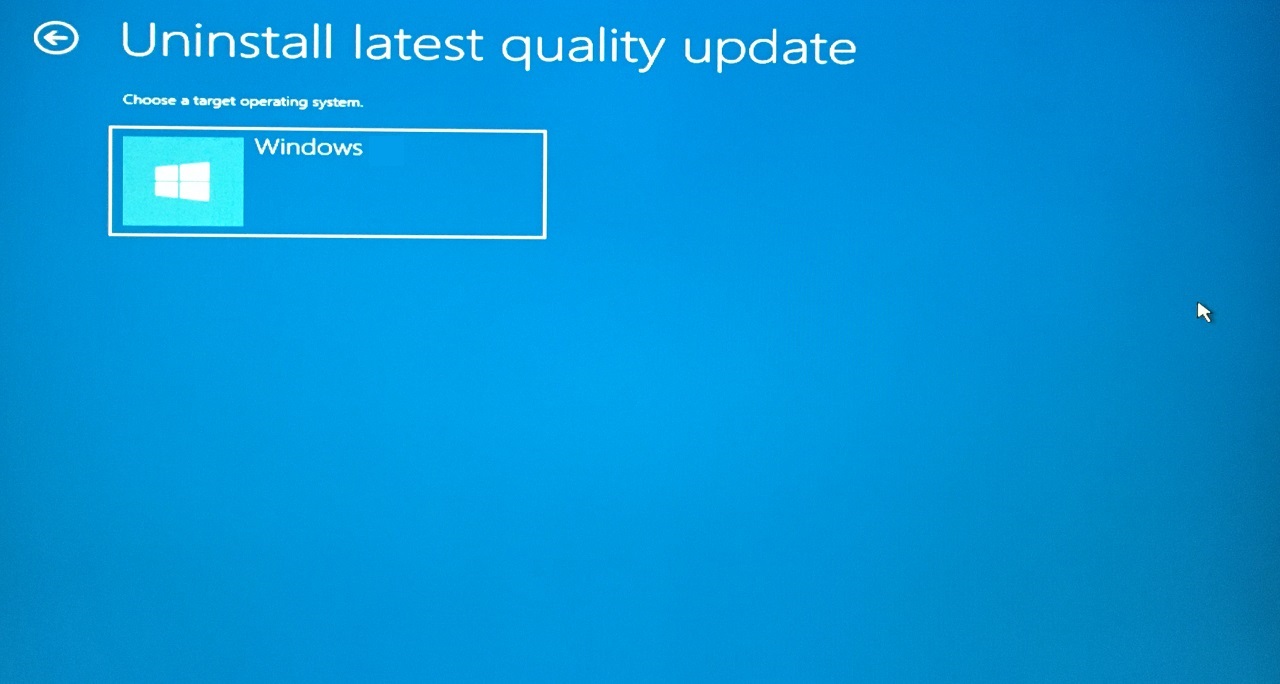
- Choose the operating system.
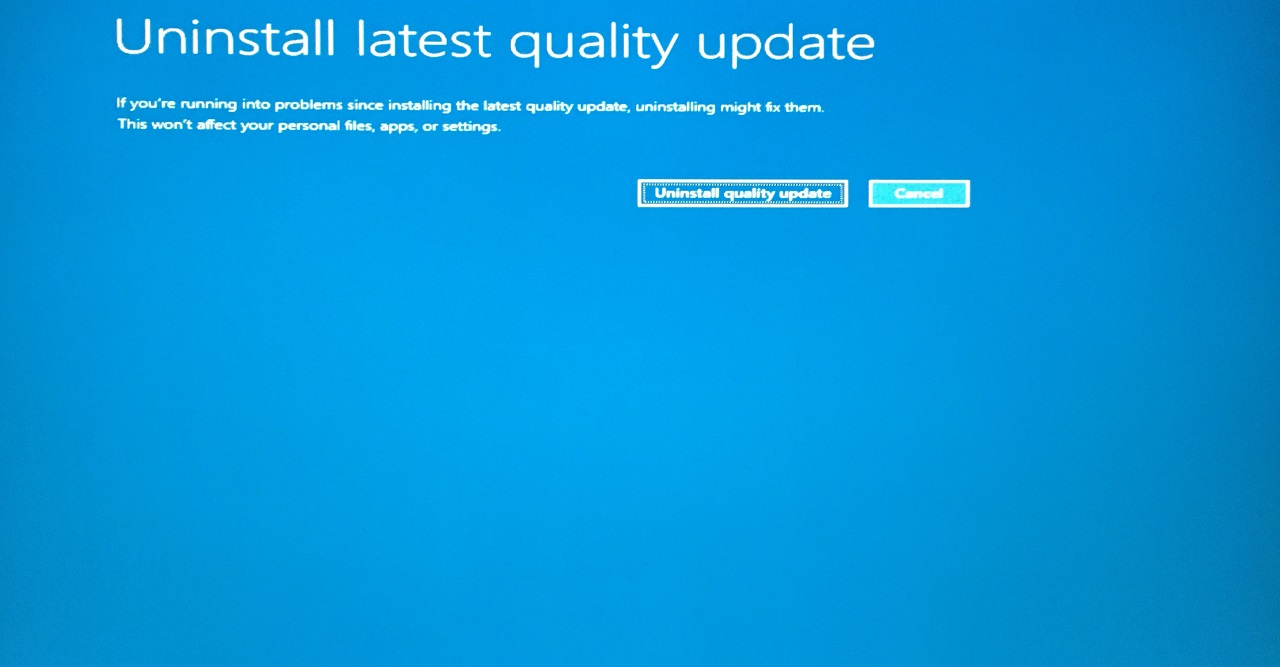
- Click on the “Uninstall quality updates” button.
- The inbuilt repair tool couldn’t remove or do anything about the latest quality updates.
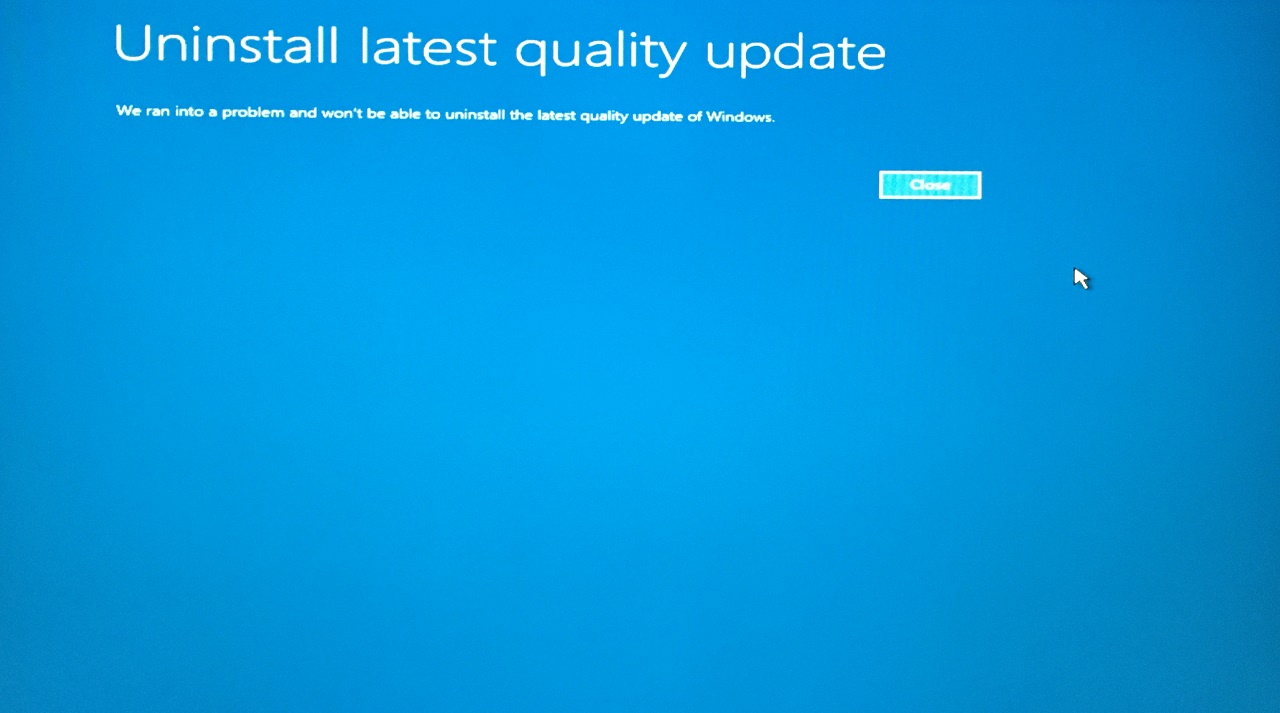
We have another failure here and it all leads to a fresh Windows installation solution.
7. Windows System Restore
Microsoft introduced an advanced option for the users, so if the operating system doesn’t work smoothly then you can go back to an earlier point. Let me show you how to restore the system from the Windows bootable USB flash drive.
- Boot into a bootable USB flash drive and click on the “Next” button.
- Click on “Repair your computer” located at the bottom left corner.
- Click on the “Troubleshoot” option.
- Select the “System Restore” option.
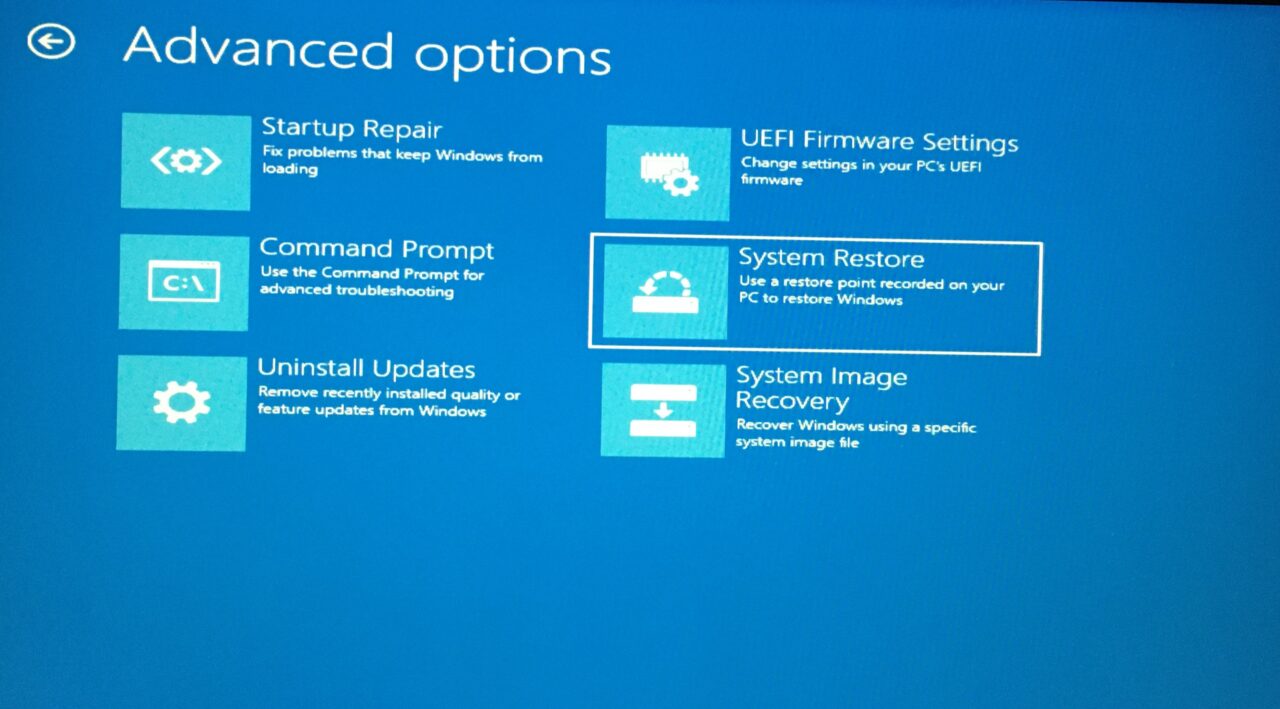
- Select the operating system and press the Enter key.
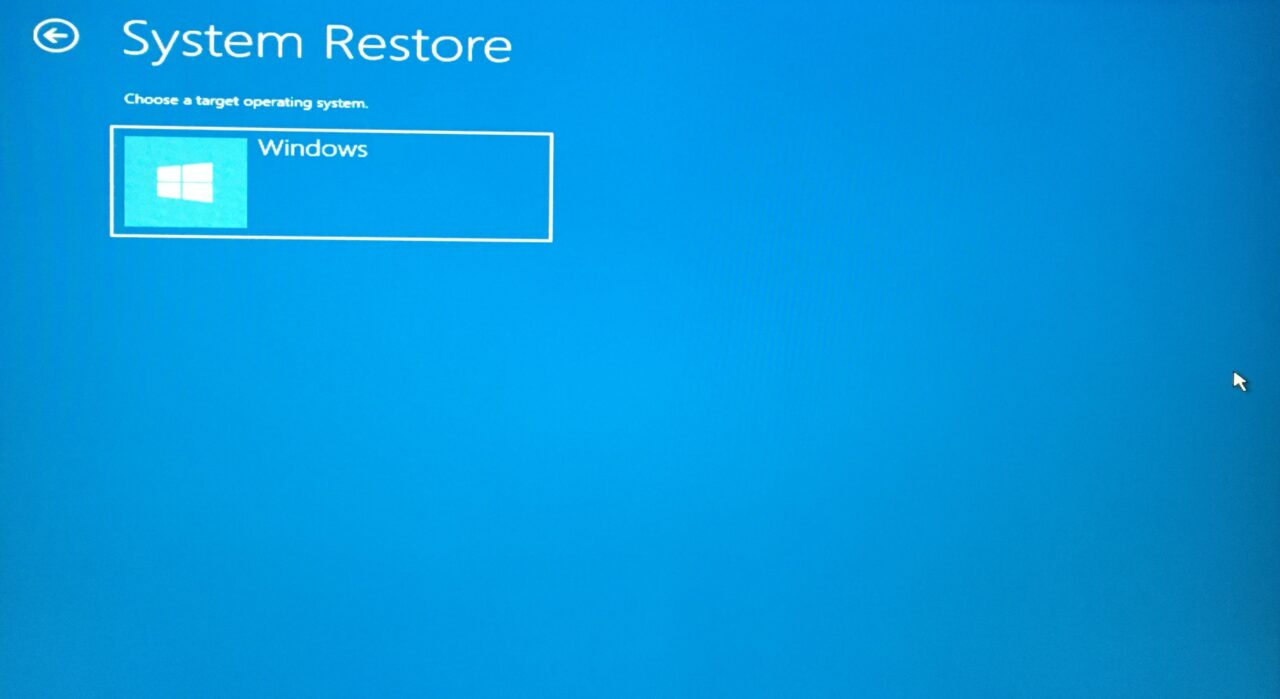
- Click on “Next” to continue.
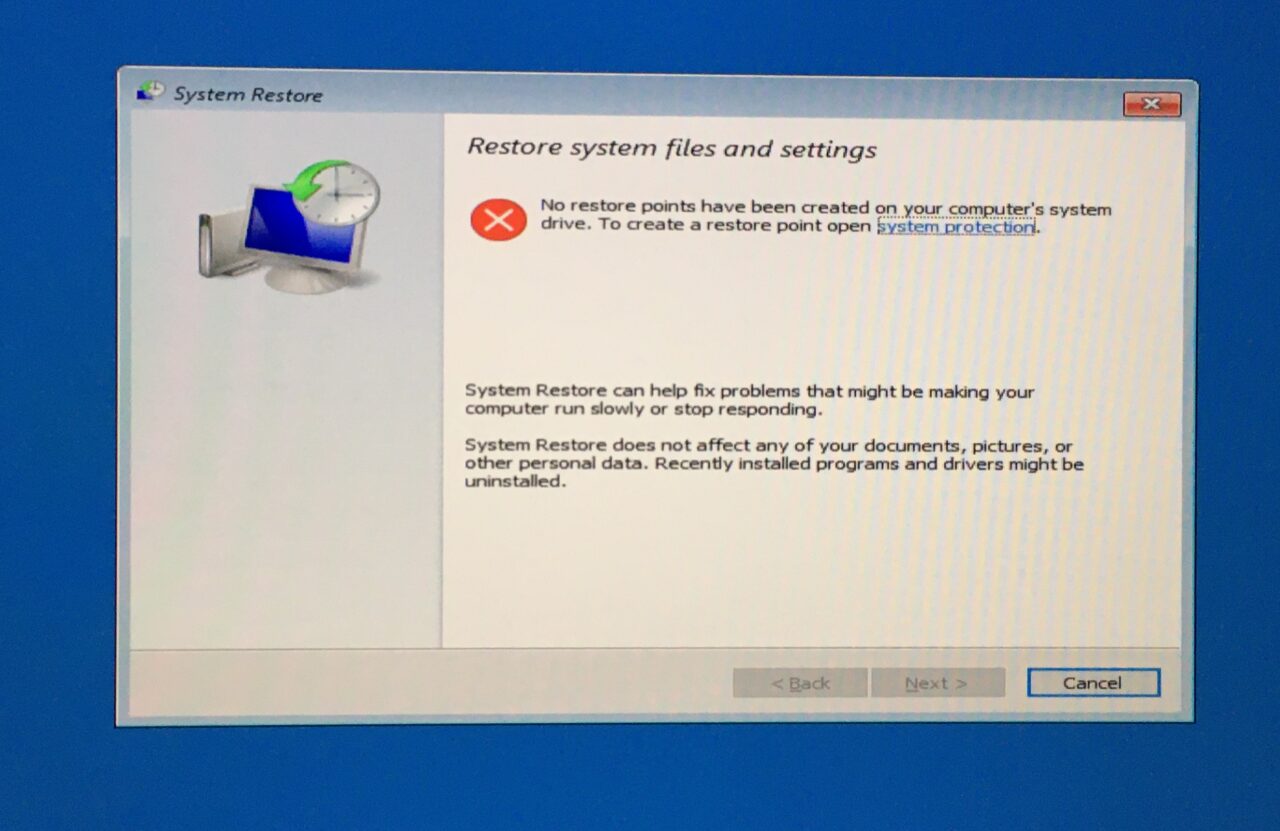
My system didn’t automate any restore points, but I will continue the tutorial for you.
- Select a restore point and click on “Next” to continue.
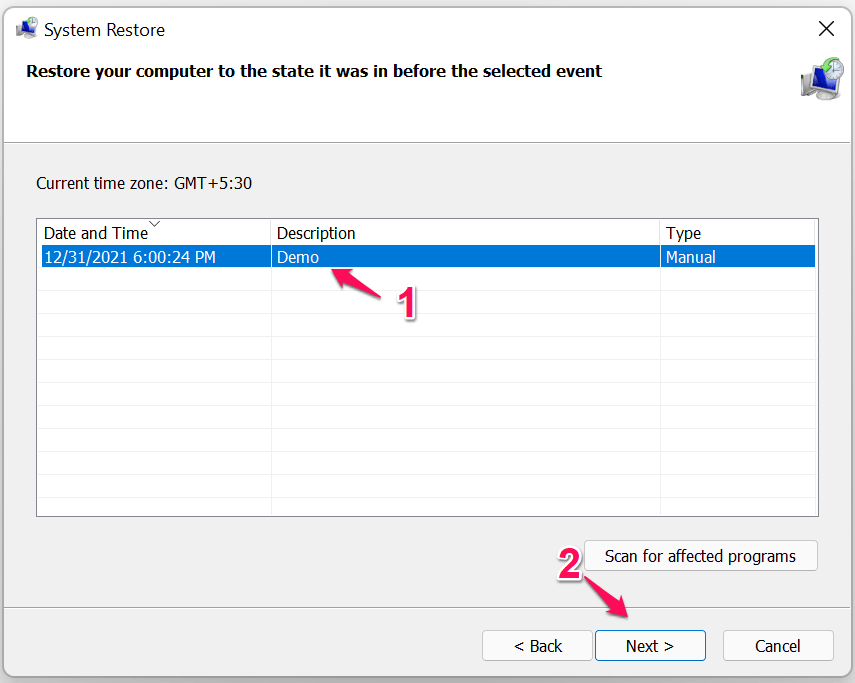
- Click on “Finish” and the restoration process begins.
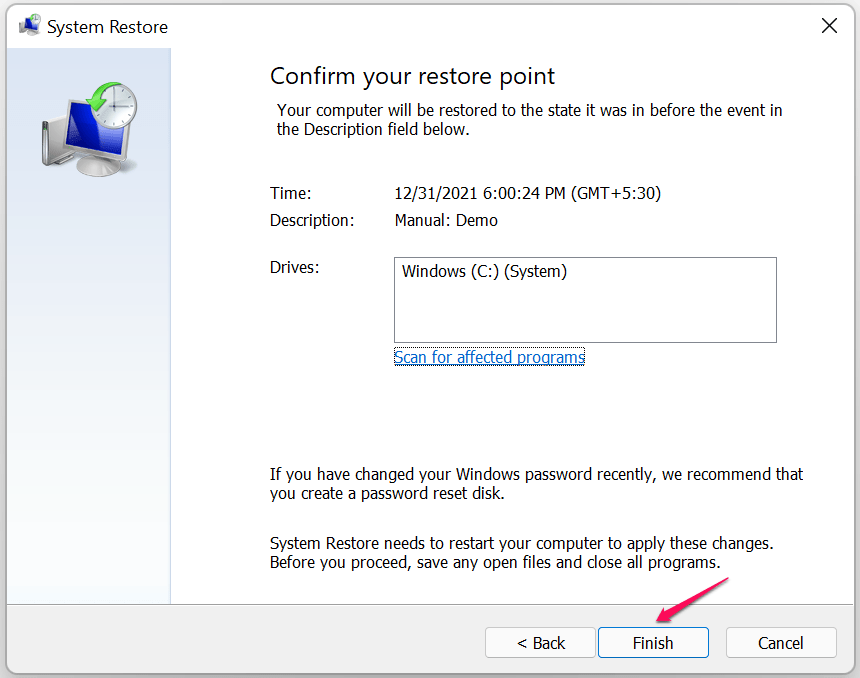
The Windows machine restarts and the restoration sequence will begin. The software will boot into the Lock Screen and that’s how you will realize if the restoration process was successful.
What’s the Last Resort?
I have shown you to create a bootable Windows USB drive because I have foreseen it. I knew that it would come to this since EXCEPTION_ON_INVALID_FILE is a serious error code. You can use the same bootable Windows USB drive to install the operating system in the machine. Of course, you would lose the saved data in the process but you got no alternatives. Let us know how you solved the EXCEPTION_ON_INVALID_FILE error in Window 11 PC.
If you've any thoughts on How to Fix “EXCEPTION ON INVALID FILE” BSOD on Windows 11?, then feel free to drop in below comment box. Also, please subscribe to our DigitBin YouTube channel for videos tutorials. Cheers!
