If you are one who has a very tight schedule, attending meetings and other stuff, you should definitely know the significance of the DND mode on your phone. The Do Not Disturb (DND) mode blocks all notifications/ calls sound when enabled. The positive side here is you can spend your time peacefully without being distracted by the sound of any notifications or calls. However, there’s also a negative side to it as well.
Sometimes we might need to put our device on DND, but we might also be expecting an essential call/message. In such cases, it becomes complicated since we fear to miss the call if we keep our phone in Do Not Disturb mode. But thanks to Apple’s innovative thinking, it is no longer a problem now. Apple added a new functionality called Emergency Bypass that will solve this problem without any issues.
What is an Emergency Bypass? Well, in short, Emergency Bypass is a functionality that allows you to override the DND mode for selected contacts on your contact list. The feature is available for both iPhones and iPads. So, if you were looking for a way to get rid of the strict rules of the DND mode, here you have an official one. Our objective in this article is to enlighten you on how to enable and use the feature for your benefit.
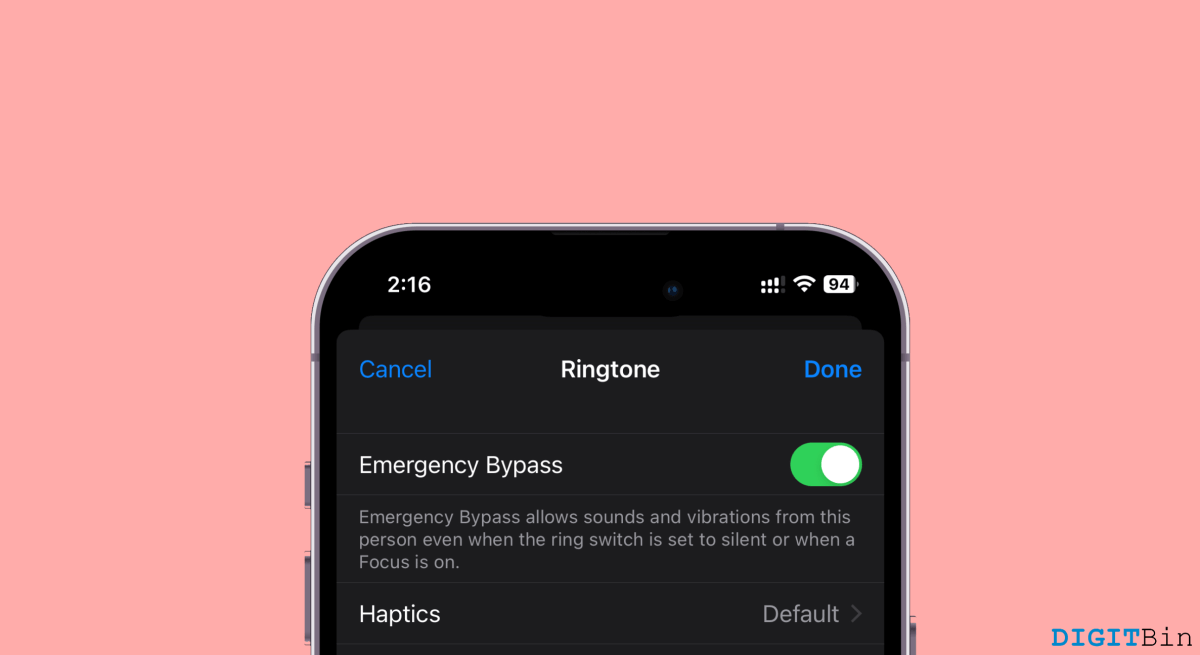
Steps to Enable Emergency Bypass on iPhone in iOS 17
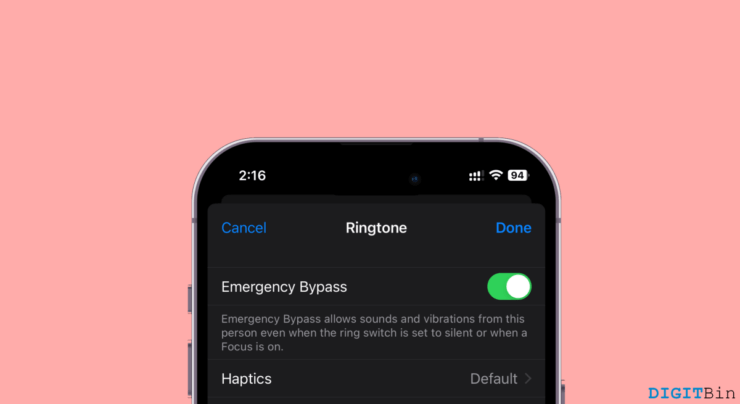
The Emergency Bypass is an added functionality that is present in iOS 15 and later versions. Its working is pretty simple and practical. What it basically does is, allow you to select the VVIP contacts from your contact list. The next time you enable the DND mode on your iPhone, it will block all notification sounds and calls except for the selected contact. This way, you can prioritize the contacts and never miss a call in the future, even if your iPhone is in DND.
So, if that explains everything about this useful functionality, let us see how we can enable the Emergency Bypass on iPhone in iOS 17.
- Firstly, open the Contact app on your iPhone.
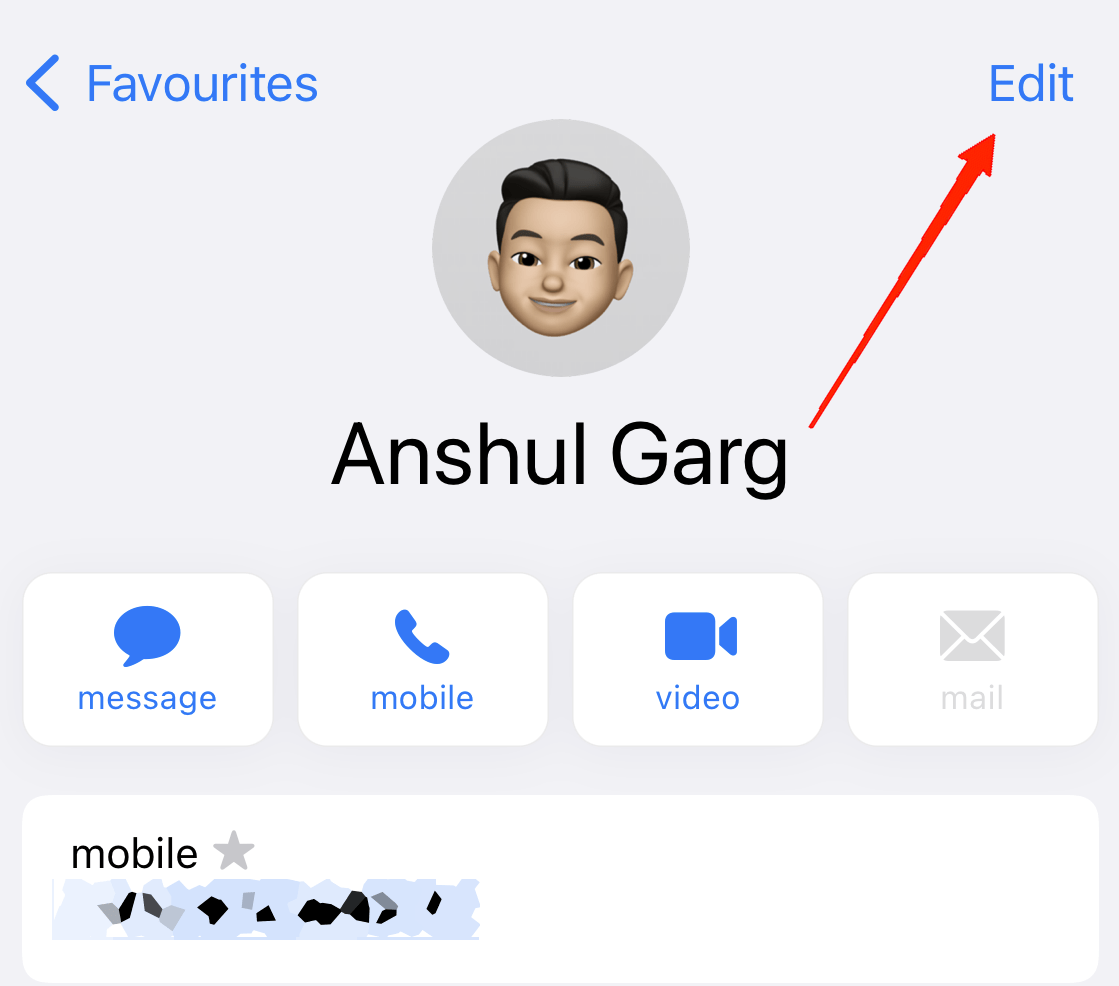
- Now, select any contact from the contact list and click on the Edit option in the top-right corner.
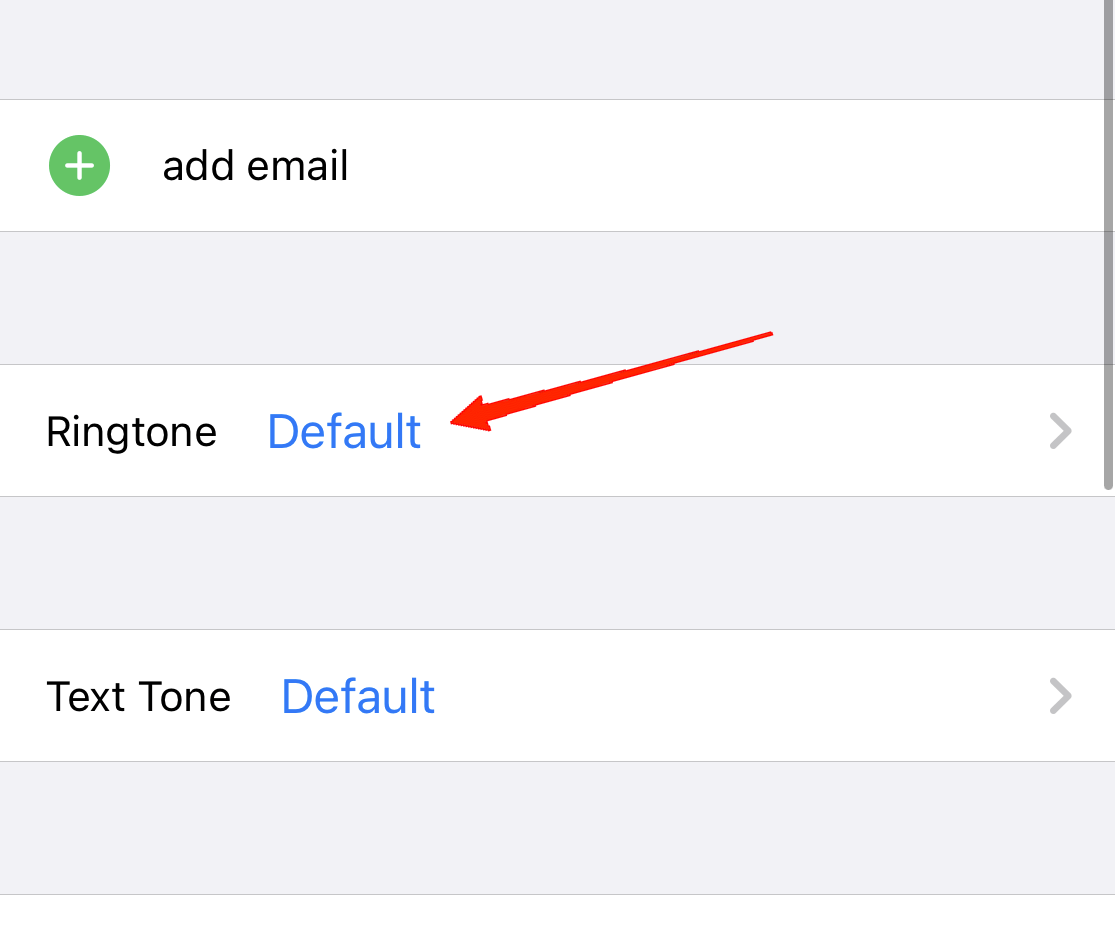
- Tap on the Ringtone field.
- Next, simply tap on the slider beside the Emergency Bypass to enable it.
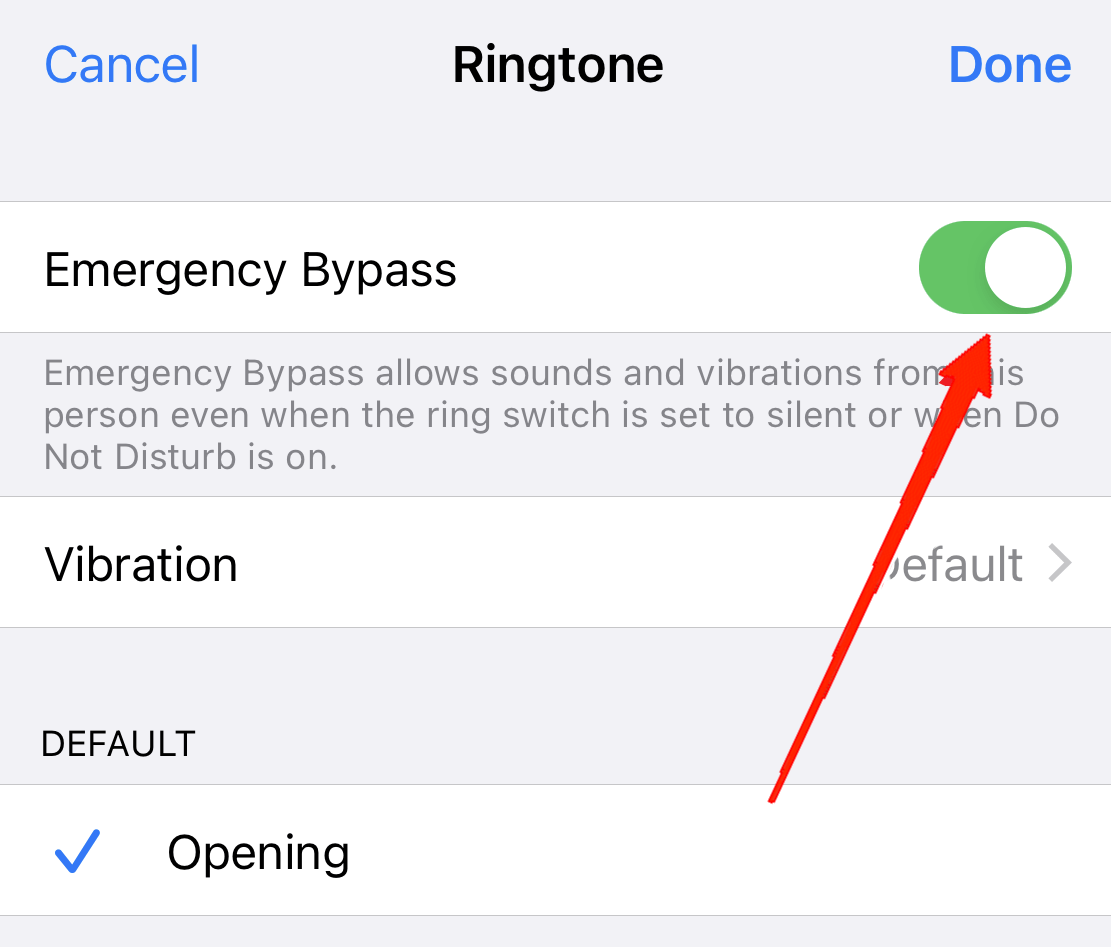
- Click Done.
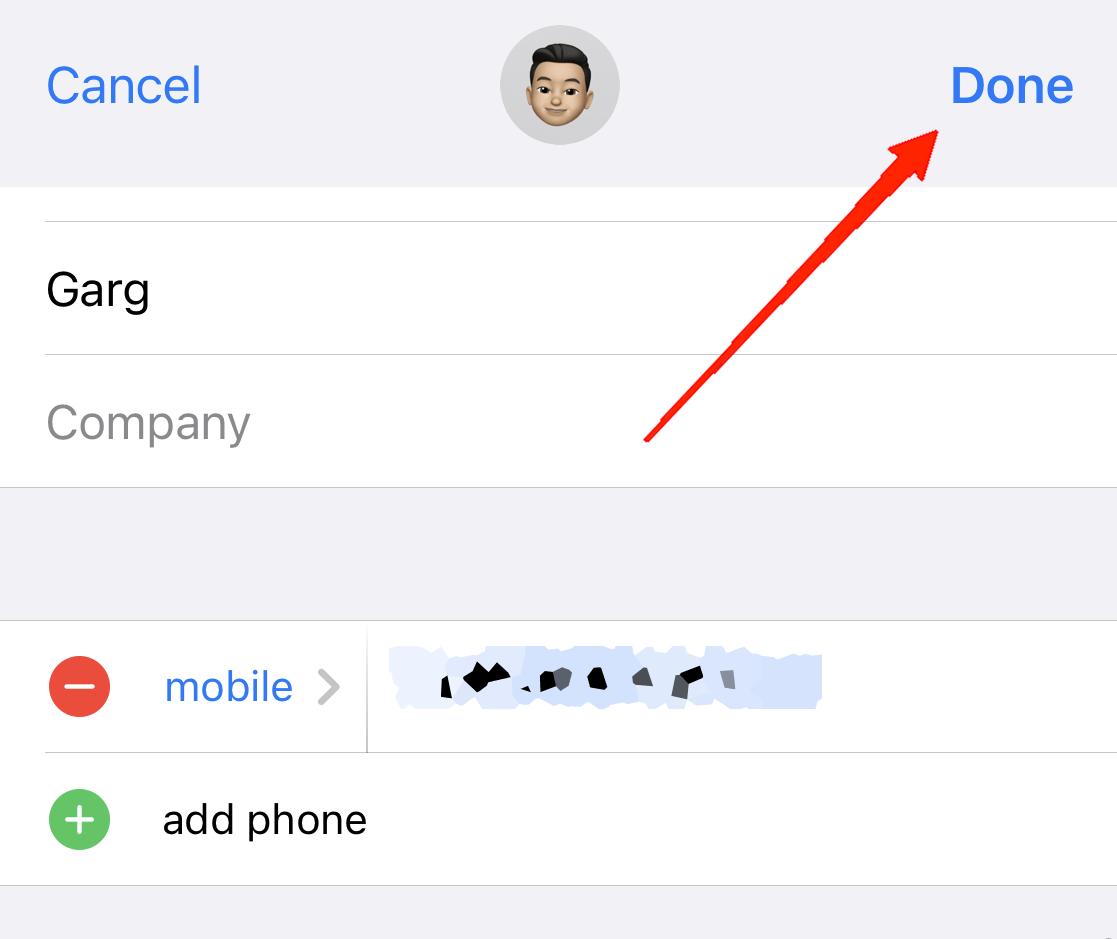
Well, that’s pretty much all you need to do in order to enable Emergency Bypass for a selected contact. But note that this will only override the DND mode only for calls and not text.
If you want to allow emergency bypass for text as well, then follow the first two steps as it is and then do the following:
- Instead of Ringtone, this time tap on Text Tone.
- Now again, enable the Emergency Bypass and tap on Done.
Final Words
Once you are done, you never have to worry about receiving calls/texts from a particular contact, even when your iPhone is on DND. Your device will ring like usual, only for the selected contact. So, make sure if you have a list of people, you need to provide them access individually. And finally, if you think this article helped us understand this new feature and how to operate it, we would love to have your feedback.
If you've any thoughts on How to Enable Emergency Bypass on iPhone in iOS 17?, then feel free to drop in below comment box. Also, please subscribe to our DigitBin YouTube channel for videos tutorials. Cheers!
