In this guide, I will show you some best ways to enable drag and drop on Windows 11. The initial step up from Windows 10 to 11 saw a lot of new features and design updates. The users, as usual, were asking for more features, and one of them was the drag-and-drop feature. In the latest Windows 11 update to version 22H2, Microsoft has pushed the much-requested drag-and-drop feature for Windows 11.
Dragging and dropping help you to quickly move files and folders from one location to other. Gone are the days of cutting, copying, and pasting, which was a bit more of a manual task. Drag and drop techniques I have shared here allow you to share files in a split second. Probably, it sounds cliche but knowing the correct ways to enable drag and drop on Windows 11 makes your workflow so much easier.
Top Ways to Enable Drag and Drop in Windows 11
Before sharing any tricks, I must tell you to install the latest Windows 11 update that pushes the build to 22H2.
- Go to Windows settings by pressing Windows + I hotkeys.
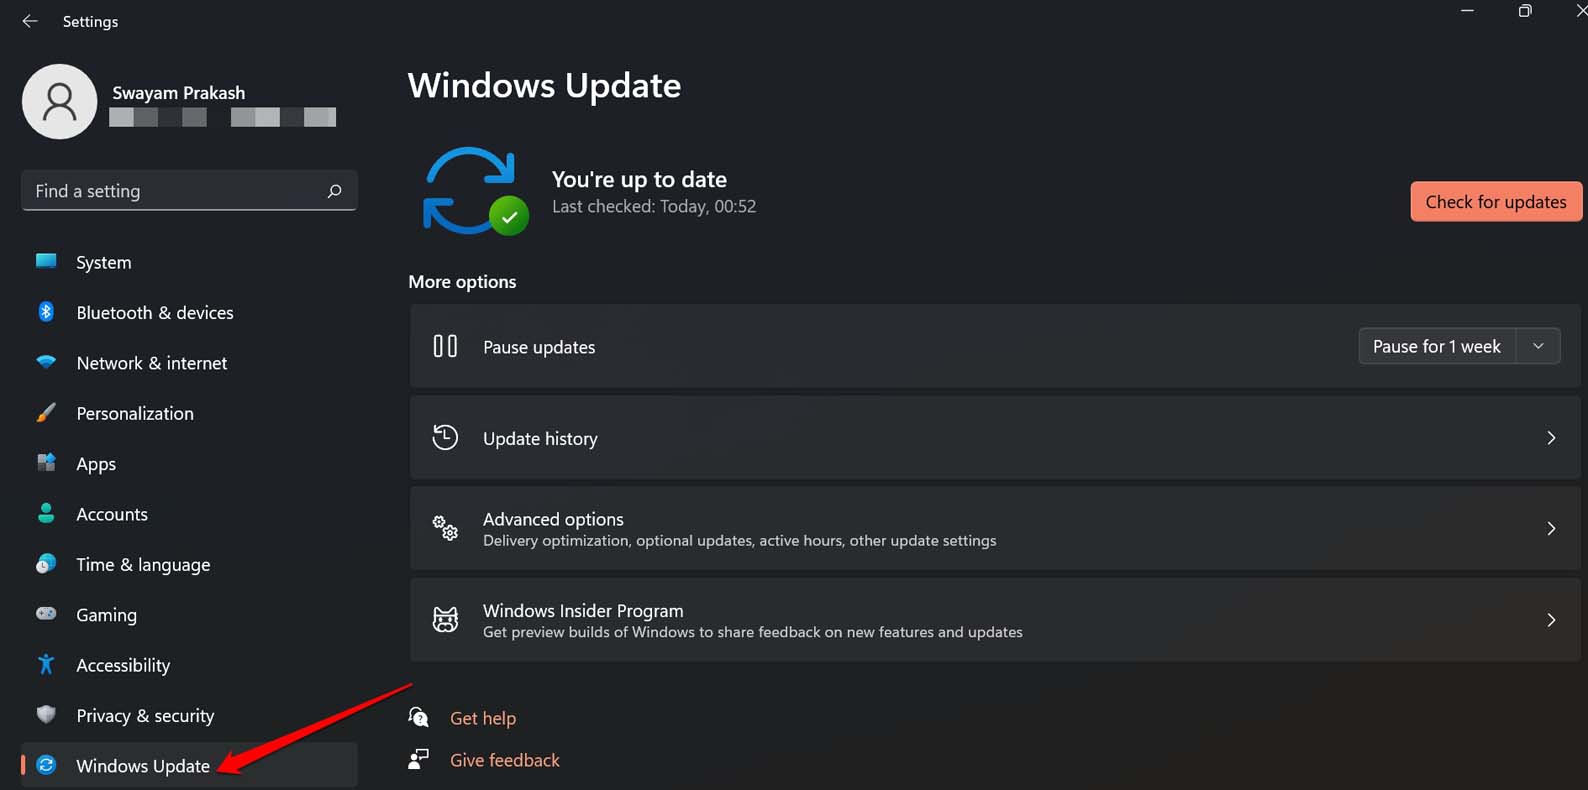
- Click on Windows Update.

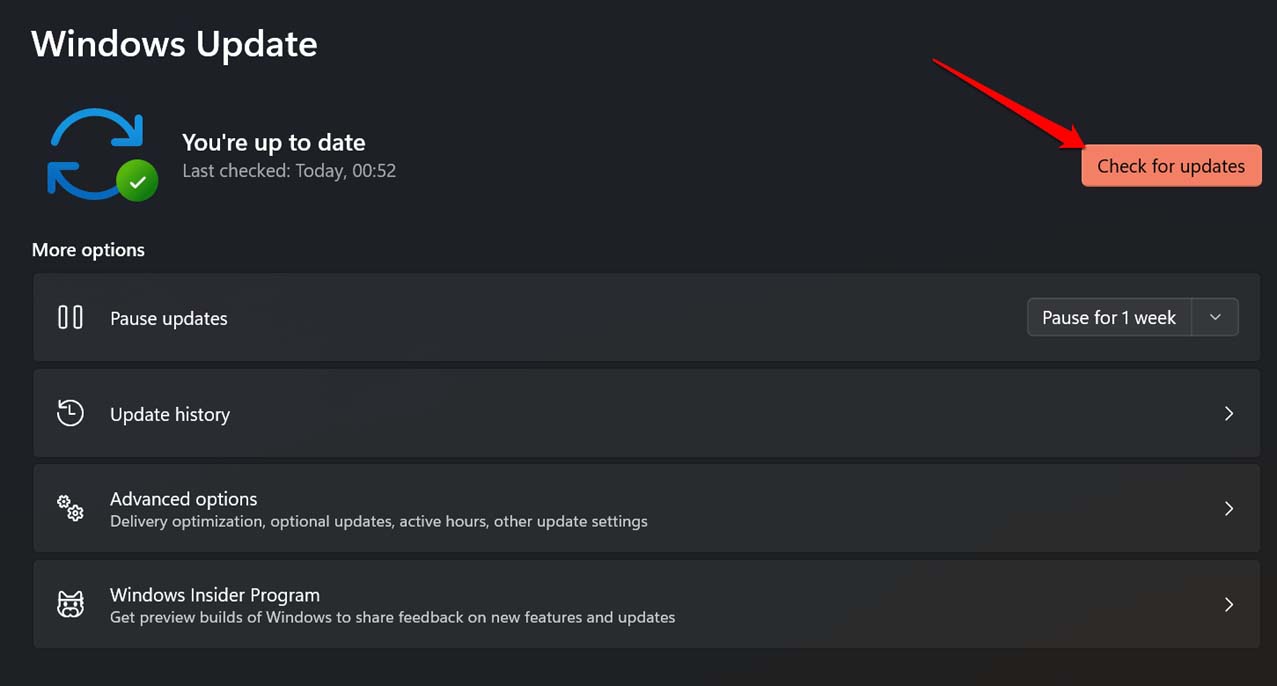
- Then click on Check for Updates.

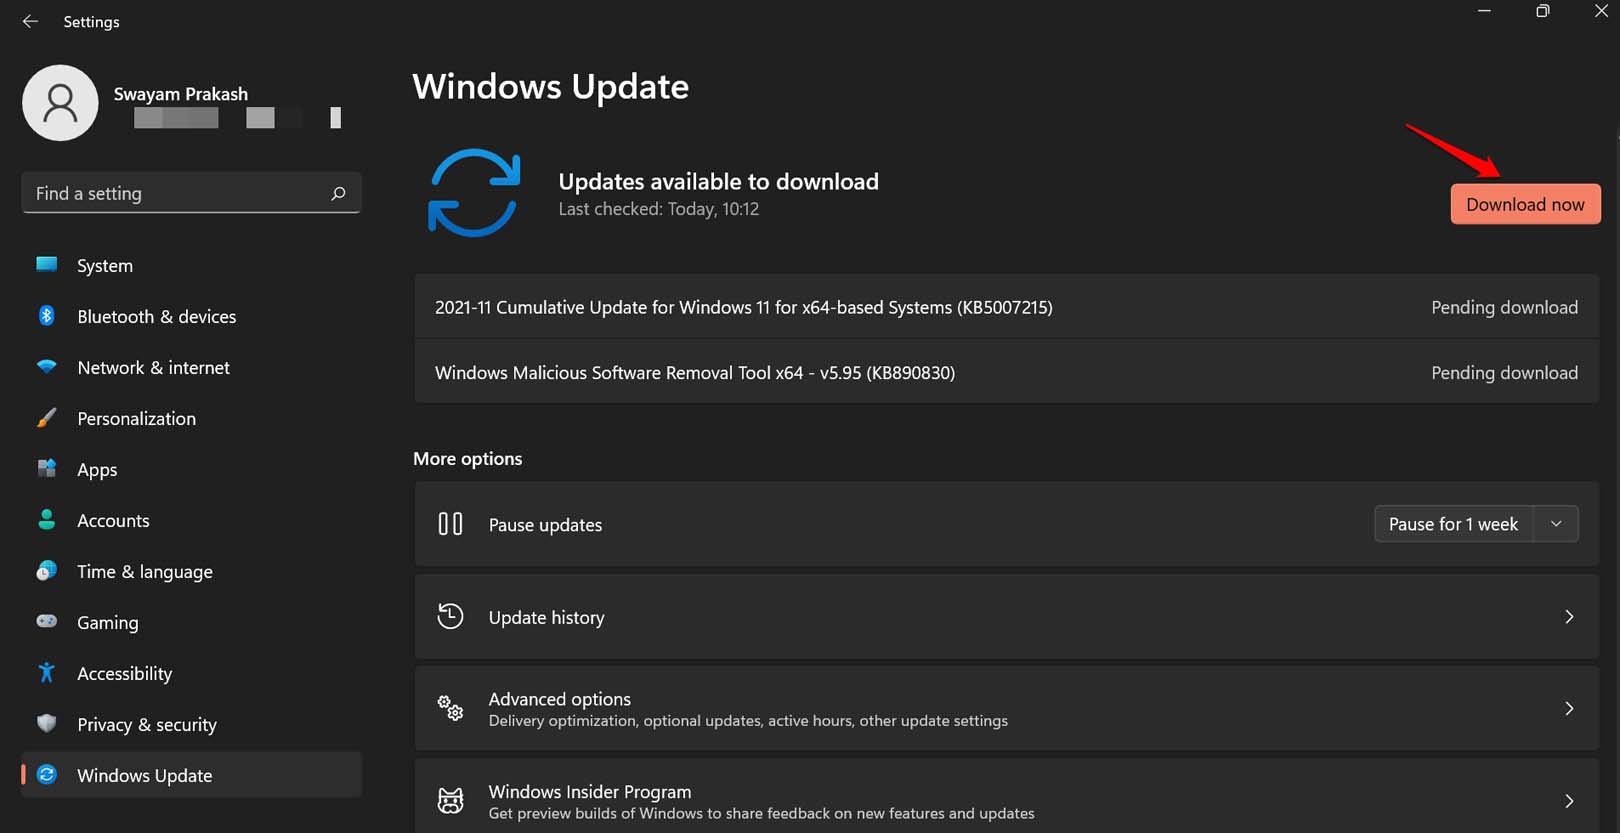
- If the 22H2 update is available, click on Download Now to begin the installation.

Only with this build, the facility to drag and drop has been introduced.
1. Using the Alt + Tab Shortcut
If, for some reason, you do not want to upgrade to a newer version of Windows 11 or the update is not yet available for your device, then this trick will come in handy for you.
This is a very simple concept. The Alt + Tab shortcut has been in use for a long time. You use this to switch between the active folders and applications. It saves you time from clicking and switching between folders. I am explaining the steps for those who may not be too tech-savvy to understand such Windows 11 shortcuts.
- Start by accessing the folder from where you want to initiate the drag and drop.
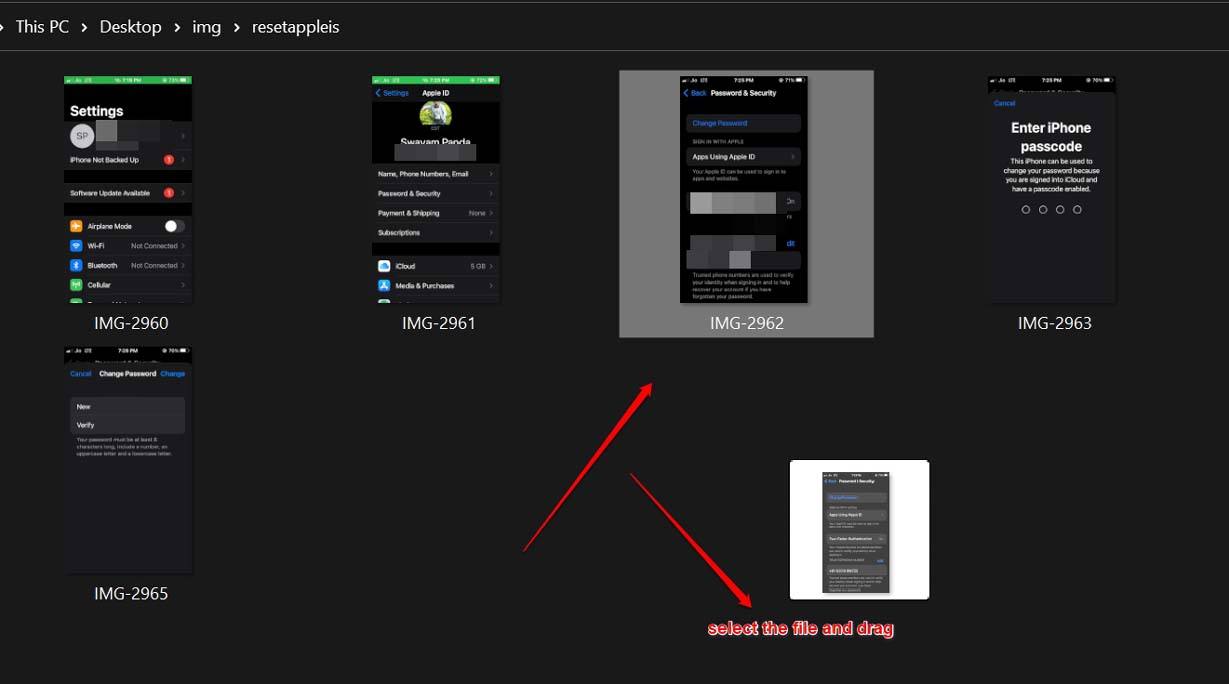
- Select a file from the source folder. To drag the file keep pressing the mouse button.

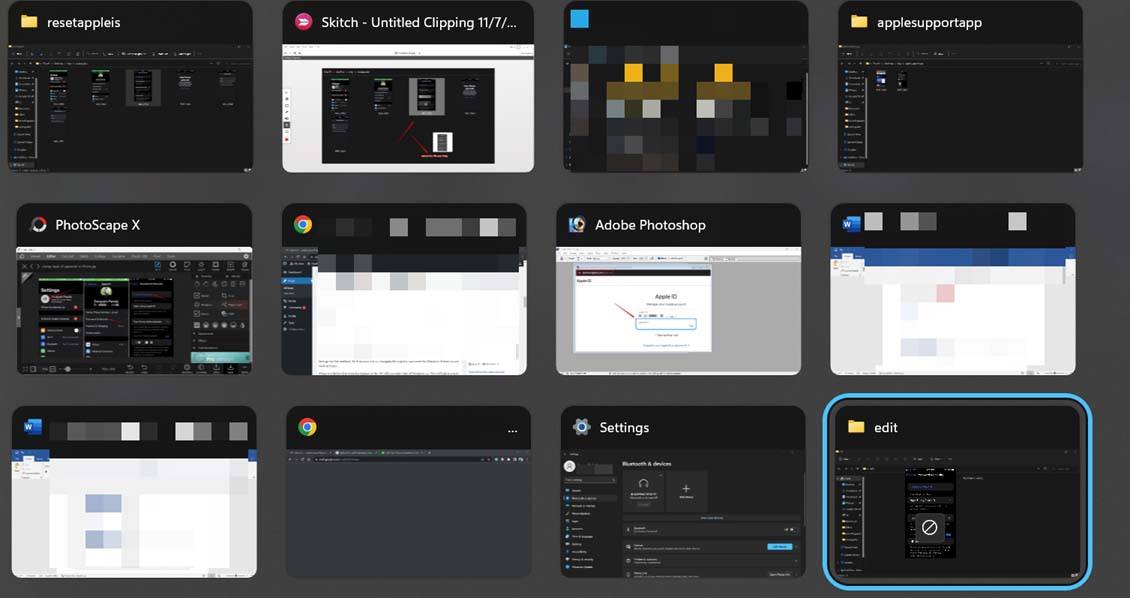
- Press and hold Alt + Tab on the keyboard. This will show up the various open apps and other folders.
- To navigate between different folder windows, press the Tab key while holding the Alt key. Make sure you keep pressing the trackpad/mouse which is dragging the file. Navigate to the target folder where you want to drop the file. Each folder you navigate through will be highlighted by an outline representing the Windows 11 theme color such as Blue or orange.

- Release Alt + Tab hotkeys when you move to the target folder location where you will drop the file.
- As soon as you release the Tab button, you will land inside the target folder. Simply drop the file in the destination folder by releasing the trackpad/mouse that you have kept pressed all through. That’s it.
2. Modifying the Registry to Enable Drag and Drop on Windows
If you are okay with modifying the registry to make changes to the drag-and-drop feature on Windows, then go for this method. Do it at your risk, as changing the registry can cause the Windows feature to not work at times.
When you follow this trick, the taskbar of the PC will resemble that of Windows 10. This will allow you to drag and drop your files on the taskbar.
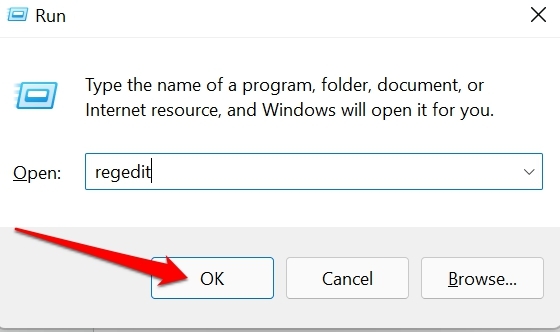
- Access the Windows Registry by pressing Windows + R.
- In the run dialog box, type Regedit and press enter.

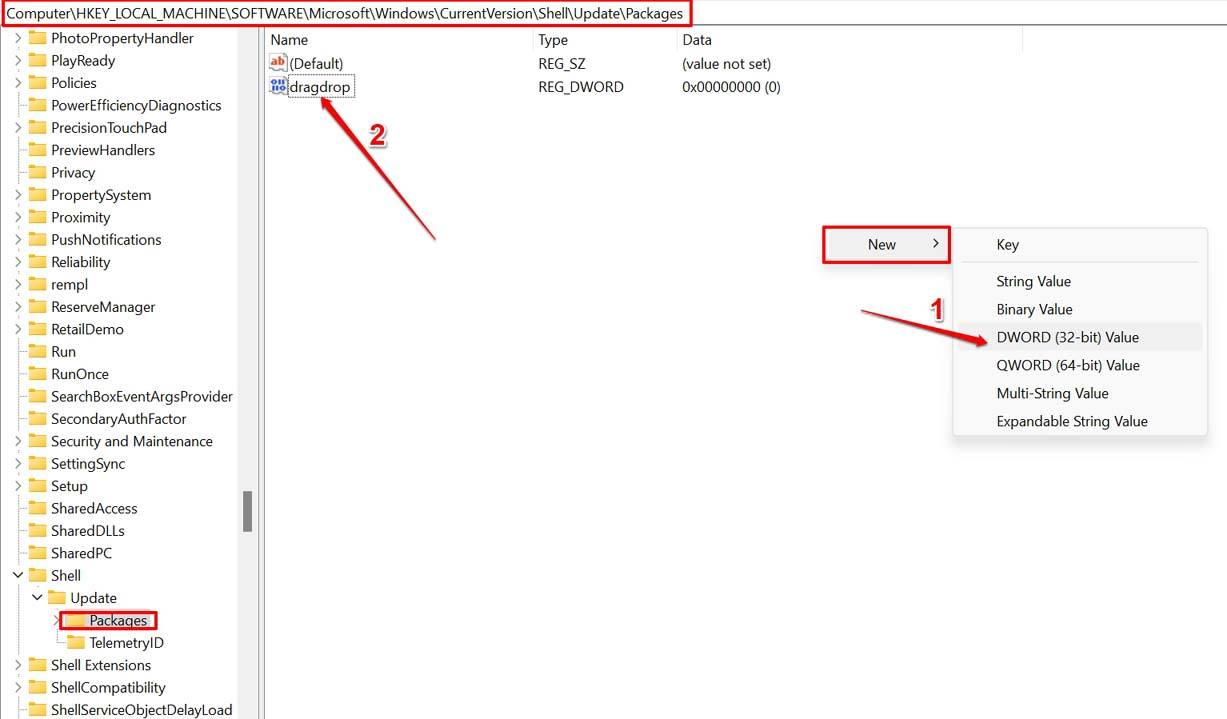
- When the registry opens, click your way through the following path.
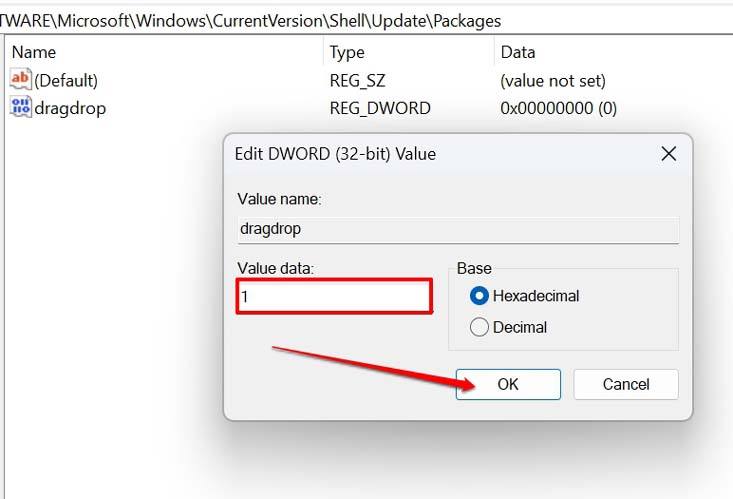
HKEY_LOCAL_MACHINE\SOFTWARE\Microsoft\Windows\CurrentVersion\Shell \Update\Packages
- Go to the Packages key > right-click in the white space on the page.
- Click on New from the menu > Click on DWORD (32-bit) Value.

- Right-click the new value > click on Rename.
- Name the new value as dragdrop.
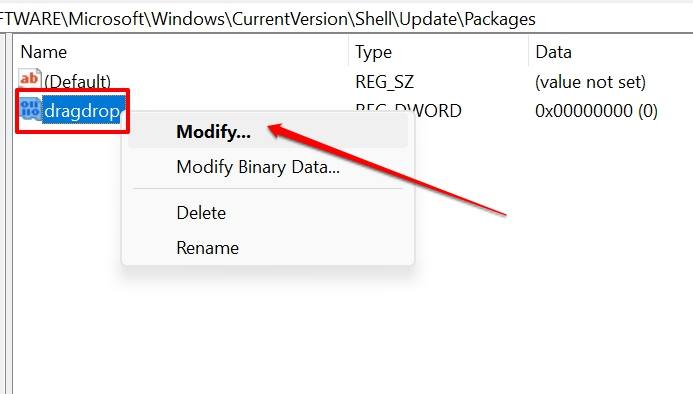
- Right-click on the value dragdrop > select Modify.

- Set the Value Data to 1. Click on OK.

- Close the Registry window.
- Restart your computer.
If you find the above steps too challenging, then stick to the Alt + Tab hotkeys trick to perform drag and drop of files on Windows 11.
You may ask if you can undo the above steps and delete the new value that you have created. Yes, it is possible. Follow steps 1 to 4, and under Packages, right-click on dragdrop, the value which you have created. Select Delete and confirm the deletion.
Once you delete the new value, close the Registry editor and restart the computer. Mind you that if you make any wrong move during the modification, Windows 11 may get corrupt.
Conclusion
So, these are the different ways by which you can drag and drop in Windows 11 to move the files from one location to another. I have shared the technical ways as well as the easy ways to enable and use drag and drop on Windows OS. Use whichever method is suitable for you. I hope this guide was helpful.
If you've any thoughts on 3 Best Ways to Enable Drag and Drop on Windows 11, then feel free to drop in below comment box. Also, please subscribe to our DigitBin YouTube channel for videos tutorials. Cheers!

