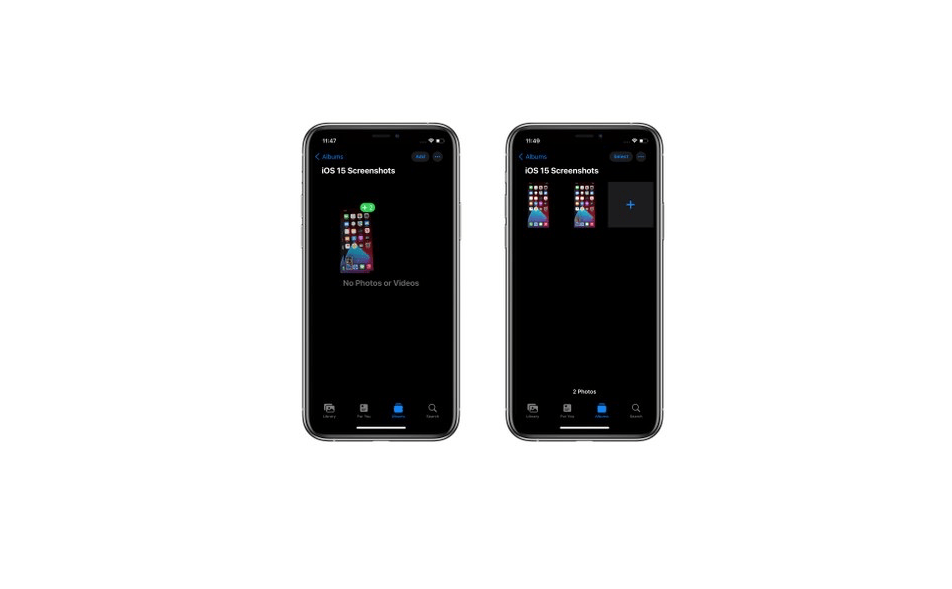
Drag and Drop Screenshot in iOS 15
The new iOS 15 Beta has been released for a while and users are still discovering a lot of interesting features that Apple has integrated into the system. Do you know that one such feature allows you to drag and drop screenshots to any folder on your iPhone.? This should work on the iPad as well if the iPad is running the latest iPadOS 15.
In this guide, I’m going to explain to you how you can capture screenshots and right away move them to any location in your iPhone by using a simple drag and drop method. Just keep in mind that iOS 15 is still carrying the prefix Beta. So, certain users may not be able to use the drag and drop screenshots feature in iOS. So far it works fine for most users though.
Well, depending upon which kind of iPhone you are using the method of taking a screenshot will vary. If you are using an iPhone with Touch ID then you can press the Home button and the power button simultaneously to capture the screenshot.
On the other hand, if you are using an iPhone without Touch ID then to capture a screenshot you have to press the Side button and the Volume Up button at a time. There are even some cool shortcuts that you can enable to capture screenshots easily.
You can double-tap on the backside of your iPhone to create a screenshot. I use this method as it is far convenient for me than to press two buttons. Just in case you don’t know how to enable this feature, it is super easy to do. Here are the steps for you.
Now that Screenshot has been captured let’s check out how to drag and drop it into any folder of iPhone as per our requirement.
I have created a screen recording of the drag and drop screenshot in iOS 15 to help you understand the feature in a better way. Check it out.
That’s it. Now you know how to successfully drag and drop screenshots in iOS 15 on your iPhone.
Also, it is important to mention that even if you drag and drop a screenshot to a particular folder location, by default one copy of the screenshot will be saved in the camera roll. Maybe you can locate this copy of the screenshot in the Photos app.
This post was last modified on August 15, 2021 7:10 pm