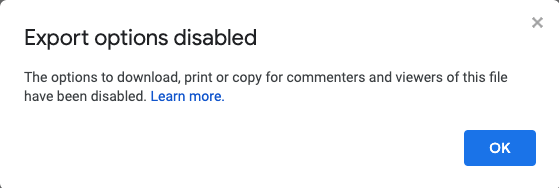
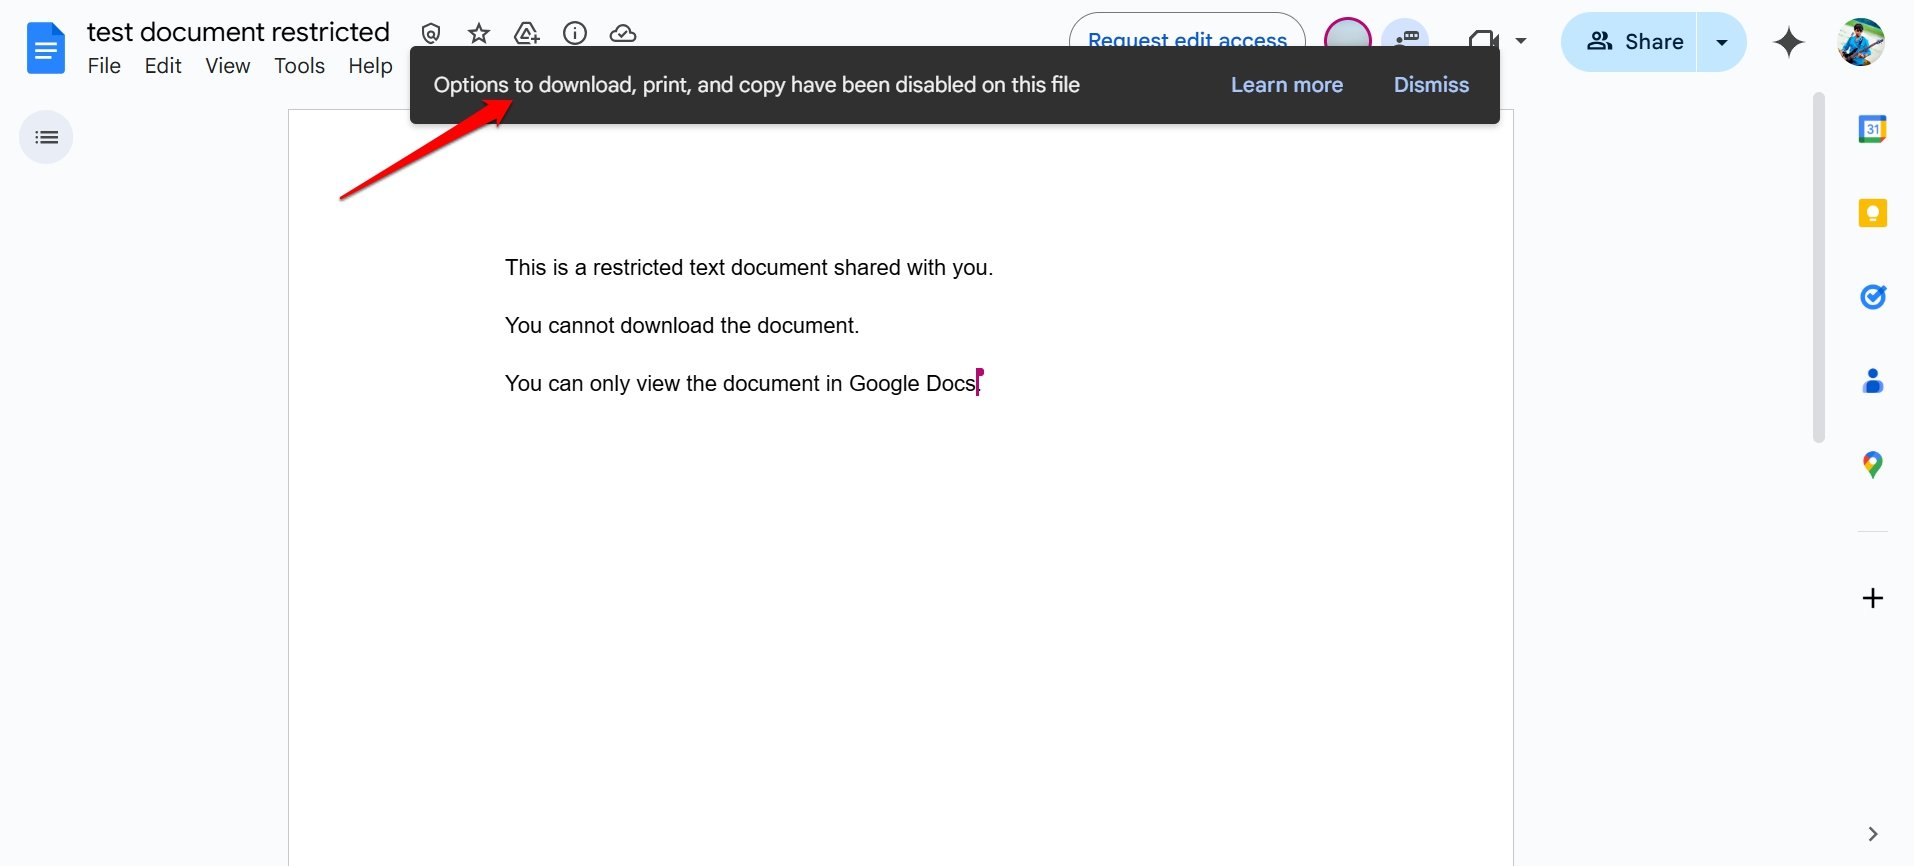
Google Docs allows the file owner to disable downloading, printing, and copying of the file. This means the Google Docs file shared with restricted permissions can only be viewed and cannot be copied, edited, or downloaded.
The protected Google Doc file is not easy to download or modify. However, there are a few workarounds you can try to capture or copy content from such protected Google Docs files.
This article may be a bit technical, and you may need a few attempts to save the view-only restricted Google Doc File successfully.
Download Restricted Google Docs Using the Chrome Extension
Here is the simplest way to download the entire content from a doc file on which a restriction on downloading the file has been enforced. Add the webpage screenshot extension by Fireshot. Capture the entire content of the protected doc file and save it as a PDF file.
You can then copy the content of the PDF file into a word processor app like MS Word or Notepad. As a better alternative, I would suggest converting the PDF into a document file that you can directly open in MS Word.
Let me run you through all the steps.
- Open the Chrome browser.
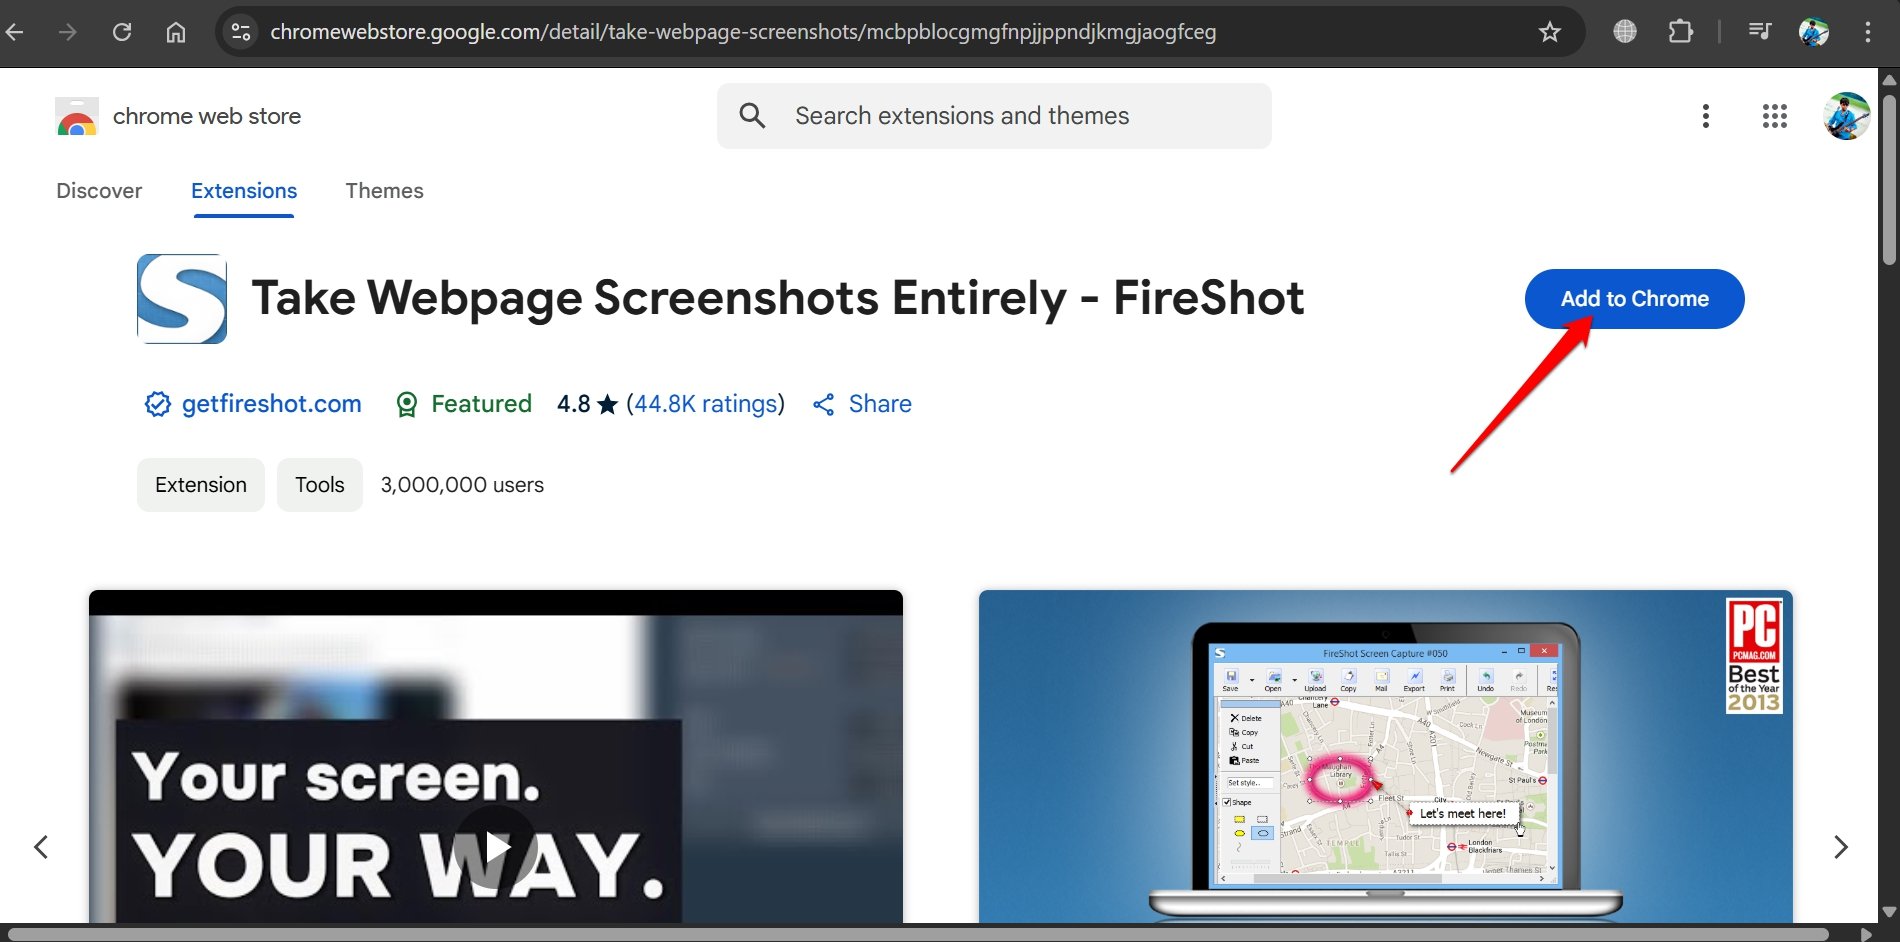
- Go to the Chrome webstore and search for the Fireshot extension to capture the entire screen.
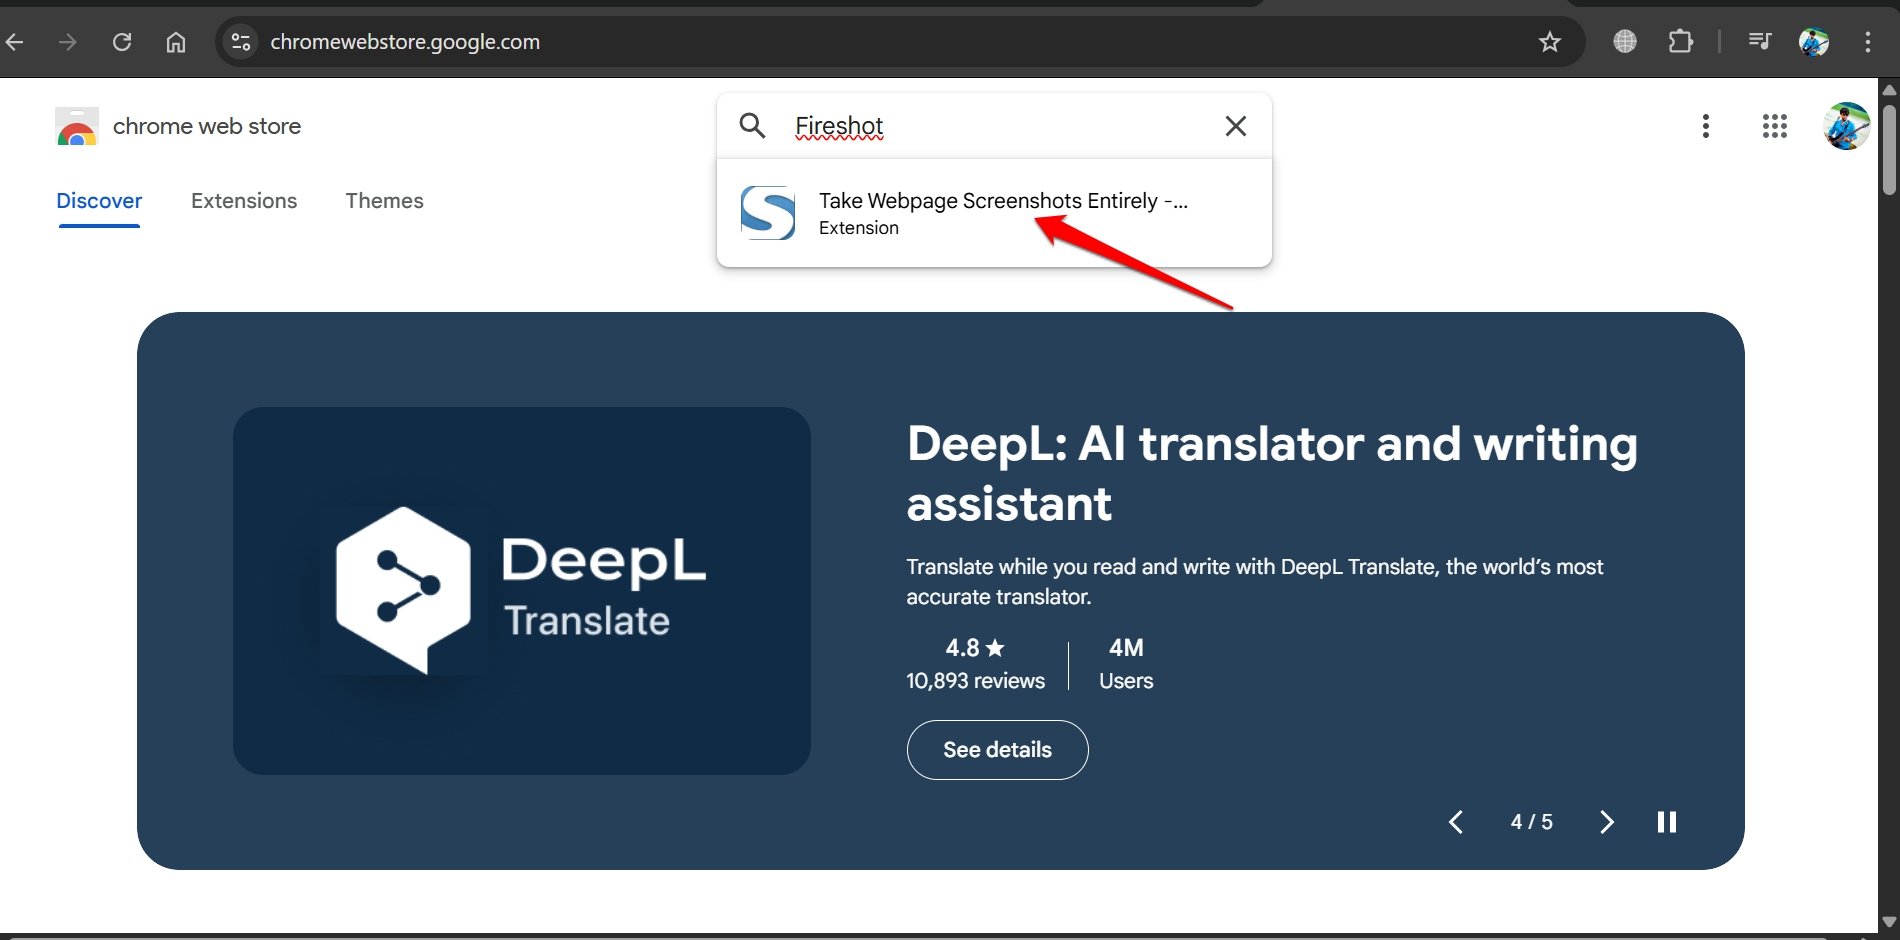

- Once you find the extension shown in the screenshot, click on it to access its page.
- Press Add to Chrome.

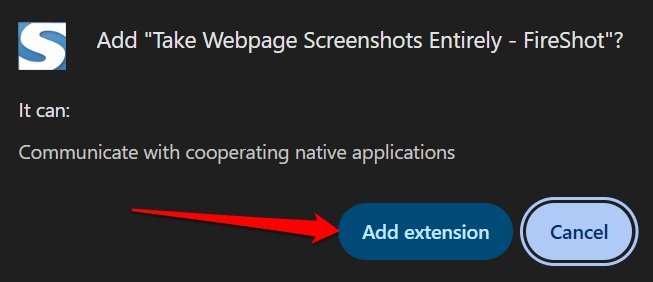
- Next, press Add Extension to integrate the extension to Chrome.

- Now, open the restricted doc file on Google Docs.

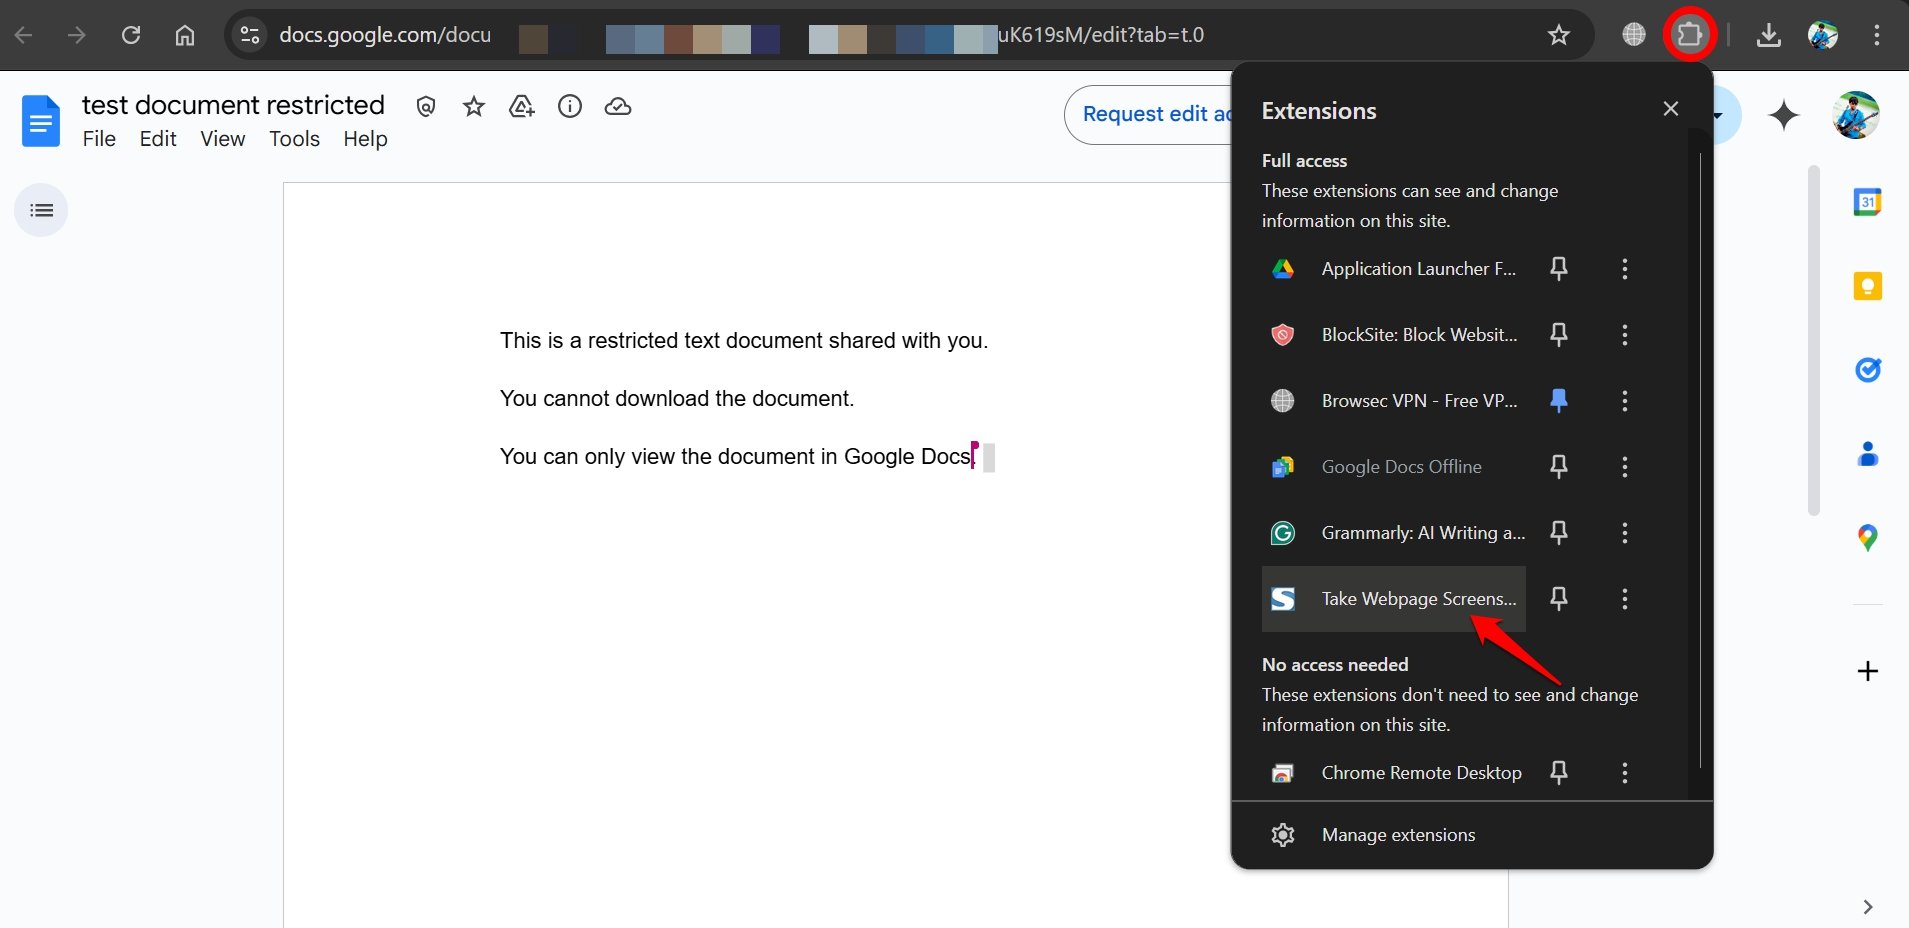
- On the Chrome toolbar, click the extensions icon.
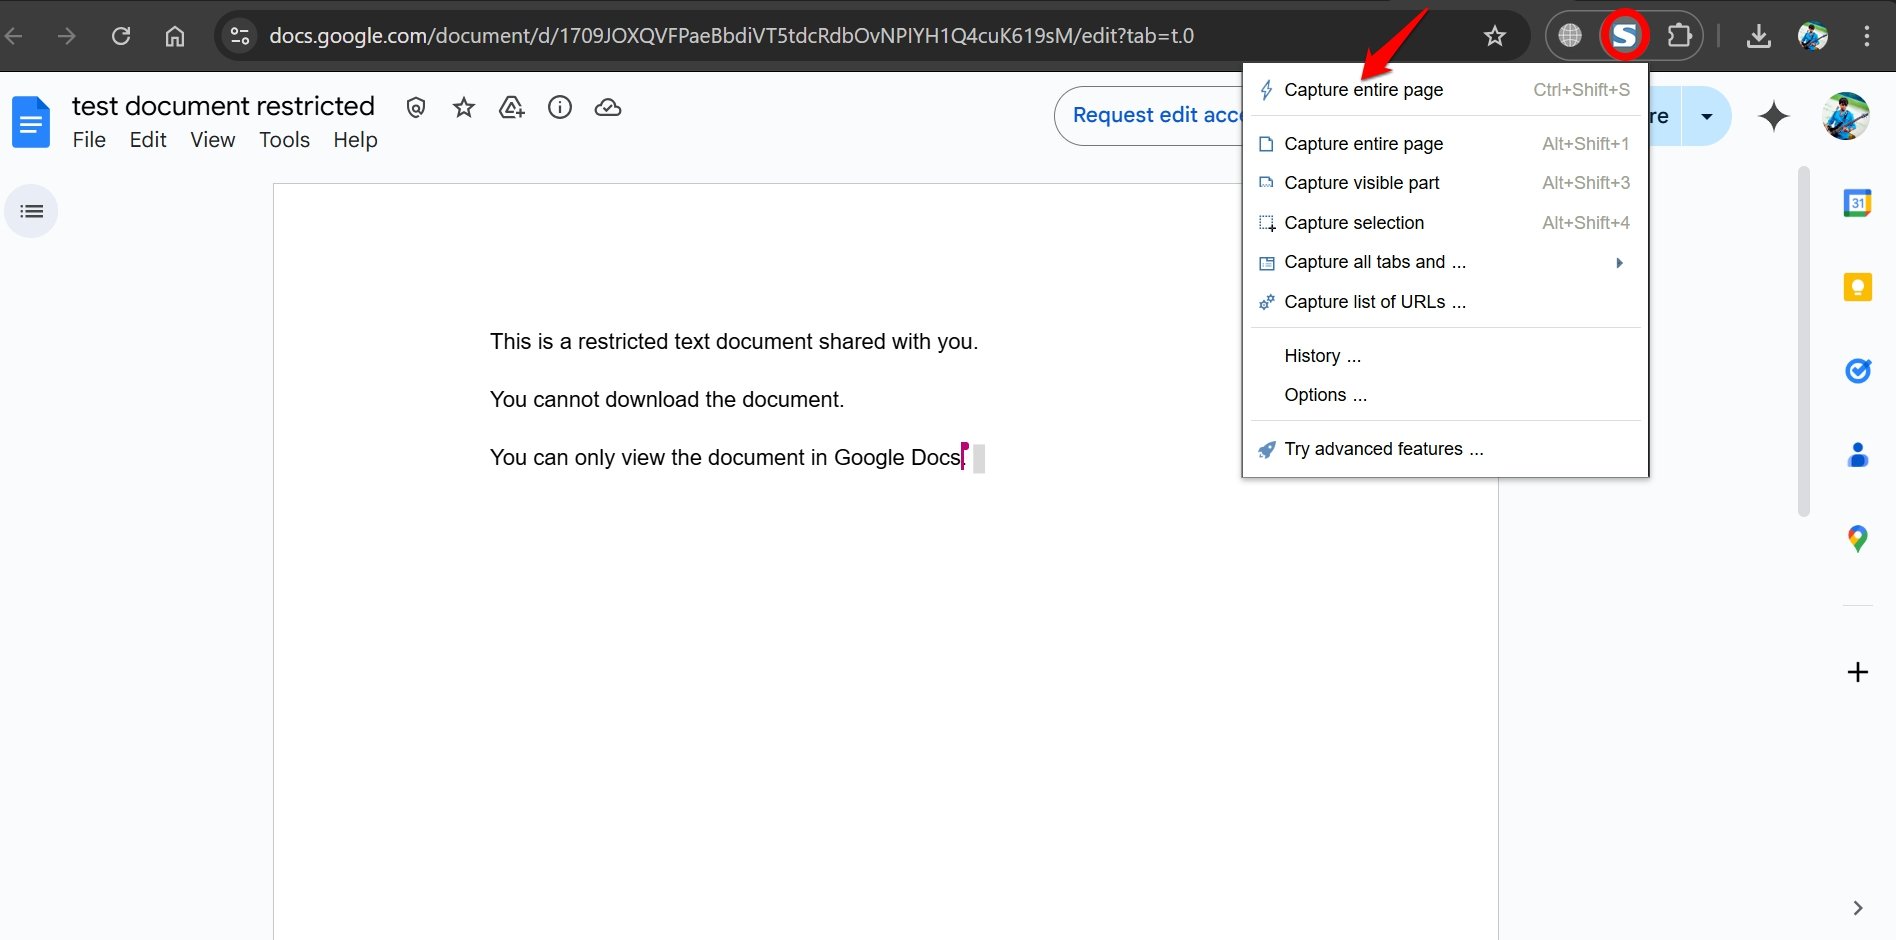
- From the list of installed extensions, click on the Fireshot screen capture extension.

- Select “Capture Entire Page” from the options the extension presents.

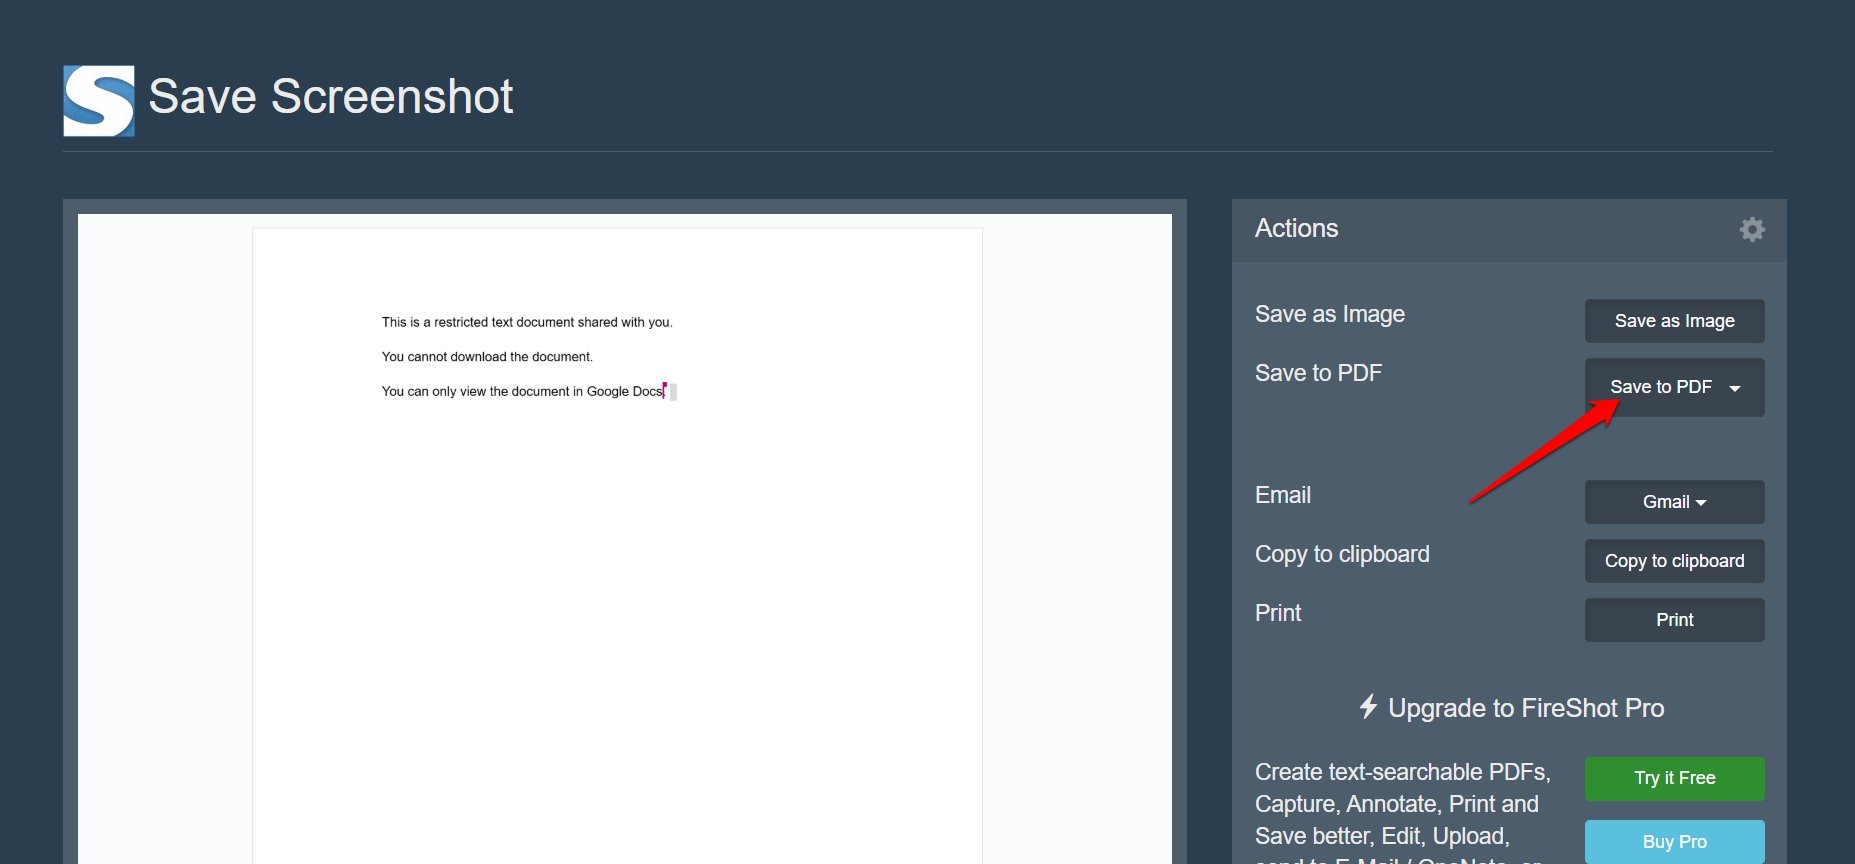
- After the contents of the protected document is captured, a new tab will open, prompting you to save the captured page as an image or save it as a PDF. Click on Save to PDF.

Now, the entire content of the doc file with download restriction will download on your PC as a PDF file.
It is up to you whether you copy the PDF file content into MS Word or Google Docs.
- Open the downloaded PDF file.
- Select all its content and copy it.
- Open a new file in MS Word or Google Docs.
- Paste the content and format it as per your requirement.
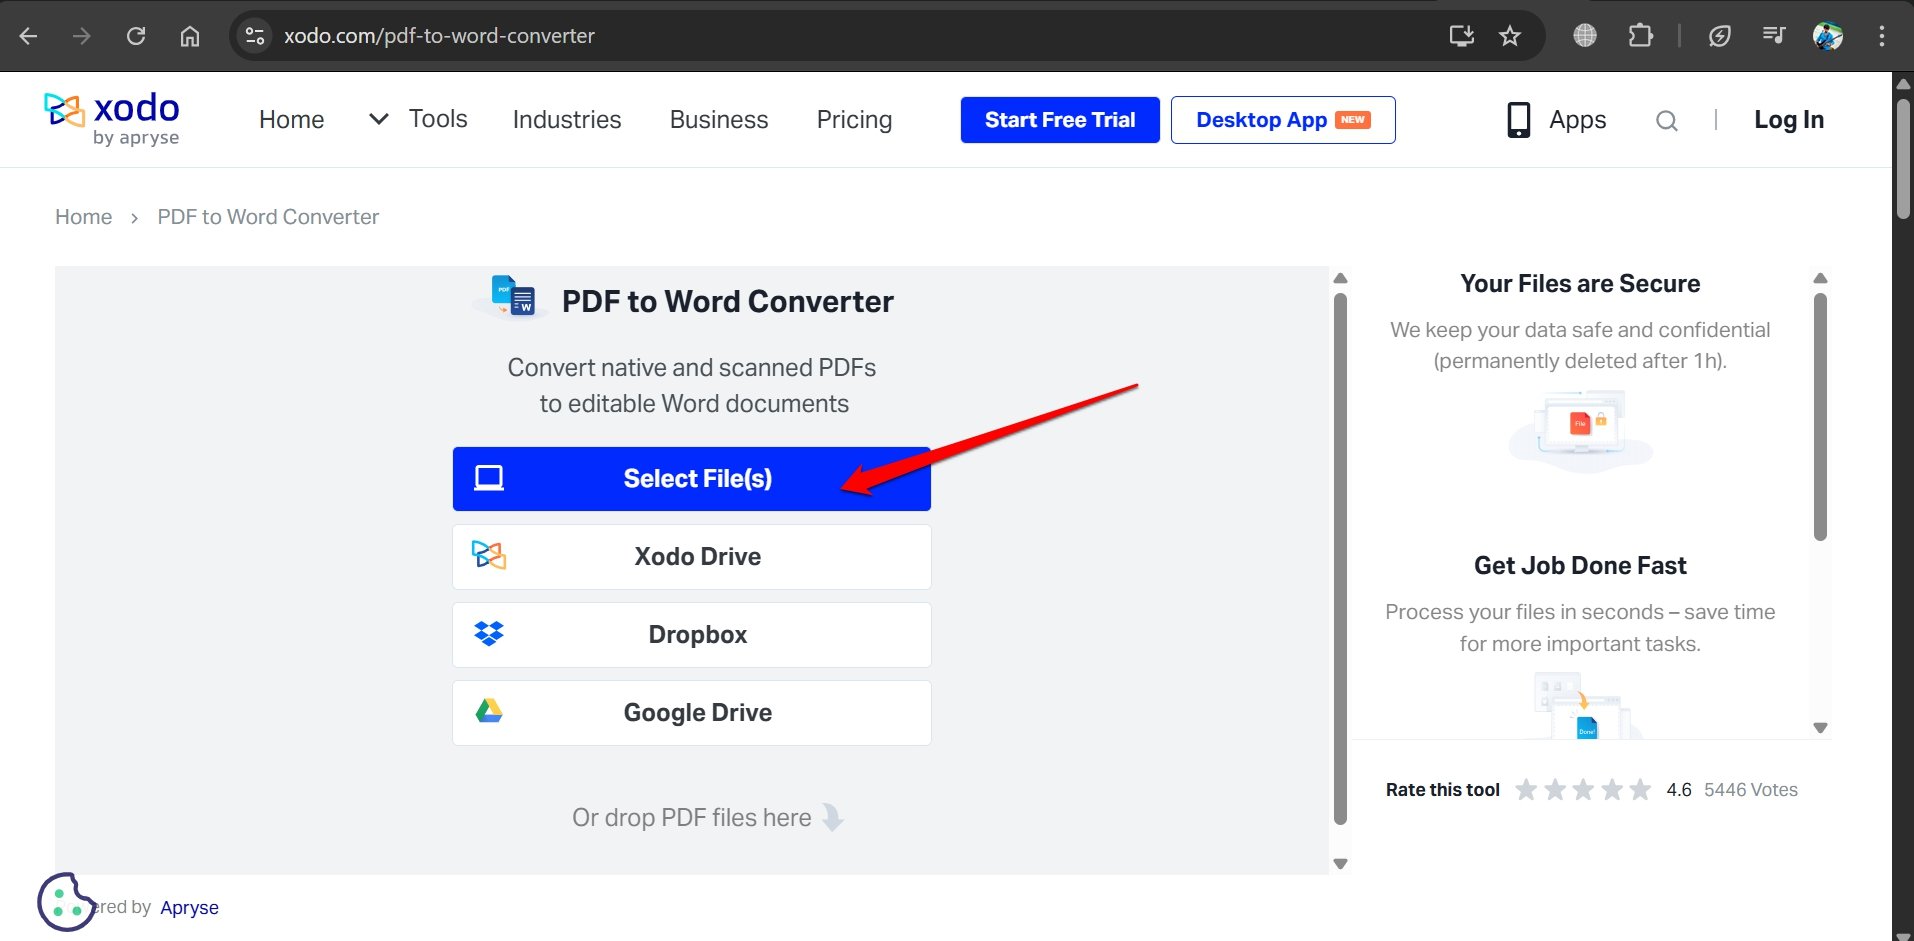
You may also convert the PDF file to an MS Word file using any free online file converter.
- Go to any free online file converter.
- Upload the PDF of the restricted doc file generated using Fireshot.

- Convert the PDF to docx format.
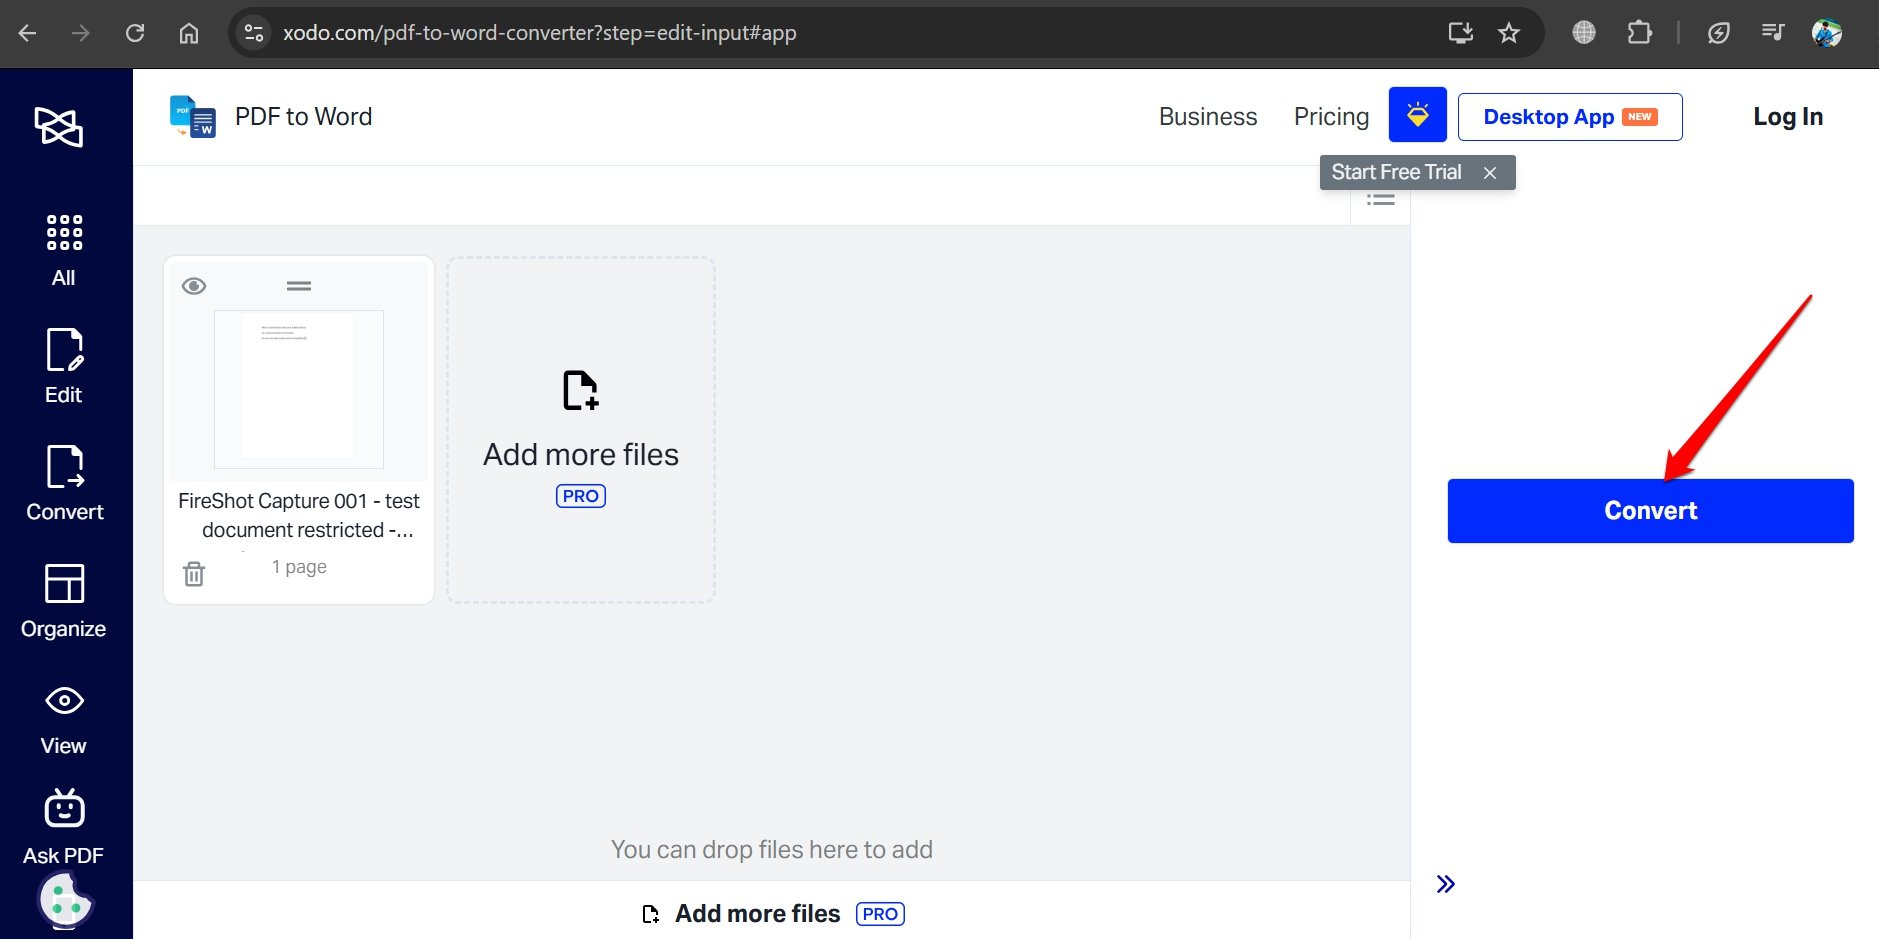

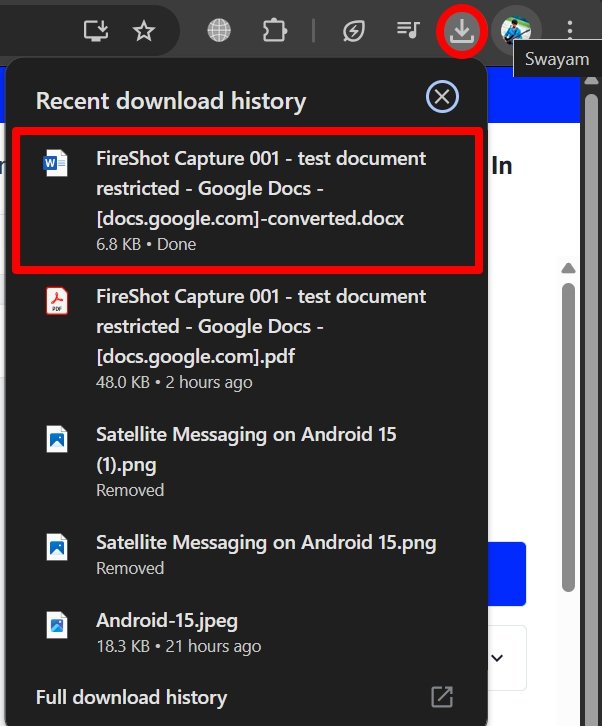
- Download the docx file to your PC.
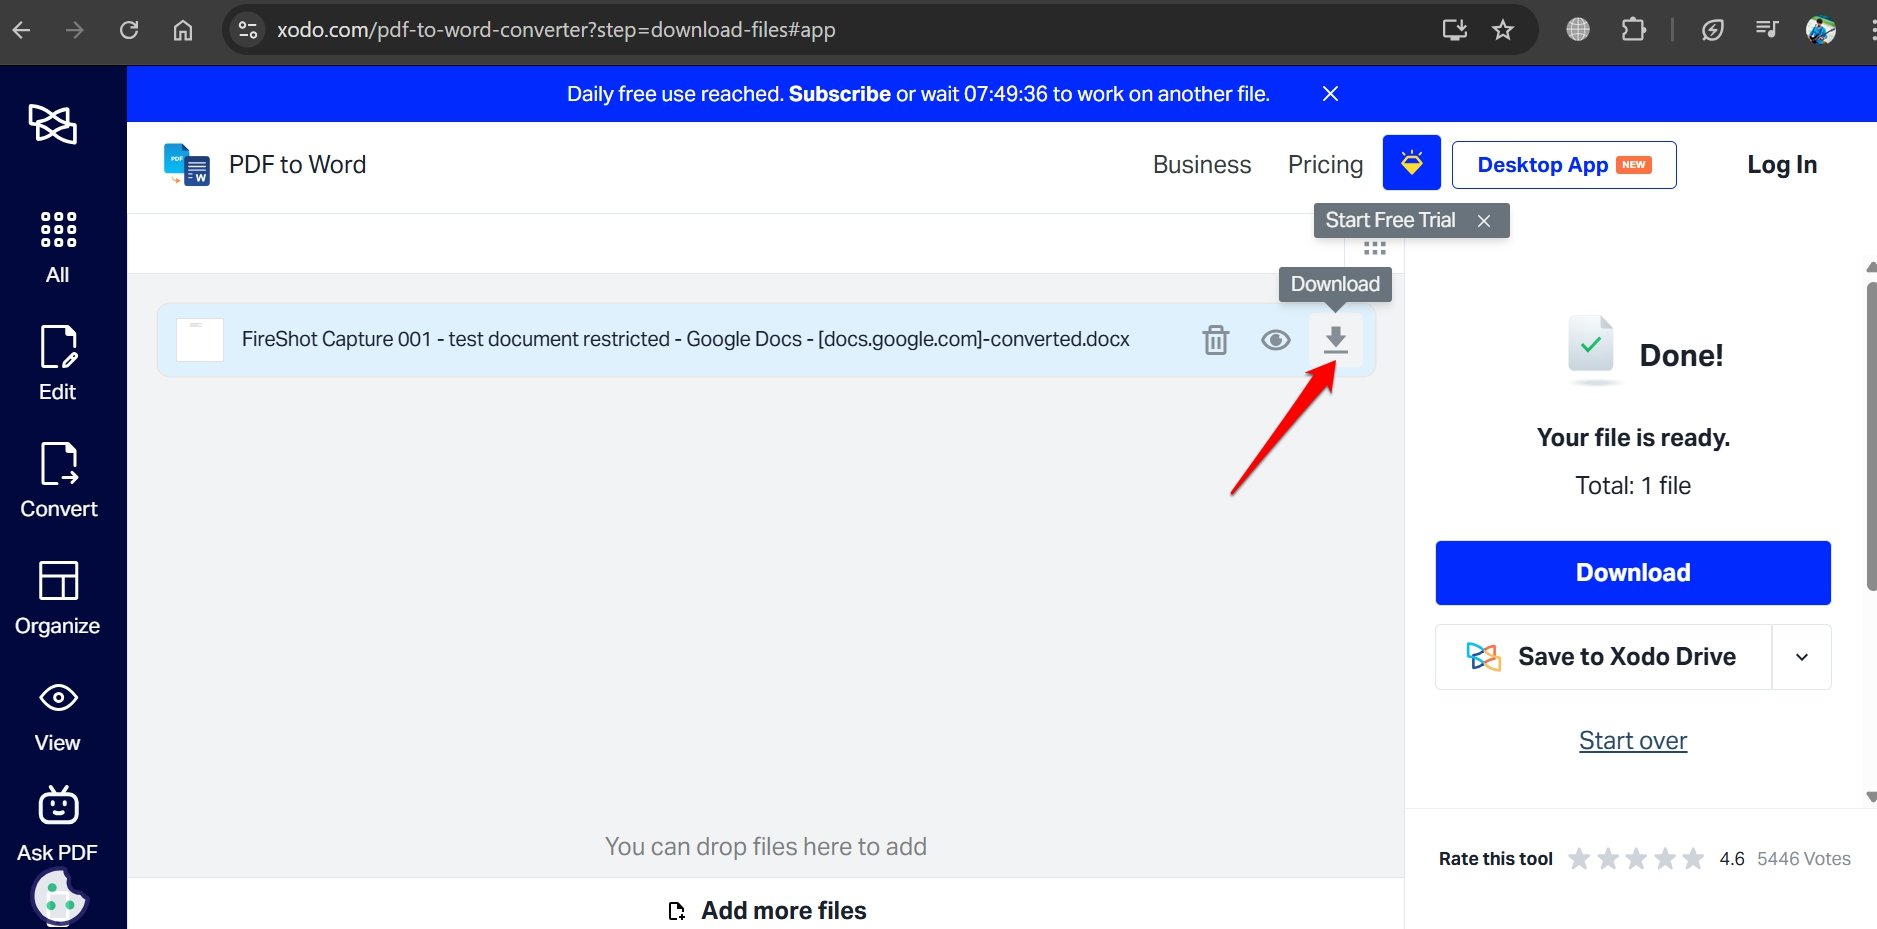

- Open the docx file on MS Word.

This is the simplest and fastest way to capture the entire content of any doc file on which the original author has set download restrictions and access it by converting it into an OCX file.
Steps to Save the Download-Protected Google Docs
Though the file is protected, the content still has to be stored inside the HTML code of the website to load the file. We will use this HTML to extract the Doc Content.
Here are the Steps to Save or Download the Google Docs File with Only Permissions on PC
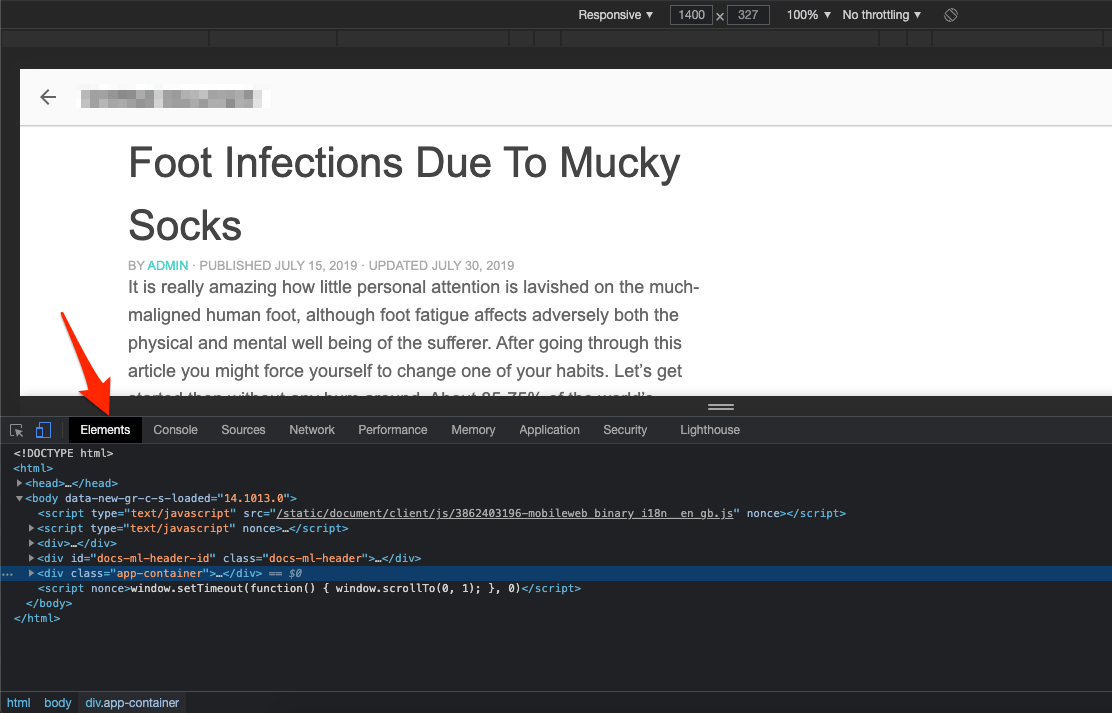
- Open the Restricted Doc file in the Chrome Browser.
- Now open Developer Console by pressing Ctrl + Shift + C for Windows or Cmd + Shift + C for Mac.
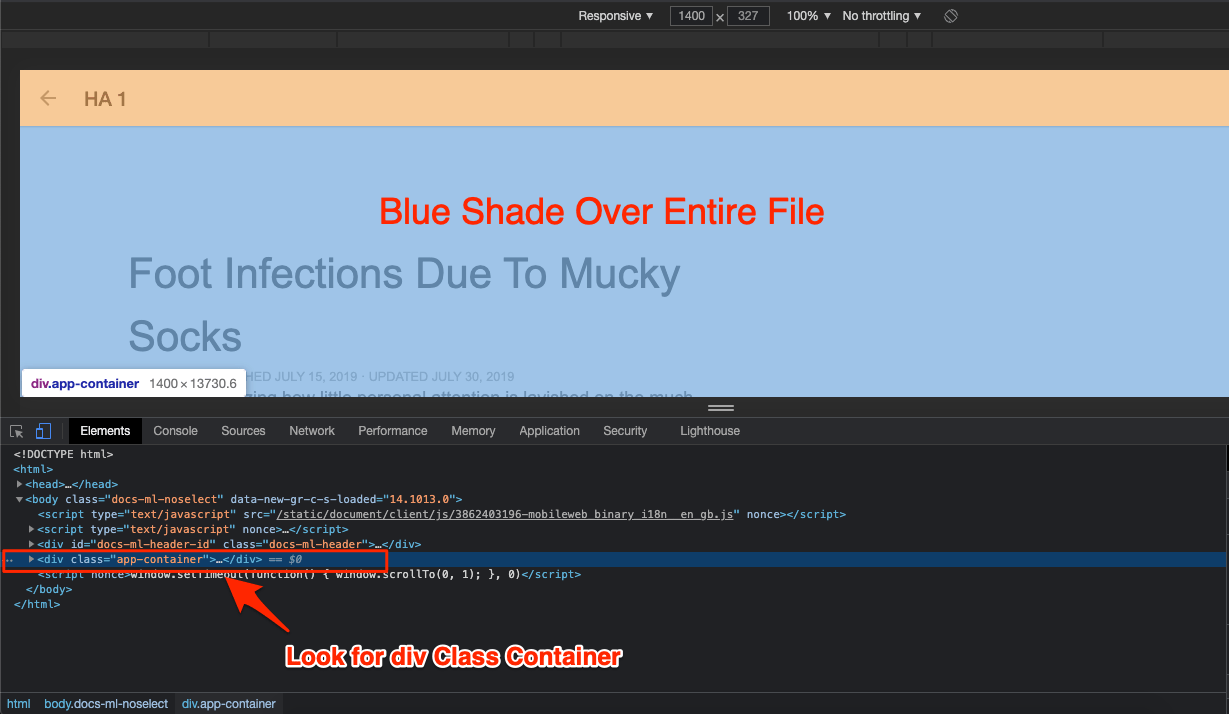
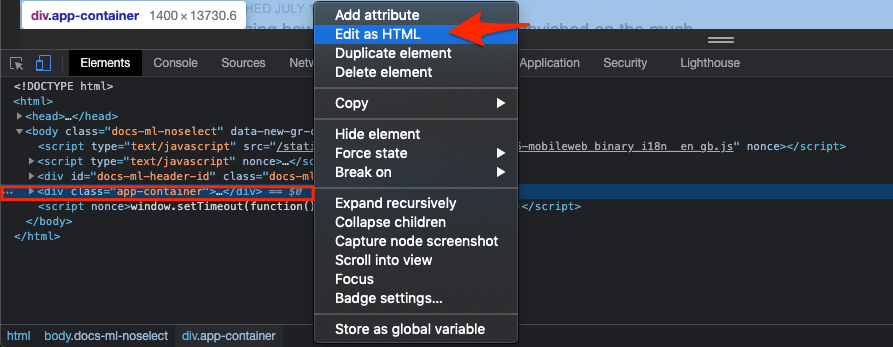
- Reload the page and under the Elements Tab look for the <div> tag that covers all the content in blue shade.

- Generally, you will find the <div> that covers the entire page with blue shade tag with ‘<div class=”app-container”>…</div>‘.

- Now right click on the div container element and select Edit as HTML.

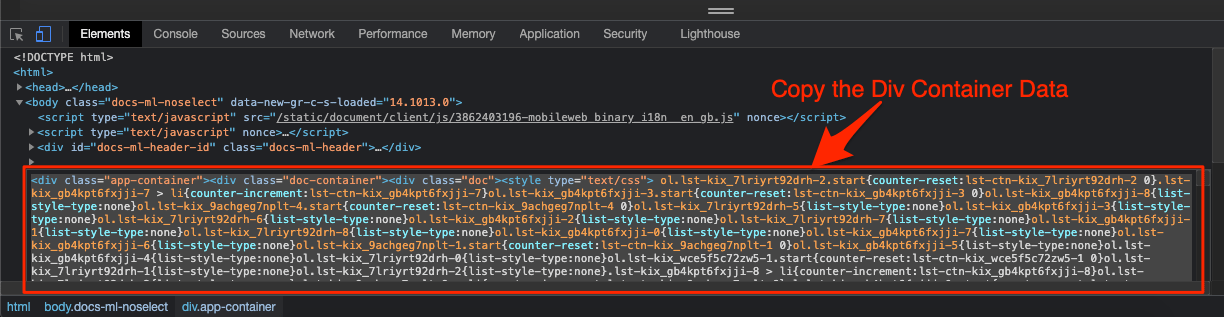
- Now the HTML box will open.
- Copy all the content from the container box.

- Now open a new doc.
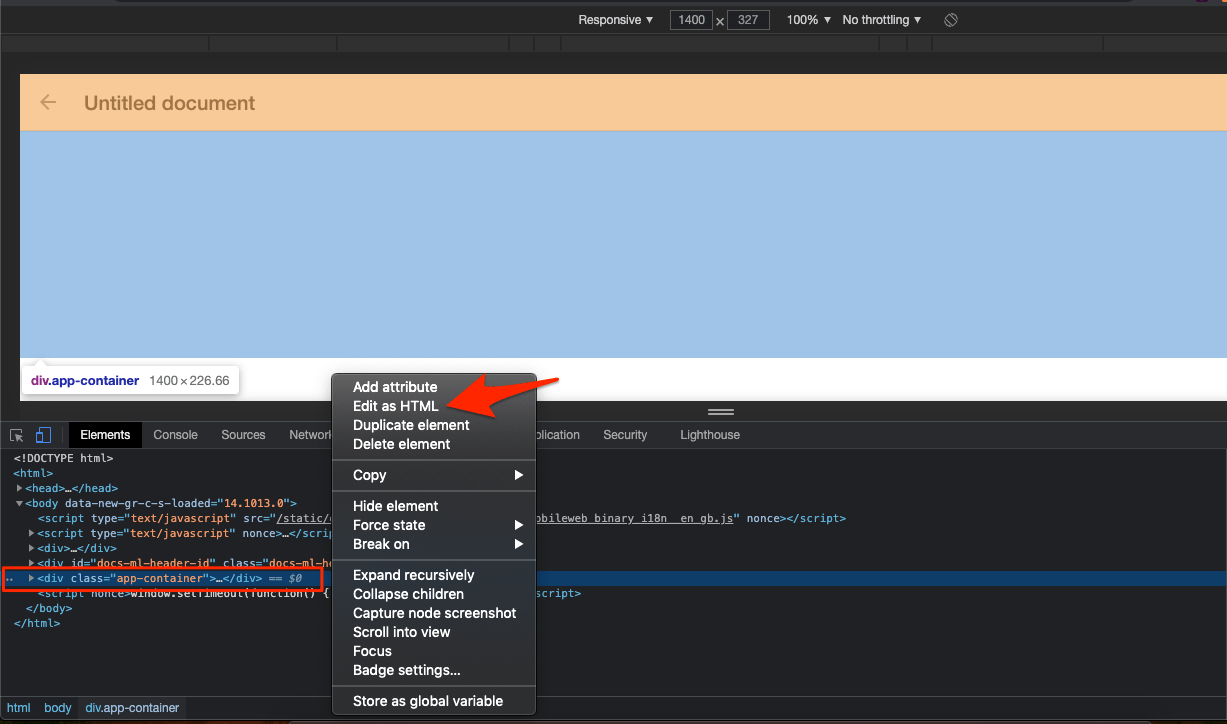
- Here again, open Dev Tools, reload the page, and look for the <div> tag with <div class=”app-container”>…</div> that covers the entire page with a blue shade.
- Again, right-click on the div container element and select Edit as HTML.

- Here paste the copied content, close the console. All the GDocs data will appear on the new doc created.
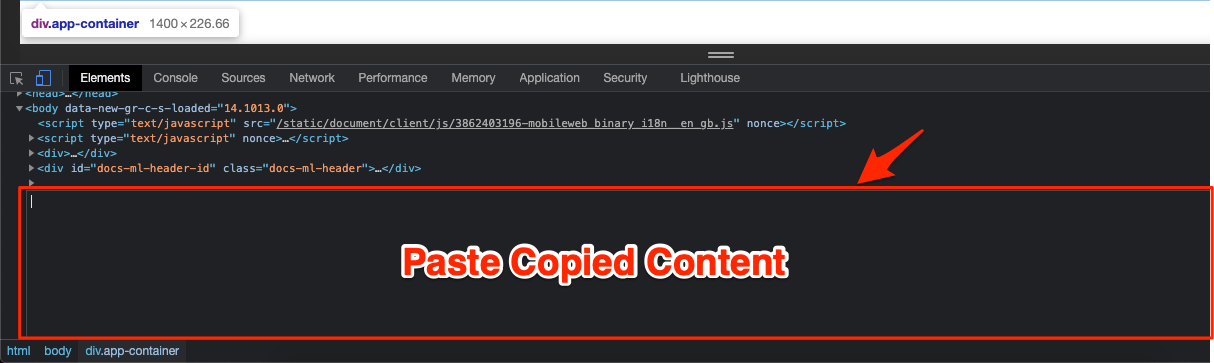

- Done! 😄


Alternative Method to Copy Google Docs Using JavaScript Script
You again need to use Google Chrome Developer Console. The file is blocked using JavaScript code. Disable the JS and add a manual JS script to copy the Google Docs. This method was shared on Github.
- Open the protected GDoc using Chrome. Change the end of the document URL from `/edit` to `/mobilebasic`
https://docs.google.com/document/d/1NVbFrAinfMK9p0WkXXqQDYFyxxxxcNeN9Yu6CbUaJdA/edit
https://docs.google.com/document/d/1NVbFrAinfMK9p0WkXXqQDYFyxxxxcNeN9Yu6CbUaJdA/mobilebasic
- Scroll down to the bottom to make sure that it is entirely loaded.
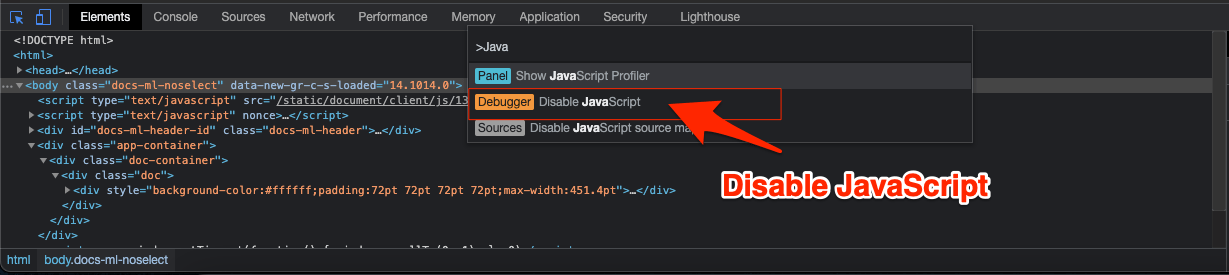
- Now open Developer Console by pressing Ctrl + Shift + C for Windows or Cmd + Shift + C for Mac.


- Open the Command Console [Ctrl+Shift+C for Windows & Cmd + Shift + C for Mac].
- Now, Search “javascript”, and select the option “Disable Javascript” by opening [Cmd/Ctrl+Shift+P].

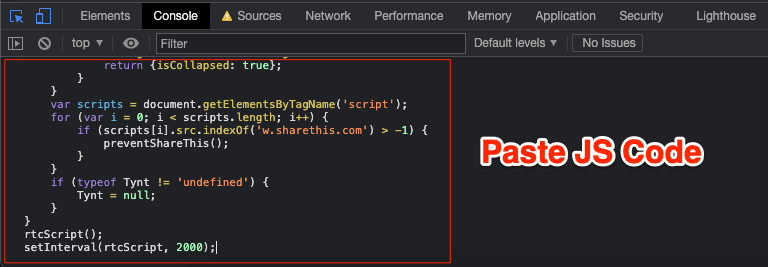
- Now, click on the Console Tab and look for a small arrow marker.
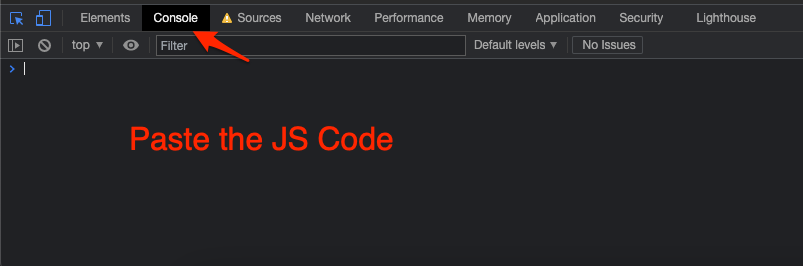

- Here, paste the JS code from below and hit enter.

- Do not close the Dev Console and reload the page.
- Now you can close the Dev Tools and copy and from the document.
- Done!😀
function rtcScript() {
    document.oncontextmenu = null;
    document.onselectstart = null;
    document.onmousedown = null;
    document.onclick = null;
    document.oncopy = null;
    document.oncut = null;
    var elements = document.getElementsByTagName('*');
    for (var i = 0; i < elements.length; i++) {
        elements[i].oncontextmenu = null;
        elements[i].onselectstart = null;
        elements[i].onmousedown = null;
        elements[i].oncopy = null;
        elements[i].oncut = null;
    }
    function preventShareThis() {
        document.getSelection = window.getSelection = function() {
            return {isCollapsed: true};
        }
    }
    var scripts = document.getElementsByTagName('script');
    for (var i = 0; i < scripts.length; i++) {
        if (scripts[i].src.indexOf('w.sharethis.com') > -1) {
            preventShareThis();
        }
    }
    if (typeof Tynt != 'undefined') {
        Tynt = null;
    }
}
rtcScript();
setInterval(rtcScript, 2000);
Conclusion
Using Dev Tools, you can extract the View Only Protected Google Docs File and save it as a Fresh Doc File. Follow the guide carefully. If you find it difficult to locate the div container tag, just reload the page and try again. I hope the post is helpful. Do comment below for any assistance or support.
If you've any thoughts on How to Save Google Docs with Export Options Disabled?, then feel free to drop in below comment box. Also, please subscribe to our DigitBin YouTube channel for videos tutorials. Cheers!


The mobilebasic option works 100%.
🙂
A little struggling finding Command Console on Mac, it should be Cmd+Shift+P, not ‘C’. Just a little mistake.
It worked terrifically. Thanks a lot!!
Will Update
These options no longer work. 🙁
I just test, and it works. I request you to try again.
will they find out ’bout it if i used these methods
No! Your Identity is Safe
I would like to know how to do it for Google Slides. Do you have a page for that?
Will create a post soon!