Firefox is one of the best web browsers available right now. It is available for various OS systems like Windows, Linux, and Mac as well as all the mobile OS systems like Android, iOS, etc. Firefox is an open-source software developed and maintained by the Mozilla foundation.
There are various ways to install Firefox in a Linux system. In this article, we are going to discuss four different methods to install Firefox in a Linux system.
Note: For demonstrations purpose, we are going to use Ubuntu Linux but all those methods are similar for other distros as well.
How to Install Firefox on Linux?
Here are Few Methods to Install Mozilla Firefox Browser on Linux PC System
Method 1: Using the Software Center
This is the easiest and trouble-free method to install Firefox on Linux. Just follow the below – mentioned simple steps to install it:
Open Ubuntu Software manager either from Activity Bar or from the app drawer.
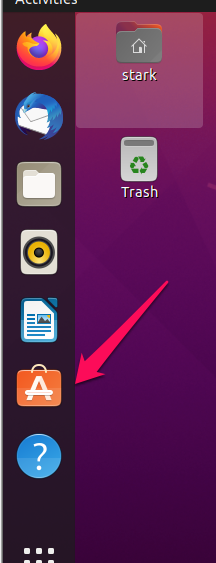
Now, click on the search icon located at the top-left corner of the screen.
![]()
Then, write the term “firefox” in that box and hit Enter to search it.
The search result will appear like this, click on it.

Now, click on the Install button to start the installation. (It may ask for sudo password as only authorized users are allowed to install any application)

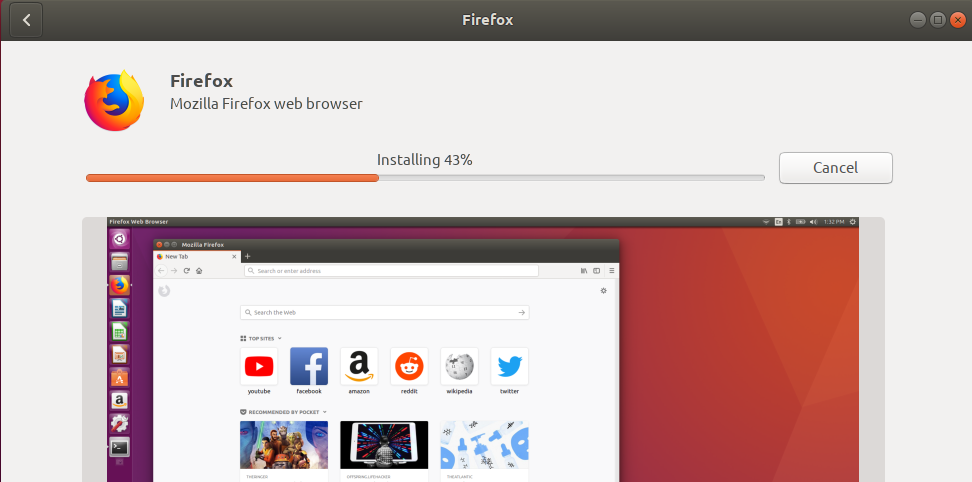
Now, in a couple of minutes, depending on your internet speed, the browser will be installed.
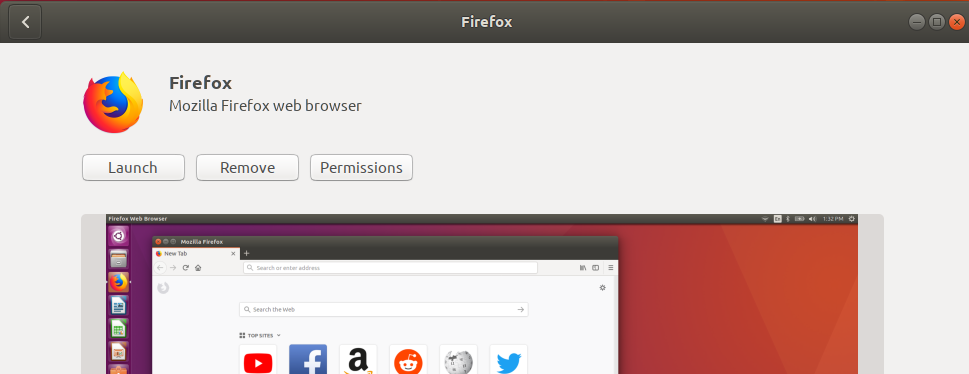
This will be the final window, where you will have the buttons to launch, remove, and permission button.
Method 2: Using the Official Ubuntu Repository
This is another easy method but involves the use of Terminal/Command line,
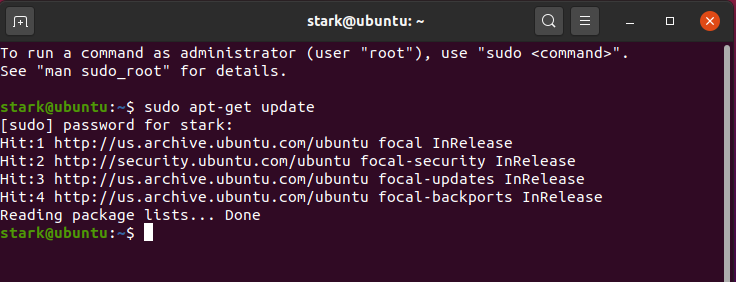
First of all, use the following command to synchronize Ubuntu’s repository index.
$ sudo apt-get update
Now, use the below simple command to install the Firebox browser in your Linux system,
$ sudo apt install firefox
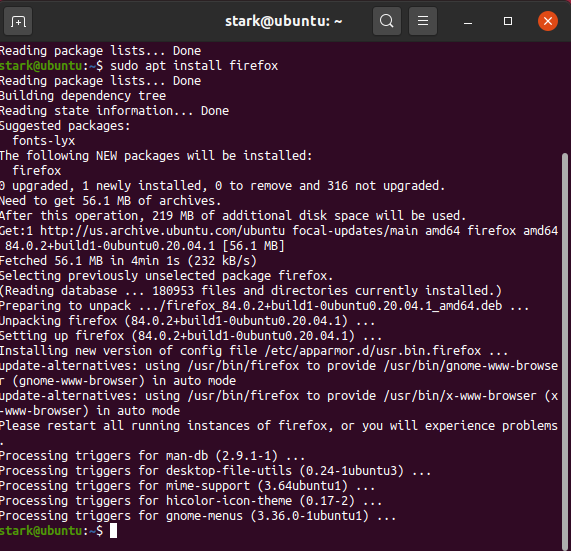
It will be installed in a couple of moments, depending on your internet speed. After installation, you launch the browser either from the app drawer or the $ firefox command.
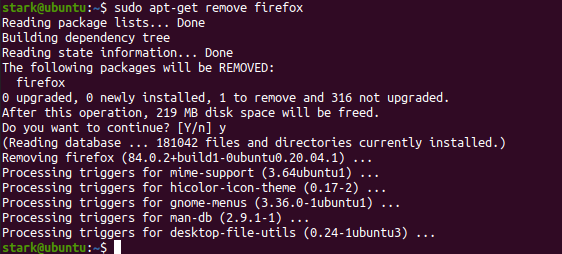
In the future, if you want to uninstall the browser, then use the below command to do so,
$ sudo apt-get remove firefox
Method 3: Using the Mozilla PPA Repository
This method involves a couple of more steps than the previous ones but it will make sure that the browser is being installed from Mozilla’s own repository.
Open the Terminal either from the app drawer or pressing ctrl+alt+T simultaneously. After opening, use the following command to add a valid key to the Mozilla PPA,
$ sudo apt-key adv --keyserver keyserver.ubuntu.com --recv-keys A6DCF7707EBC211F
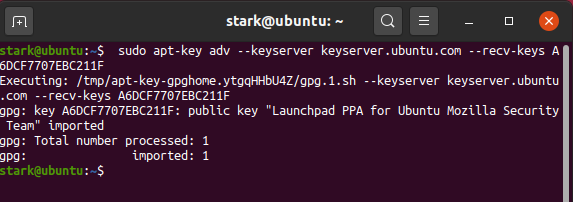
If everything looks good, then proceed to the next step to add the Mozilla PPA repository to your Linux system,
$ sudo apt-add-repository "deb http://ppa.launchpad.net/ubuntu-mozilla-security/ppa/ubuntu bionic main"
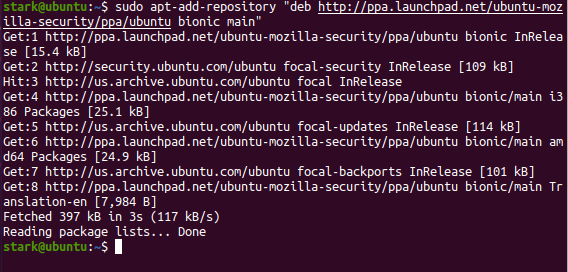
Now, since the Mozilla PPA is added to the Linux system, we will use the following command to sync the repository index,
$ sudo apt-get update

Now, finally, use the following command to install Firefox in your Linux (Ubuntu) system,
$ sudo apt install firefox
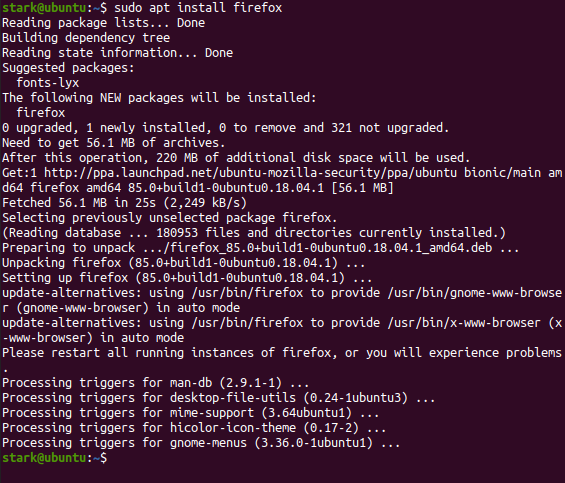
It will be installed in a couple of moments, depending on your internet speed. After installation, you launch the browser either from the app drawer or the $ firefox command.
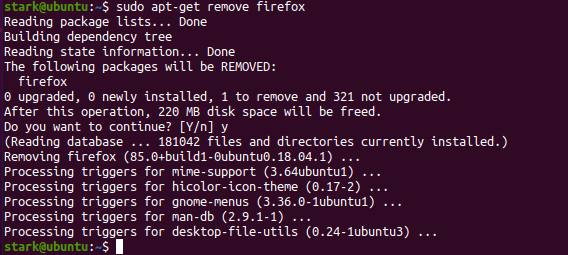
In the future, if you want to uninstall the browser, then use the below command to do so,
$ sudo apt-get remove firefox
Method 4: Using Downloaded File
This is the last method in our list, it is easy as well as complex at the same time. We are going to download the tar.bz2 file from the official Ubuntu website and then will install it manually via the command line method.
Note: You will have to use another browser or a download manager to use this method.
Go to this URL, it will instantly start downloading the latest tar.bz2 file of Mozilla Firefox.
In case you don’t have a browser, you can use the terminal as well to download the file.
wget -O ~/Downloads/FirefoxSetup.tar.bz2 "https://download.mozilla.org/?product=firefox-latest&os=linux64"
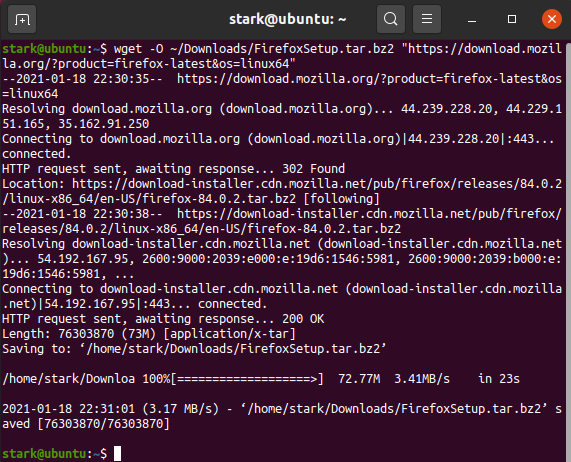
After that, extract the tar.bz2 file in the /opt directory using the following command,
$ tar jxvf ~/Downloads/FirefoxSetup.tar.bz2 -C /opt
If you face any errors while extraction due to permission issue then instead of using /opt directory, we also can make our directory and extract the files there,
$ mkdir ~/firefox8
$ tar jxvf ~/Downloads/FirefoxSetup.tar.bz2 -C ~/firefox8
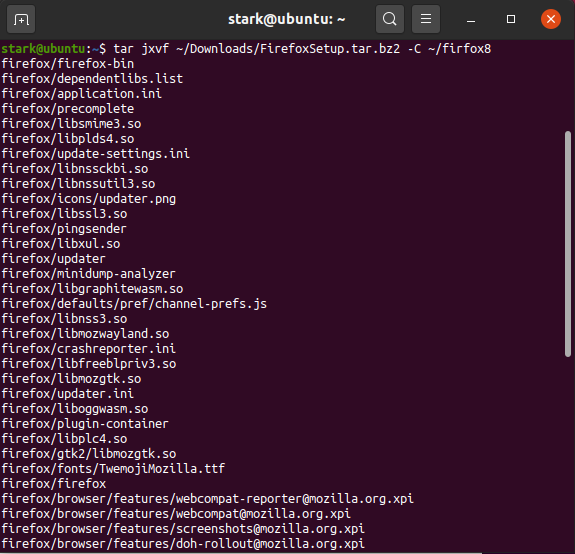
Now, we have to create a user-accessible Firefox directory and point it to the extracted folder,
$ sudo ln -s /opt/firefox/firefox /usr/lib/firefox/firefox
or
$ sudo ln -s /firefox8/firefox/firefox /usr/lib/firefox/firefox
Now, you launch the browser either from the app drawer or the $ firefox command.
In case if you face any issue with the above process, you can directly use the following command to launch the firefox,
$ ~/opt/firefox/firefox
or
$ ~/firefox8/firefox/firefox

In the future, if you want to uninstall the browser, then use the below command to do so,
$ sudo rm -fr /opt/firefox
or
$ sudo rm -fr /firefox8/firefox

Conclusion: With the methods above you can download Mozilla Firefox for Ubuntu Linux System directly with the app package or using the 3rd terminal.
If you've any thoughts on Firefox for Linux | Complete Installation Guide, then feel free to drop in below comment box. Also, please subscribe to our DigitBin YouTube channel for videos tutorials. Cheers!


