
How to Customize the Windows 11 Action Center
This tutorial outlines the various methods that shall help you to customize the Windows 11 Action Center. There are a plethora of new features introduced in the latest iteration of the Windows OS. These include the changes to the icon styles, user interface tweaks, and most importantly, the modifications made to the taskbar. The last one seems to have caught the attention of the masses.
With the taskbar icons now being centralized and the Start menu undergoing a complete revamp, there’s a lot to look forward to. Along the same lines, there has been a few changes to the Action Center as well. For example, in the earlier builds of the OS, the notifications were part of this Action Center.
However, with Windows 11, they are now separated (with the notification section itself going some major revamp of sorts). Well, this is just one of the many changes introduced in the Action Center; let’s make you aware of all the useful ones. After this, we will also show you the steps to customize the Windows 11 Action Center.
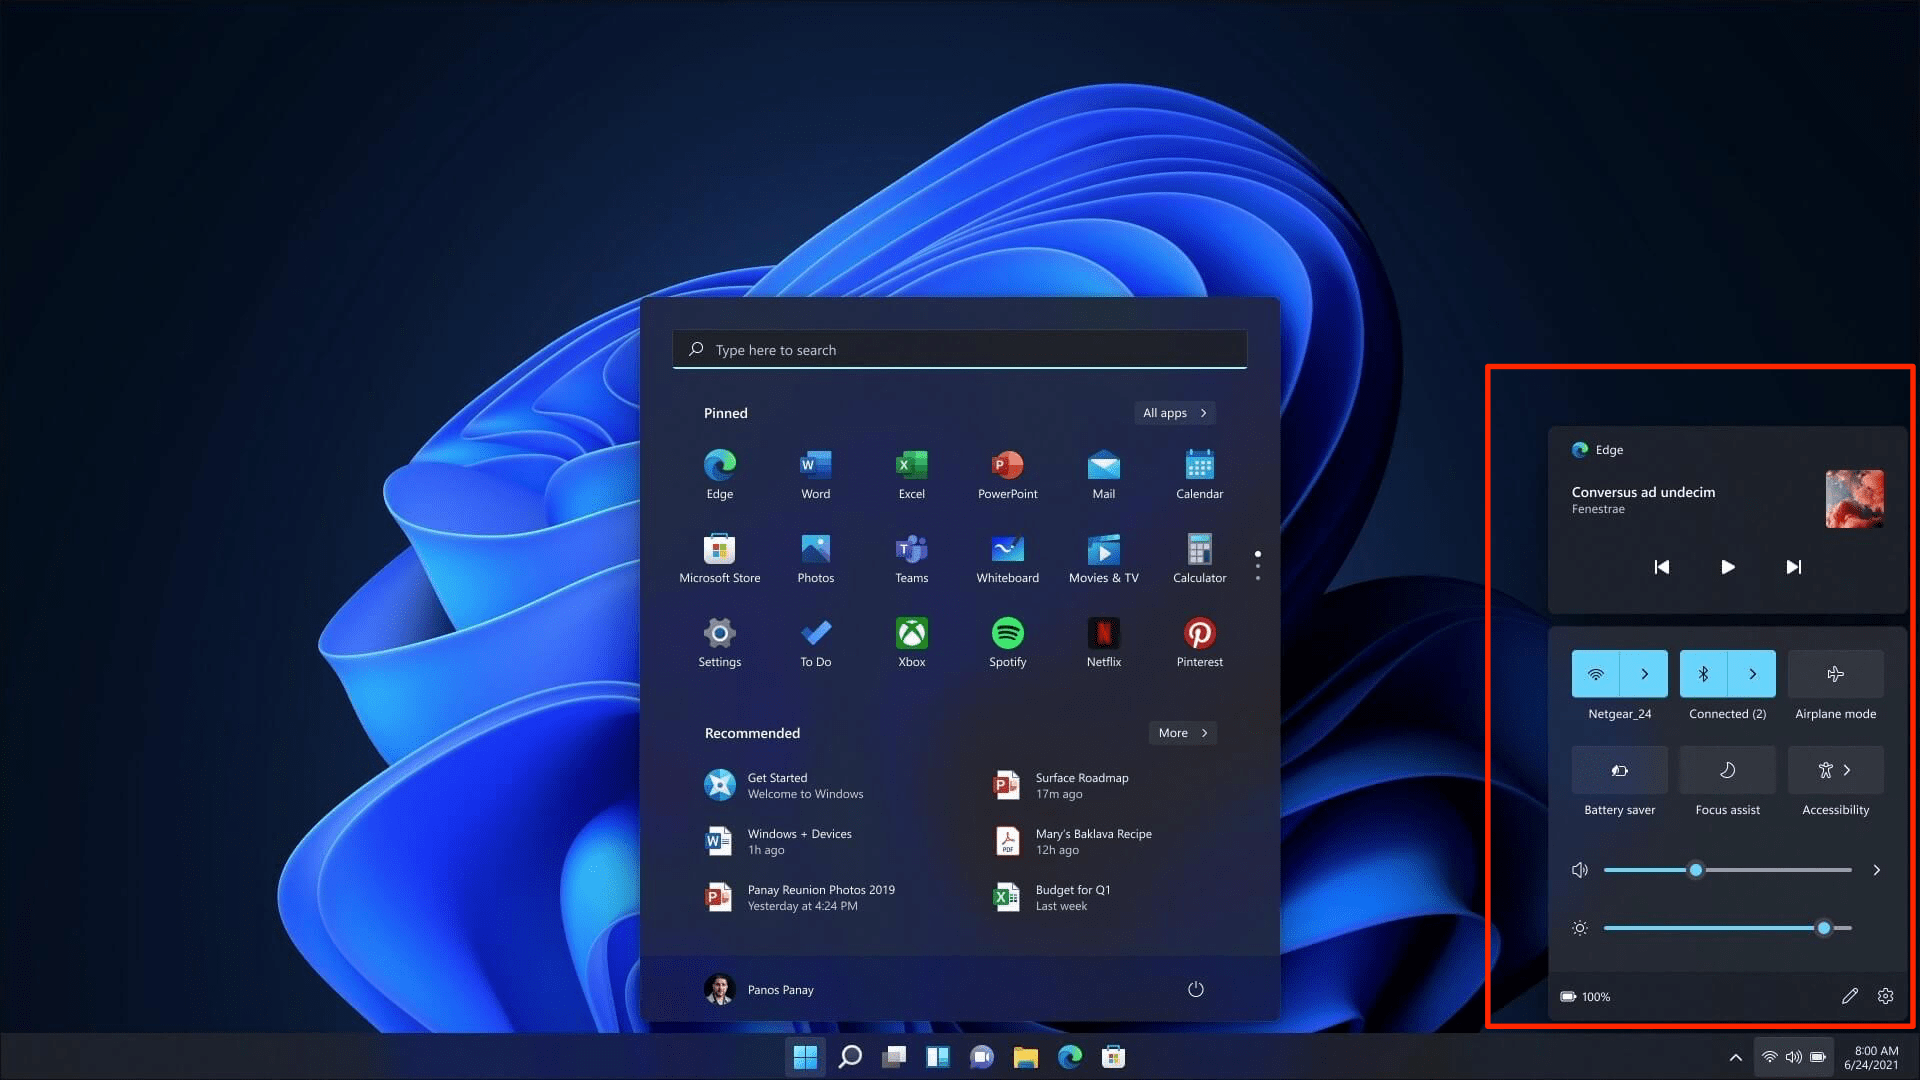
In this new Windows release, the WiFi, Volume, and Battery Indicator together make up the Action Center. You could further expand it and get hold of some other pretty useful Quick Settings toggle. The biggest change that you would straightaway notice is the UI transformation that it has undergone.
Likewise, all the Quick Setting toggles are now neatly arranged, with each of them having its own standalone rectangular toggle. Some other noteworthy changes include the ability to directly switch to a different wireless network just via a single click, without the need to interact with the Network Settings page.
Apart from that, there are two new sliders for managing the display brightness and the system volume. Not only that, but it also beholds quite a few customization options. And in this guide, we will be having a look at just that. So without further ado, let’s check out the steps to customize the Windows 11 Action Center.
Windows 11 has added a few nifty options that you could use to customize the Action Center. These include the ability to add new Quick Setting toggles, remove existing ones, and reorder the position of these toggles. Let’s check out how this could be carried out.
Here’s how you could make an addition of a new toggle in the Action Center:
Talking about how you could customize the Windows 11 Action Center, here are the instructions to remove a quick setting toggle:
You could also re-order the positioning of any of these toggles. This way, you could keep the option that you interact with the most right at the top. Here’s how:
So these were some of the methods to effectively customize the Windows 11 Action Center. In some instances, though, even after carrying out the aforementioned tweaks, the Action Center might not reflect the changes. As and when that happens, bring up the Task Manager via Ctrl+Shift+Esc shortcut keys.
Then select Windows Explorer, and hit the Restart button situated at the bottom right. This should fix the underlying issue. Apart from that, if you have any tiger queries, do let us know in the comments section below.
View Comments
I will try select Windows Explorer, and hit the Restart button situated at the bottom right. This should fix the underlying issue. Apart from that, if you have any tiger queries, do let us know in the comments section below. but not Effect my lop top asus X509f