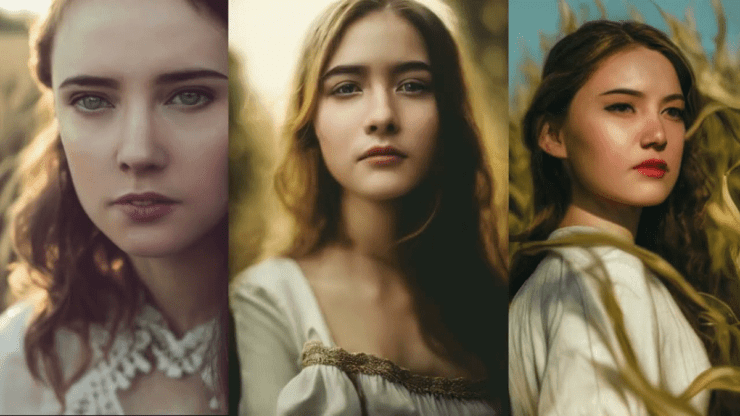
Midjourney is, without any doubt, the best AI-based image generator you will see. Despite being based on a Discord server, they have also produced some award-winning art. Even if using Midjourney sounds like a piece of cake, there are a whole lot of things involved that a new user is entirely unaware of. Of course, it takes simple prompts to generate images, but again when it comes to generating a precise picture to your imagination, there are quite a few things you need to know.
In other words, generating photorealistic images is not as easy as it seems to use this tool. In fact, you might need to spend a good time understanding the model before you begin generating the images of your imagination. But do not worry; after all, it is no rocket science. Besides, we have you all covered up. In this article, we will see a few amazing methods and tips that will help you make photorealistic images on
Midjourney.
Tips to Make Realistic AI Images on Midjourney
Creating out-of-the-world images just by describing your thoughts in words can be really fun. However, when mid-journey fails to generate the desired image in your mind, it can eventually turn into a frustrating experience too. If you are going through a similar phase, we might just have the solution to it. The following methods will help you describe your thoughts in a better way and make photorealistic images in mid-journey.
1. Get More Specific with your Prompts
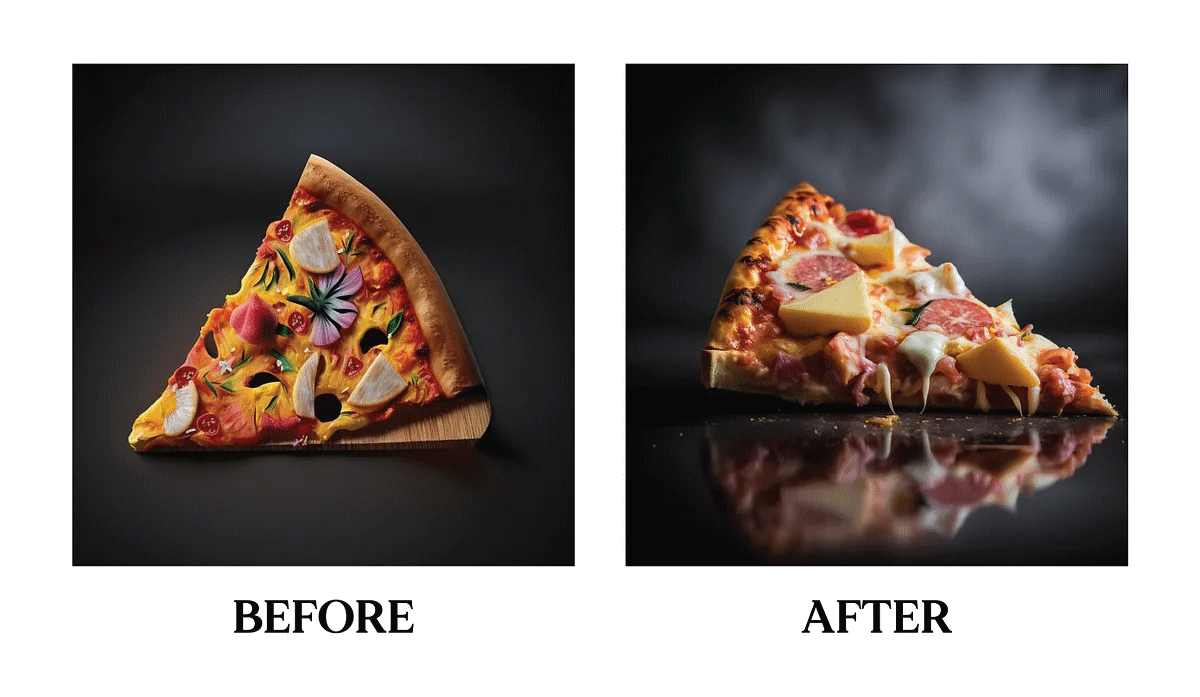
Since the entire image generation process depends upon your prompts, you need to take proper care while submitting it. For making photorealistic images, you need to be very specific with your thoughts and write in a proper way to let the model understand the description. Besides, there are certain keywords that will help you get the desired result. For instance, if you are looking for a photorealistic image, do not forget to mention the term “photorealistic” in your prompt.
Besides, if you have some idea about photography, it would be like a cherry on top of a cake. You can further describe your thoughts along with details like the type of image your want, like portrait, landscape, etc. Moreover, you can also use your skills and specify the camera model, ISO, aperture, shutter speed, and various other references. This would only allow the model to understand your requirements straight and clearly. In the end, you will see much better results than before.
2. Mention the Aspect Ratio of the Image
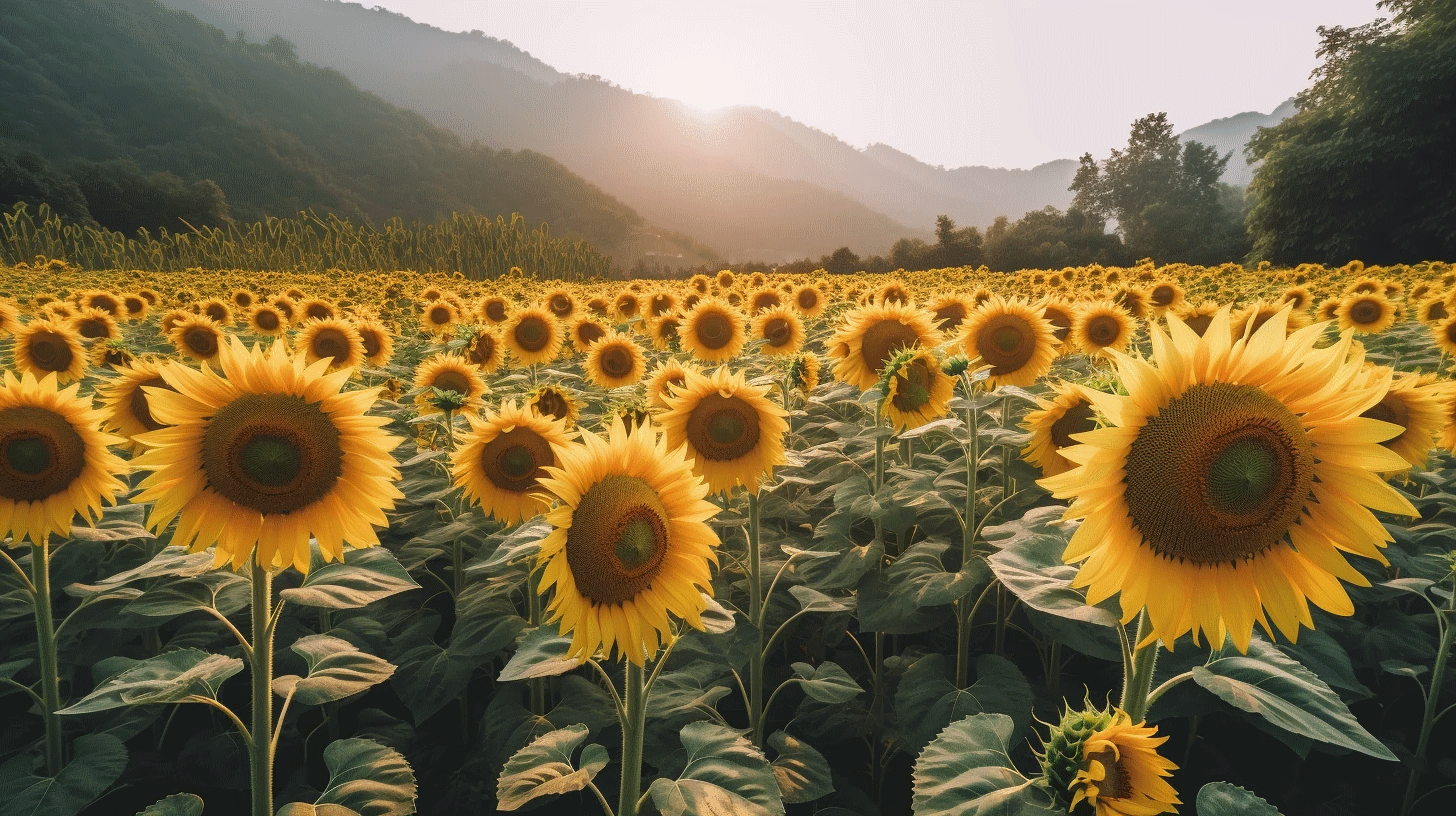
By default, Midjourney sets the aspect ratio of the images as 1:1. However, based on the type of image you want, you might have a different requirement. So, it is always suggested to mention the aspect ratio of your images as per your needs. For instance, based on portrait, landscape, or long images, you can set the respective aspect ratios.
Some commonly used aspect ratios are 3:2, 2:3, 4:3, 16:9, etc. Also, note that Midjourney has a separate parameter to set the aspect ratio, so you need not have to mention it in your own words. Simply type the image prompt, and at the end, add the aspect ratio parameter followed by the value. The syntax looks somewhat like this:
imagine prompt description --ar <value>
3. Use Prompt Weights
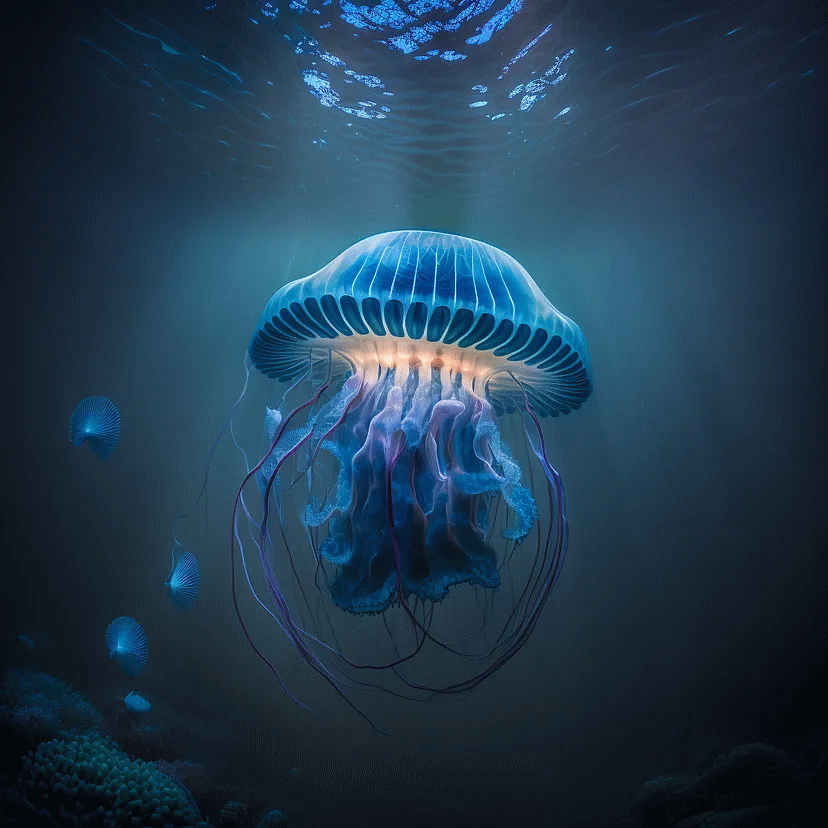
While recreating a photorealistic image, we have a lot of parameters to look upon. Similarly, if the image consists of multiple objects or colors, we might have different levels of preferences for each object. For example, the main subject would have the most preference over the background.
Fortunately, we can specify our preferences on Midjourney with the help of image prompt weights. This help in taking care of the minor details in the image to bring out the desired result. By using the image weights properly we can make Midjourney focus its maximum on the most important sections before anything else. Likewise, we can also use this concept to take care of colors, shadows, etc.
In order to use image weights to distinguish the various parts of the image based on our preference, we can use :: symbol. The following prompt consists of 4 different parts in an image separated as per the user’s preference.
\imagine <prompt 1>::5 <prompt 2>:: 3 <prompt 3>::4 <prompt 4>::
Here, prompt 1 is four times greater than prompt 4, while prompt 2 is three times and prompt 3 is four times greater than prompt 4.
4. Use Negative Keywords
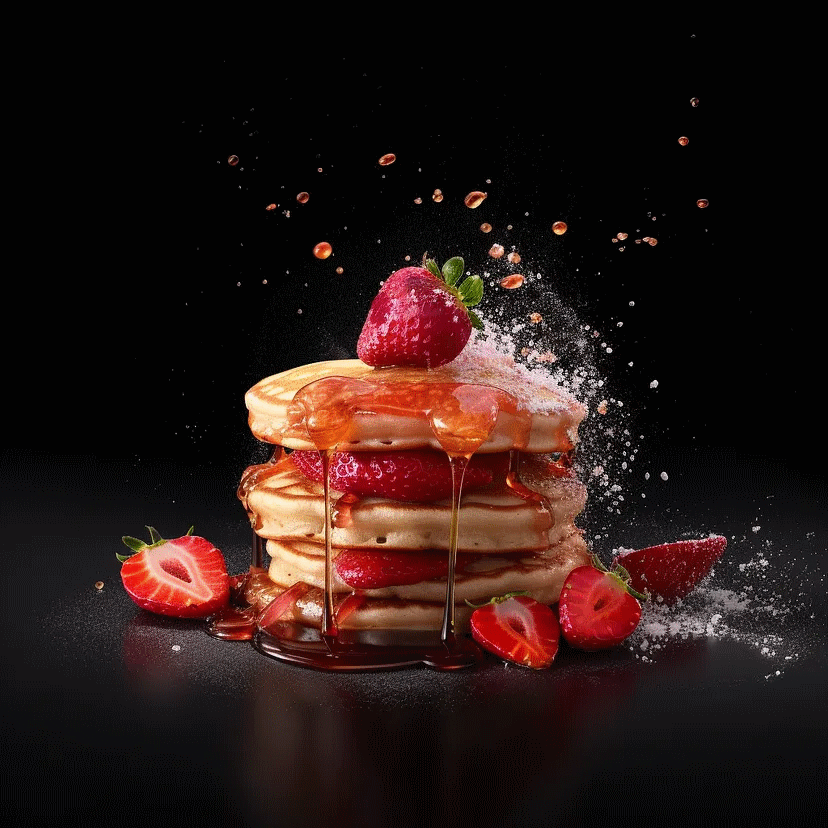
Often Midjourney generates your image containing some additional objects, colors, or elements to make the image complete. However, if you have something specific in mind, you can use negative keywords to prevent the tool from generating such elements. Negative keywords are very useful for removing that unwanted stuff from your image.
The best part is, Midjouney has a separate parameter to mention negative keywords. Thus, it saves up some of your energy by preventing you from writing a complete sentence on what not to add to the image. Suppose you want to generate an image of a pancake with a bunch of strawberries and other delicious seasonings. However, the seasoning might include cherry syrup, honey, pineapple, blueberries, etc. So if you wish to generate an image without pineapples as a seasoning, you may use the negative keywords in your Midjourney prompt.
\imagine make a delicious image of a strawberry pancake --no pinapple
Now, this command will get you the image you need. It will remove any pineapple elements and generate a whole new image.
5. Generate Different Image Variants
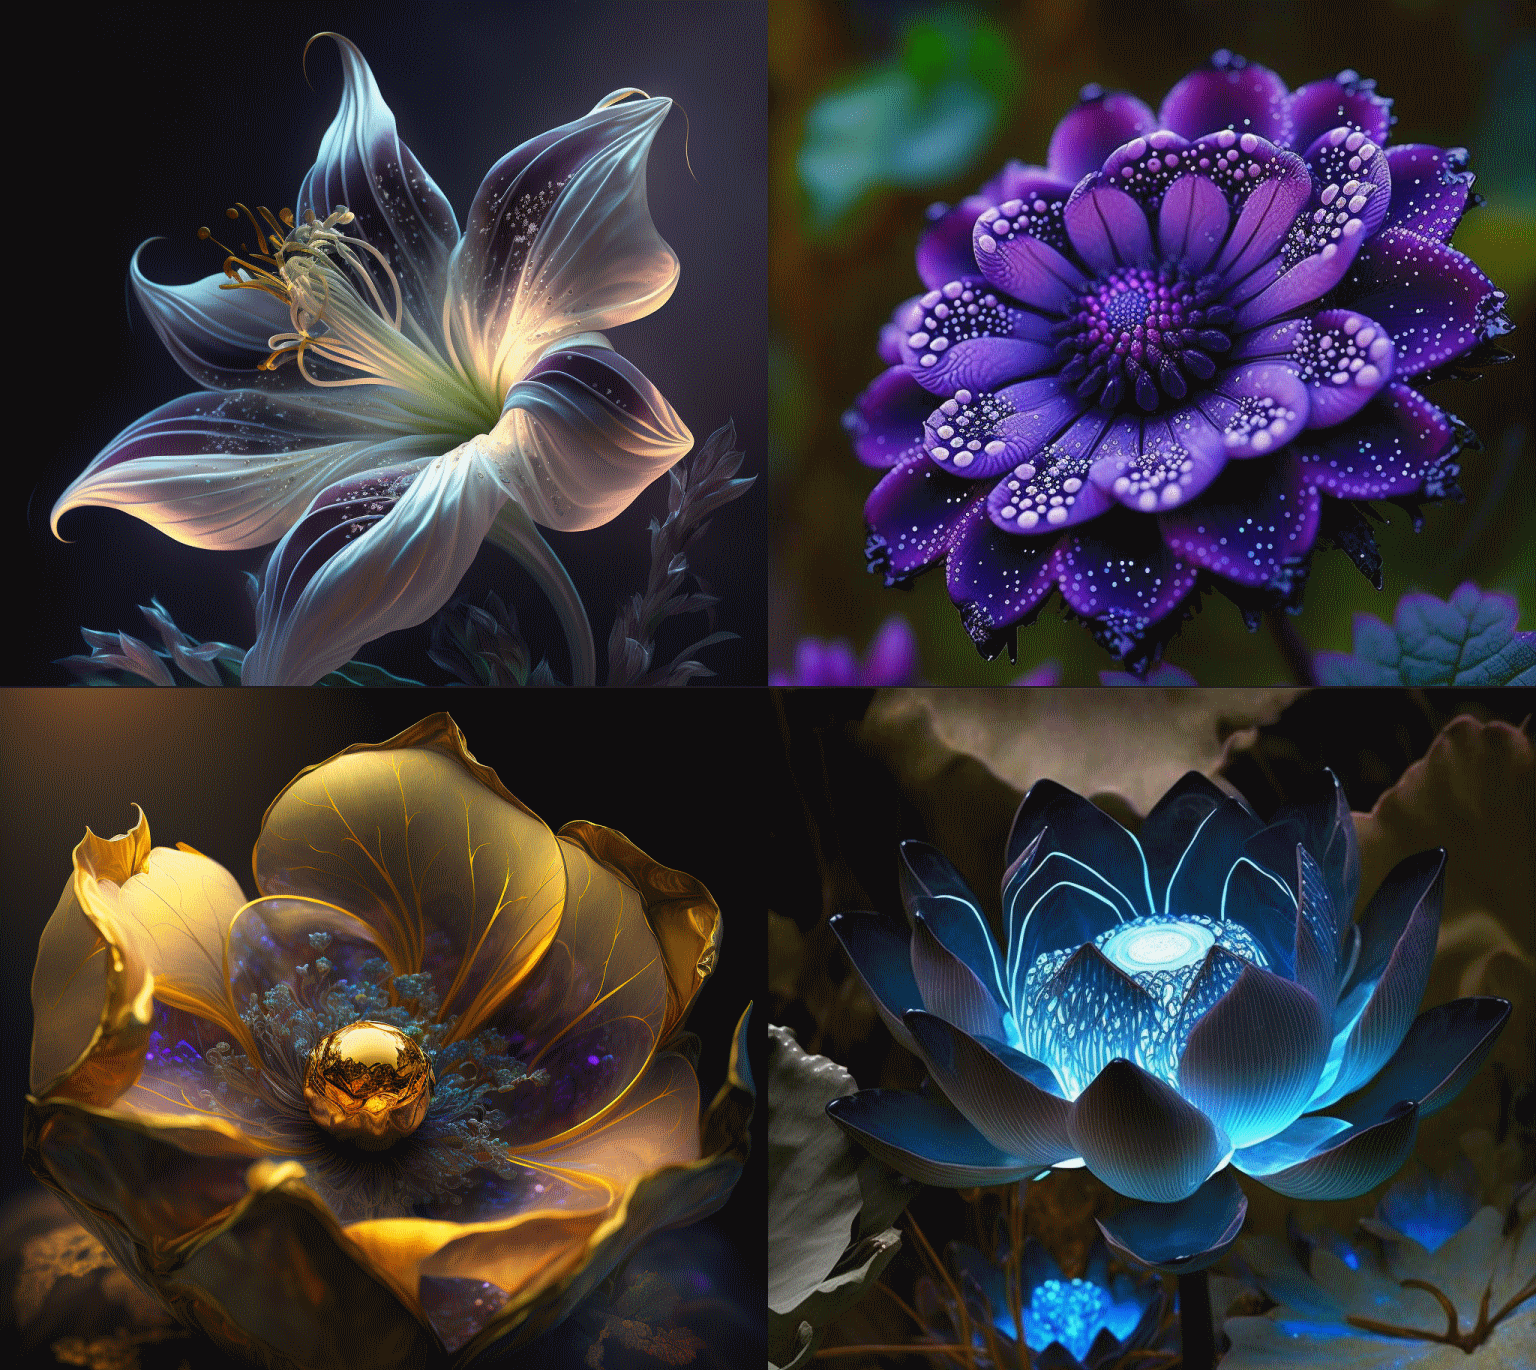
Now, did you know that you could generate different image variants from a single command? Well, you might say Midjourney already generates different variants for a command, isn’t it? But it offers some permutation prompts which help you make it generate a set of images for different variants rather than generating them together. So, does that click your mind?
Well, this functionality has eliminated the need for requesting the same prompt to generate the same images but with some minor changes. For instance, suppose you want to generate a set of fictional flowers. If you pass a regular prompt, it will either give you a bucket full of a variety of flowers or maybe a set of images containing only one kind of flower.
However, if you wish to generate a set of images for one flower at a time and you have a few species in your mind, you need not have to copy and paste the prompt with different flower names every time. Instead, just follow the below prompt example to get it done.
\imagine make a photorealistic image of fictonal flowers from species {Luminous Lily, Faeiris Blossom, Elasian Bloom, Enchanted Lotus}This prompt will generate a set of images with functional flowers of the said parameter containing Luminous Lily, Faeiris Blossom, Elasian Bloom, and Enchanted Lotus species separately. You can choose the best ones from the different variants.
Final Words
With AI like Midjourney, we have found a breakthrough to bring our imagination to life. However, unlike our imagination, these tools do not have the power to think on their own. They need our thoughts to bring out the final result before our eyes. Hence, if we lack while writing the prompts properly, we will end up getting an unsatisfactory result. And making a photorealistic image on Midjourney definitely requires some experience with expressing your thoughts properly. But hopefully, these Midjourney prompt methods will help you let the AI know what exactly you need.
If you've any thoughts on How to Make Photorealistic Images on Midjourney?, then feel free to drop in below comment box. Also, please subscribe to our DigitBin YouTube channel for videos tutorials. Cheers!
