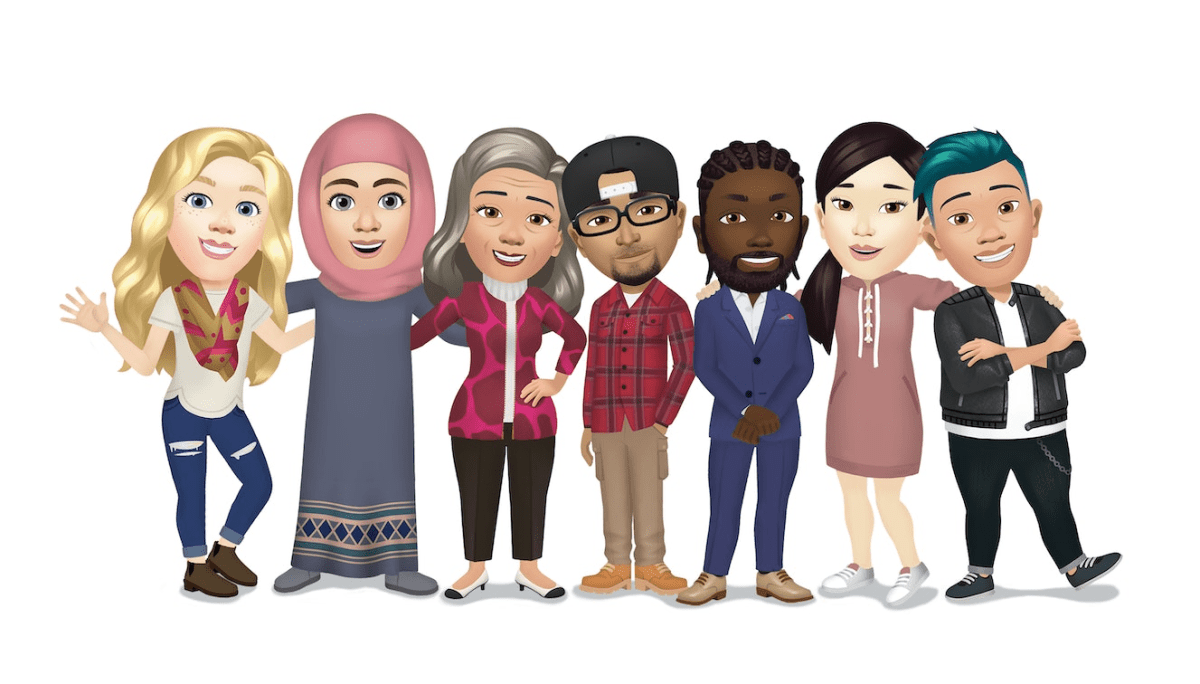

Facebook stickers and emojis are no doubt a great way to express yourself. There are a bunch of these stickers and emoticons available on the platform, and they do come in versatility. However, sometimes we may feel like creating our own stickers to display our reactions more clearly to other people. And that’s where the Facebook avatar comes into the role. These digital avatars on Facebook are basically Bitmojis that you can create as per your likeness. You can either use it as your profile picture or simply as a sticker in your conversations or to comment on the posts.
In simple words, Facebook Avatars are cartoon-like characters that you can use to represent yourself for fun. Moreover, the autogenerated stickers of your self-made avatar look extremely interesting and fill your social media journey with more excitement. But our main question here is how to create your digital avatar on Facebook. Well, Facebook has organized everything so neatly that it is just a matter of a few clicks to ready your new Avatar instantly. But to make things a little more accessible, we have brought this step-by-step guide to help you create your Facebook Avatar today.
Your digital avatar on Facebook looks nothing like you. Even so, it is still a great way to have some fun in your social-media life. Note that you can create your avatar only using the Facebook app. So, if you like to use the Facebook web on your desktop, this feature is not available on the web version.
Once you have created your Facebook avatar, you can use it across all Facebook versions. Additionally, if your Facebook and Instagram accounts are connected, you can use the same avatar across both platforms as well. So, firstly download the Facebook app on your Android or iOS device and follow the steps accordingly.
Facebook provides you with a whole lot of options to customize your character inch-by-inch. Here we will have a brief look at what things you can customize in your avatar.
So, starting with the customization part, you can select from a number of hairstyles for your avatar. Not just that, you can even change the hair color as per your wish.
Additionally, you can customize your eyes, nose, eyebrows, face shape, and whatnot from the Appearance option.
Apart from that, under the Store option, you get to choose from a number of great-looking outfits giving your avatar a great look. Alternatively, you can individually select the tops and bottoms if you wish to go with a mixed style.
Most importantly, there is a collection of amazing shoes that fit perfectly to your character. All you need to do is select a great outfit and match up your shoes accordingly.
Well, this is my final Facebook avatar. Do comment below and let me know how did you find it, and also share your own digital avatar as well.
So, now it must be easy for you to create your first digital avatar on Facebook. Once you create your avatar, you will be able to access the automatically generated stickers and use them to react to comments and during conversations. Moreover, as mentioned before, if your Instagram and Facebook accounts are connected, you can simultaneously use the avatar for both platforms. Rest, let us know if you have any other queries regarding the same.
This post was last modified on February 12, 2023 2:30 pm