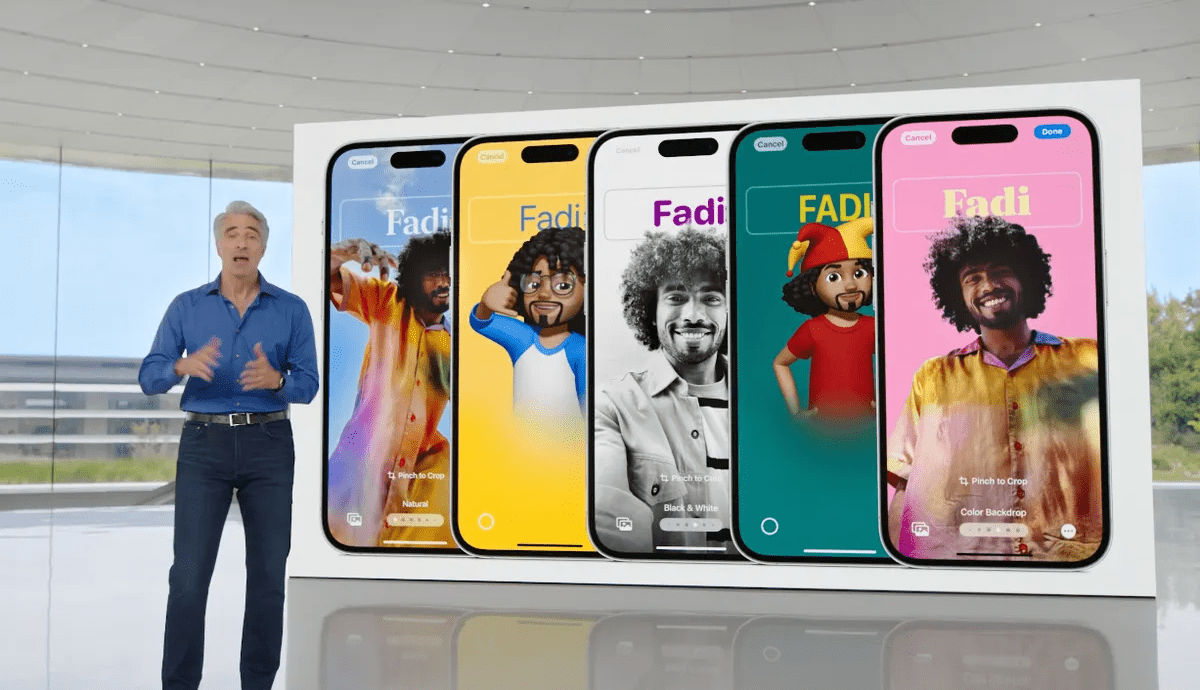

As Apple continues to introduce new features to iOS 17, the collection seems only to get richer day after day. And speaking of it, the Contact Poster feature has rolled out, turning out to be an interesting one on the list. A contact poster is basically a digital calling card containing avatars, photos, text, etc. Fortunately, you can now create your own contact poster on your iPhone and decide how you want to appear on other’s phones when you call them.
It generally works in a very fun way replacing the old boring profile icon on the notification whenever you call someone. However, it only works over iPhone-to-iPhone calls. Meaning, that if you are calling from an iPhone to a friend who has some other device, your contact poster won’t appear on their phone. So, if you wish to change the way you appear on someone else’s phone, this article will guide you to enable your own contact poster.
Well, before you go looking for a contact poster setting on your phone, you should know that the feature is available only on the public beta version of iOS for now. However, we hope to see it soon on the full version of iOS 17 as well. So, if you are already using the beta version or are willing to try it out, then the following steps will get you through the process.
The following steps will help you access the Contact Poster setting and create your own poster on your iPhone with iOS 17.
The next steps will change accordingly depending on the type of poster you want. Therefore, we will be discussing all the steps in detail for each type of poster.
Just make sure to go with the one that looks the most convincing to you and save it.
Once you are done with creating your poster, tap on the Done option. Finally, you can now choose to set your new contact poster on your main contact photo and across your Apple ID as well. If you go with this option, go on with the further instructions accordingly.
Otherwise, simply tap on Skip, and it will save your Contact Poster and redirect you to the page that appeared on clicking on the Contact Photo & Poster the first time. And that’s mostly it. You have successfully created your first contact poster on your iPhone with iOS 17.
Contact Poster is a fun way to make yourself appear on another’s phone. The traditional way to appear in the notifications with a small boring icon is over now. If you wish to make your appearance look cool and definitely more interesting than the old ways, the contact poster feature has your back. And hopefully, if you have reached here, you have a good knowledge of how to enable and create a contact poster on iPhone with iOS 17. So, let us know in the comments below if this article has been helpful.