Clearing this cache is important, whether you do it to resolve update errors, free up space, or simply maintain your system’s performance. In this guide, we’ll explore these methods to clear the cache, as well as a bonus method for those who love automation. Let’s get started.
Should you Clear the Update Cache on Windows 11?
Before we get started, let’s understand why you would want to clear the update cache on Windows 11. Clearing the update cache has several benefits:
1. Resolve Update Issues
If you’re unable to find a new update that you saw moments ago, clearing the update cache should bring it back.
2. Fresh Start for Updates
Clearing the update cache means that you have a fresh start for every new update. This decreases the chances of update files getting mixed up, which could lead to fatal errors.
3. Improve System Performance and Free Up Space
Aside from a safe update experience, clearing the cache also frees up disk space and improves system performance. Although most of the files are automatically deleted after installing an update, there are still some that hang around.
Top Ways to Clear Update Cache on Windows 11
There are several ways you can clear the update cache on Windows 11. Whether you are someone who prefers a user interface or a command-line approach, there’s an option to suit your needs. In this article, we’ll be looking at three ways, including two user interface approaches and a command-line approach.
Method 1: Using File Explorer
The most straightforward way to clear the update cache is using File Explorer. But before you do that, you need to stop the Windows update service. Follow the steps below.
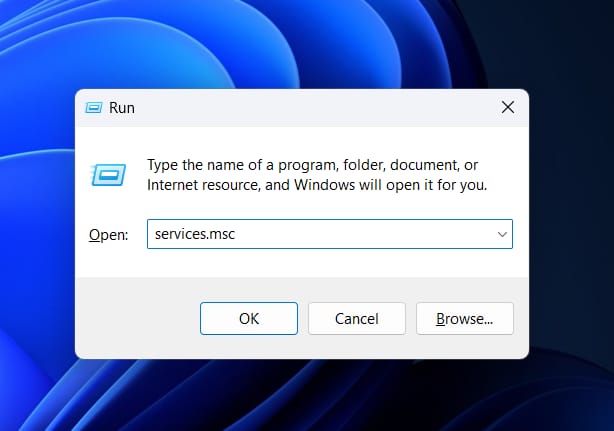
- Press the Windows key + R to open a Run prompt.
- Type in services.msc and press Enter.
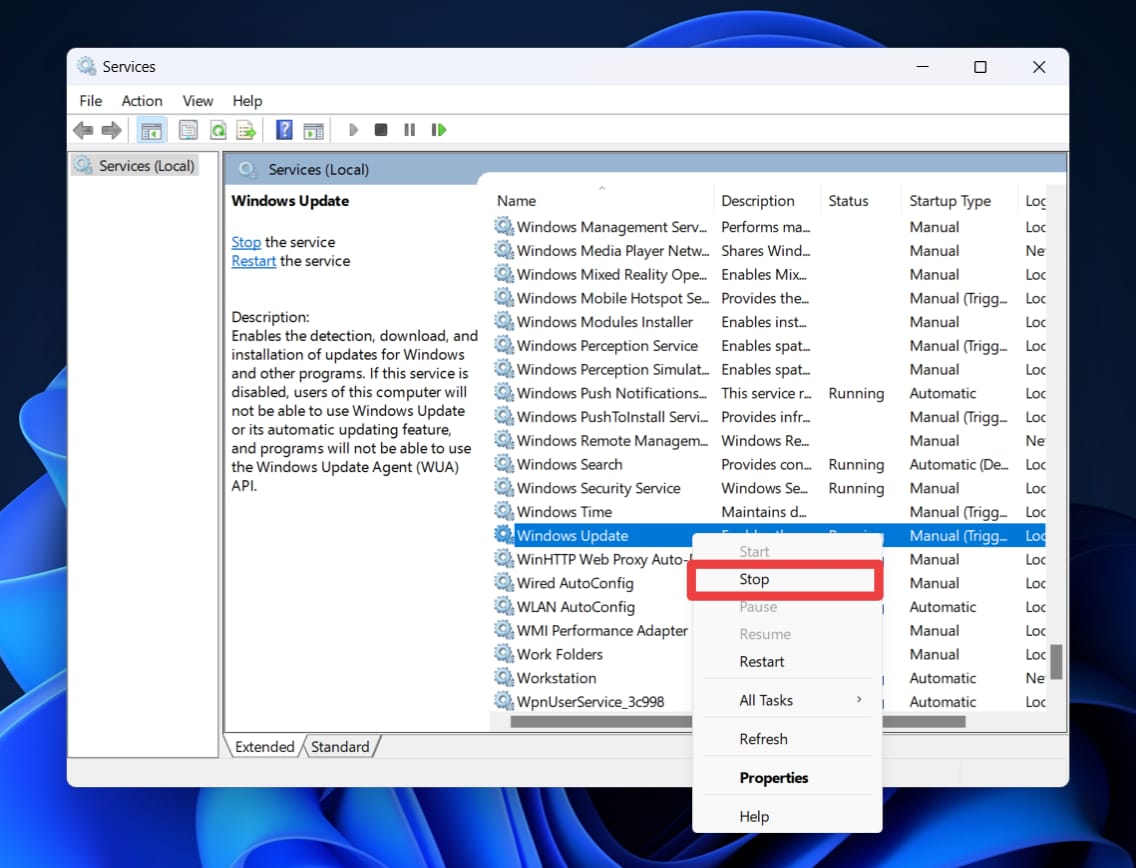
- Now, scroll down and find Windows Update. Press the W key to skip to all instances starting with W.
- Right-click on Windows Update and select Stop.
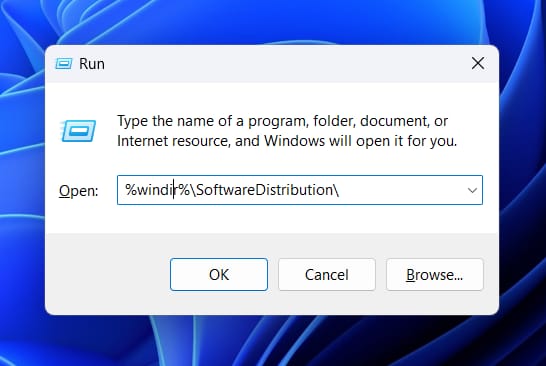
- Open the Run prompt again, type in the following command, and press Enter: %windir%\SoftwareDistribution\
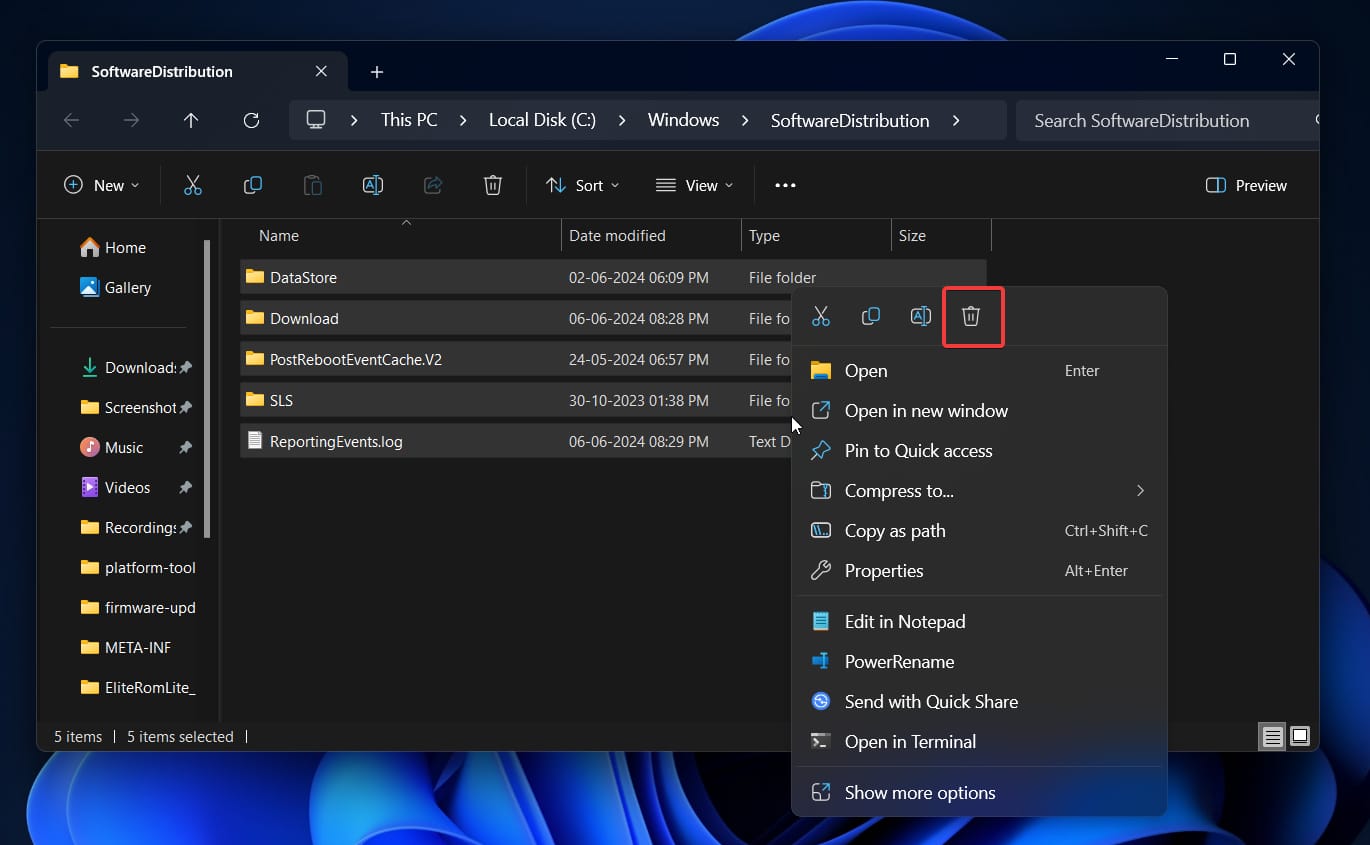
- Delete all the files and folders in the SoftwareDistribution directory. Press Ctrl + A and select the trash icon. You might want to empty the recycle bin.
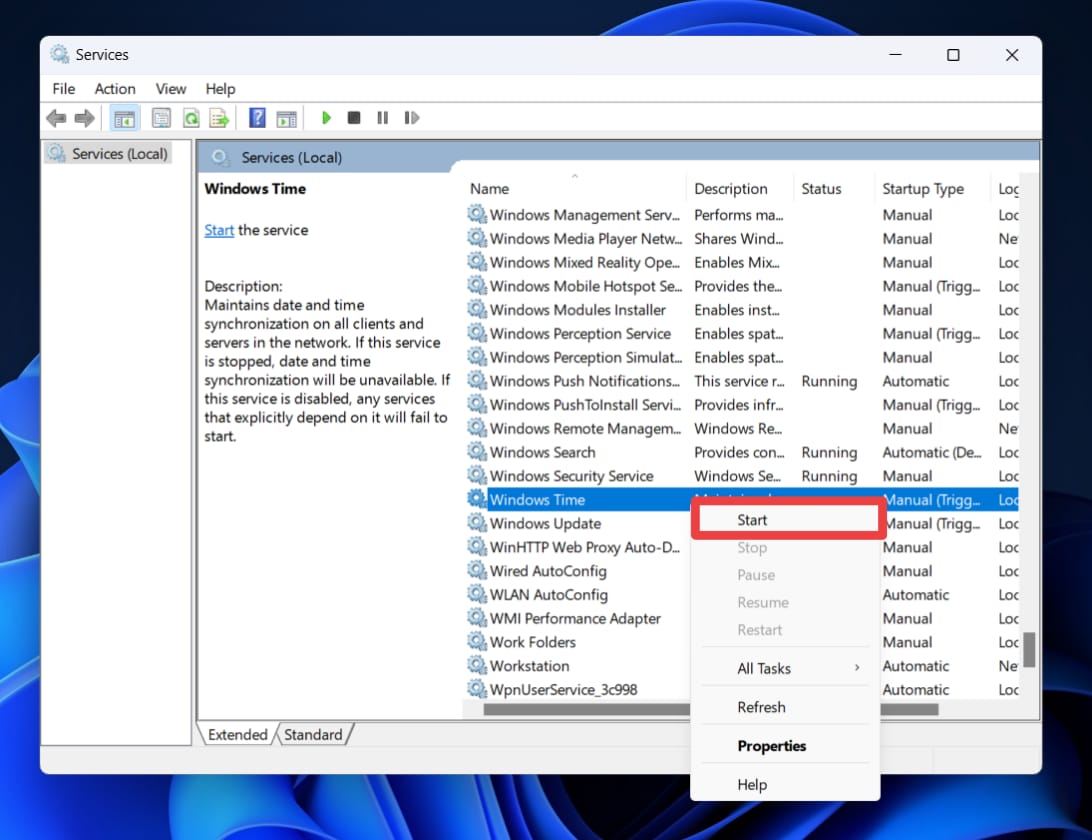
- Now, go back to the Services window or open it again if you have closed it.
- Find Windows Update, right-click on it, and select Start.
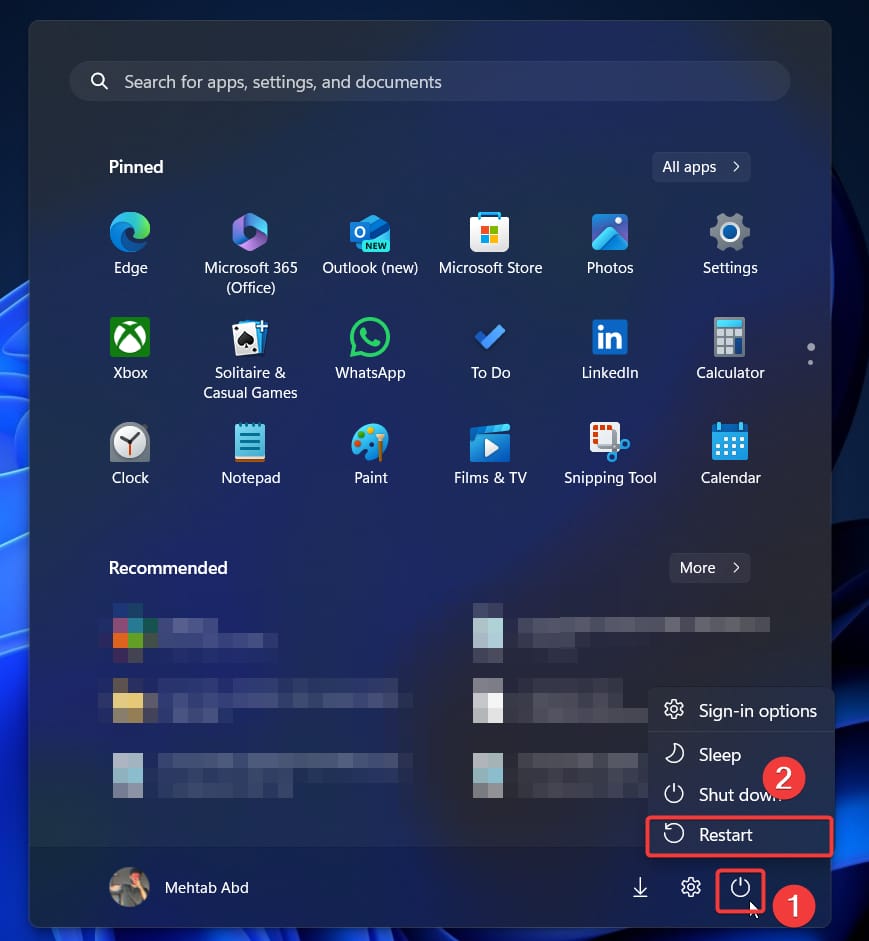
- Restart your computer.
Method 2: Using Command Prompt
If you don’t want to keep switching between multiple windows to do this process, the Command Prompt is here for your rescue. A few simple commands and you are good to go. Follow the steps below.
- Press the Windows key + Q and search for Command Prompt.
- Now, select Command Prompt and click on Run as administrator.
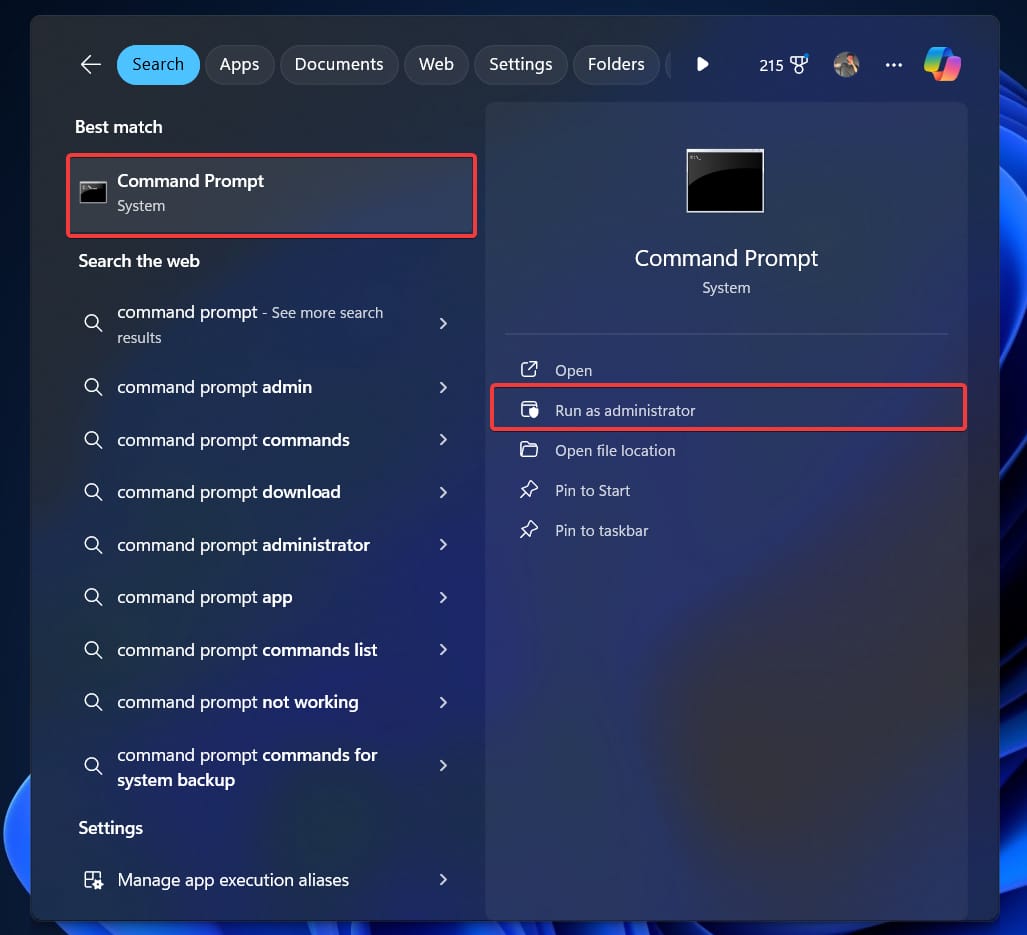
- Click Yes on the UAC prompt to continue.
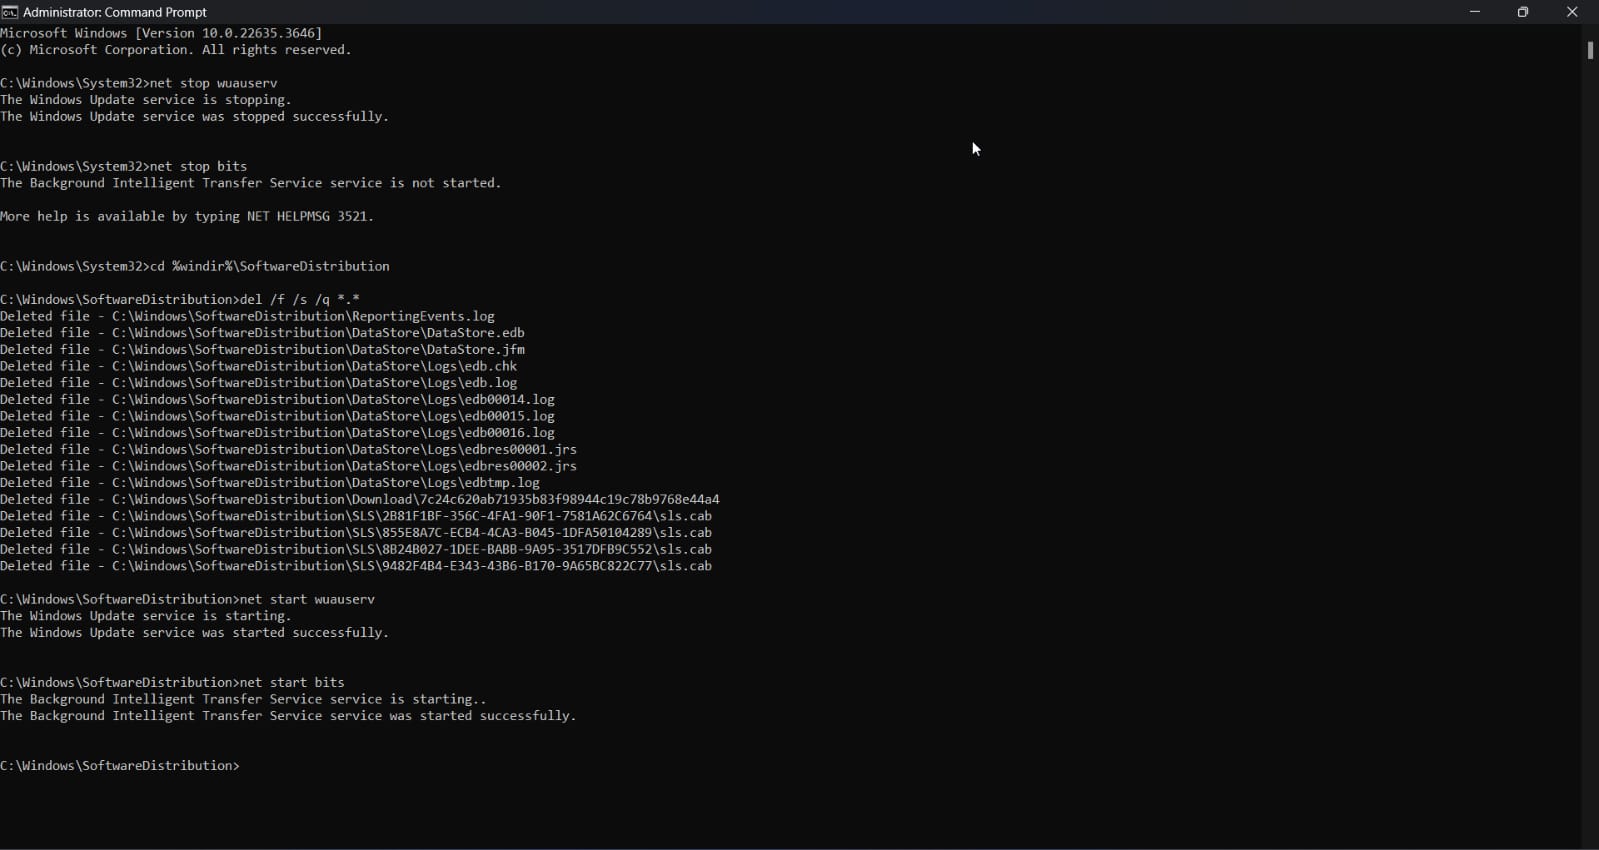
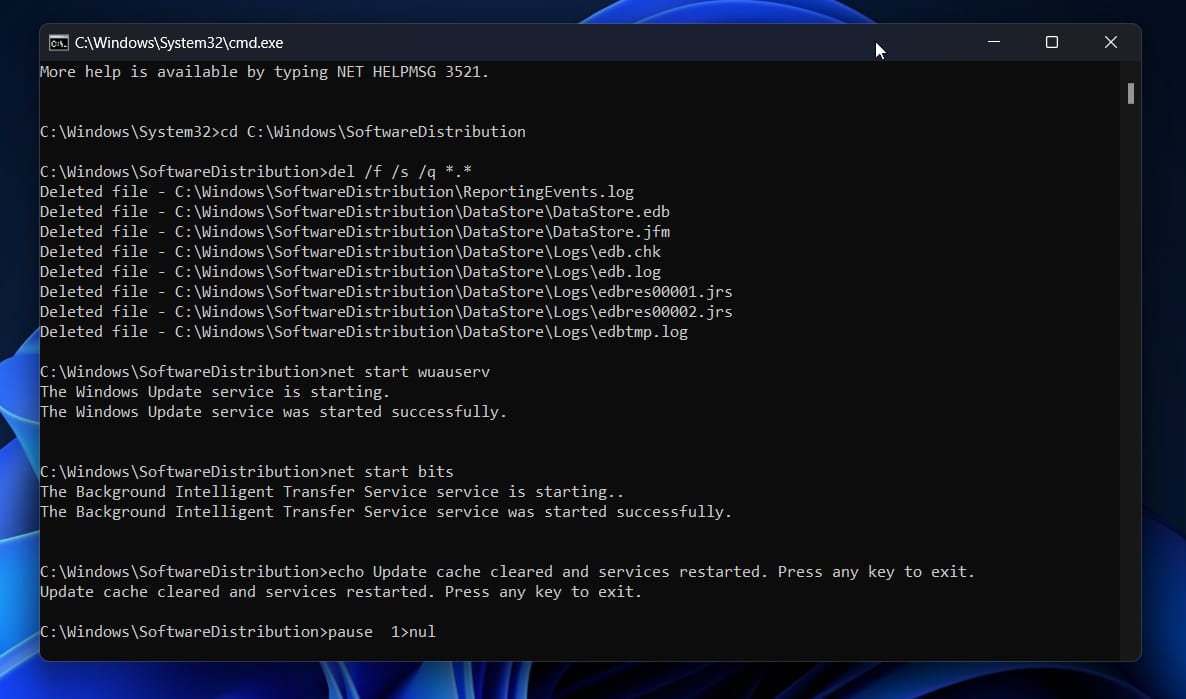
- Now, execute the following commands one after another:
net stop wuauserv
net stop bits
cd %windir%\SoftwareDistribution
del /f /s /q *.*
net start wuauserv
net start bits
 After the cleanup is complete, restart your computer.
What do each of these commands do?
The first command stops the Windows Update service and the second stops the Background and Intelligent Transfer Service service. The third and fourth commands navigate to the SoftwareDistribution directory and delete all the files in there.
Finally, the last two commands restart the Windows Update service and the Background and Intelligent Transfer Service service, respectively.
Method 3: Using Disk Cleaner
The Disk Cleaner is, perhaps, an even more straightforward option to clear the update cache on Windows 11. It comes built-in with Windows, so you don’t have to worry about installing additional software. Here’s how to use it:
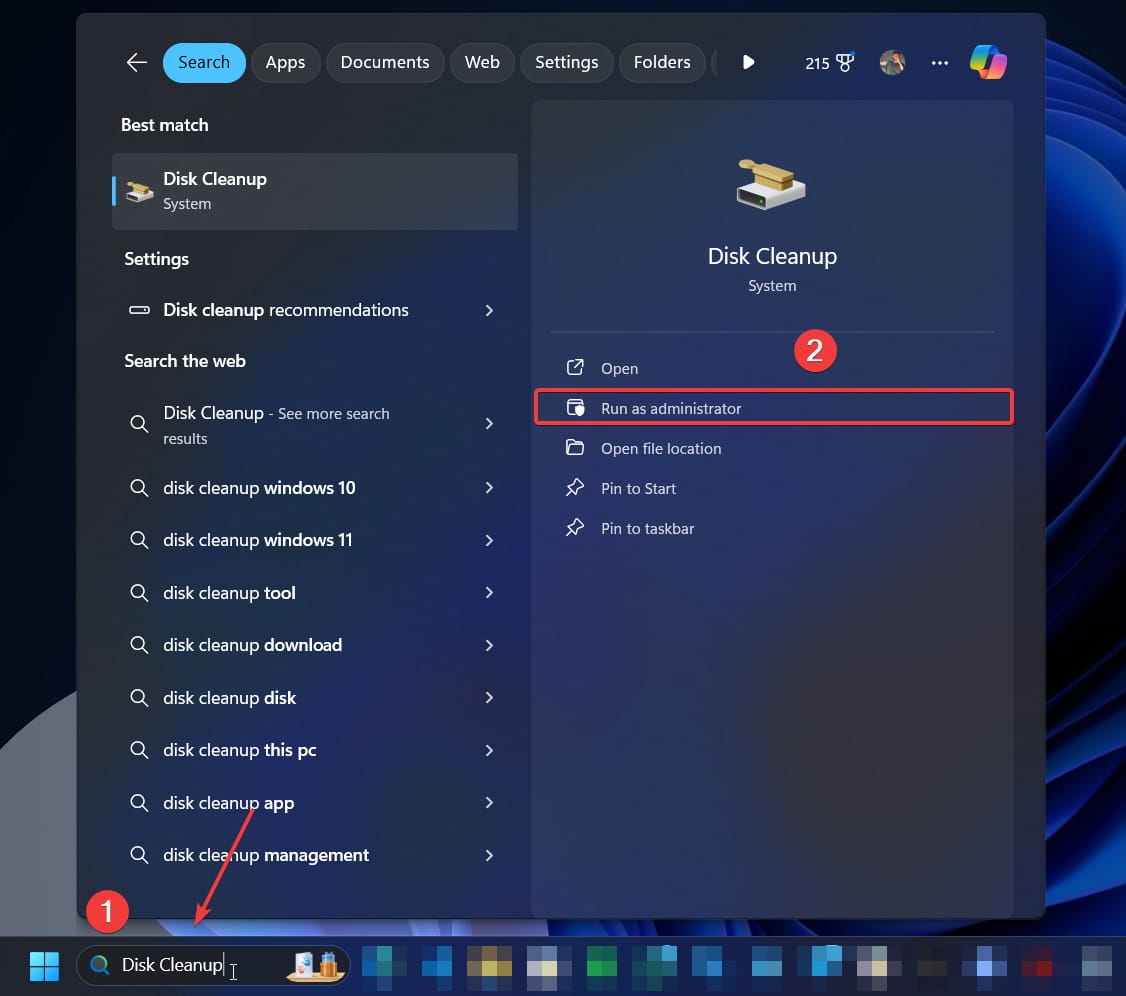
- Press the Windows key + Q and search for Disk Cleanup.
- Now, select Disk Cleanup and click on Run as administrator.
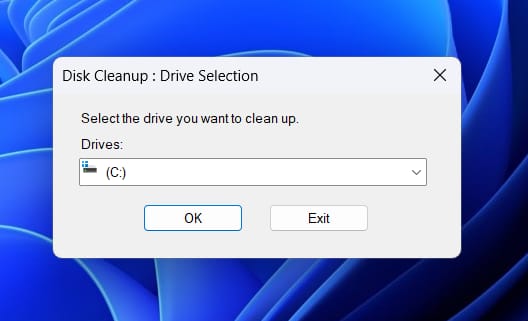
- Use the “Drives” drop-down to select your Windows drive (typically C:) and click OK.
- In the Disk Cleanup window, select Windows Update Cleanup and click OK.
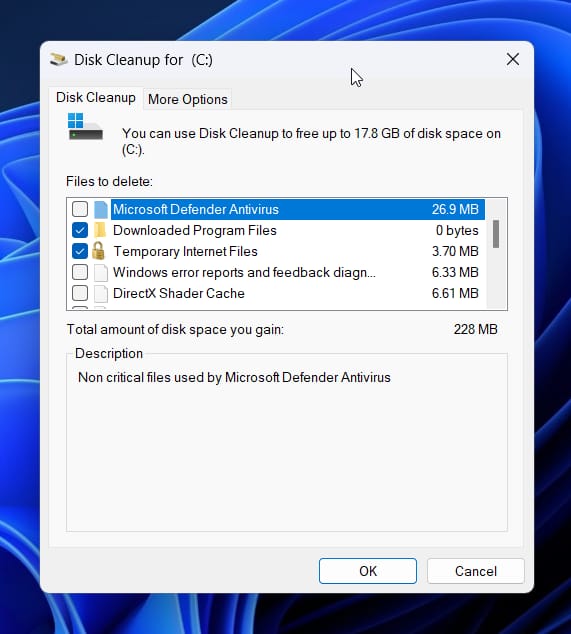
- Once done, you can close the Disk Cleanup window.
- After the cleanup is complete, restart your computer.
Bonus: Create a *.BAT File for Single-Click Execution
Who doesn’t love automation? Let’s see how you can streamline this process and clear the update cache with a single click on Windows 11. All you need to do is create and save a .bat file. Here’s how to do it:
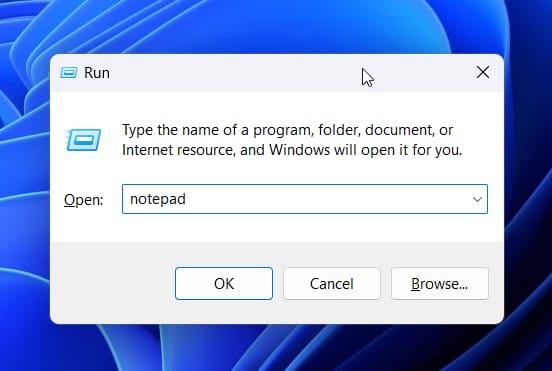
- Press the Windows key + R to open a Run prompt.
- Type in notepad and press Enter.
- Copy and paste the following text into Notepad.
:: Stop Windows Update services
net stop wuauserv
net stop bits
:: Delete the update cache
cd %windir%\SoftwareDistribution
del /f /s /q *.*
:: Restart Windows Update services
net start wuauserv
net start bits
echo Update cache cleared and services restarted. Press any key to exit.
pause >nul
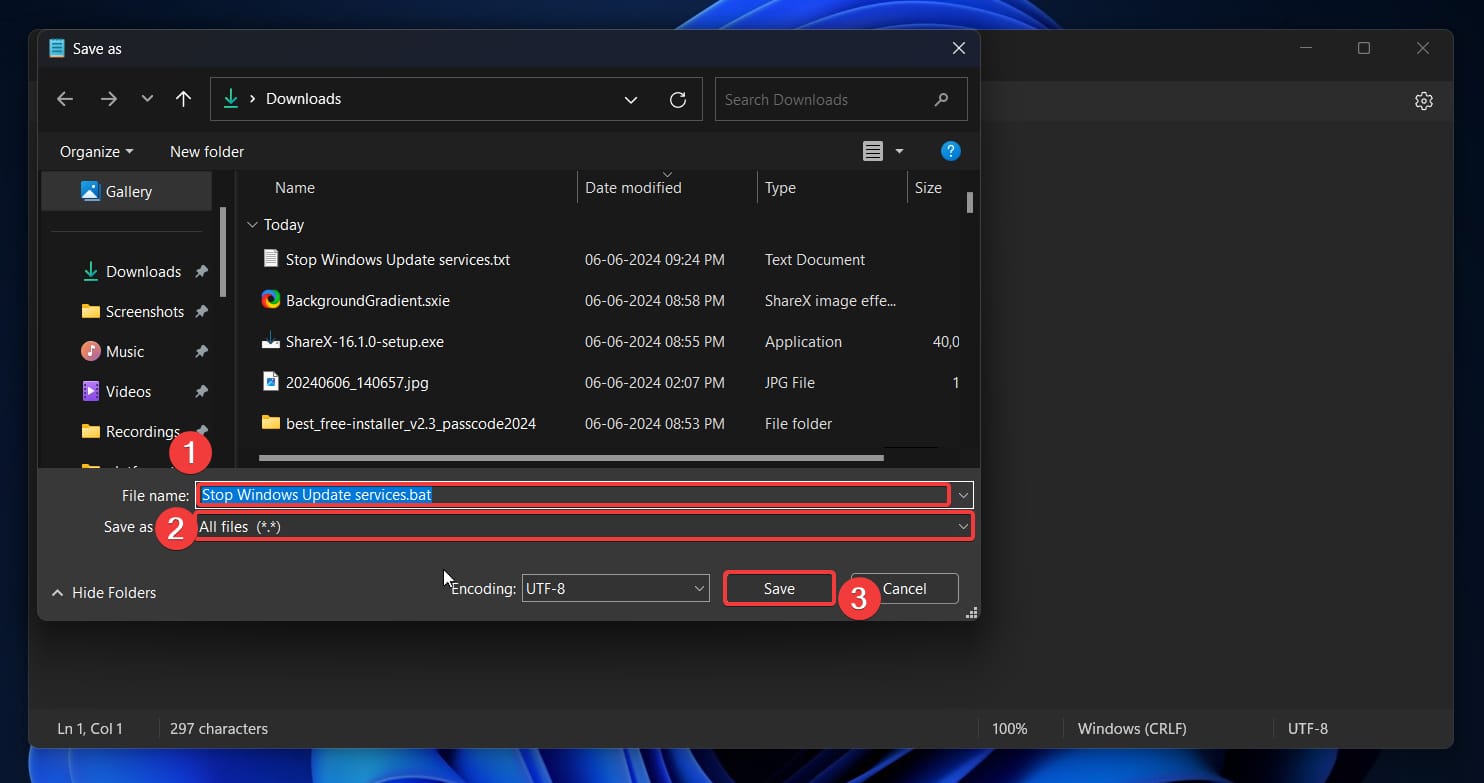
- Click File > Save As.

- In the Save as type dropdown, select All files (*.*).
- Name the file ClearUpdateCache.bat and save it to the desired location.
- Close the Notepad window.
- Now, navigate to the location where you saved the .bat file.
- Right-click on the saved .bat file and select Run as administrator.
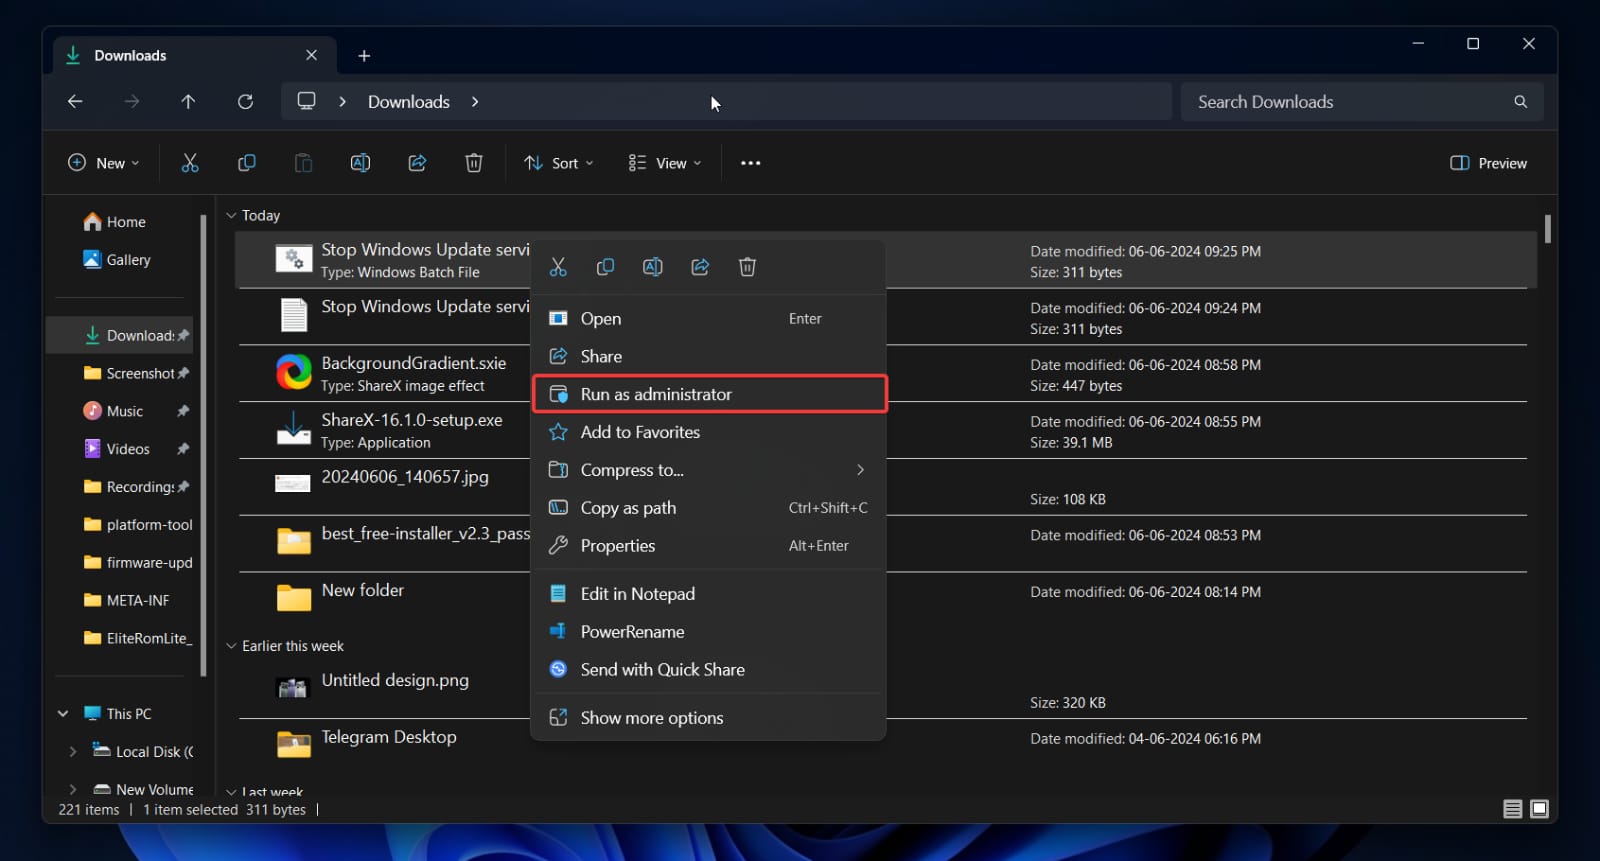
- Follow any prompts to allow the script to run with administrative privileges.
- Restart your PC for the changes to take effect.
Frequently Asked Questions
Why should I clear the update cache on Windows 11?
Clearing the update cache can resolve update issues, provide a fresh start for updates, and improve system performance by freeing up disk space.
How often should I clear the update cache on Windows 11?
It depends on your system’s performance and any issues you encounter with updates. There’s no set frequency, but I would recommend doing it after every update to maintain smooth operation.
Do I need administrative privileges to clear the update cache?
Yes, you will need administrative privileges to stop services and delete system files.
Final Words
That’s it for this guide. We hope that it has helped you clear the update cache on your Windows 11 machine. If you want to do this often, we recommend creating a .bat file and running it as needed. Again, if you have any further questions, let us know in the comments section below.
If you've any thoughts on How to Clear Update Cache on Windows 11, then feel free to drop in below comment box. Also, please subscribe to our DigitBin YouTube channel for videos tutorials. Cheers!