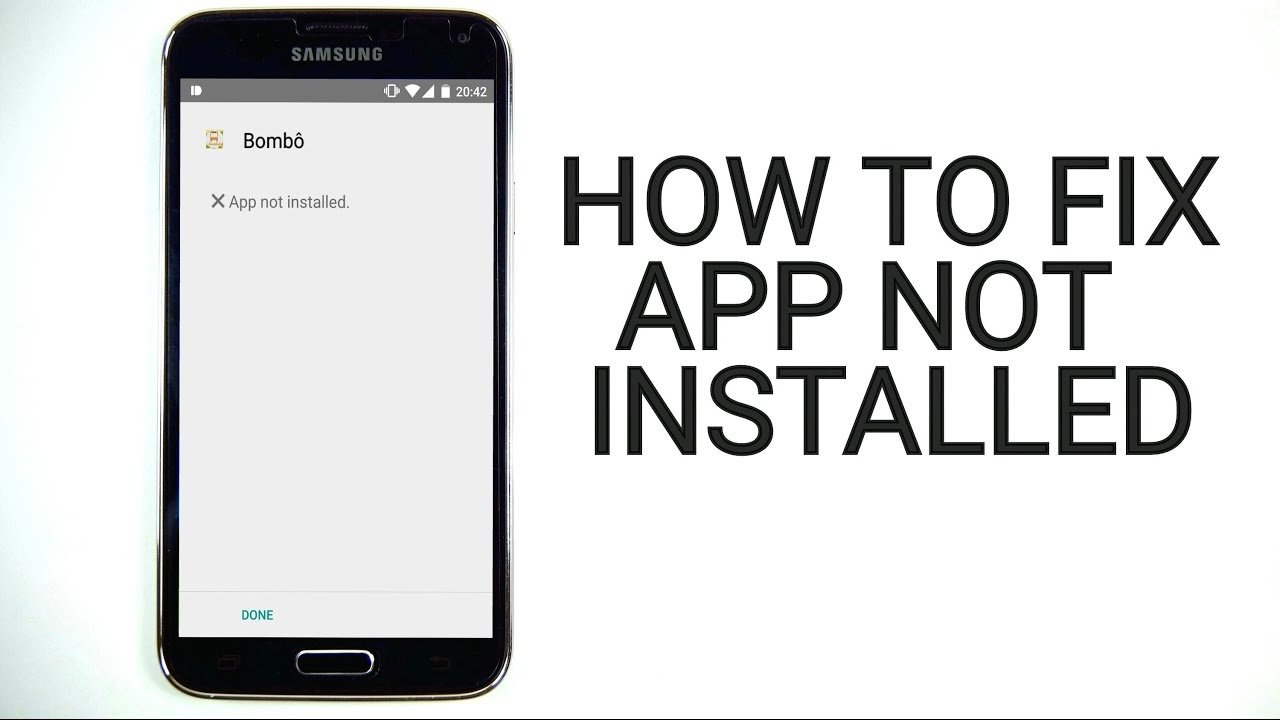
App Not Installed Android Error Fix
Android system is great when it comes to using Apps and enjoying a seamless smartphone experience. Many times you may get annoying messages while you install Apps on your device, especially apps from ‘unknown sources.’ One such message is ‘App Not Installed’ or ‘Application not Installed’. And it is a common issue faced by Android KitKat, Lollipop, Marshmallow, etc.
When you try to install any App which is incompatible with your device’s OS and software, the App may not get installed successfully. Thus giving you the error message App Not Installed. There are mainly a few possible reasons for the error of installation;
Note: Before going through the fix, make sure to uninstall any already installed app of the same nature. And try installing the app to see if the issue is fixed.
Here are the Best Solutions to Fix App Not Installed Errors on Android Mobile.
You can make some changes in the version code or SDK to do so. This method also works on Firestick and Fire TV.
Step 1. Download the APK Editor app.
Step 2. Now open APK Editor App and click on “Select an Apk File”. Now search for the app which you wish to install.
Step 5. Click the app and select the “common edit” option.
Step 6: Here change the Install Location to any other option whichever applicable for your device.
*You can also change the Version Code of the App to any older one which is supported by your device. (*Try this if location change do not work)
Step 7. Apply the changes in APK Editor App.
Step 8. Uninstall the similar pre-installed app and install the modified App from APK Editor.
If the APK file is Split into App bundles, ‘App Not Installed‘, is the error you will face if you try installing APK. Make sure the File is Not Split into APK App Bundle. If it is a bundle, then you need to install it using a Split Installer. Google introduced a new way to distribute Android apps called app bundles.
While the regular apps contain all necessary resources like screen size, manifest, XML, Config, and architecture in a single APK. The app bundles only include the components that your specific device needs, organized into split APKs. While app bundles help save storage space and data usage, they are not one-size-fits APK files.
The Android Apps Bundle (AAB) Files can come in a compressed format like XAPK, APKS, APKM, or AAB. You can use any of the following methods to install the App Bundles on Android.
While the above links can be helpful if the APK files are compressed as a single AAB. You need to use a split APK installer to install app bundles if you have downloaded multiple APK files.
In simple terms, APK is split in different APKs which include Base.APK, Config-Archi.APK and other Files which can only be installed using a 3rd party split installer. If you directly try to Install the APK you will see ‘App not Installed’ Error.
Note: Make sure you have installed all the APK files necessary to install the App using Split APK Installer.
Step 1. Download All the APK Files viz. Base APK, Config Archi APK, or any other APK File if Listed.
Step 2. Now Download and Install Split APK from Play Store.
Step 3. Click on Install APKs Button.
Step 4. Locate the Files and Select All the Files.
Step 5. Now Click on Select.
Step 6. Now you will an Installation box, click Install and Done!
Google Play Protect is Google’s built-in malware protection for Android. It scans the installed apps or apps to be installed for any virus and, if it finds any harmful code or nature, blocks the installation. The play protects not only works or apps installed from the play store but also for 3rd party apps.
So, if you face any install errors, it is better to disable play protect and give it a try.
If the APK is downloaded or if you are trying to install it from an external mount, then in many cases, it would not be possible due to contamination of the file. The installer may not completely parse the package from mounted storage.
The best solution, in this case, is to download the APK onto your internal storage and try installing the App. Your mobile package installer will accept the files without any errors.
Any latest version of the App may not support your device due to system limitations. Just download any older version of the App. If this works, then your device is not capable to read the latest APK.
If you have a rooted phone, then the success rate increases manifolds.
Note & Conclusion: If the above post couldn’t solve the problem, then you need some coding in Android SDK to checkapplicatioId the build.gradlefile is unique.
I hope the post was helpful in resolving the issue of the App Not Installed Error. Do comment below for any assistance if needed.
This post was last modified on November 30, 2022 12:43 pm
View Comments
I do all work buy unable to install asphalt 8 mod apk
me too but' after root and using lucky patcher to modified it work
In the conclusion you have a typo "applicatioId" it should be "applicationId"